# Load Box CSV data to Google BigQuery with Google Cloud Storage recipe
This use case guides you through connecting Box, Google Cloud Storage, and Google BigQuery to create a powerful automation.
# What does this recipe do?
This recipe monitors a Box folder for new CSV files, downloads each file’s contents, uploads the content to Google Cloud Storage, and then loads the data into a Google BigQuery table.
# How can I use this recipe?
This recipe provides a versatile approach for handling CSV data, facilitating automated workflows between Box, Google Cloud Storage, and Google BigQuery. Consider the following usage examples for different departmental needs:
- Track marketing campaigns: Simplify campaign performance data collection and analysis. By storing CSV files with metrics in Box, you can integrate your data with Google BigQuery to create detailed reports and dashboards.
- Manage sales leads: Automatically transfer sales leads or customer data from CSV files saved in Box. This provides sales teams with the latest data in Google BigQuery and improves sales tracking and performance monitoring.
- Monitor operational KPIs: Automate the upload of operational logs or supply chain data from Box to Google BigQuery. This helps operations managers monitor key performance indicators and identify areas for process improvement without manual data entry.
# Create your recipe
Complete the following steps to create a recipe that monitors a Box folder for new CSV files, downloads each file’s contents, uploads the content to Google Cloud Storage, and then loads the data into a Google BigQuery table:
USE CASES ARE INTENDED AS EXAMPLES ONLY
This use case serves as an example. Modifications to triggers, actions, or conditional logic may be necessary to adapt this recipe to your workflow.
Sign in to Workato.
Select the project where you plan to create the recipe.
Create connections for Box, Google Cloud Storage, and Google BigQuery:
Create a Box connection.
# Create a Box connection
This step creates a connection between Workato and your Box account.
The Box connector supports both authorization code grant and client credentials authentication.
Complete the following steps to set up your Box connection using authorization code grant authentication:
Click Create > Connection.
Search for and select Box on the New connection page.
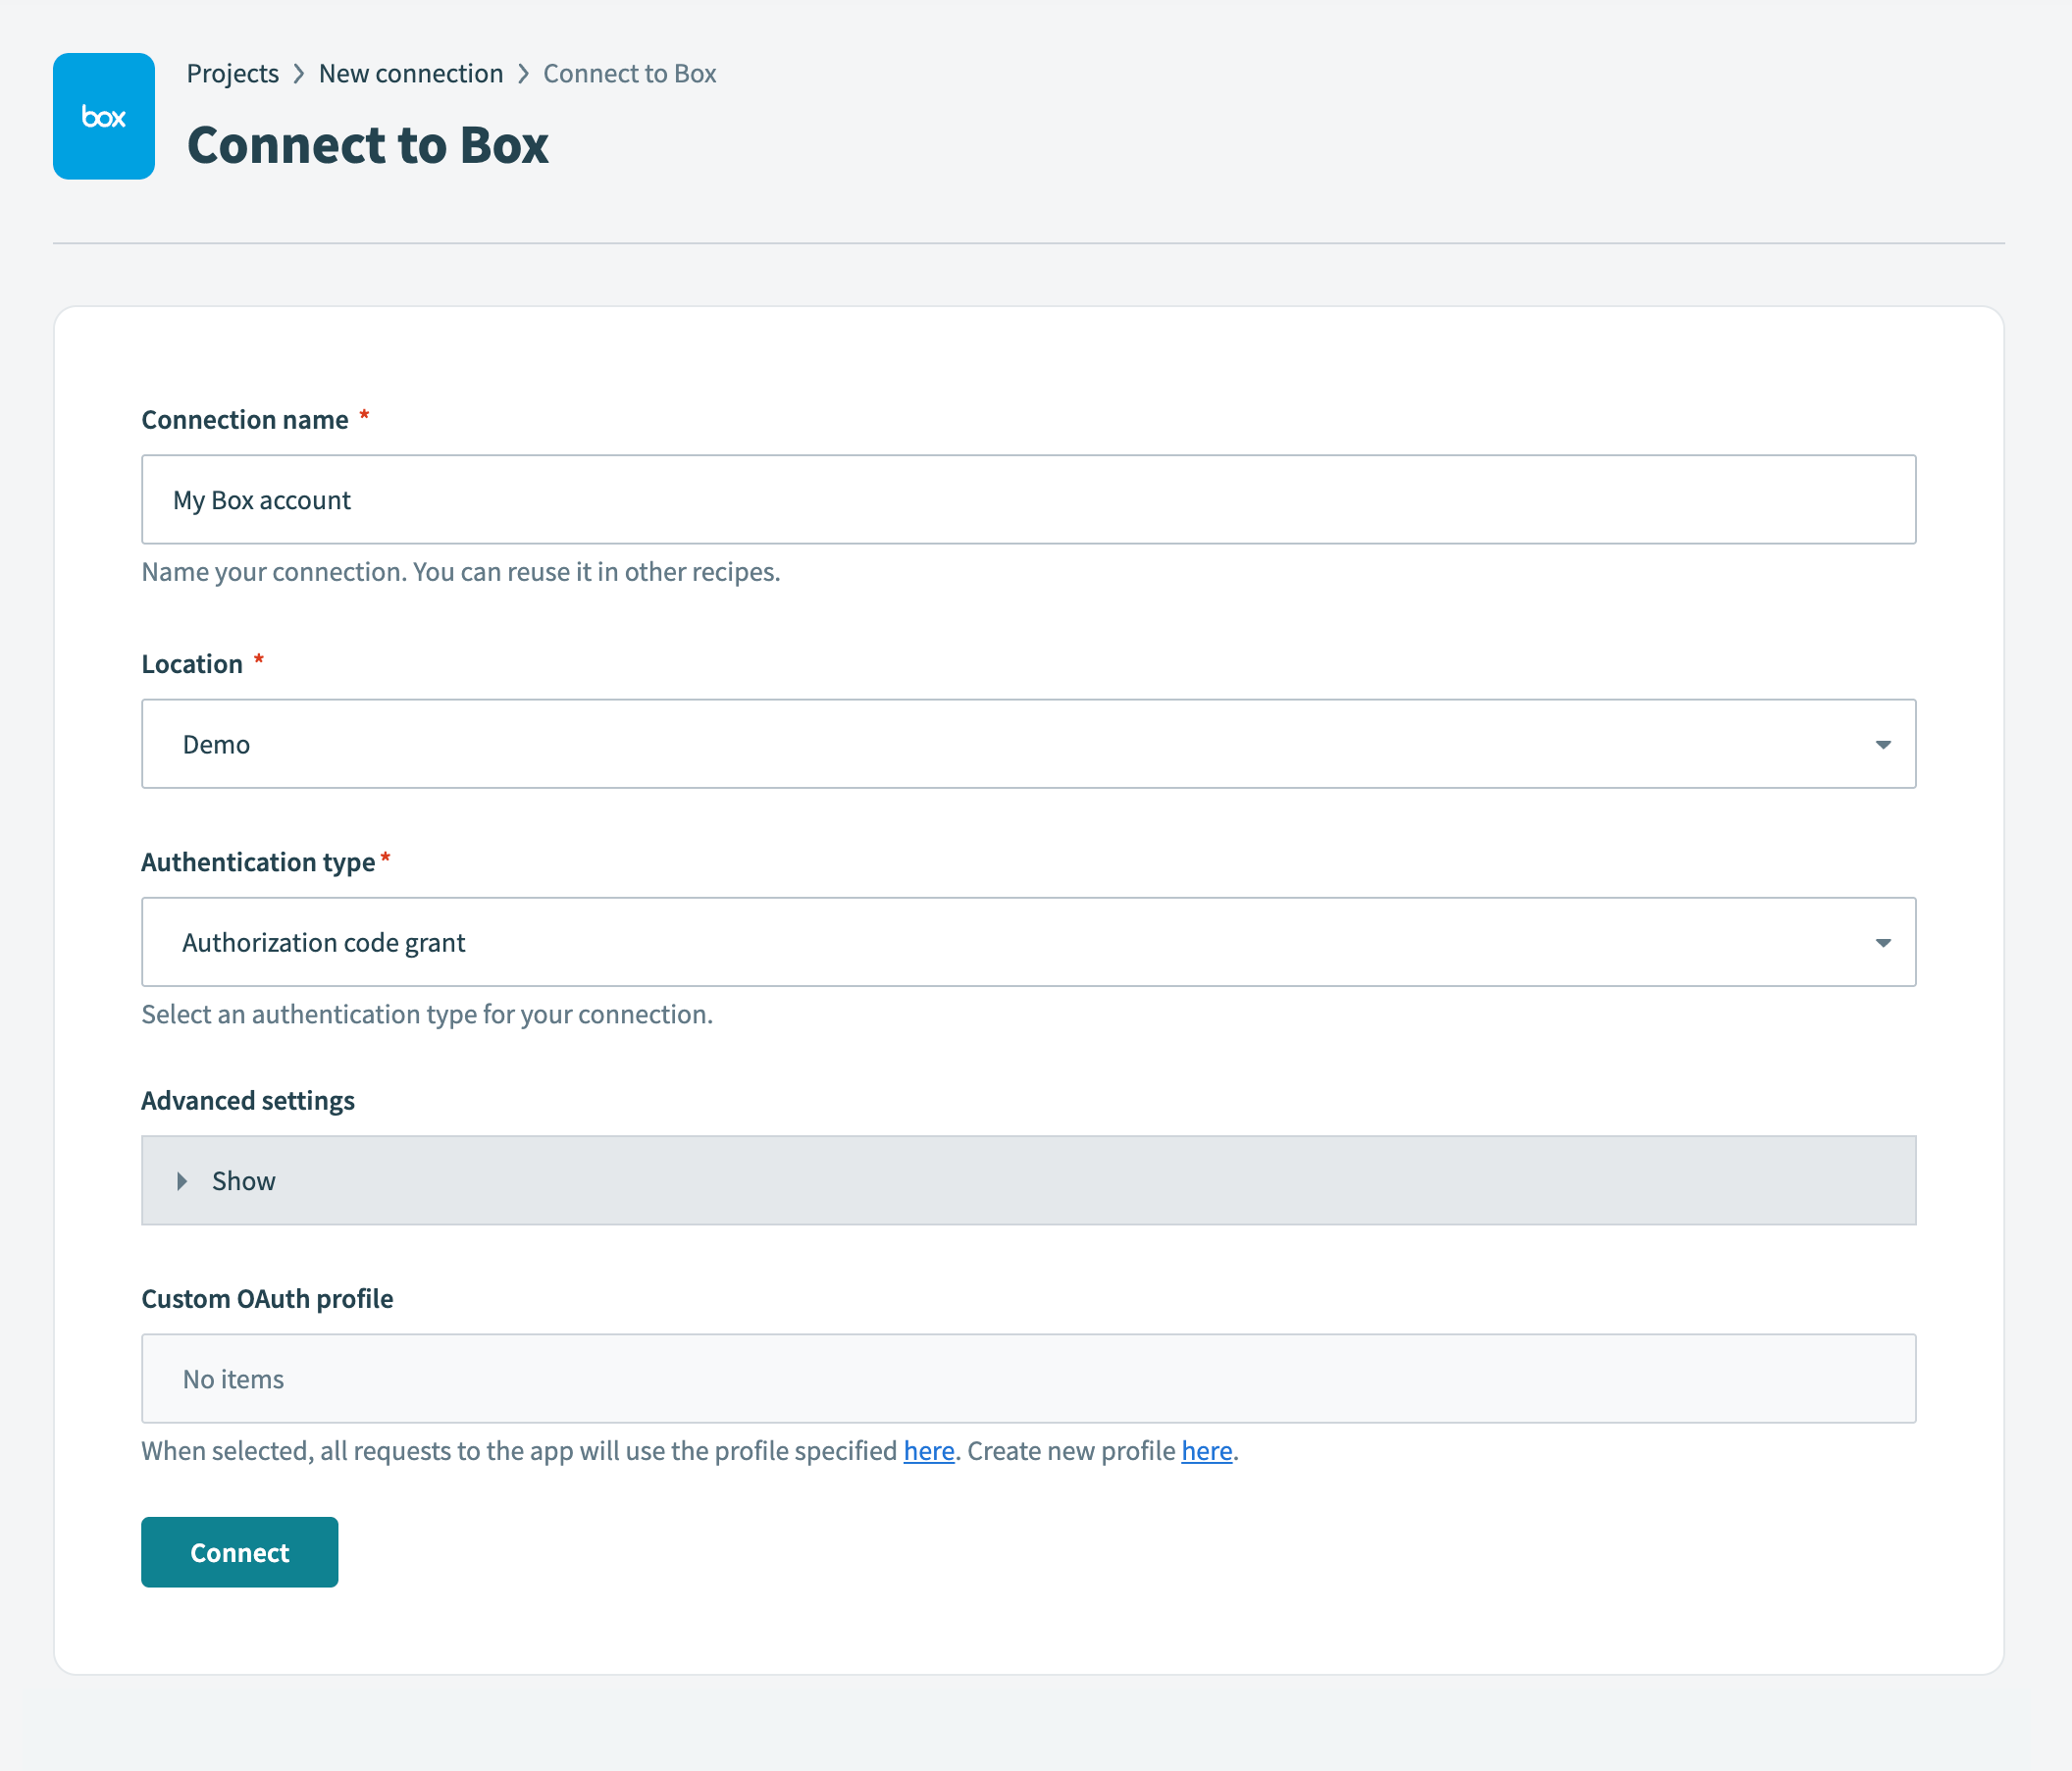
Provide a name that identifies which Box instance Workato is connected to in the Connection name field.
 Create your connection
Use the Location drop-down menu to select the project where you plan to store this connection.
Use the Authentication type drop-down menu to select Authorization code grant.
Optional. Expand Advanced settings to select Requested permissions (Oauth scopes) options.
You can select from the following scopes:
- Read files and folders
- Read and write files and folders
- Manage app users
- Manage managed users
- Manage groups
- Manage webhooks
- Manage enterprise properties
- Manage retention policies
- Global content manager
- Admin can make calls on behalf of users
- Manage signature requests
- Manage Box Relay
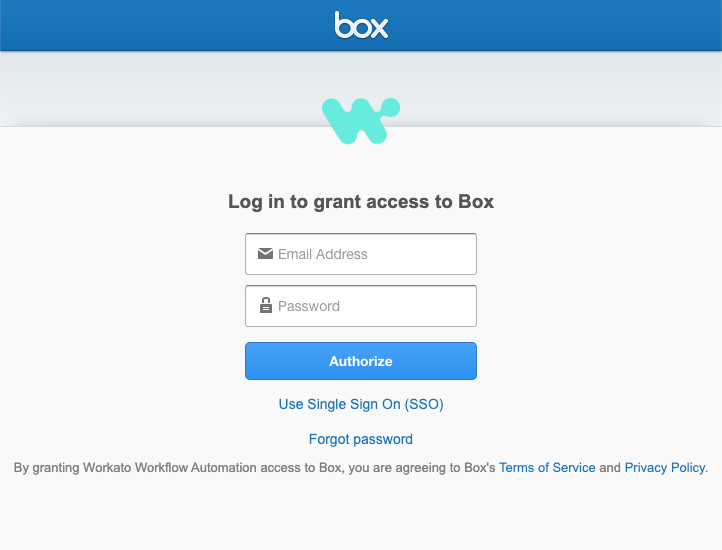
Click Connect. This opens the Box sign in dialog.
Enter your Box account email address and password.
 Log in to Box
Click Authorize.
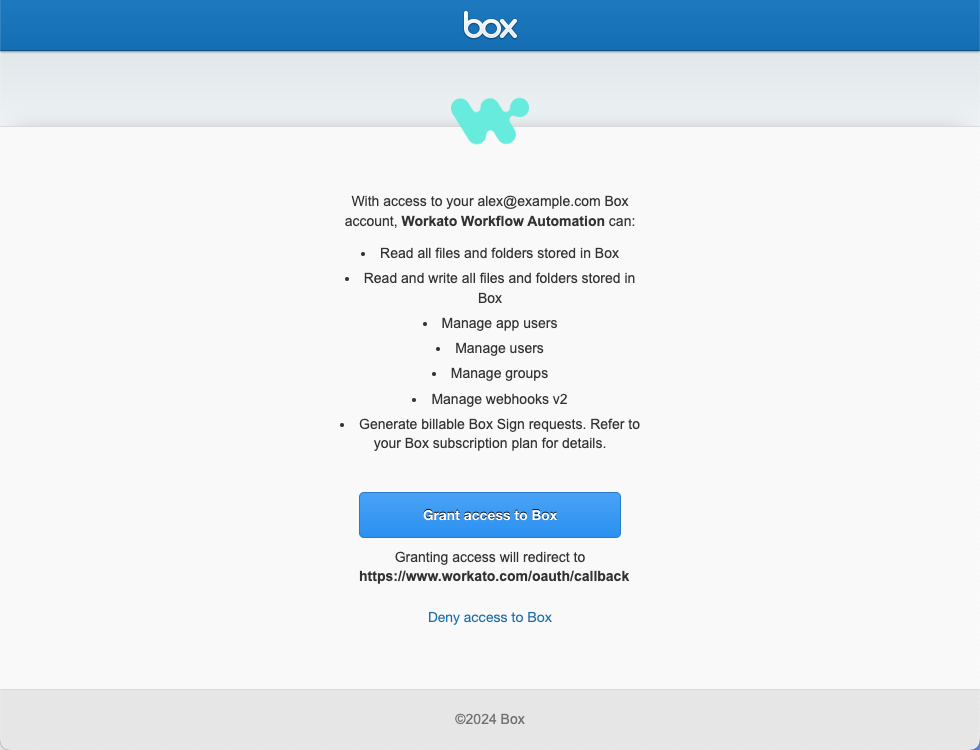
Review the requested permissions and click Grant access to Box.
 Grant access to Box
Create a Google Cloud Storage connection.
# Create a Google Cloud Storage connection
This step creates a connection between Workato and your Google Cloud Storage account.
You must have a service account to create a Google Cloud Storage connection in Workato.
Click Create > Connection.
Search for and select Google Cloud Storage on the New connection page.
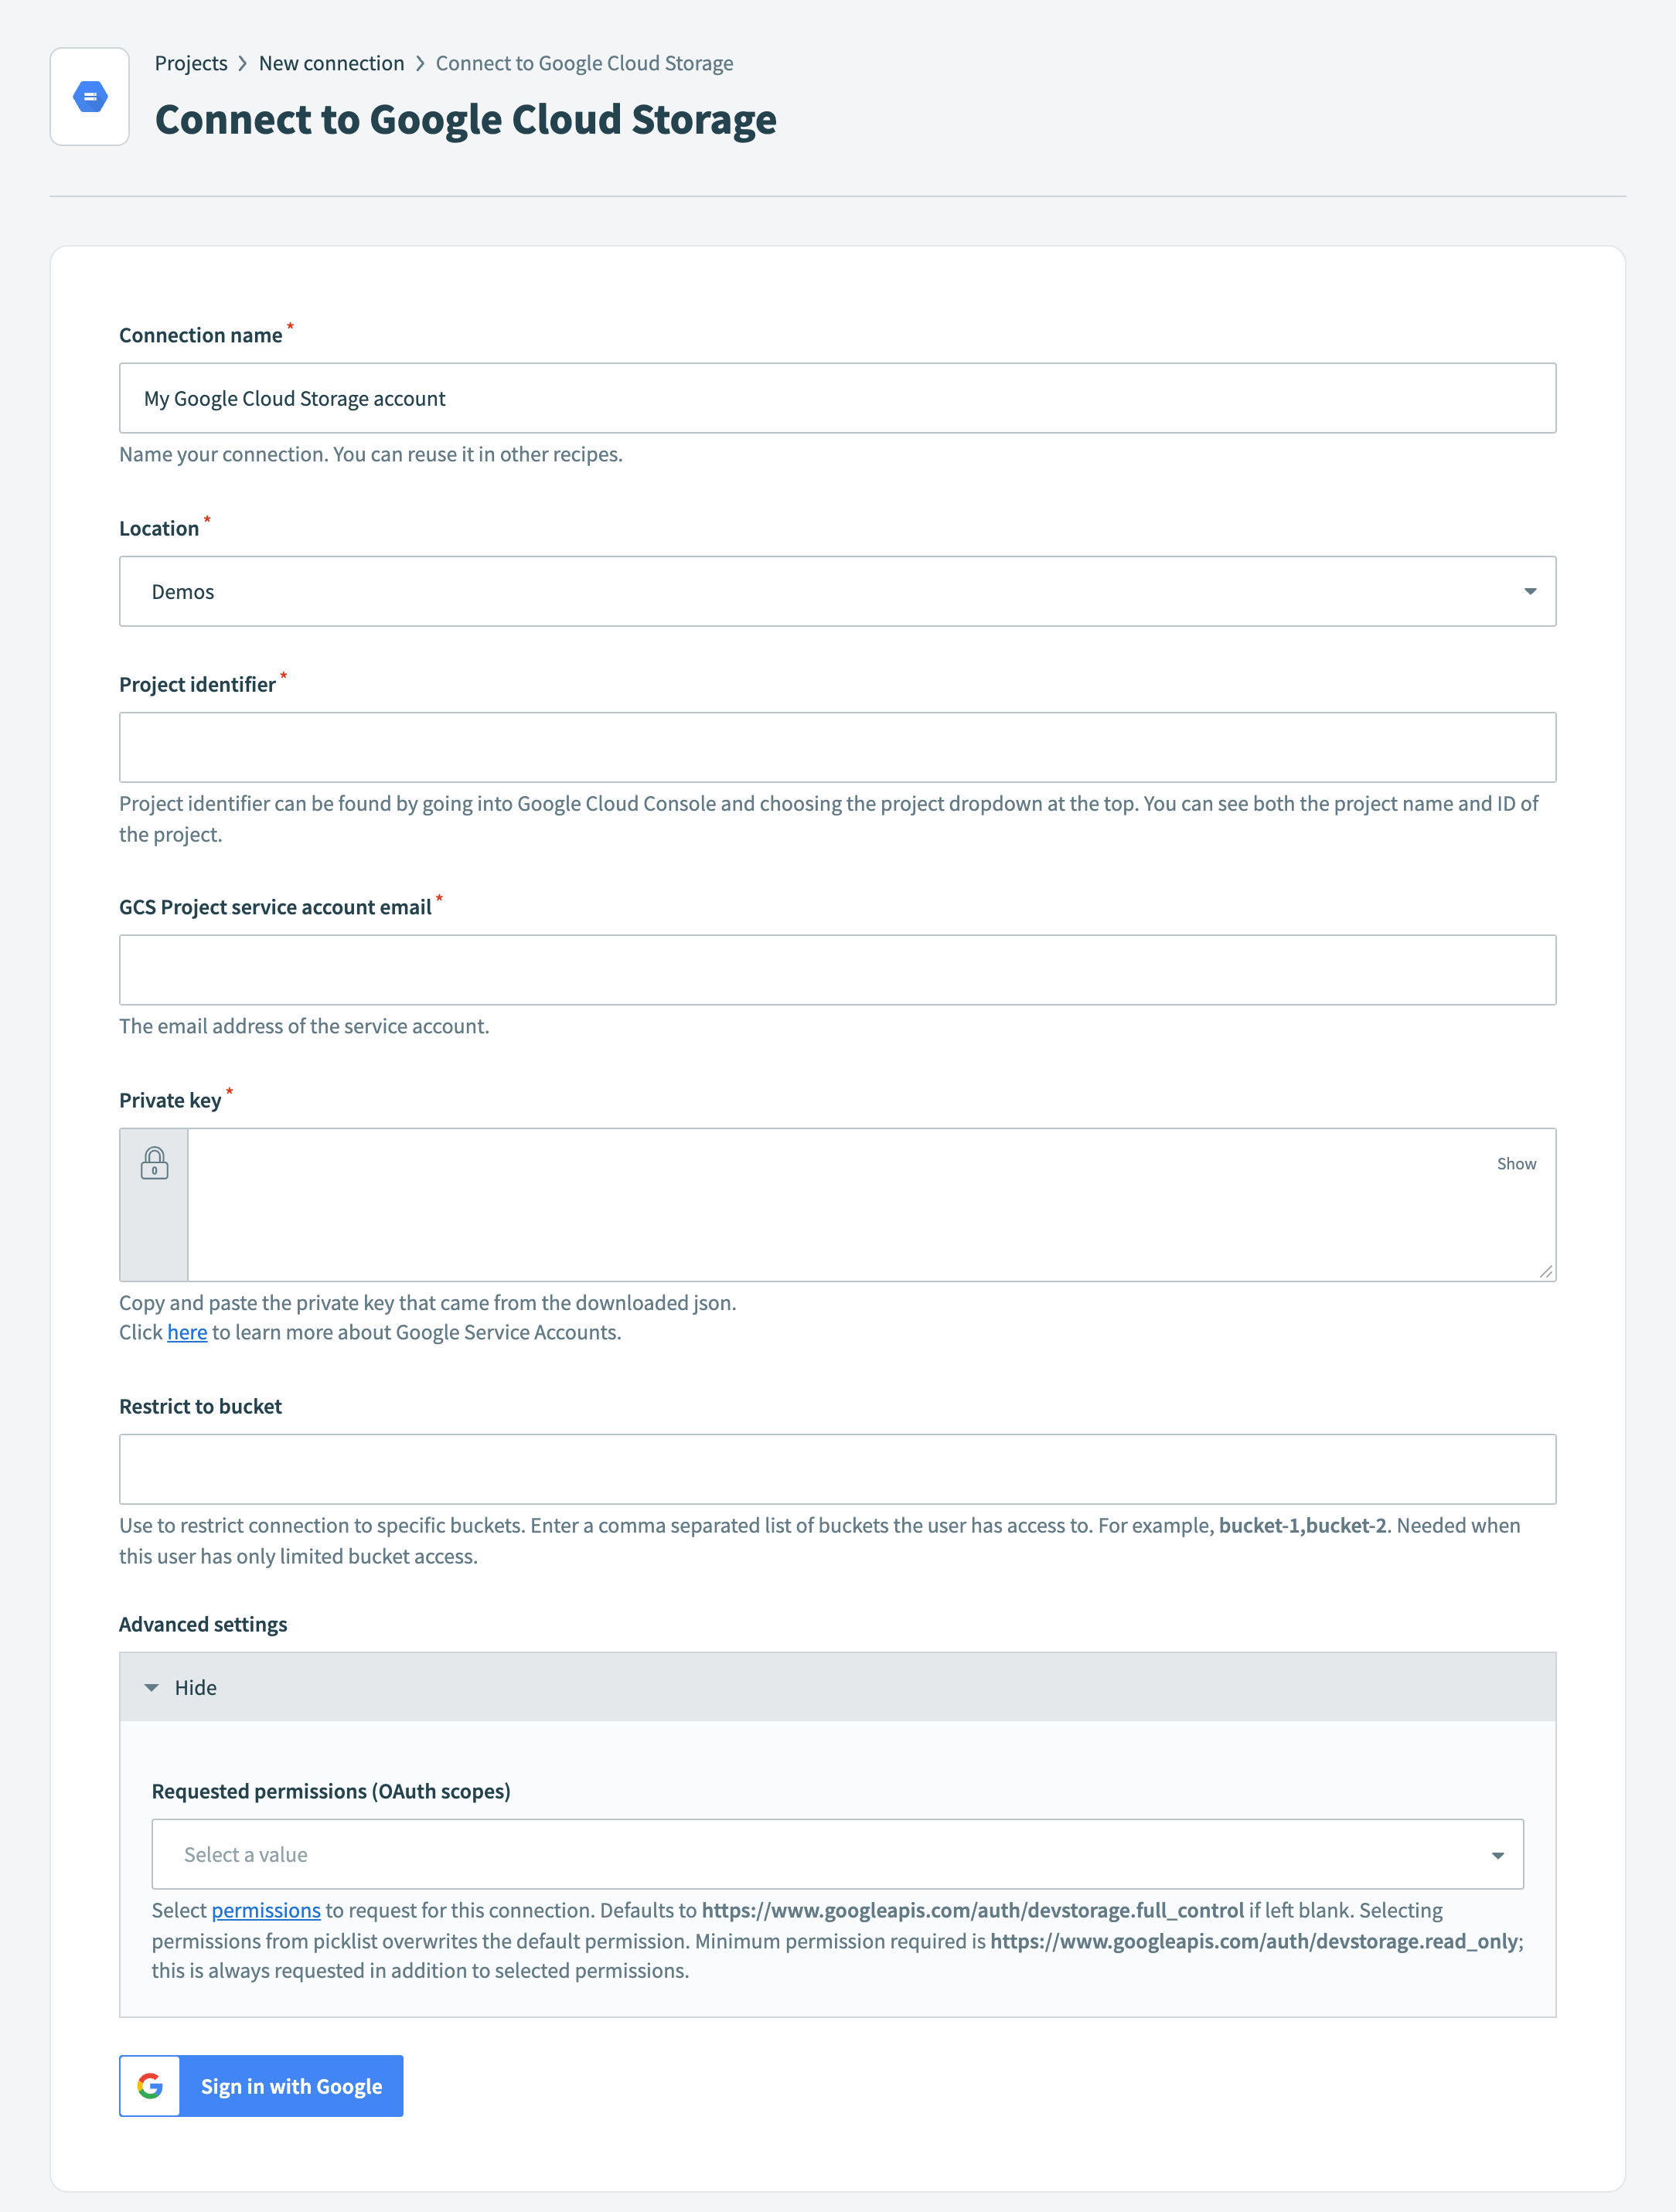
Provide a name that identifies which Google Cloud Storage instance Workato is connected to in the Connection name field.
 Connect to Google Cloud Storage
Use the Location drop-down menu to select the project where you plan to store this connection.
Enter a valid Google Cloud Platform project ID in the Project identifier field. You can find the project ID in the Google Cloud Console (opens new window) by clicking Select a project in the navigation menu.
Enter the email address of the service account in the GCS Project service account email field.
Provide the private key from the downloaded JSON file in the Private key field. You must copy the private key from -----BEGIN PRIVATE KEY----- to -----END PRIVATE KEY-----.
Optional. Enter a comma-separated list of buckets the connection can access in the Restrict to bucket field. For example, bucket-1,bucket2.
Optional. Expand Advanced settings and use the Requested permissions (OAuth scopes) drop-down menu to select the permissions to request for this connection.
Click Sign in with Google.
Create a Google BigQuery connection.
# Create a Google BigQuery connection
This step creates a connection between Workato and your Google BigQuery account.
The Google BigQuery connector supports both OAuth 2.0 and service account authentication.
Complete the following steps to set up your Google BigQuery connection using OAuth 2.0 authentication:
Click Create > Connection.
Search for and select Google BigQuery on the New connection page.
Provide a name that identifies which Google BigQuery instance Workato is connected to in the Connection name field.
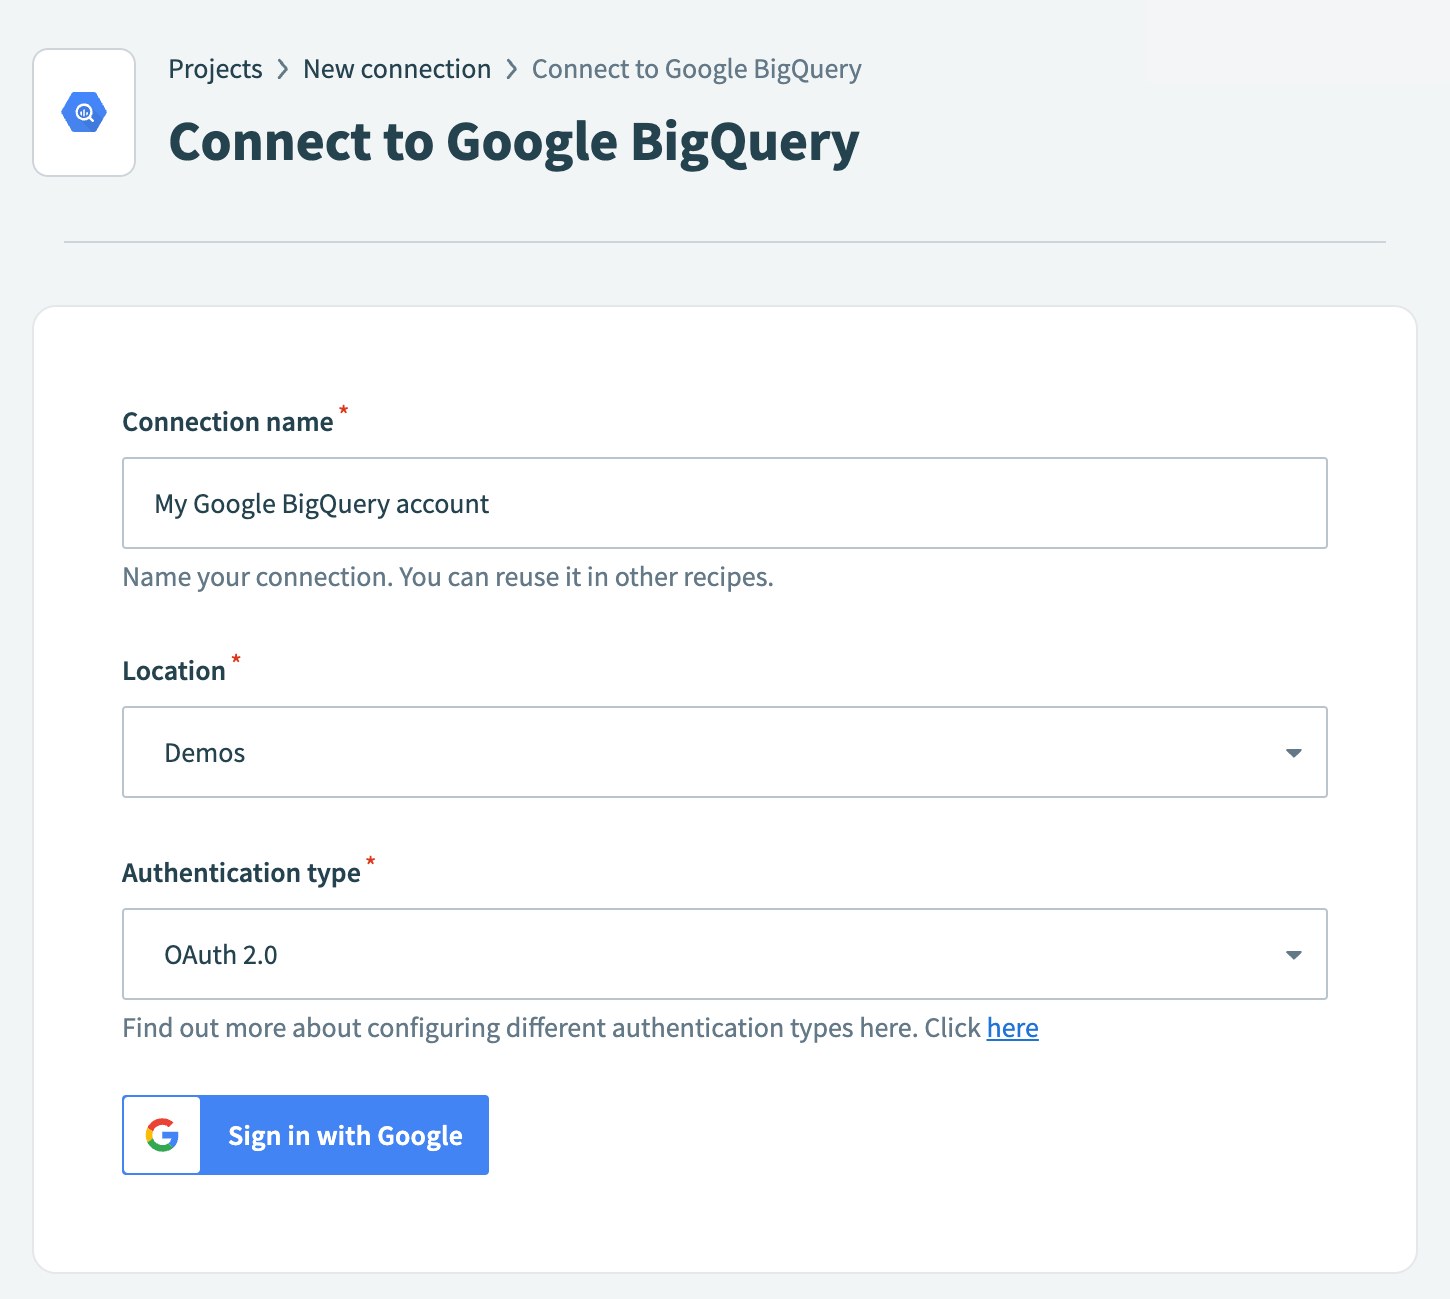 Connect to Google BigQuery
Use the Location drop-down menu to select the project where you plan to store this connection.
Use the Authentication type drop-down menu to select OAuth 2.0.
Click Sign in with Google.
Go back to your project and click Create > Recipe.
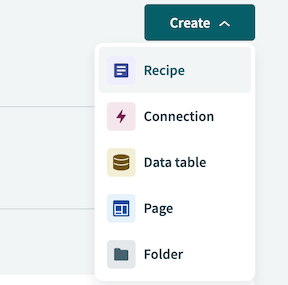 Create a new recipe
Enter a name for your recipe in the Name field.
Select the project where you plan to store the recipe from the Location drop-down menu.
Click Start building.
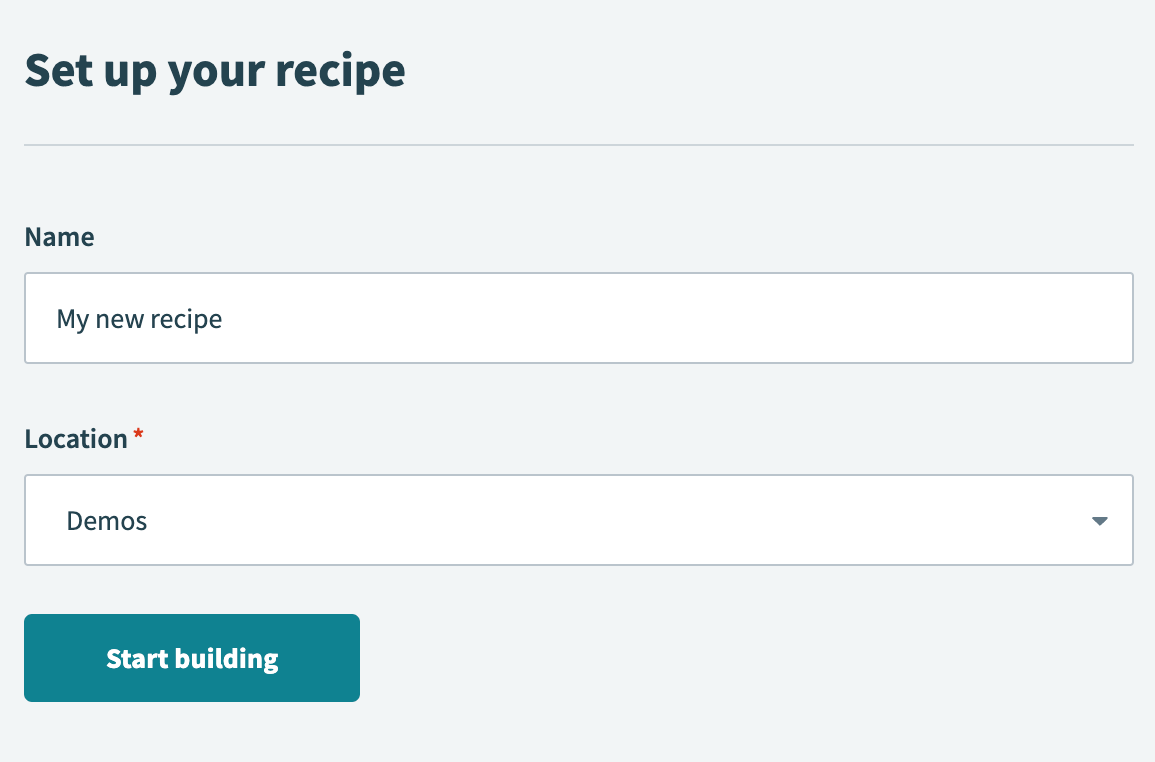 Start building your recipe
Click Pick a starting point, then select Trigger from an app.
Click Select an app and trigger event.
Set up your Box New event in folder trigger.
# Set up Box New event in folder trigger
This trigger monitors Box for newly uploaded CSV files and activates the recipe only when the file name ends with a .csv extension.
Search for Box and select it as your app.
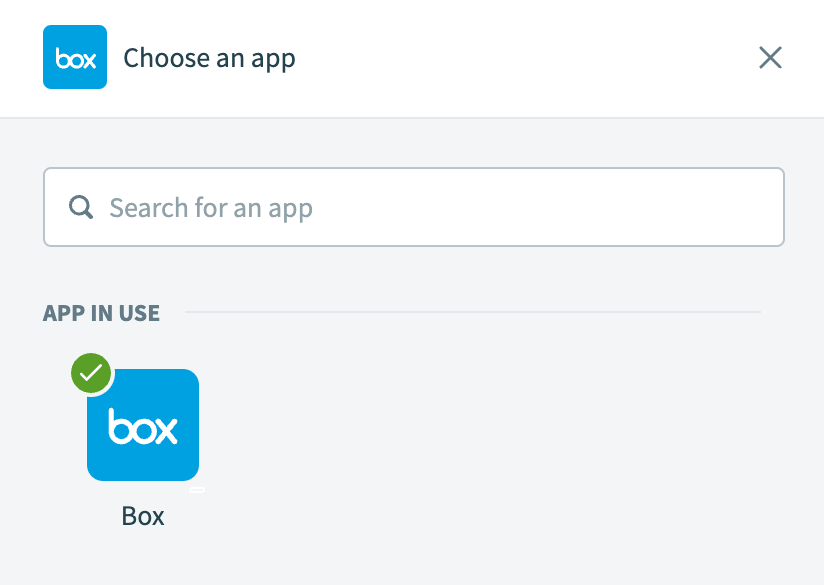 Choose Box as your app
Select the New event in folder trigger.
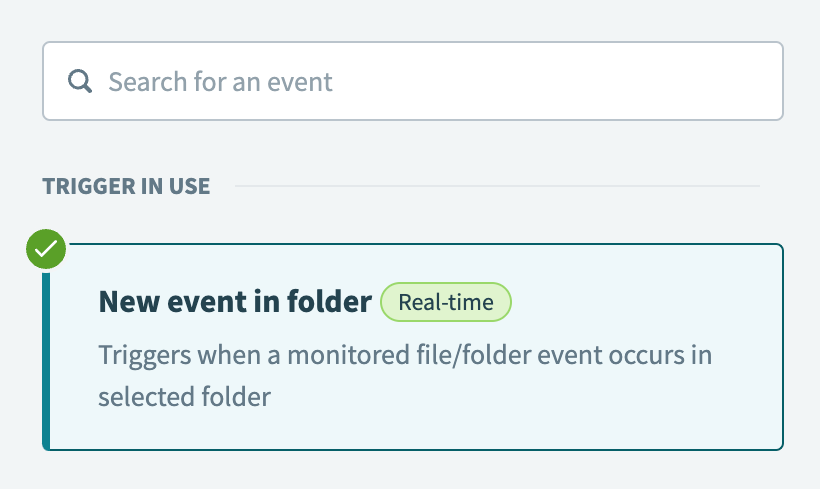 Select the New event in folder trigger
Select the Box connection you created in the preceding steps.
Use the Folder drop-down menu to select the folder you plan to monitor for events.
Use the Events to monitor drop-down menu to select File uploaded.
Click the Set trigger condition toggle.
Map the Box Name Step 1 datapill (nested under the File/folder source Step 1 object) to the Trigger data field.
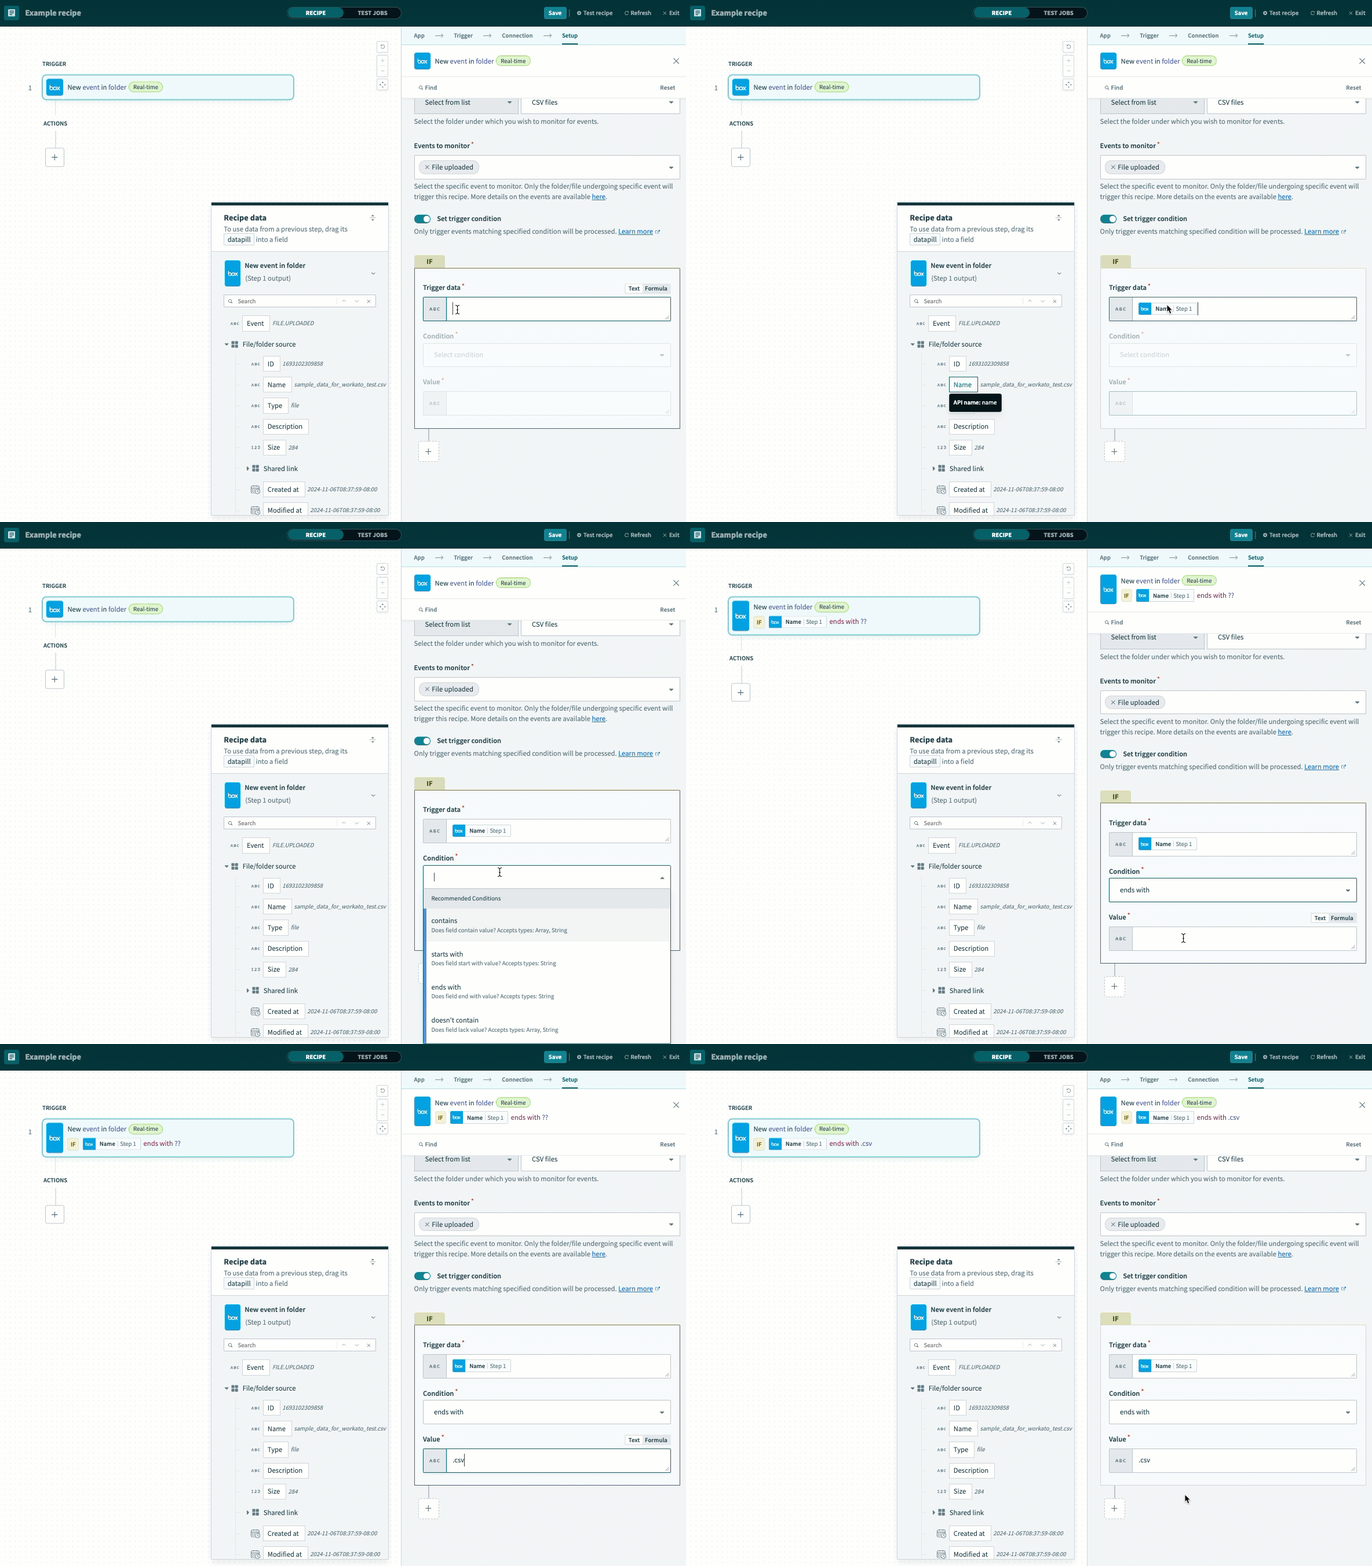 Configure the trigger condition
Use the Condition drop-down menu to select ends with.
Enter .csv in the Value field.
Click Save.
Click + Add step and select Action in app.
 Click Add step > Add action in app
Set up your Box Download file action.
# Set up Box Download file action
This step downloads the contents of the CSV file uploaded to Box.
Search for Box and select it as your app.
 Choose Box as your app
Select the Download file action.
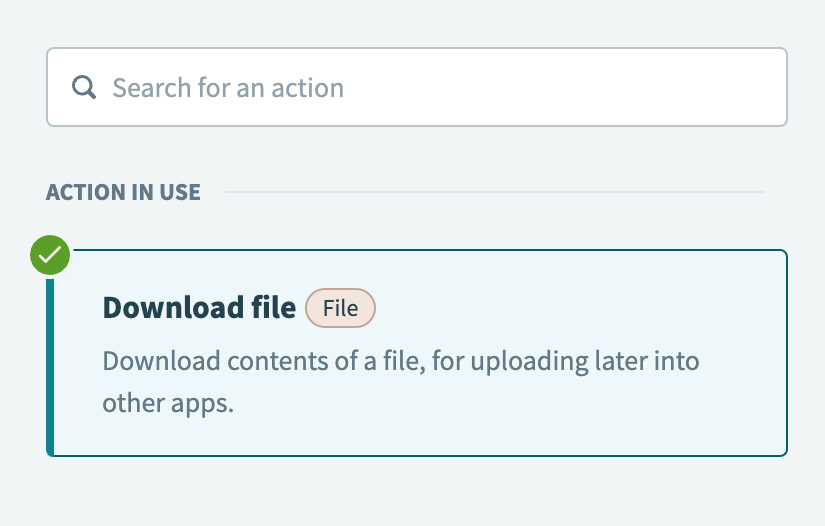 Select the Download file action
Map the Box ID Step 1 datapill (nested under the File/folder source Step 1 object) to the File ID field.
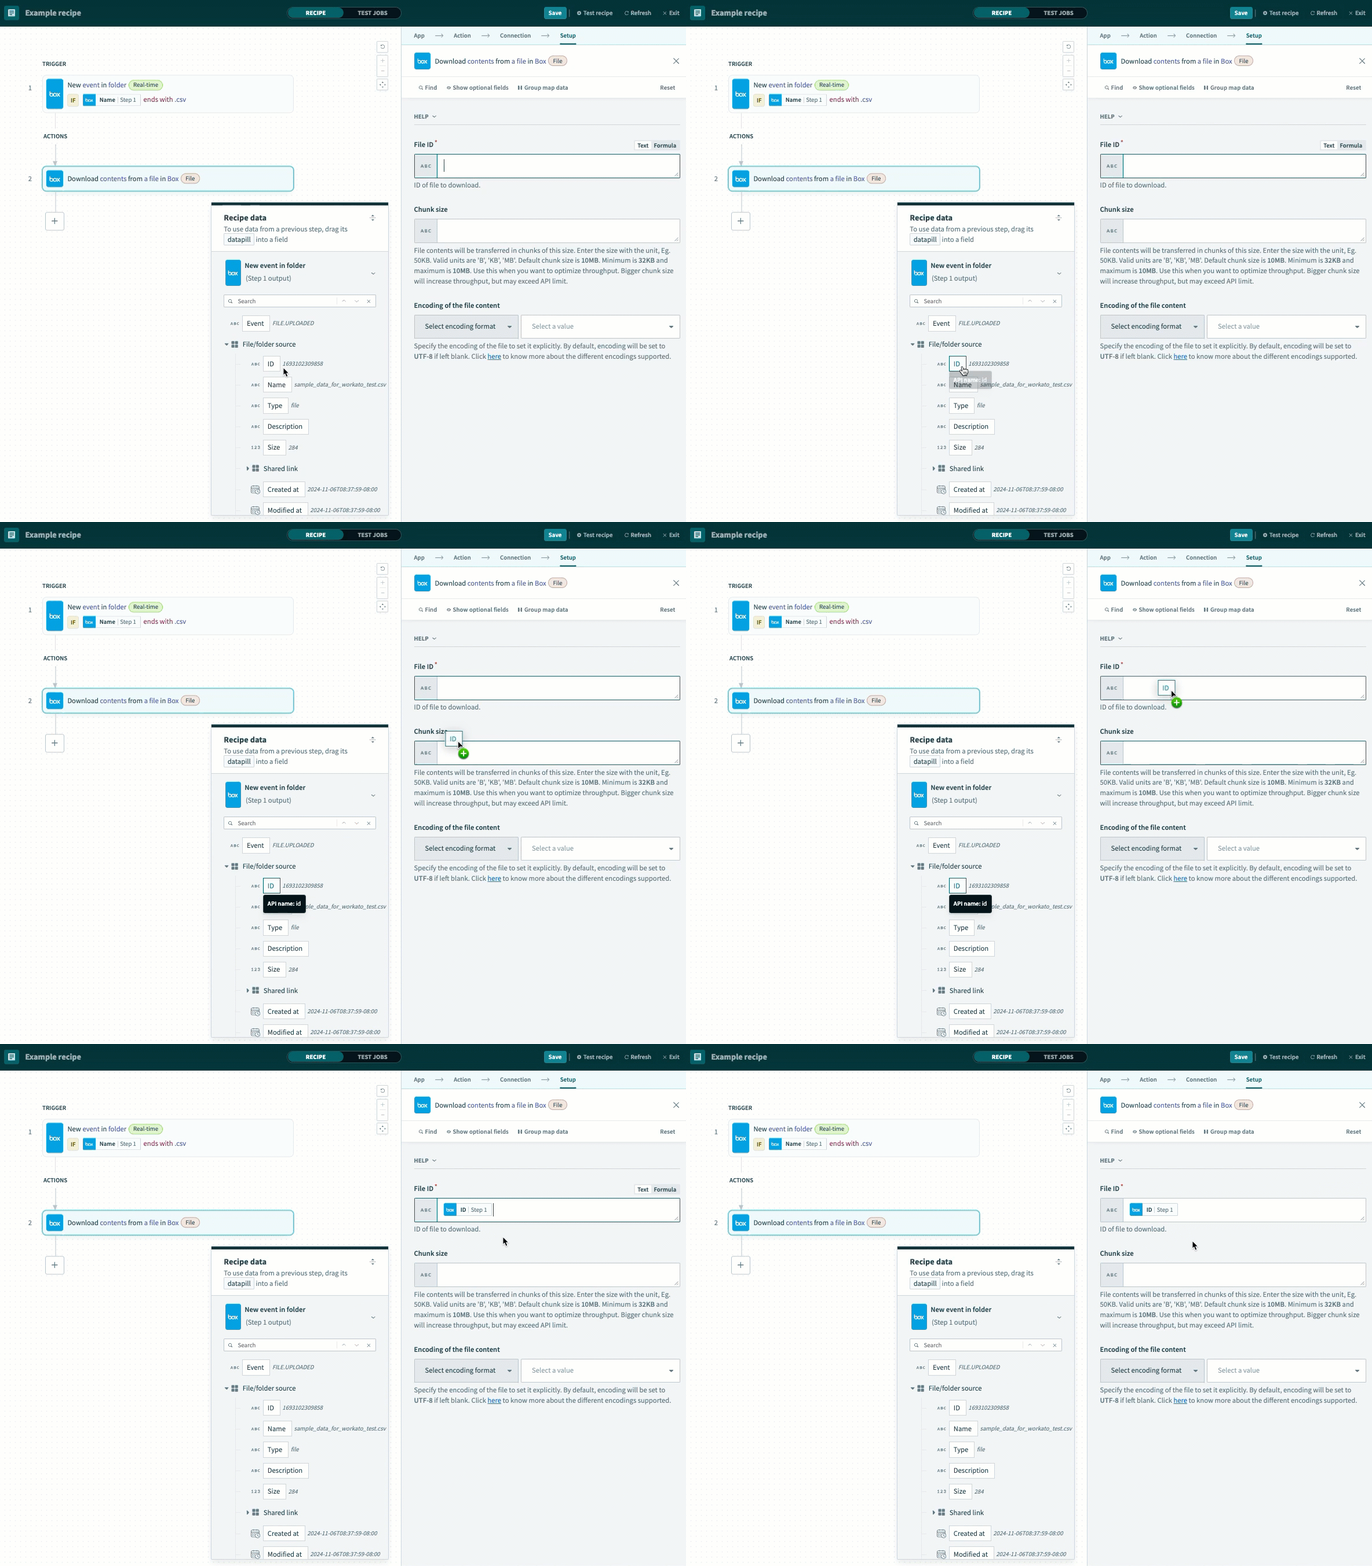 Map the file ID
Optional. Specify the Chunk size and unit (for example, B, KB, MB) for file transfer. The default is 10MB, with a minimum of 32KB and a maximum of 10MB. Larger chunk sizes improve throughput but may exceed API limits.
Click Save.
Click + Add step and select Action in app.
Set up your Google Cloud Storage Upload object action.
# Set up Google Cloud Storage Upload object action
This step uploads the Box CSV file contents to a bucket in Google Cloud Storage using file streaming.
Search for Google Cloud Storage and select it as your app.
 Choose Google Cloud Storage
Select the Upload object action.
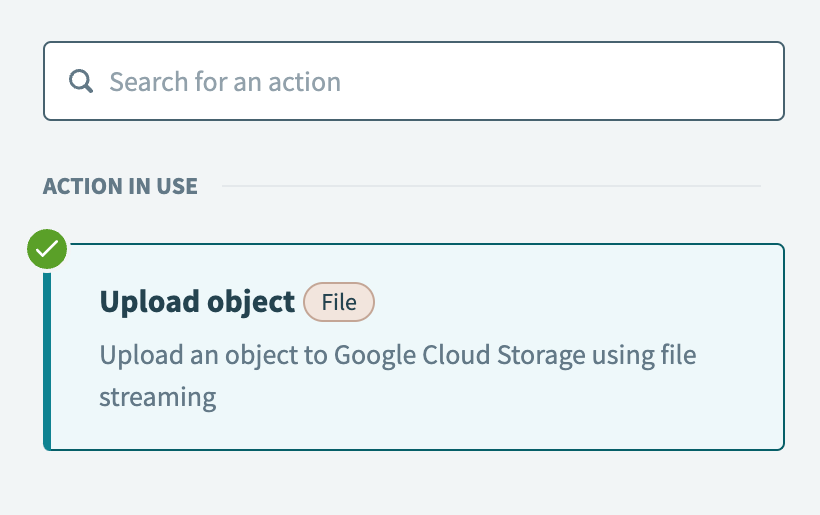 Select the Upload object action
Select the Google Cloud Storage connection you created in the preceding steps.
Use the Bucket name drop-down menu to select the bucket where you plan to upload the Box CSV file contents.
Enter a name for the object in the Name field, map the Job ID Properties datapill, and append .csv to specify the file extension.
 Configure the object name
The Job ID Properties datapill is a default property. Mapping it to the name helps identify which job processed the object.
Map the Box File content Step 2 datapill to the Object content field.
Click Save.
Click + Add step and select Action in app.
Set up your Google BigQuery Load data from Google Cloud Storage into BigQuery action.
# Set up Google BigQuery Load data from Google Cloud Storage into BigQuery action
This step loads the CSV file content data from Google Cloud Storage to a table in Google BigQuery.
Search for Google BigQuery and select it as your app.
 Choose Google BigQuery
Select the Load data from Google Cloud Storage into BigQuery action.
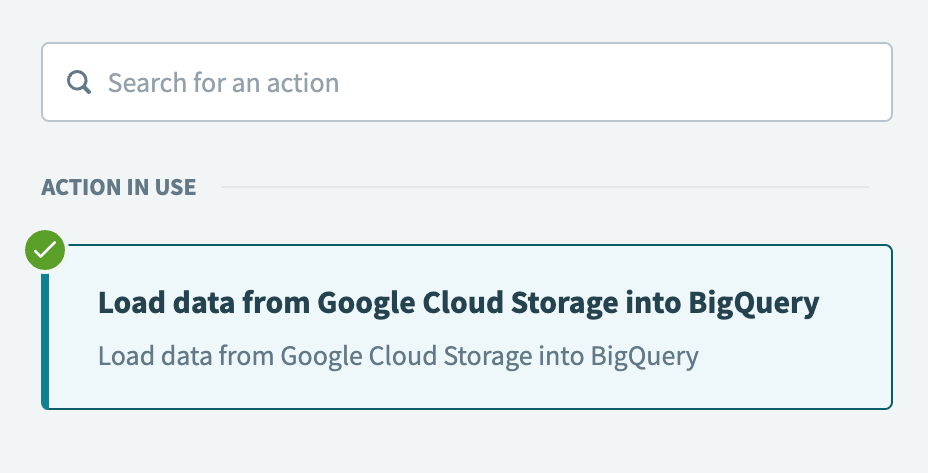 Select the Load data from Google Cloud Storage into BigQuery action
Select the Google BigQuery connection you created in the preceding steps.
Use the Project drop-down menu to select the project to be billed for the query.
Use the Dataset drop-down menu to select the dataset that contains the table where you plan to load the CSV file data.
Use the Table drop-down menu to select the table where you plan to load the CSV file data.
Locate the Source URI field and perform the following actions:
Enter gs://.
Map the Google Cloud Storage Bucket Step 3 datapill.
Enter /.
Map the Google Cloud Storage Name Step 3 datapill.
 Configure the Source URI
Use the Source format drop-down menu to select CSV.
Use the Autodetect drop-down menu to select Yes. This field enables Google BigQuery to automatically infer the schema and options of the data being loaded into the table.
Use the Alter table columns when required? drop-down menu to choose Allow field addition and Allow field relaxation. These options enable you to add new optional fields to your schema and change existing required fields to optional.
Use the Create disposition drop-down menu to select Create if needed. This options tells Google BigQuery to create the table if it doesn't already exist.
Click Save.
Your Load Box CSV data to Google BigQuery with Google Cloud Storage recipe is ready to test and implement.
Example recipe configuration.
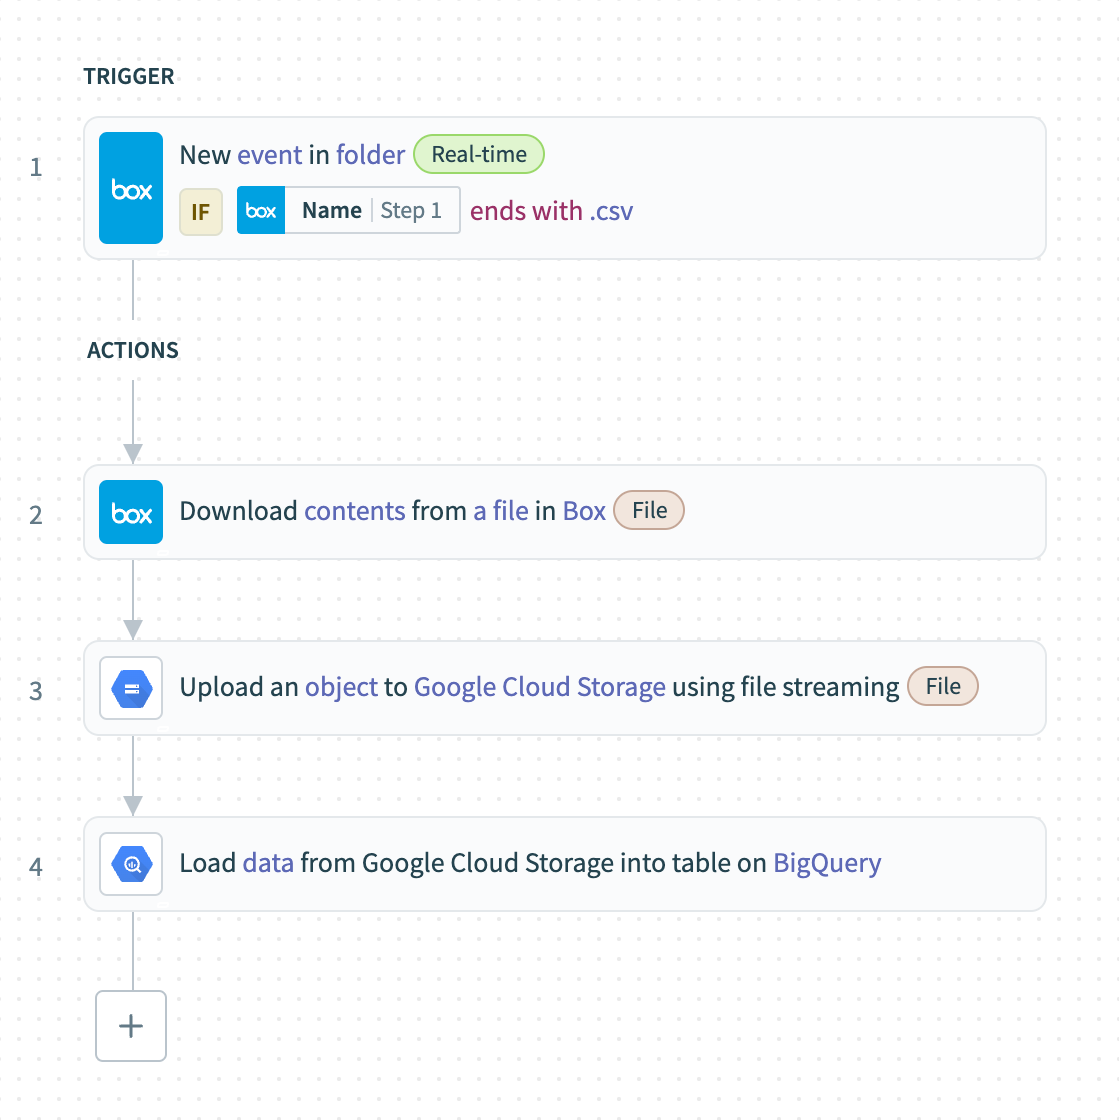 Load Box CSV data to Google BigQuery with Google Cloud Storage recipe
Last updated: 11/6/2025, 6:48:28 PM