# Sync Greenhouse offer letter to Box and create onboarding request in ServiceNow recipe
This use case guides you through connecting Greenhouse, Box, ServiceNow and Workbot for Slack to create a powerful automation.
# What does this recipe do?
This recipe monitors Greenhouse for new offers. When a new offer is created, Workbot for Slack sends a reminder to generate and send the offer letter to the candidate. Clicking Generate and send triggers a ServiceNow request for the IT team to start the candidate's onboarding process. It also creates a sign request in Box, sending the offer letter to a final copy reader for review and then to the candidate. Lastly, a ServiceNow requested item is generated to indicate the Box sign request has been initiated.
# Prerequisites
Before you begin, ensure you have the following:
A Greenhouse custom offer field (opens new window) named Annual salary.
A Box account with a Starter plan or higher. This is required to use sign templates.
A Box sign template that includes the following template tag (opens new window) IDs:
jobTitleannualSalarystartDate
These elements match the examples in this guide and will help you recreate the recipe step-by-step. However, you can modify them to fit your specific use case as needed.
# Create your recipe
Complete the following steps to create a recipe that automates offer letter generation, review, and delivery before initiating the onboarding process for new hires:
USE CASES ARE INTENDED AS EXAMPLES ONLY
This use case serves as an example. Modifications to triggers, actions, or conditional logic may be necessary to adapt this recipe to your workflow.
Sign in to Workato.
Select the project where you plan to create the recipe.
Create connections for Greenhouse, Box, ServiceNow, and Workbot for Slack:
Create a Greenhouse connection.
# Create a Greenhouse connection
This step creates a connection between Workato and your Greenhouse account.
Click Create > Connection.
Search for and select Greenhouse on the New connection page.
Provide a name for your connection in the Connection name field.
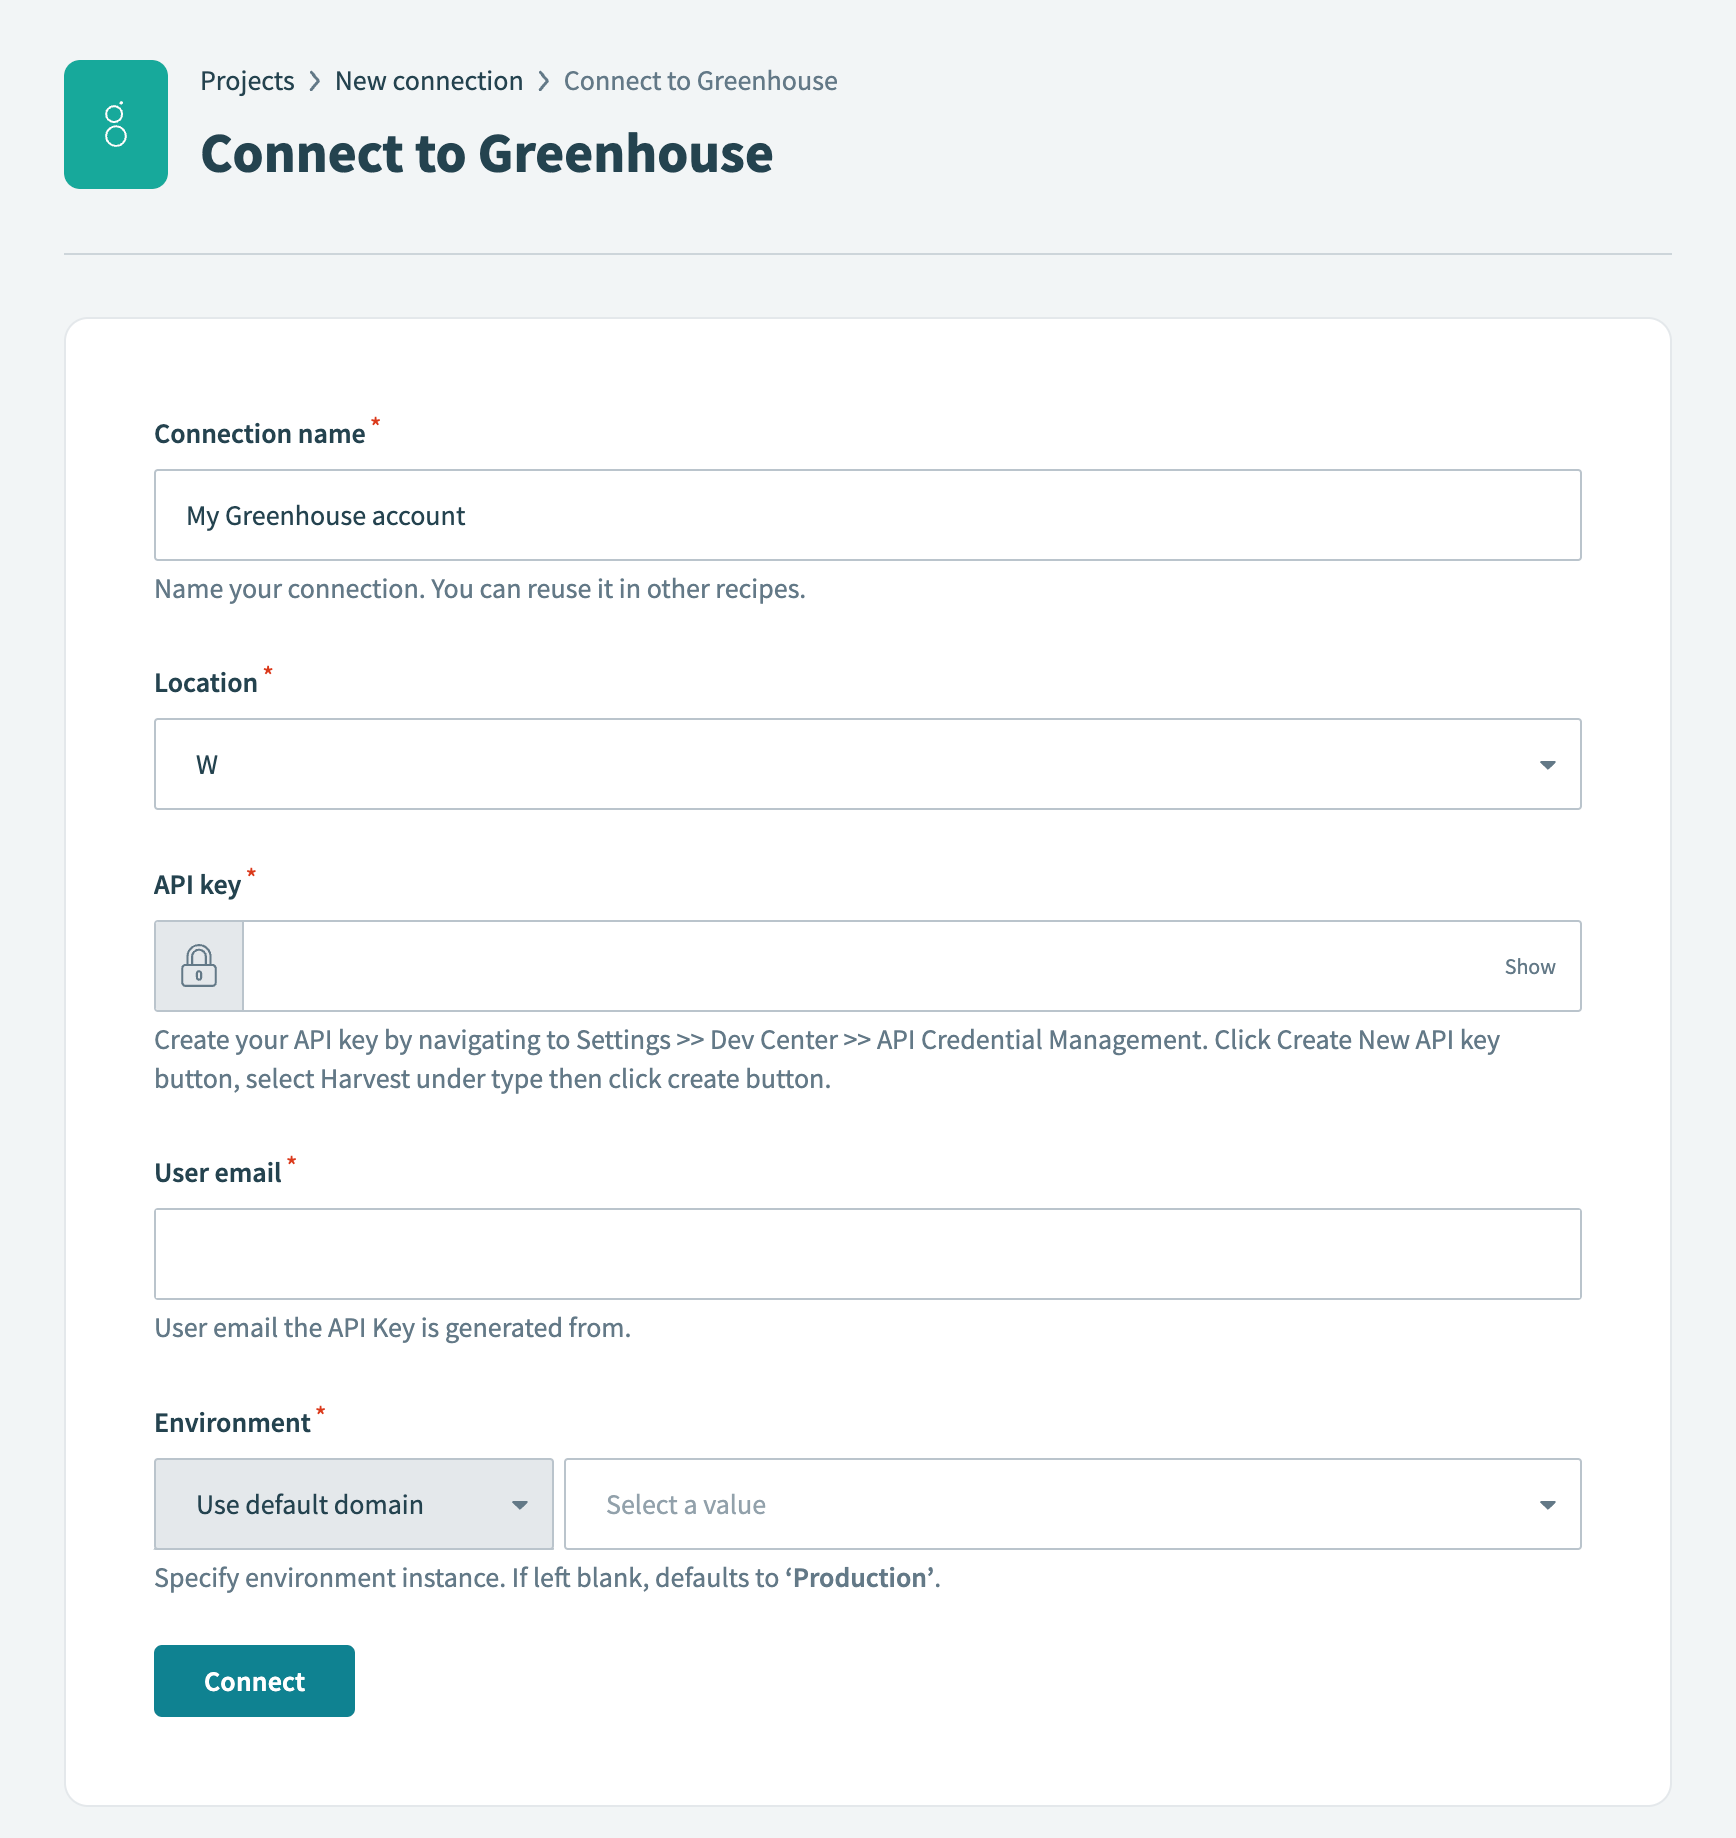 Greenhouse connection setup
Use the Location drop-down menu to select the project where you plan to store the connection.
Enter your API key in the API key field.
Complete the following steps in Greenhouse to create your API key if you haven't already:
Go to Configure > Dev Center > API Credential Management.
Click Create new API key.
Use the API type drop-down menu to select Harvest.
Search for and select Workato in the Partner field.
Enter a description for your API key in the Description field.
Click Manage permissions.
Click Copy to copy the API key.
Click I have stored the API key.
Keep the default permissions selected, or choose additional ones relevant to your use case in the Manage permissions section.
Click Save.
Enter the user email the API key is generated from in the User email field.
Use the Environment drop-down menu to specify the environment instance you are connecting to. The default is Production if left blank.
Click Connect.
Create a Box connection.
# Create a Box connection
This step creates a connection between Workato and your Box account.
The Box connector supports both authorization code grant and client credentials authentication.
Complete the following steps to set up your Box connection using authorization code grant authentication:
Click Create > Connection.
Search for and select Box on the New connection page.
Provide a name that identifies which Box instance Workato is connected to in the Connection name field.
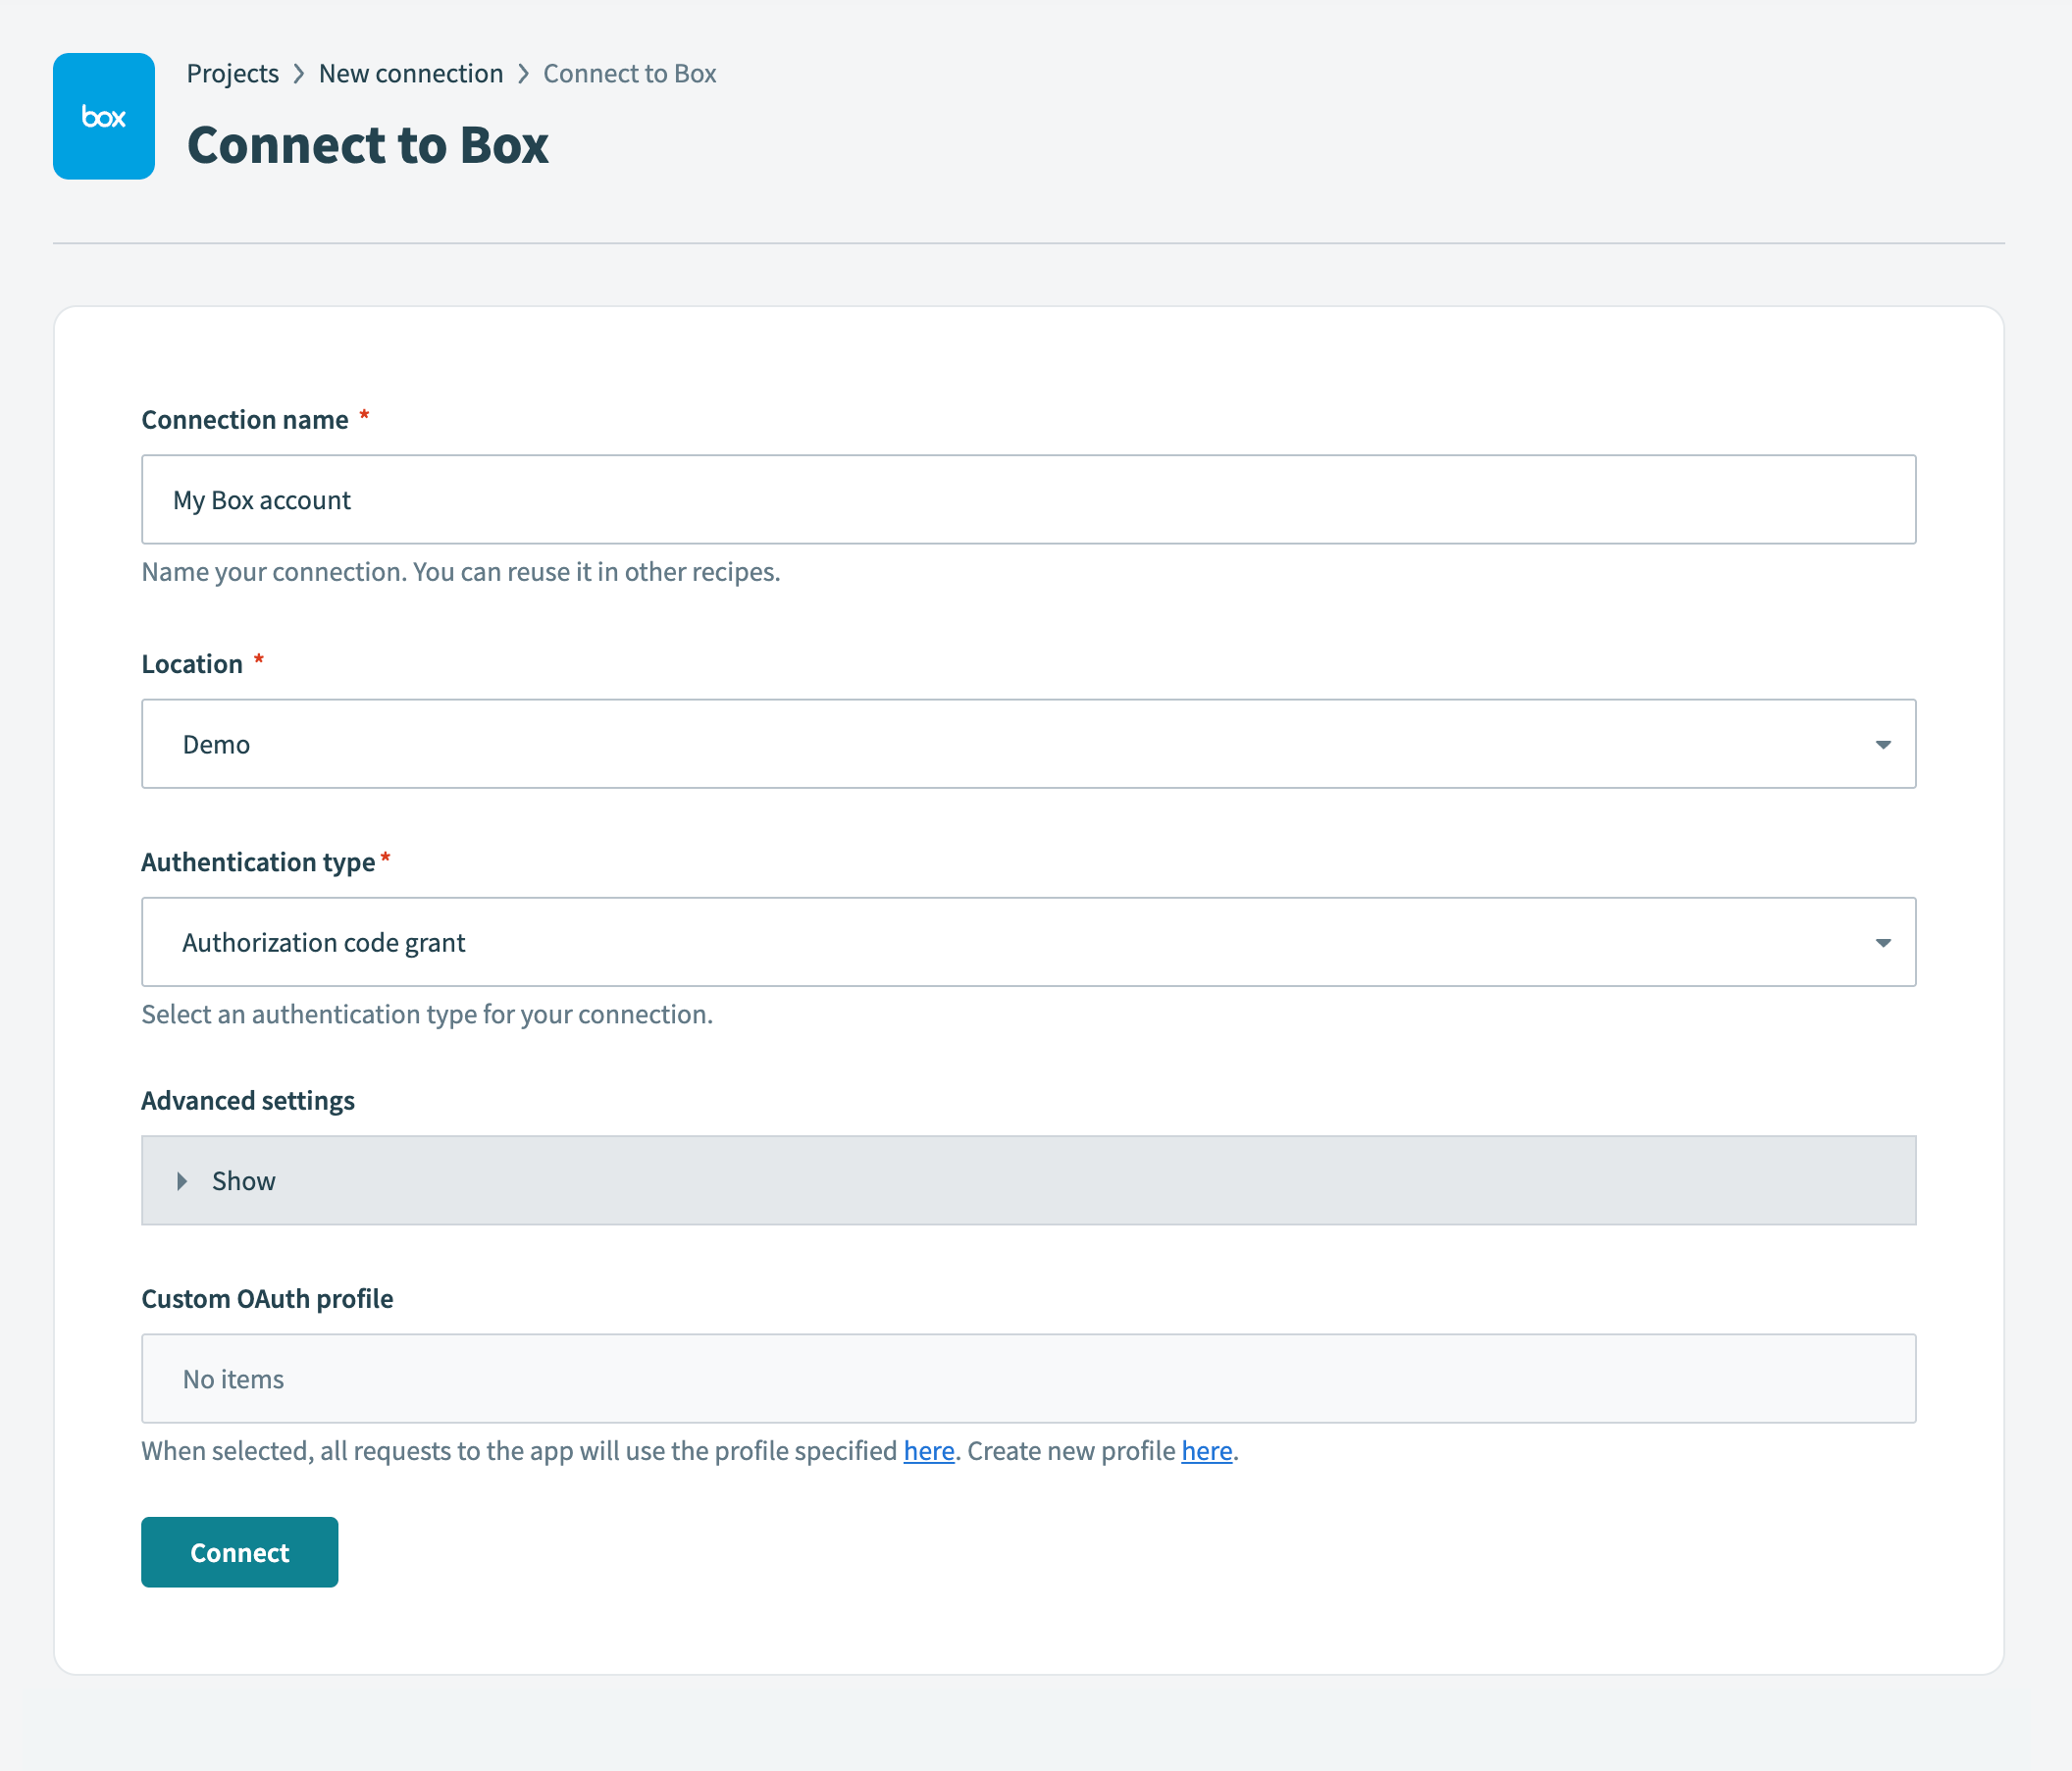 Create your connection
Use the Location drop-down menu to select the project where you plan to store this connection.
Use the Authentication type drop-down menu to select Authorization code grant.
Optional. Expand Advanced settings to select Requested permissions (Oauth scopes) options.
You can select from the following scopes:
- Read files and folders
- Read and write files and folders
- Manage app users
- Manage managed users
- Manage groups
- Manage webhooks
- Manage enterprise properties
- Manage retention policies
- Global content manager
- Admin can make calls on behalf of users
- Manage signature requests
- Manage Box Relay
Click Connect. This opens the Box sign in dialog.
Enter your Box account email address and password.
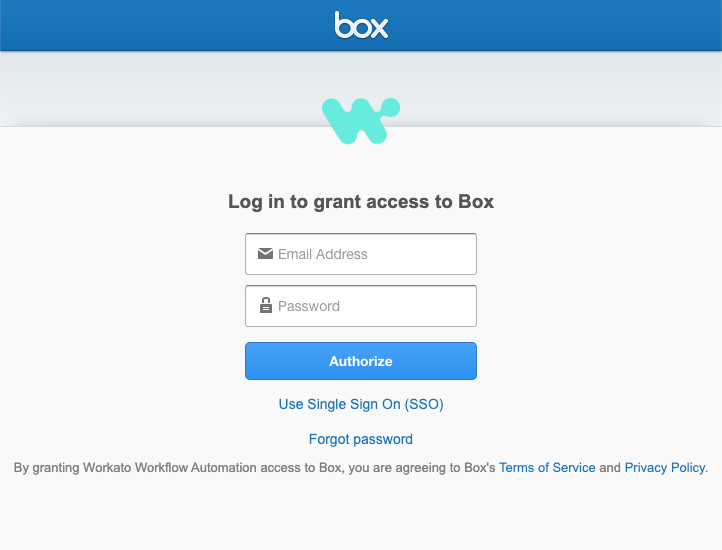 Log in to Box
Click Authorize.
Review the requested permissions and click Grant access to Box.
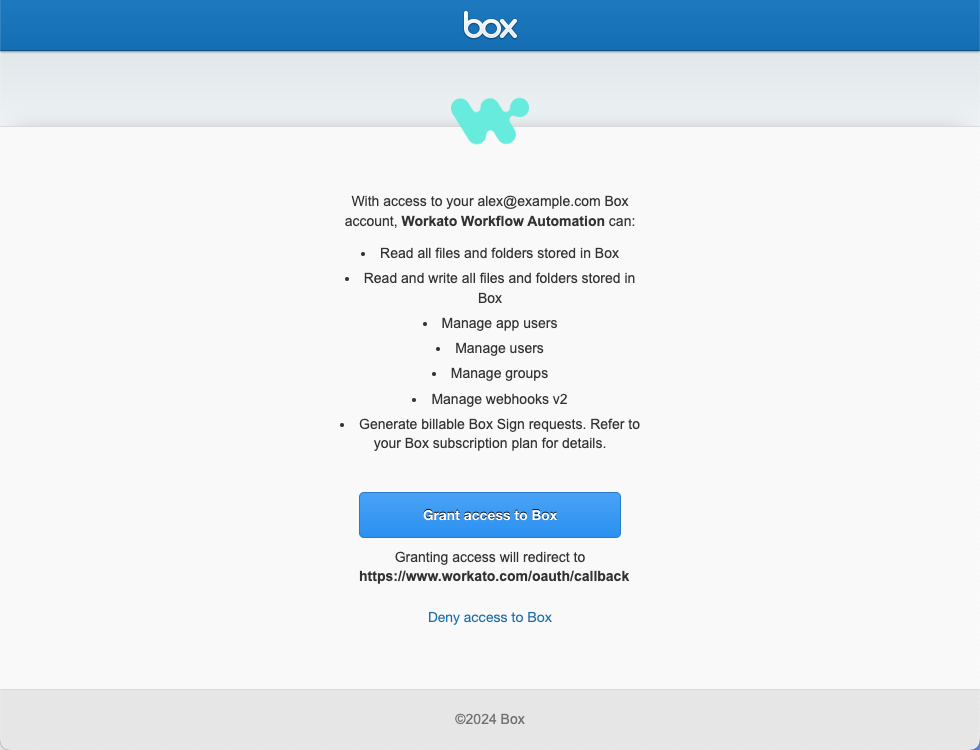 Grant access to Box
Create a ServiceNow connection.
# Create a ServiceNow connection
This step creates a connection between Workato and your ServiceNow account.
Click Create > Connection.
Search for and select ServiceNow on the New connection page.
Enter a name for your ServiceNow connection in the Connection name field.
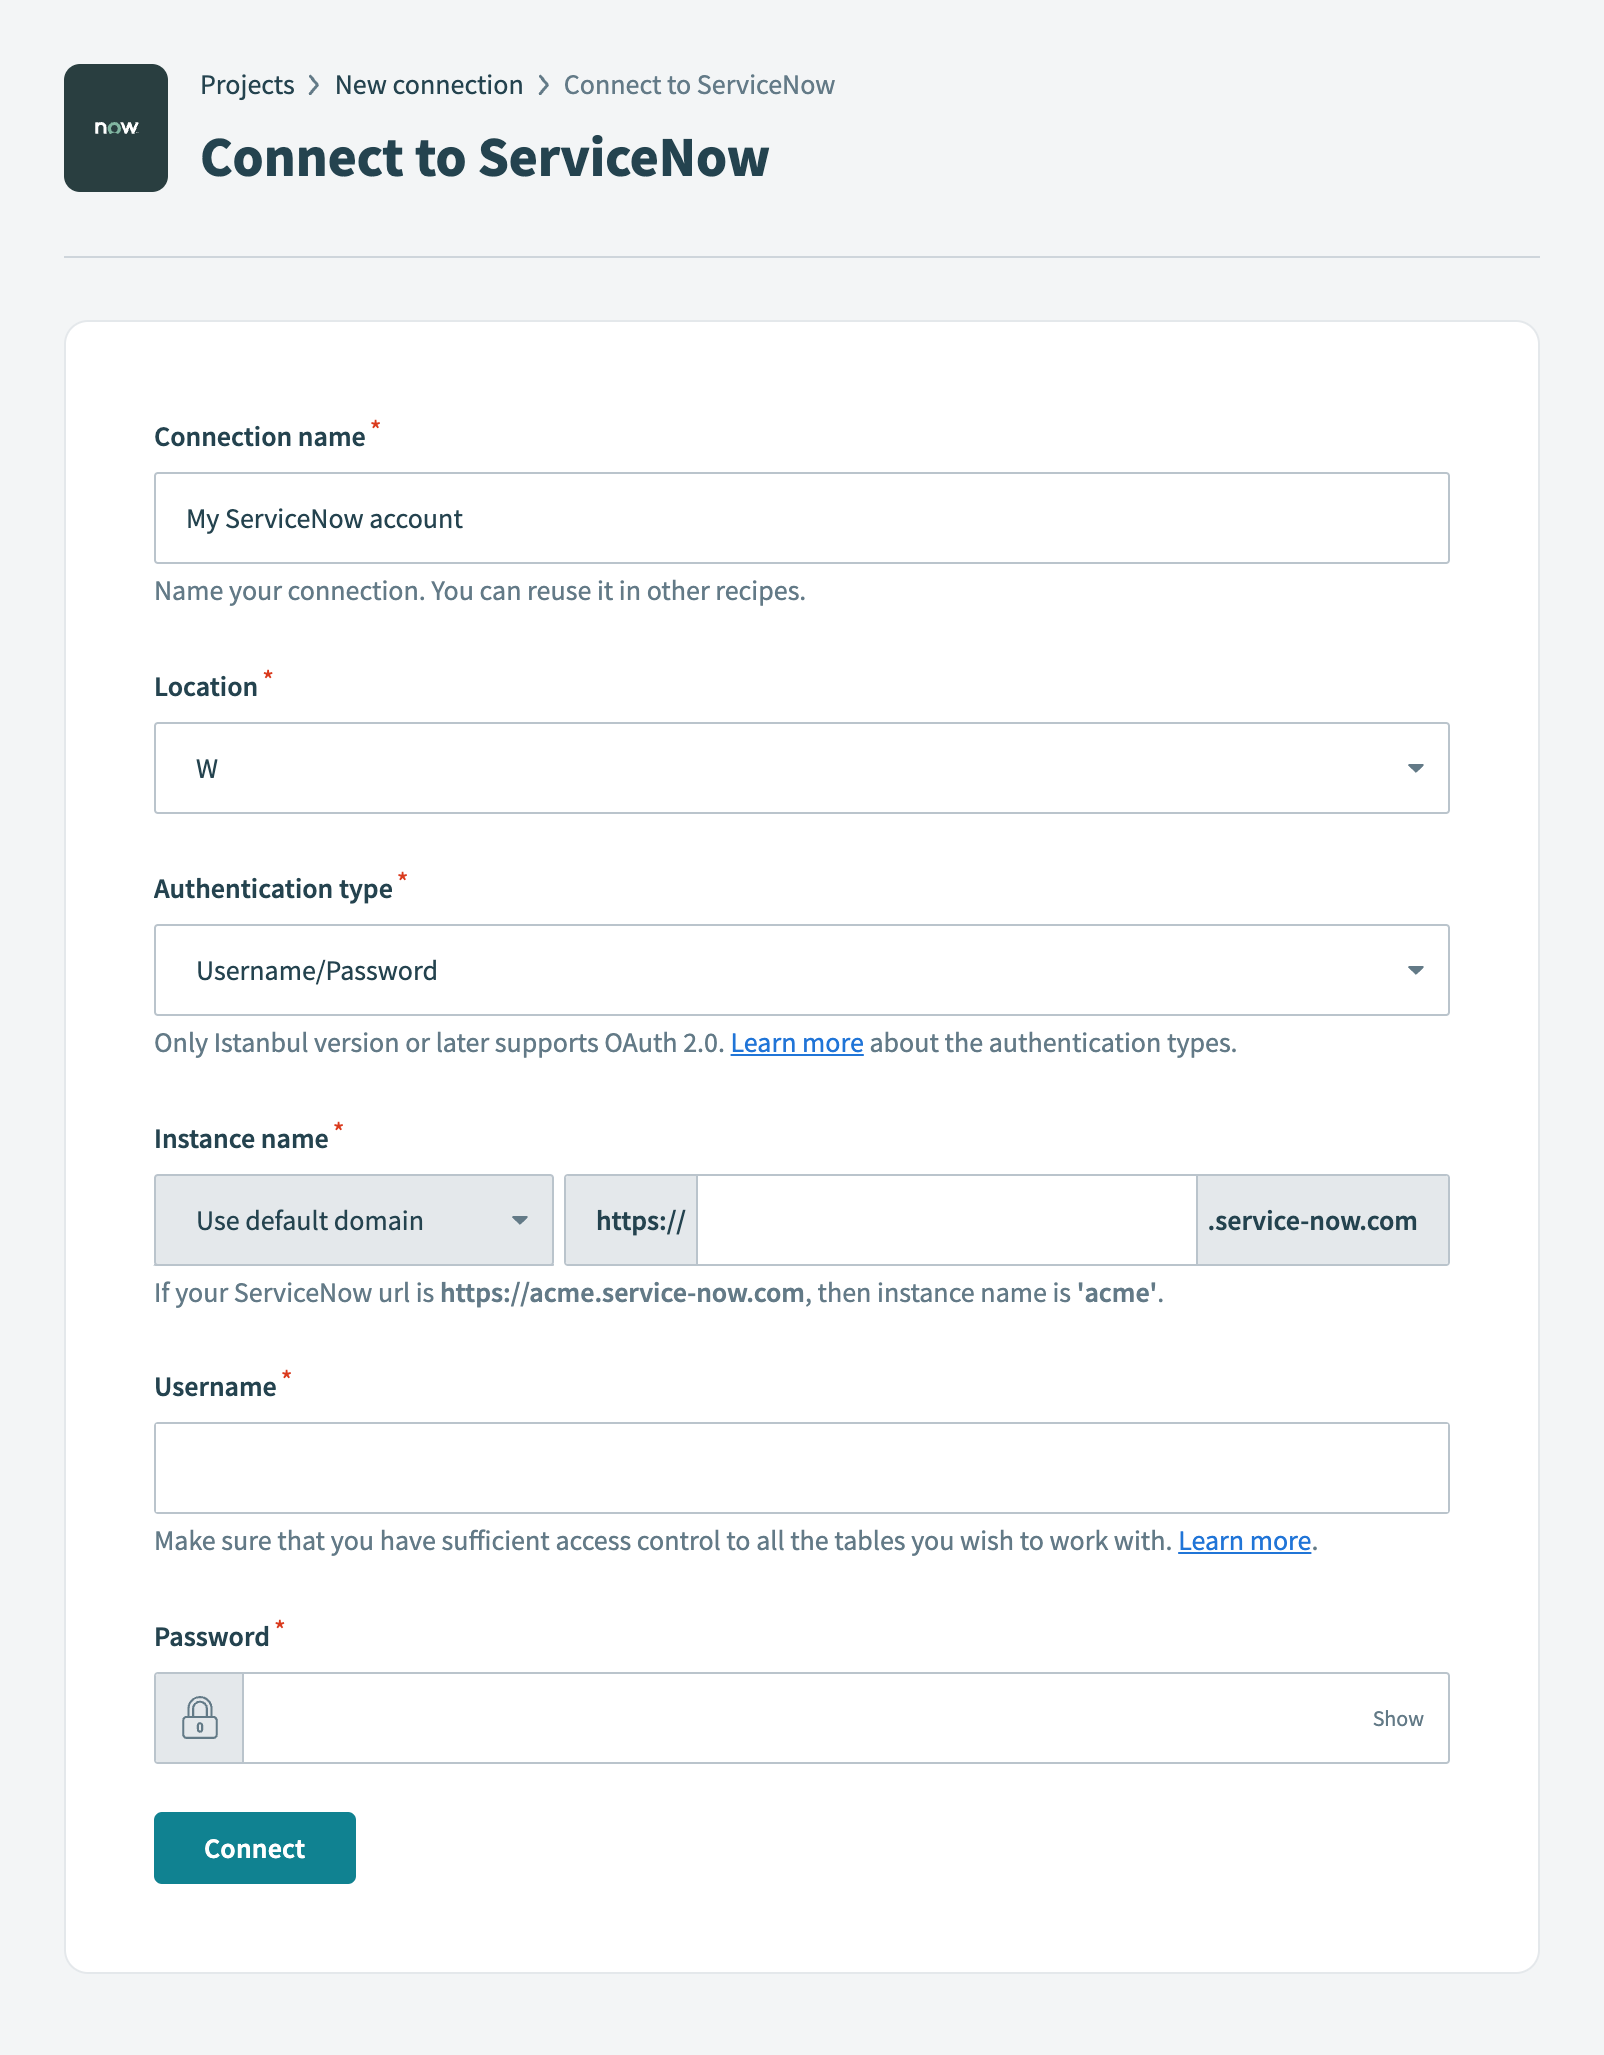 ServiceNow connection setup
Use the Location drop-down menu to select the project where you plan to store the connection.
Use the Authentication type drop-down menu to select Username/Password.
Enter your ServiceNow Instance name. For example, if your ServiceNow URL is https://acme.service-now.com, the instance name is acme.
Enter your ServiceNow username in the Username field.
Enter your ServiceNow password in the Password field.
Click Connect.
The ServiceNow connector also supports OAuth 2.0 and Password grant authentication methods.
Create a Workbot for Slack connection.
# Create a Workbot for Slack connection
This step creates a connection between Workato and your Workbot for Slack account.
Click Create > Connection.
Search for and select Workbot for Slack on the New connection page.
Provide a name for your connection in the Name field.
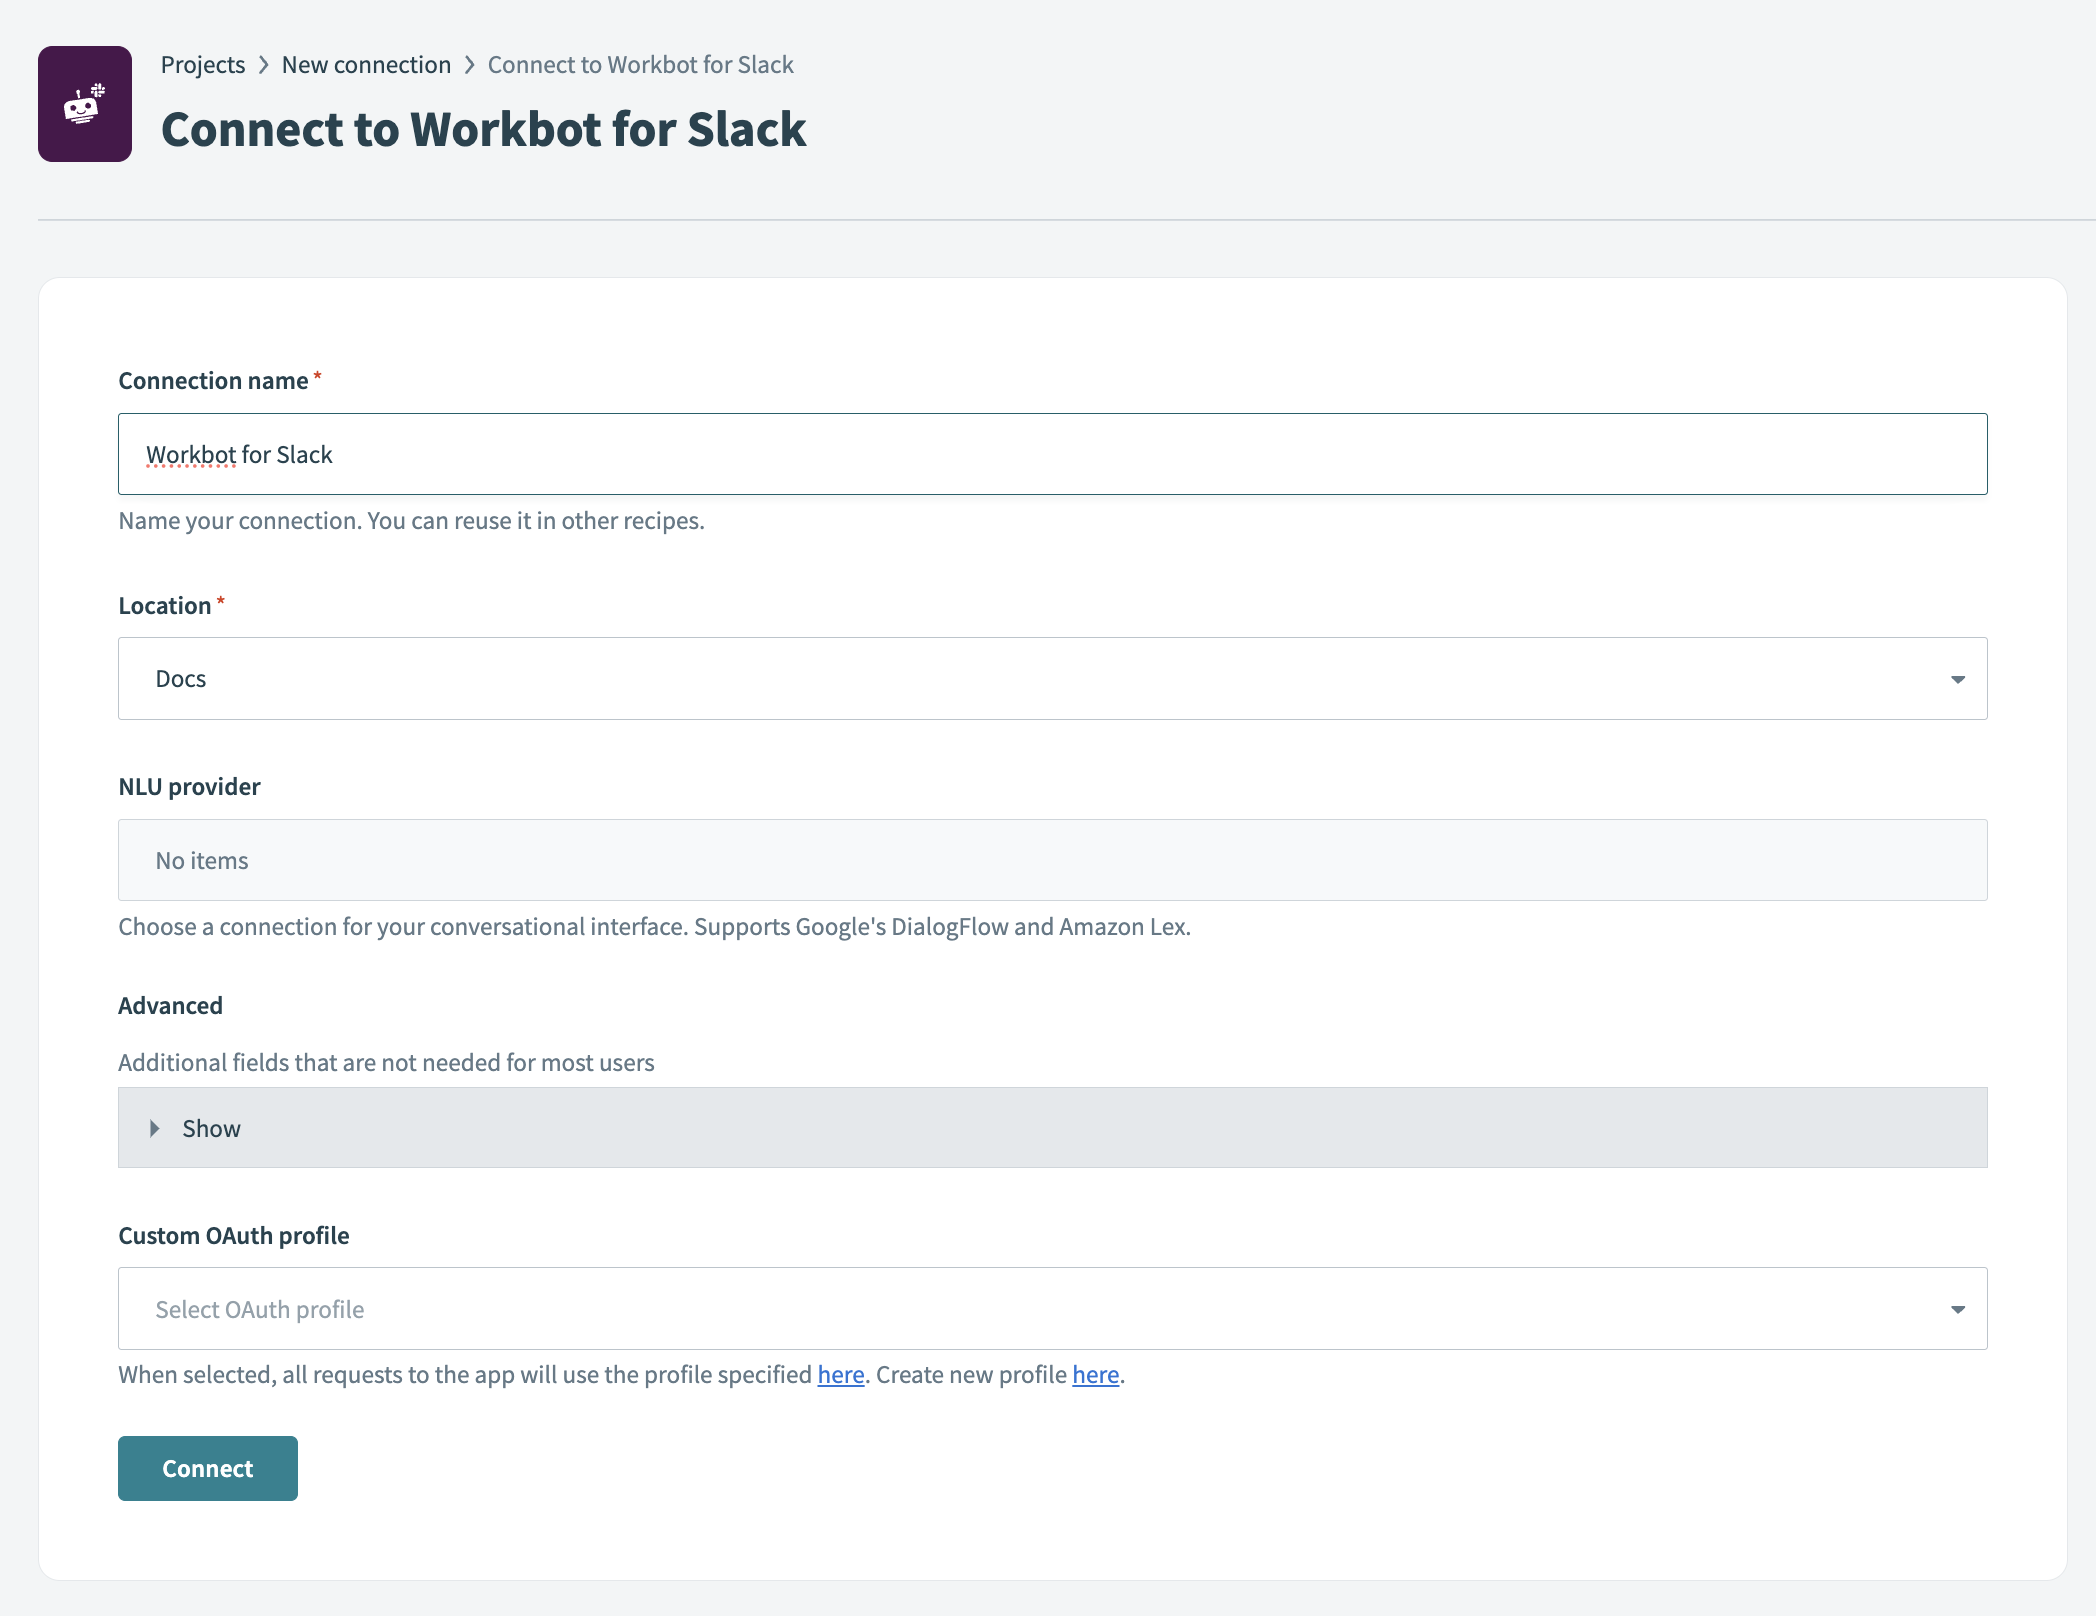 Workbot for Slack connection setup
Use the Location drop-down menu to select the project where you plan to store the connection.
Optional. Select the NLU provider you plan to use, such as DialogFlow or Amazon Lex NLU. You must connect to the NLU provider for it to appear in the drop-down menu.
Optional. Click Advanced to configure Slash commands verification tokens, custom help content, your Slack app status (classic or not), and your Custom OAuth profile.
Click Connect, sign in to your Slack workspace when prompted, and click Continue to verify the connection.
Go back to your project and click Create > Recipe.
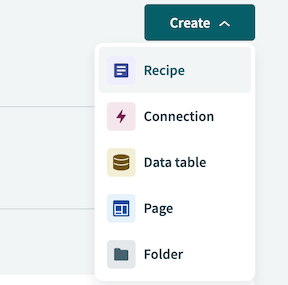 Create a new recipe
Enter a name for your recipe in the Name field.
Select the project where you plan to store the recipe from the Location drop-down menu.
Click Start building.
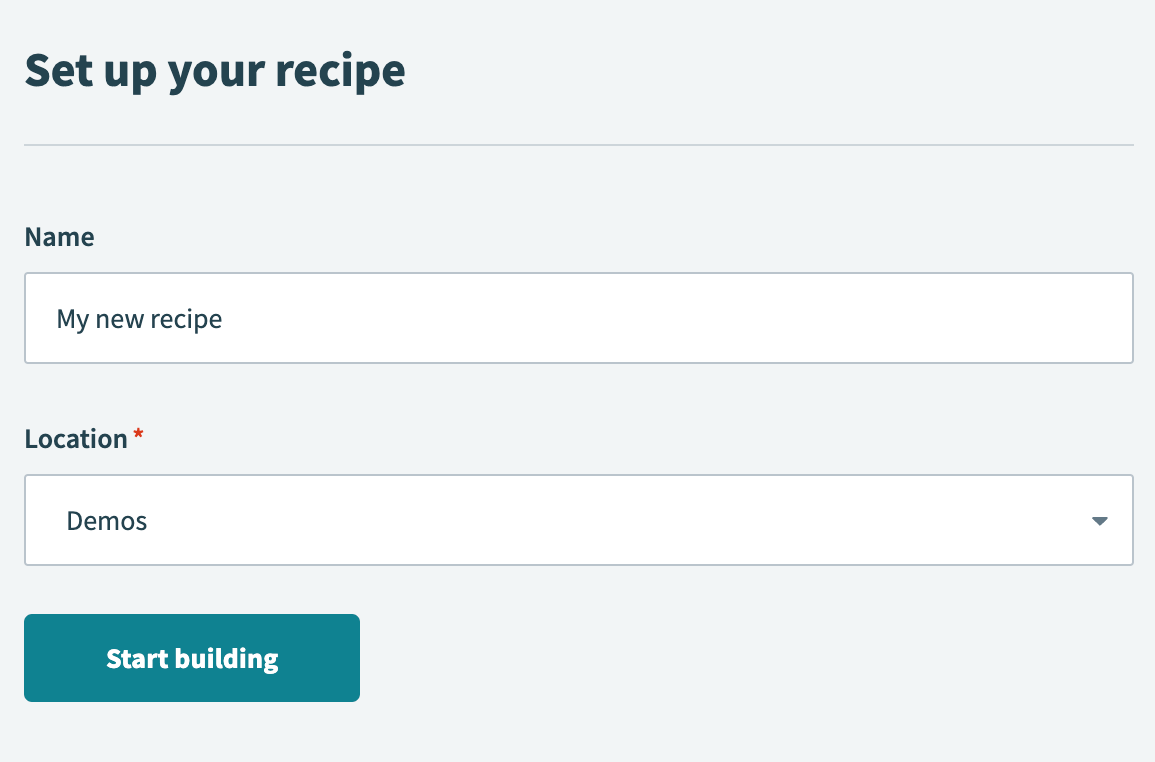 Start building your recipe
Click Pick a starting point, then select Trigger from an app.
Click Select an app and trigger event.
Set up your Greenhouse New event trigger.
# Set up Greenhouse New event trigger
This trigger monitors new offers created in Greenhouse.
Search for Greenhouse and select it as your app.
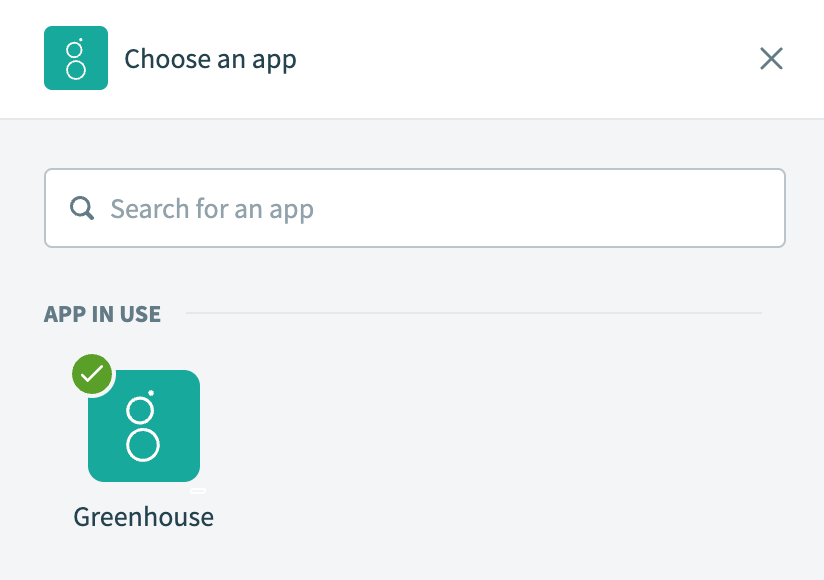 Choose Greenhouse
Select the New event trigger.
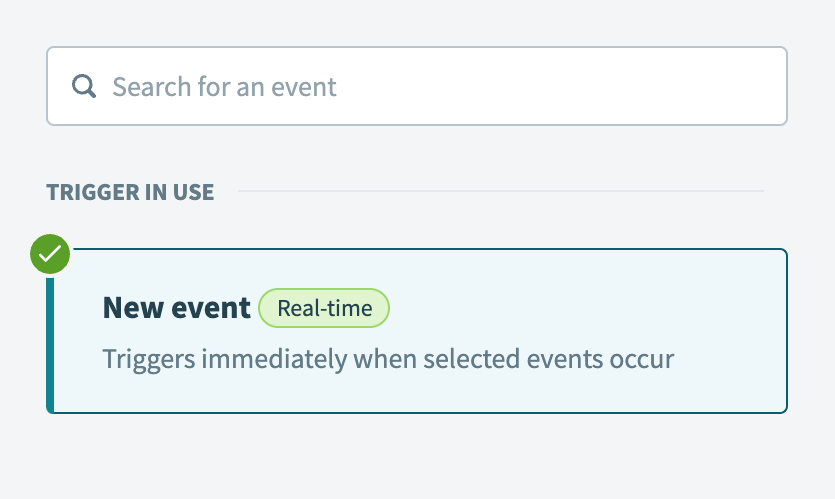 Select the New event real-time trigger
Use the Event category drop-down menu to select Offer.
Use the Event drop-down menu to select Offer created.
Use a random string generator to create a secret key that's at least 32 characters long, and enter it in the Secret key field. Store this key in a secure location, as it's required to configure the webhook in Greenhouse.
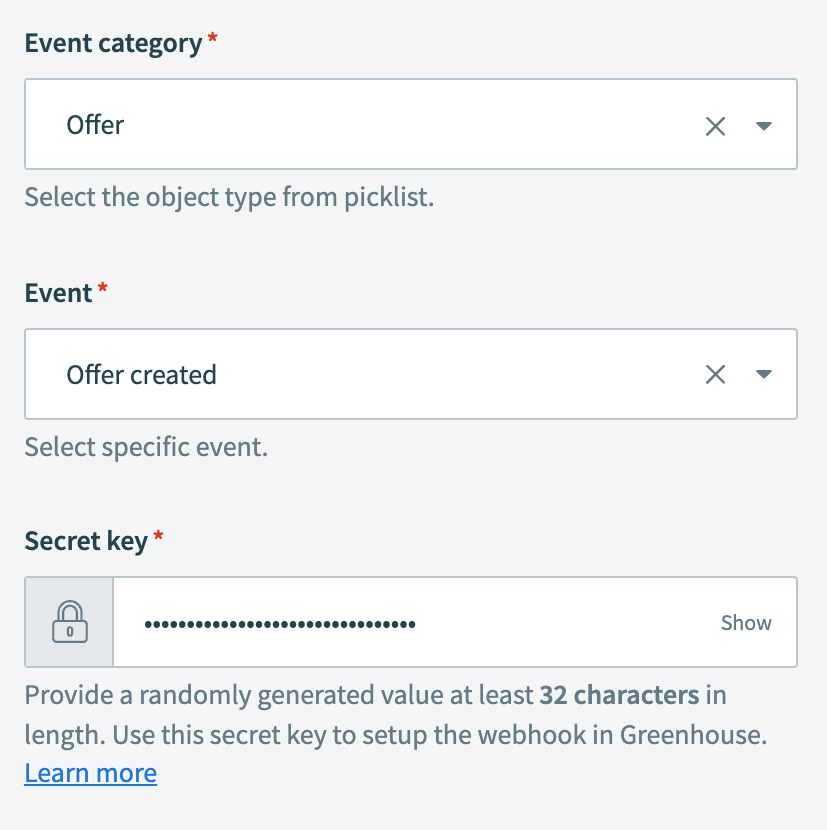 New offer created configuration
Copy the webhook endpoint URL provided in the help section of the recipe editor. This value is also required to configure the webhook in Greenhouse.
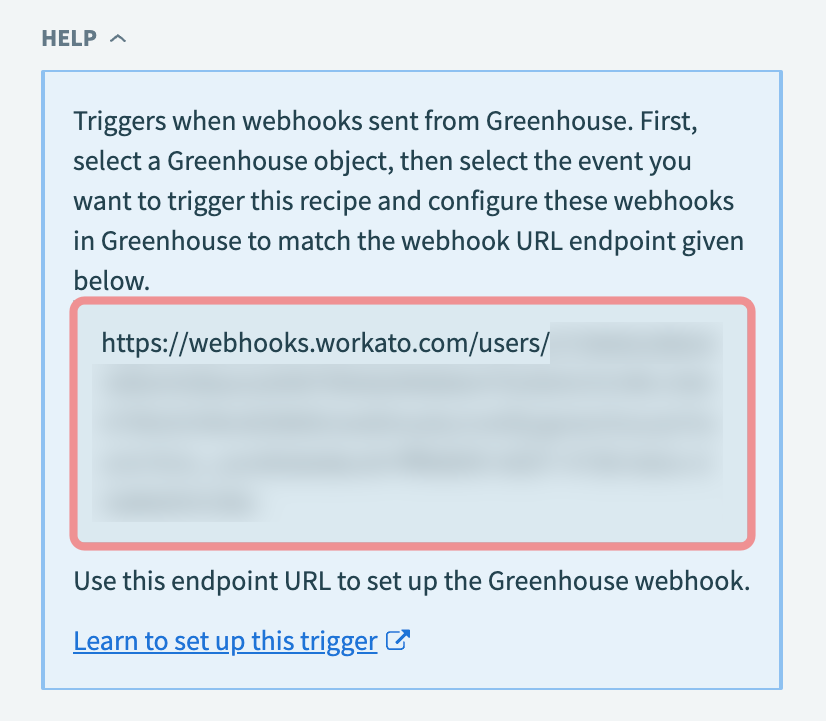 Copy the webhook endpoint URL
Click Save.
Sign in to your Greenhouse instance to create a webhook that corresponds to the New event trigger.
What is a webhook?
# Greenhouse webhook example
A webhook is a notification sent by an application to a target URL in real-time when a specified event occurs. You can choose which events trigger these notifications.
This use case requires a webhook in Greenhouse that sends data to Workato whenever an offer is created.
Set up your Greenhouse webhook.
# Set up a Greenhouse webhook
This webhook sends a notification to your Workato recipe each time an offer is created in Greenhouse.
Go to Configure > Dev Center > Webhooks > Webhooks. The Create a new webhook page appears.
Provide a name for your webhook in the Name this webhook field.
Use the When drop-down menu to select Offer created. This field specifies the Greenhouse event that triggers the webhook.
Paste the webhook endpoint URL from Workato into the Endpoint URL field.
Enter the secret key you created when configuring the trigger in the Secret key field.
Click Create webhook.
Click + Add step, then select Handle errors.
 Add an error handling step
How does the Handle errors control statement work?
The Handle errors control statement allows you to monitor your recipe for errors in actions, similar to the try/catch concept in programming languages. You have the opportunity to perform the following actions if an error occurs:
Retry the sequence of actions again, in case it was a temporary error such as network issues.
Take remedial actions, such as notifying users of the error through email or error messages in the app, or to carry out a rollback. For example, you can reverse the job by deleting any created or half-created records.
This control statement consists of two blocks: the Monitor block and the Error block. Place the actions that you plan to monitor for errors within the Monitor block. If all actions are successful, Workato ignores the Error block. However, if any action in the Monitor block results in an error, the actions within the Error block are executed.
Click Select an app and action.
Set up your Greenhouse Get object (job) by ID action.
# Set up Greenhouse Get object (job) by ID action
This step retrieves details about the job from Greenhouse.
Search for Greenhouse and select it as your app.
 Choose Greenhouse
Select the Get object by ID action.
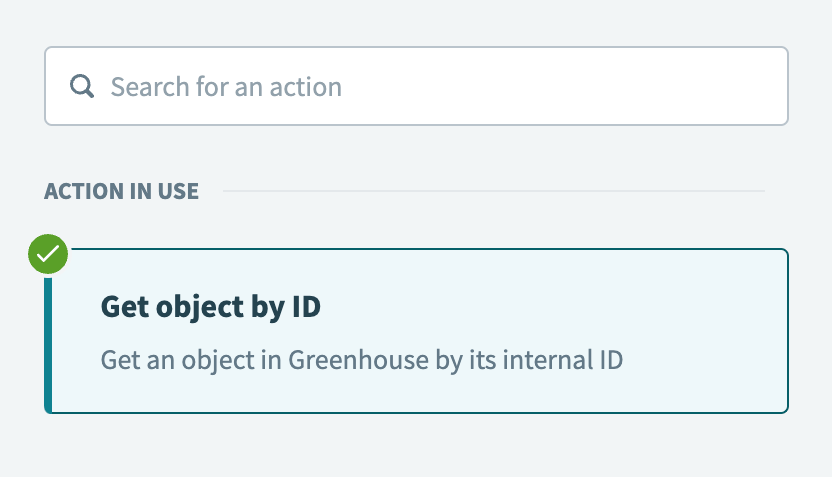 Select the Get object by ID action
Use the Object drop-down menu to select Job.
Map the Greenhouse Job ID Step 1 datapill to the Job ID field.
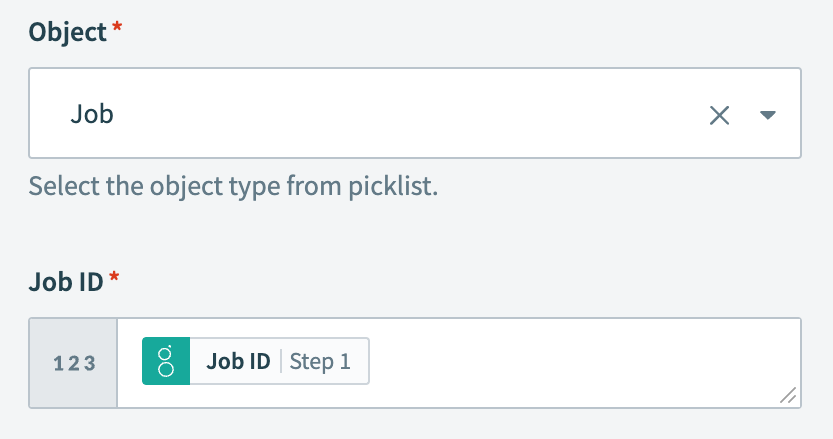 Configure the Get job by ID action
Click + Add step and select Action in app.
Set up your Greenhouse Get object (application) by ID action.
# Set up Greenhouse Get object (application) by ID action
This step retrieves details about the application from Greenhouse.
Search for Greenhouse and select it as your app.
 Choose Greenhouse
Select the Get object by ID action.
 Select the Get object by ID action
Use the Object drop-down menu to select Application.
Map the Greenhouse Application ID Step 1 datapill to the Application ID field.
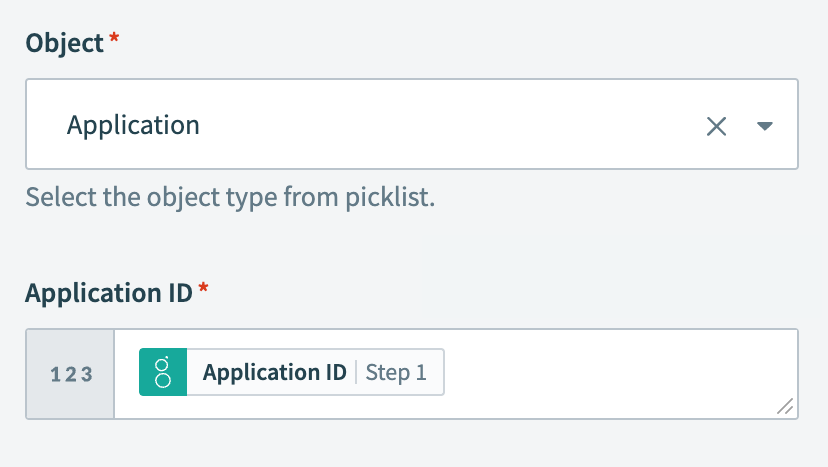 Configure the Get application by ID action
Click + Add step and select Action in app.
Set up your Greenhouse Get object (candidate) by ID action.
# Set up Greenhouse Get object (candidate) by ID action
This step retrieves details about the candidate from Greenhouse.
Search for Greenhouse and select it as your app.
 Choose Greenhouse
Select the Get object by ID action.
 Select the Get object by ID action
Use the Object drop-down menu to select Candidate.
Map the Greenhouse Candidate ID Step 1 datapill to the Candidate ID field.
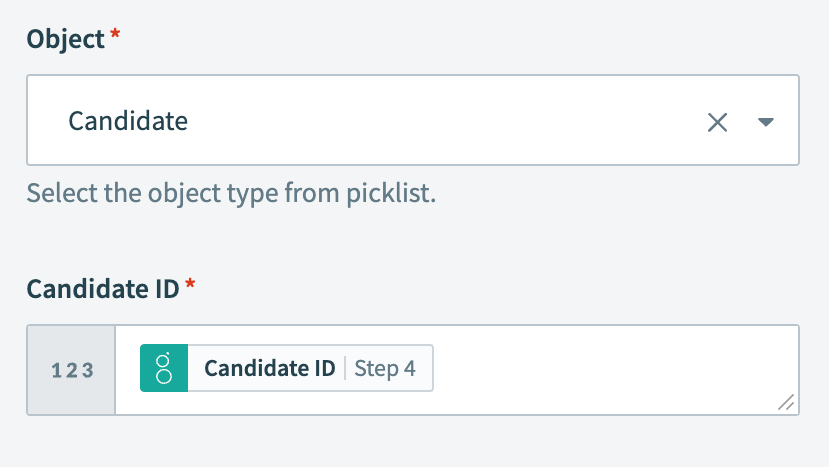 Configure the Get candidate by ID action
Click the ••• (ellipsis) next to the placeholder step (step 7) in the recipe editor and select Delete.
Click + Add step and select Stop job.
How does the Stop control statement work?
The Stop control statement stops a single job from being processed further. Stop control statements are usually used in cases when there is an error in the business logic and further job processing is not required.
The Stop statement can be configured to mark the job as failed or successful.
Set up your Stop control statement.
# Set up your Stop control statement
This step stops and marks the job as failed if the recipe fails to retrieve details from Greenhouse.
Use the In job report, mark stopped job as drop-down menu to select Failed.
Enter the following text in the Reason for failure field:
Failed to get details from Greenhouse.
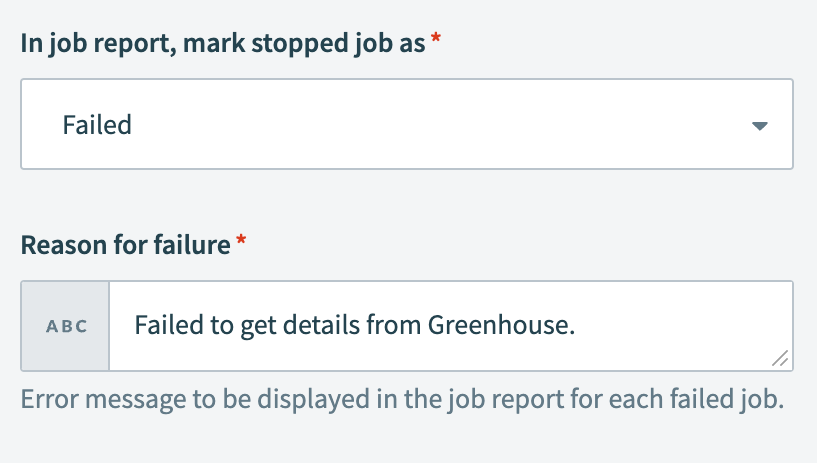 Configure the stop job step
Click + Add step and select Action in app.
Set up your Workbot for Slack Post message action.
# Set up Workbot for Slack Post message action
This step configures Workbot to post a reminder message in a designated Slack channel whenever a new offer is created in Greenhouse. The message includes the details about the candidate's full name, position, annual salary, start date, and a button. Clicking the button prompts the recipe to continue executing the actions that follow the Post message action.
Search for Workbot for Slack and select it as your app.
 Choose Workbot for Slack
Select the Post message action.
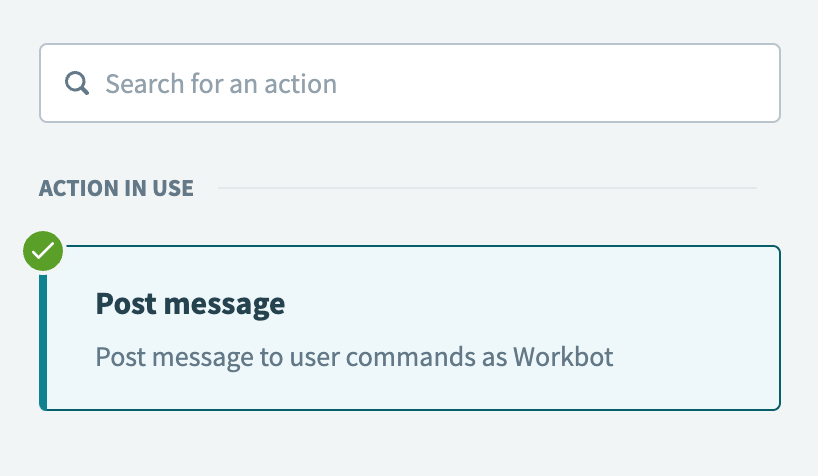 Select the Post message action
Use the Reply channel drop-down menu to select the Slack channel where Workbot will post the message.
Locate the Message field and click Add block to message.
Use the Type drop-down menu to select Section with button (new version)
Enter the following text in the Section text field:
Hi there :wave:
It's time to send the offer letter to {FIRST_NAME} :tada:
Replace {FIRST_NAME} with the Greenhouse First name Step 5 datapill.
Enter Generate and send in the Button title field.
Ensure that Continue recipe is selected in the Action to take on button-click field.
Use the Button style drop-down menu to select Primary.
Locate the Attachment fields section and click Add field.
Click Show optional fields, search for Attachment fields, select the Title and Value checkboxes, and then click Apply changes if the Attachment fields section isn't visible.
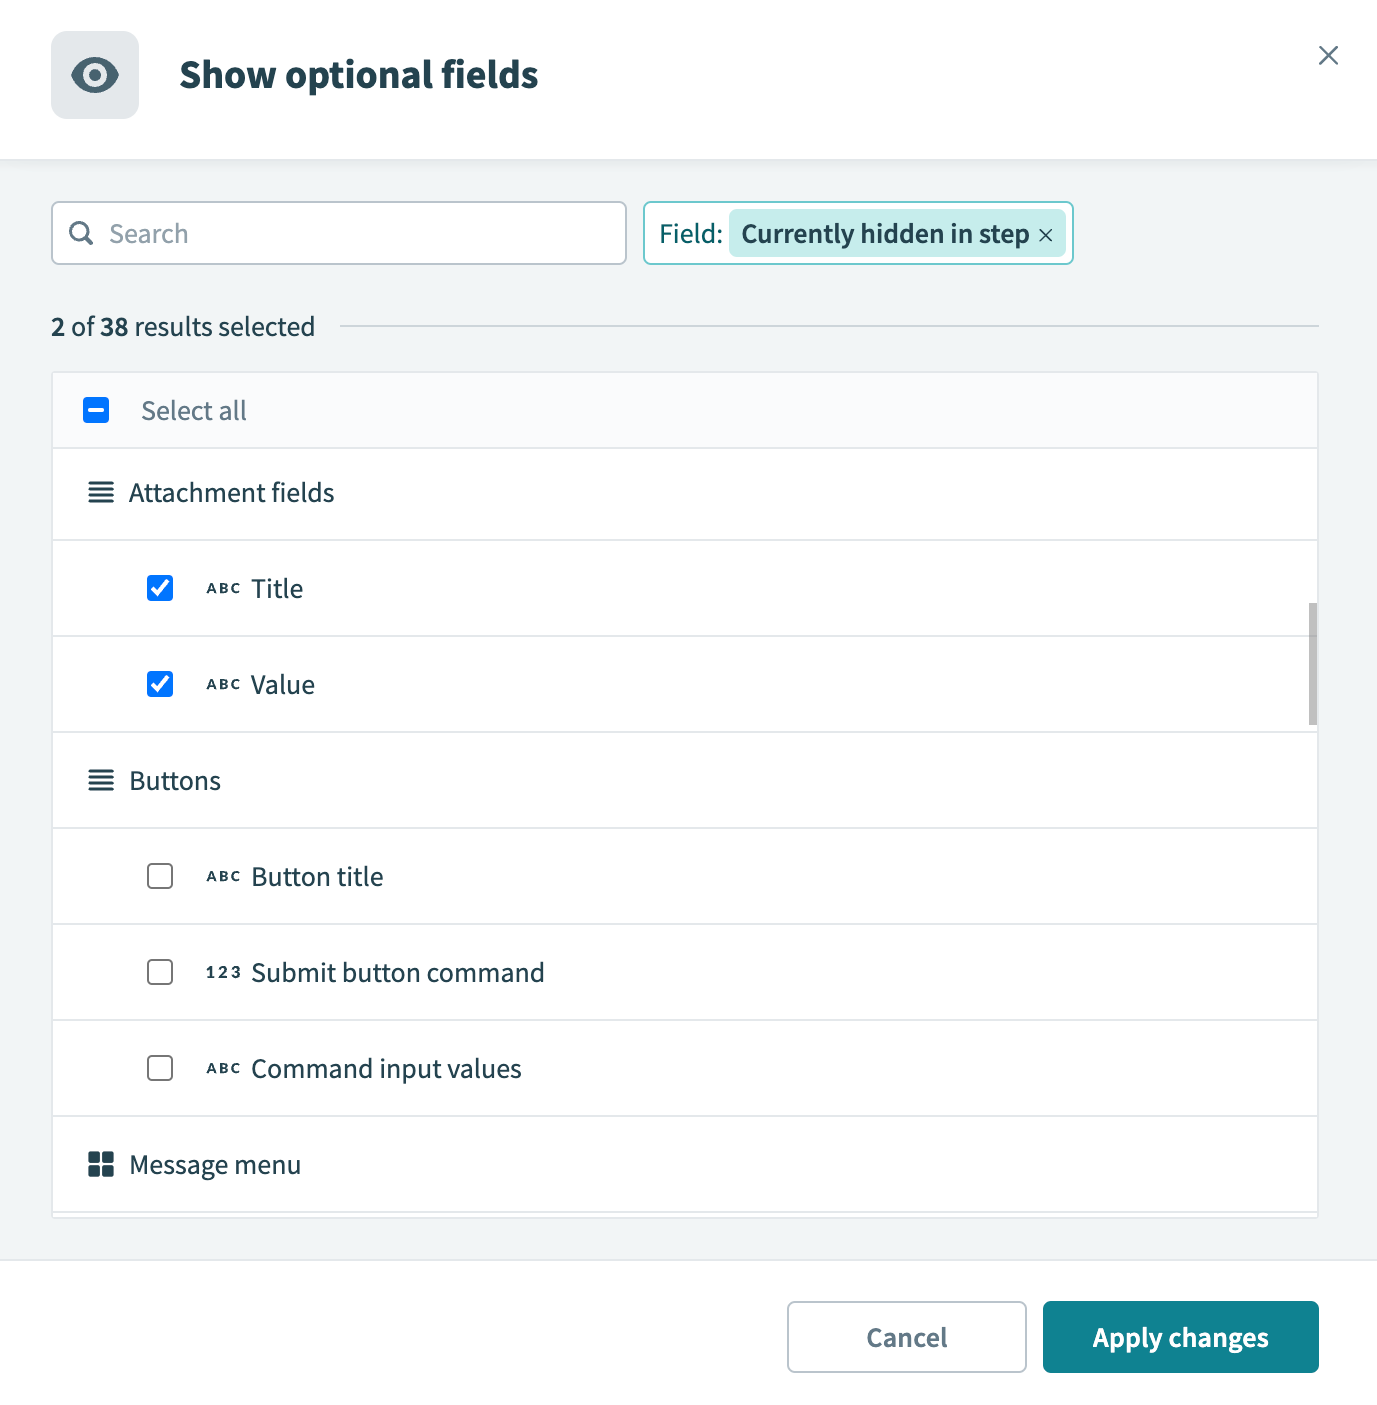 Show attachment fields
Enter Full Name in the Title field.
Map the Greenhouse First name Step 5 and Last name Step 5 datapills to the Value field. Make sure to enter a space between the two datapills.
Click + Add field.
Enter Position in the Title field.
Map the Greenhouse Job name Step 3 datapill to the Value field.
Click + Add field.
Enter Annual Salary in the Title field.
Switch the Value field to formula mode and enter the following formula:
"$"+{ANNUAL_SALARY_VALUE}.reverse.scan(/\d{3}|.+/).join(",").reverse
Replace {ANNUAL_SALARY_VALUE} with the Greenhouse Value Step 1 datapill. The Value Step 1 datapill is nested under the Annual salary object.
Click + Add field.
Enter Start Date in the Title field.
Switch the Value field to formula mode and enter the following formula:
{START_DATE}.strftime("%d %B %Y")
Replace {START_DATE} with the Greenhouse Start date Step 1 datapill.
The following screenshot displays how the message appears in Slack:
 Example of how the message appears in Slack
Click + Add step and select Handle errors.
Locate step 10 and click Select an app and action.
Set up your ServiceNow Create record (request) action.
# Set up ServiceNow Create record (request) action
This step creates a new ServiceNow request for IT to initiate the onboarding process for the candidate.
Search for ServiceNow and select it as your app.
 Choose ServiceNow
Select the Create record action.
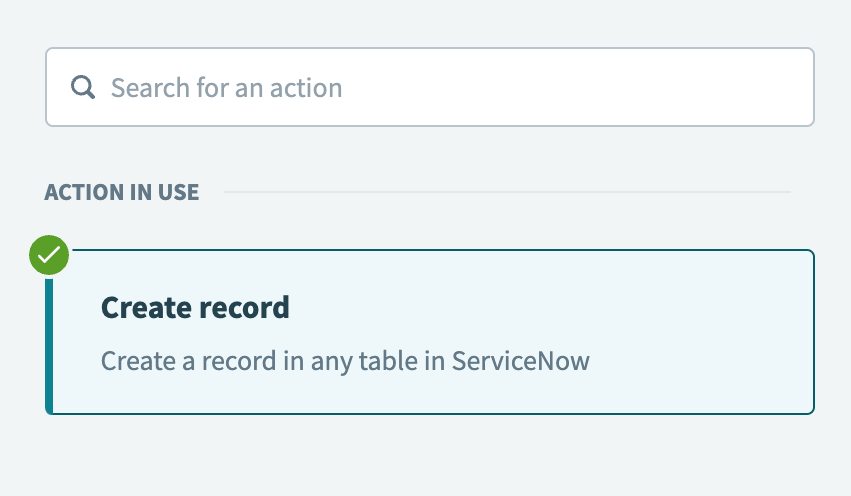 Select the Create record action
Use the Table drop-down menu to select Request.
Enter the following in the Special instructions field:
This ticket is for IT to kickstart the onboarding process for {FIRST_NAME} {LAST_NAME}.
Replace {FIRST_NAME} and {LAST_NAME} with the Greenhouse First name Step 5 and Last name Step 5 datapills.
Switch the Description field to formula mode and enter the following:
"Details -" + "\n"
"Full name -" + {FIRST_NAME} + " " + {LAST_NAME} + "\n"
"Position - " + {JOB_NAME} + "\n" +
"Annual Salary - " + "$" + {ANNUAL_SALARY_VALUE}.reverse.scan(/\d{3}|.+/).join(",").reverse + "\n" +
"Start date - " + {START_DATE}.strftime("%d %B %Y") + "\n" +
"IT, please onboard the new employee!"
Replace the following placeholders with their corresponding datapill from Greenhouse:
{FIRST_NAME}: First name Step 5{LAST_NAME}: Last name Step 5{JOB_NAME}: Job name Step 3{ANNUAL_SALARY_VALUE}: Value Step 1 (from the Annual salary object){START_DATE}: Start date Step 1
Enter the following in the Short description field:
Onboard New Employee - {FIRST_NAME} {LAST_NAME}
Replace {FIRST_NAME} and {LAST_NAME} with the Greenhouse First name Step 5 and Last name Step 5 datapills.
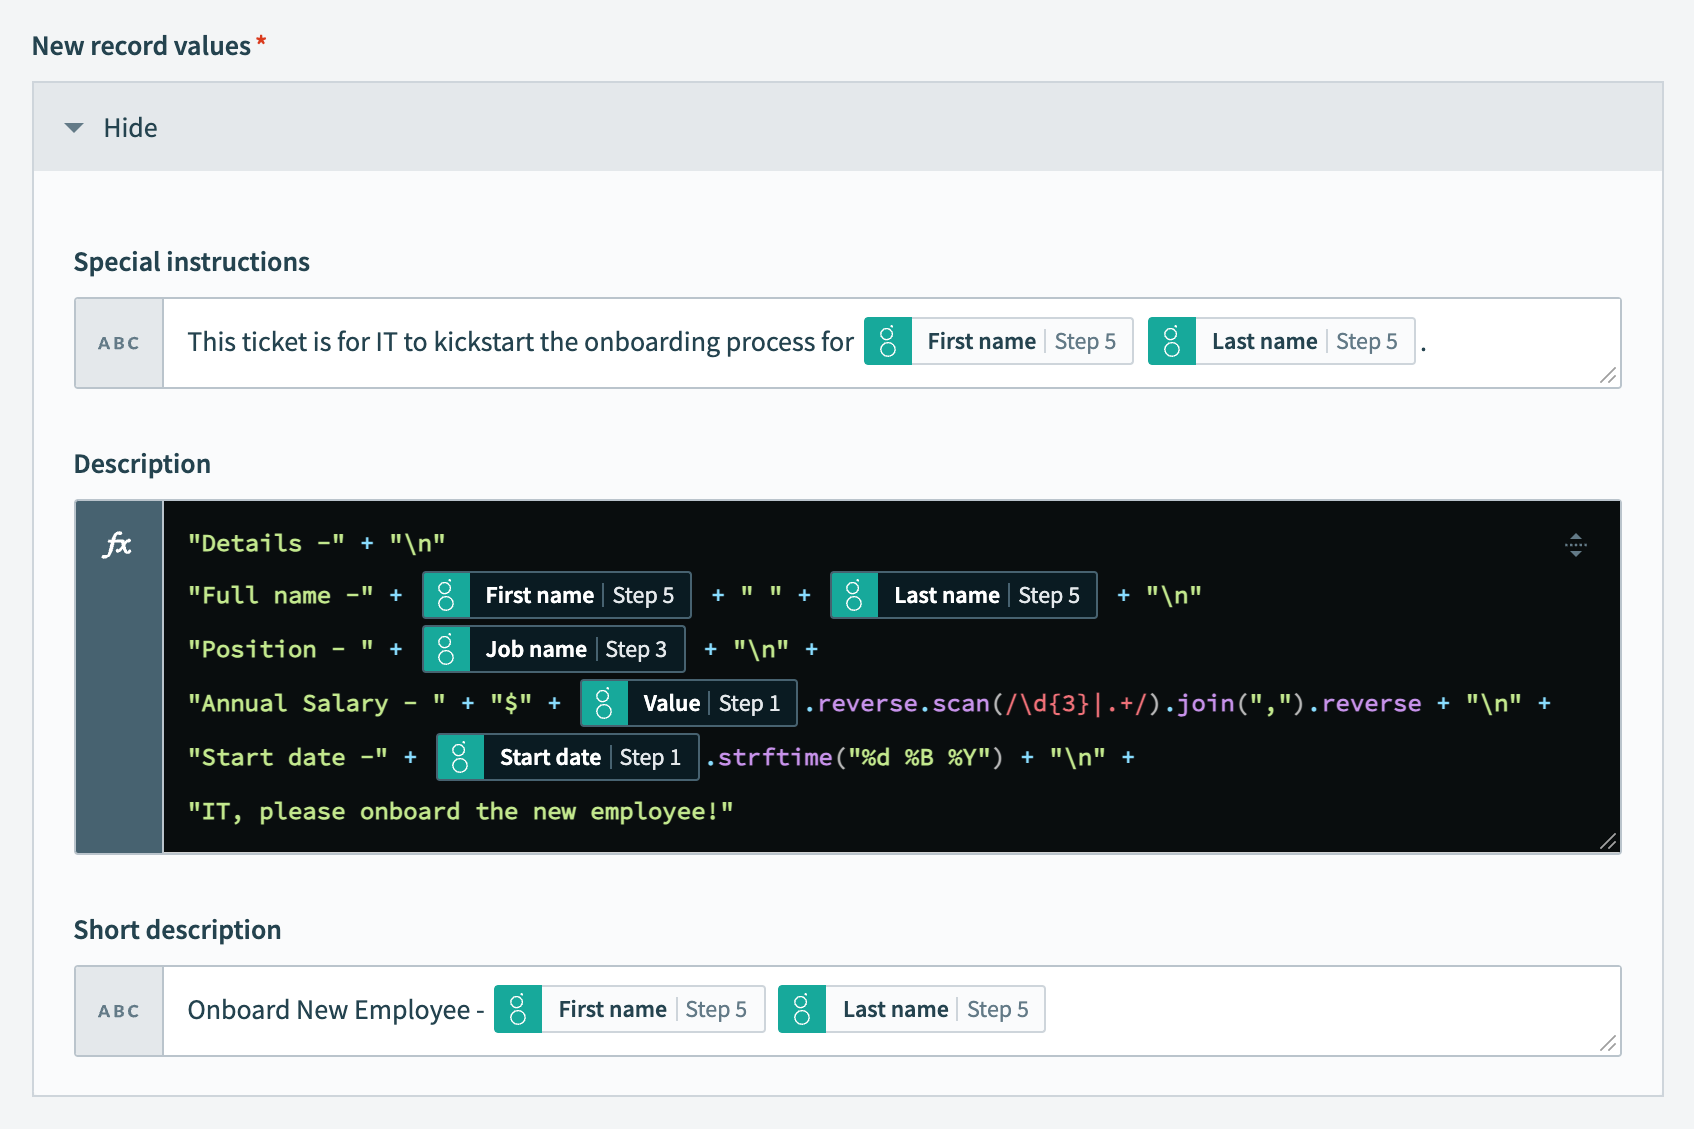 Configure the new record values fields
Click + Add step and select Action in app.
Set up your Box Create sign request action.
# Set up Box Create sign request action
This step creates and sends a Box sign request using an existing sign template. This step maps the data (job title, annual salary, and start date) from Greenhouse if your sign template uses prefill tags.
Search for Box and select it as your app.
 Choose Box
Select the Create sign request action.
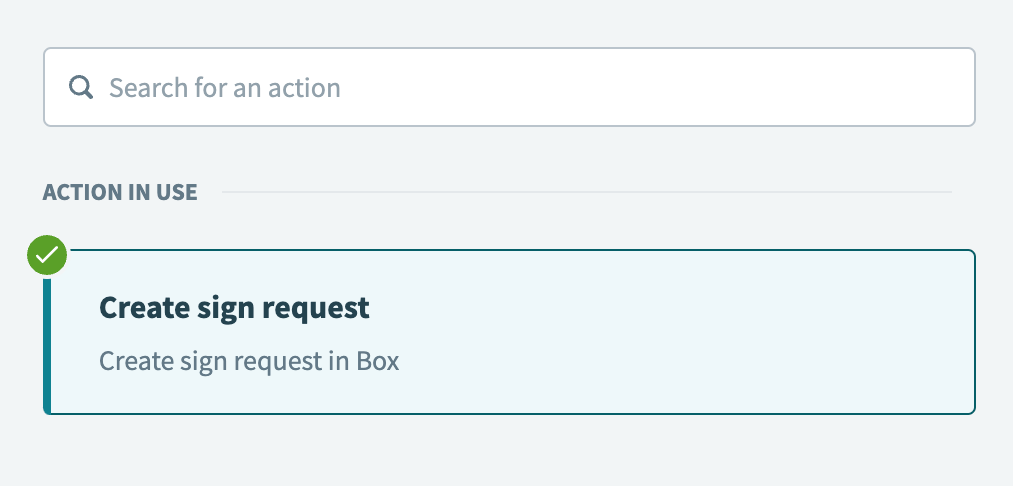 Select the Create sign request action
Enter the following in the Name field:
Offer Sending for {FIRST_NAME} {LAST_NAME}
Replace {FIRST_NAME} and {LAST_NAME} with the Greenhouse First name Step 5 and Last name Step 5 datapills.
Select the sign template you plan to use from the Sign template drop-down menu.
Expand the Signers section and click Add Signer.
Use the Role drop-down menu to select Final copy reader.
Enter the final copy reader's email in the Email field.
Enter 1 in the Order field.
Click + Add Signer to add a second signer.
Use the Role drop-down menu to select Signer.
Enter the signer's email in the Email field.
Enter 2 in the Order field.
Use the Destination folder drop-down menu to select the destination folder for the finalized, signed document and signing log.
Locate the Prefill tags section and click Add item.
If the Prefill tags section isn't visible, click Show optional fields, search for Prefill tags, select the Document tag ID, Text value, and Date value checkboxes, and then click Apply changes.
Enter jobTitle in the Document tag ID field.
Map the Greenhouse Job name Step 3 datapill to the Text value field.
Click + Add item to add a second prefill tag.
Enter annualSalary in the Document tag ID field.
Switch the Text value field to formula mode and enter the following:
{ANNUAL_SALARY_VALUE}.reverse.scan(/\d{3}|.+/).join(",").reverse
Replace {ANNUAL_SALARY_VALUE} with the Greenhouse Value Step 1 datapill. The Value Step 1 datapill is nested under the Annual salary object.
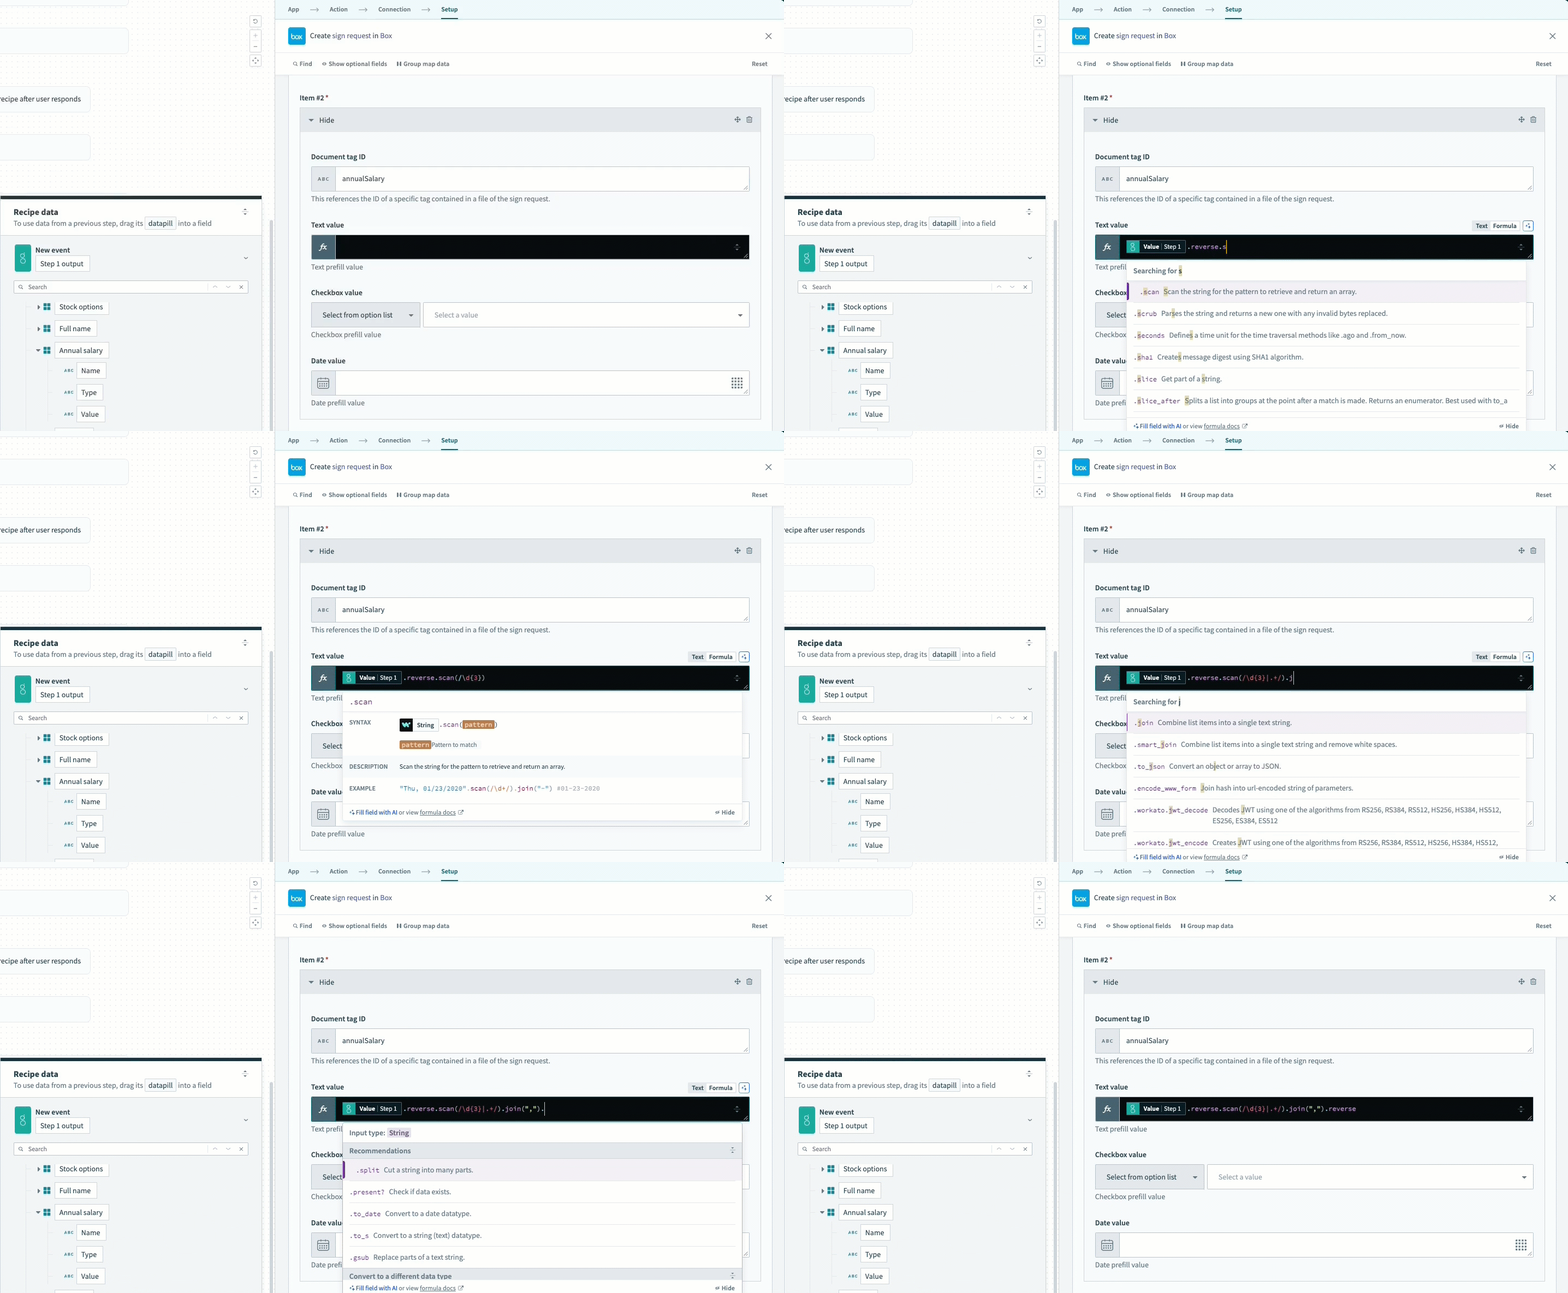 Configure the text field
Click + Add item to add a third prefill tag.
Enter startDate in the Document tag ID field.
Map the Greenhouse Start date Step 1 datapill to the Date value field.
Click + Add step and select Action in app.
Set up your ServiceNow Create record (requested item) action.
# Set up ServiceNow Create record (requested item) action
This step creates a requested item in ServiceNow noting that a Box sign request was initiated.
Search for ServiceNow and select it as your app.
 Choose ServiceNow
Select the Create record action.
 Select the Create record action
Use the Table drop-down menu to select Requested item.
Locate the New record values section.
Click Show optional fields, select the Request, Description, and Short description checkboxes, and then click Apply changes if the New record values section isn't visible.
Map the ServiceNow Number Step 10 datapill to the Request field.
Switch the Description field to formula mode and enter the following:
"Box sign request initiated" + "\n" +
"Sign ID - " + {ID}
"Signers - " + {SIGNERS}.pluck('email')
Replace {ID} and {SIGNERS} with the Box ID Step 11 and Signers Step 11 datapills.
Enter Box sign request initiated in the Short description field.
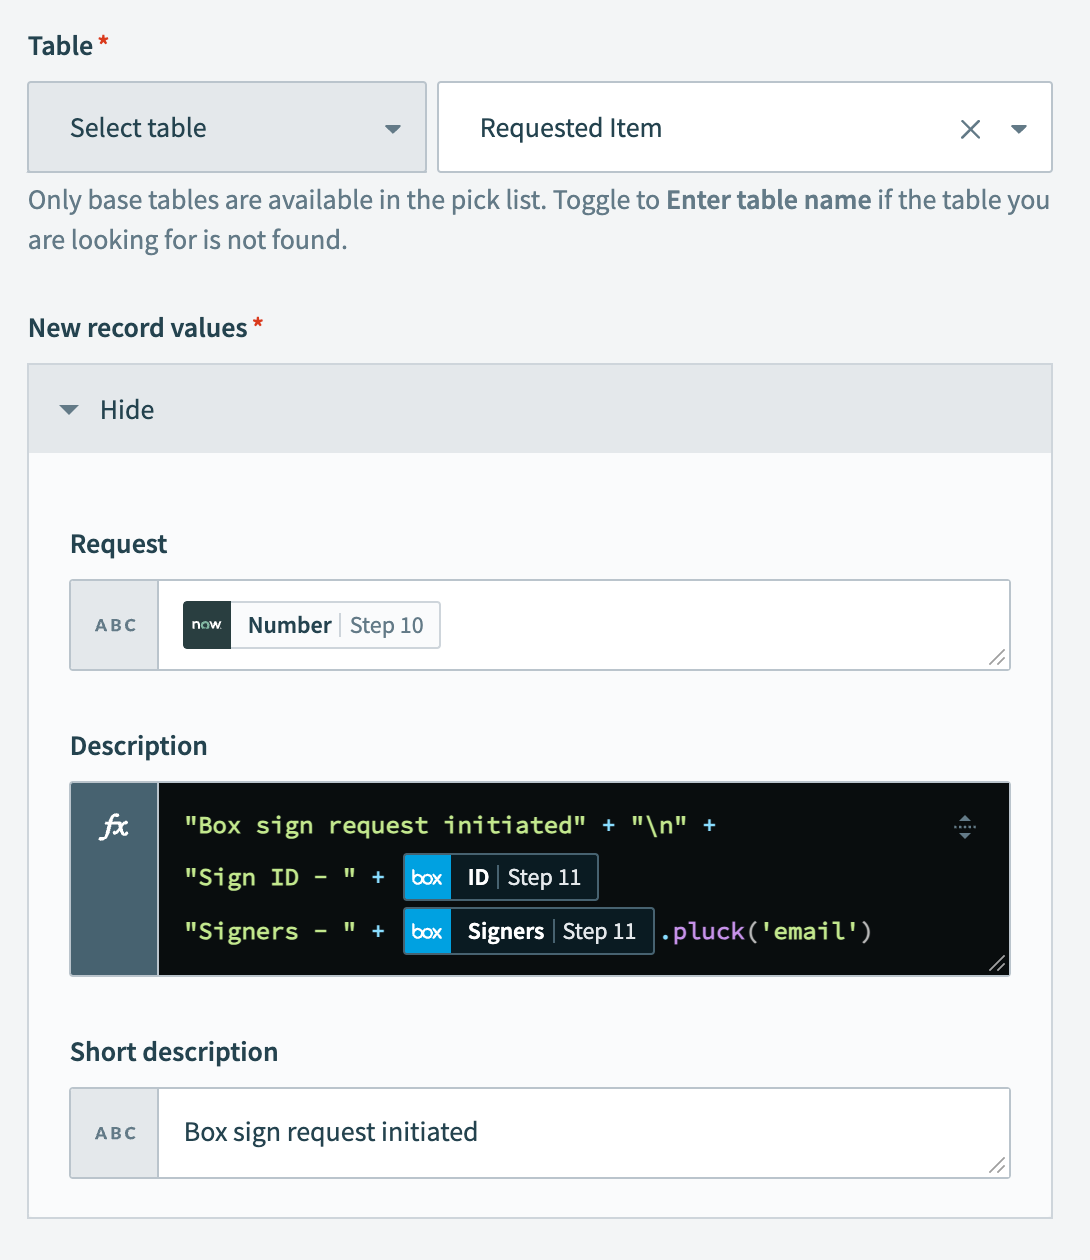 Configure the Create requested item action
Click the ••• (ellipsis) next to the placeholder step (step 14) in the recipe editor and select Delete.
Click + Add step and select Stop job.
Set up your second Stop control statement.
# Set up your second Stop control statement
This step stops and marks the job as failed if the recipe fails to retrieve details from Greenhouse.
Use the In job report, mark stopped job as drop-down menu to select Failed.
Enter the following text in the Reason for failure field:
Something went wrong when creating records in ServiceNow or sending the Box sign request.
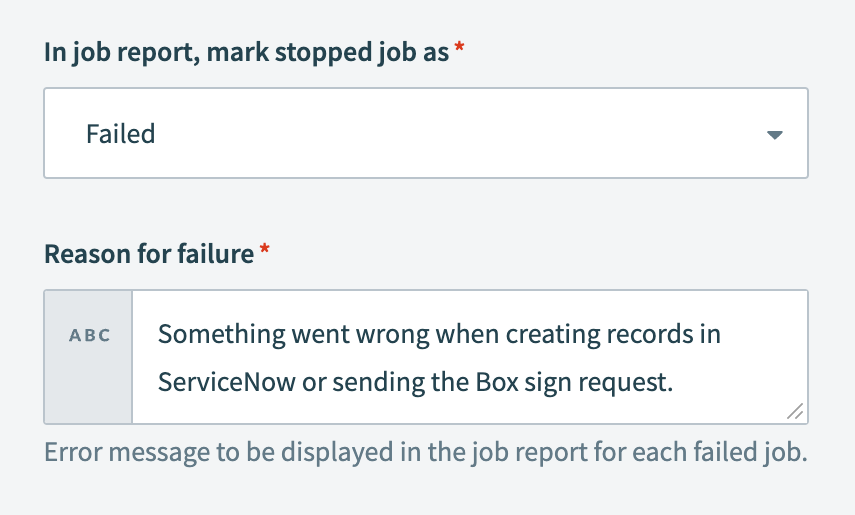 Configure the stop job step
Click Save.
Your Sync Greenhouse offer letter to Box and create onboarding request in ServiceNow recipe is ready to test and implement.
Example recipe configuration.
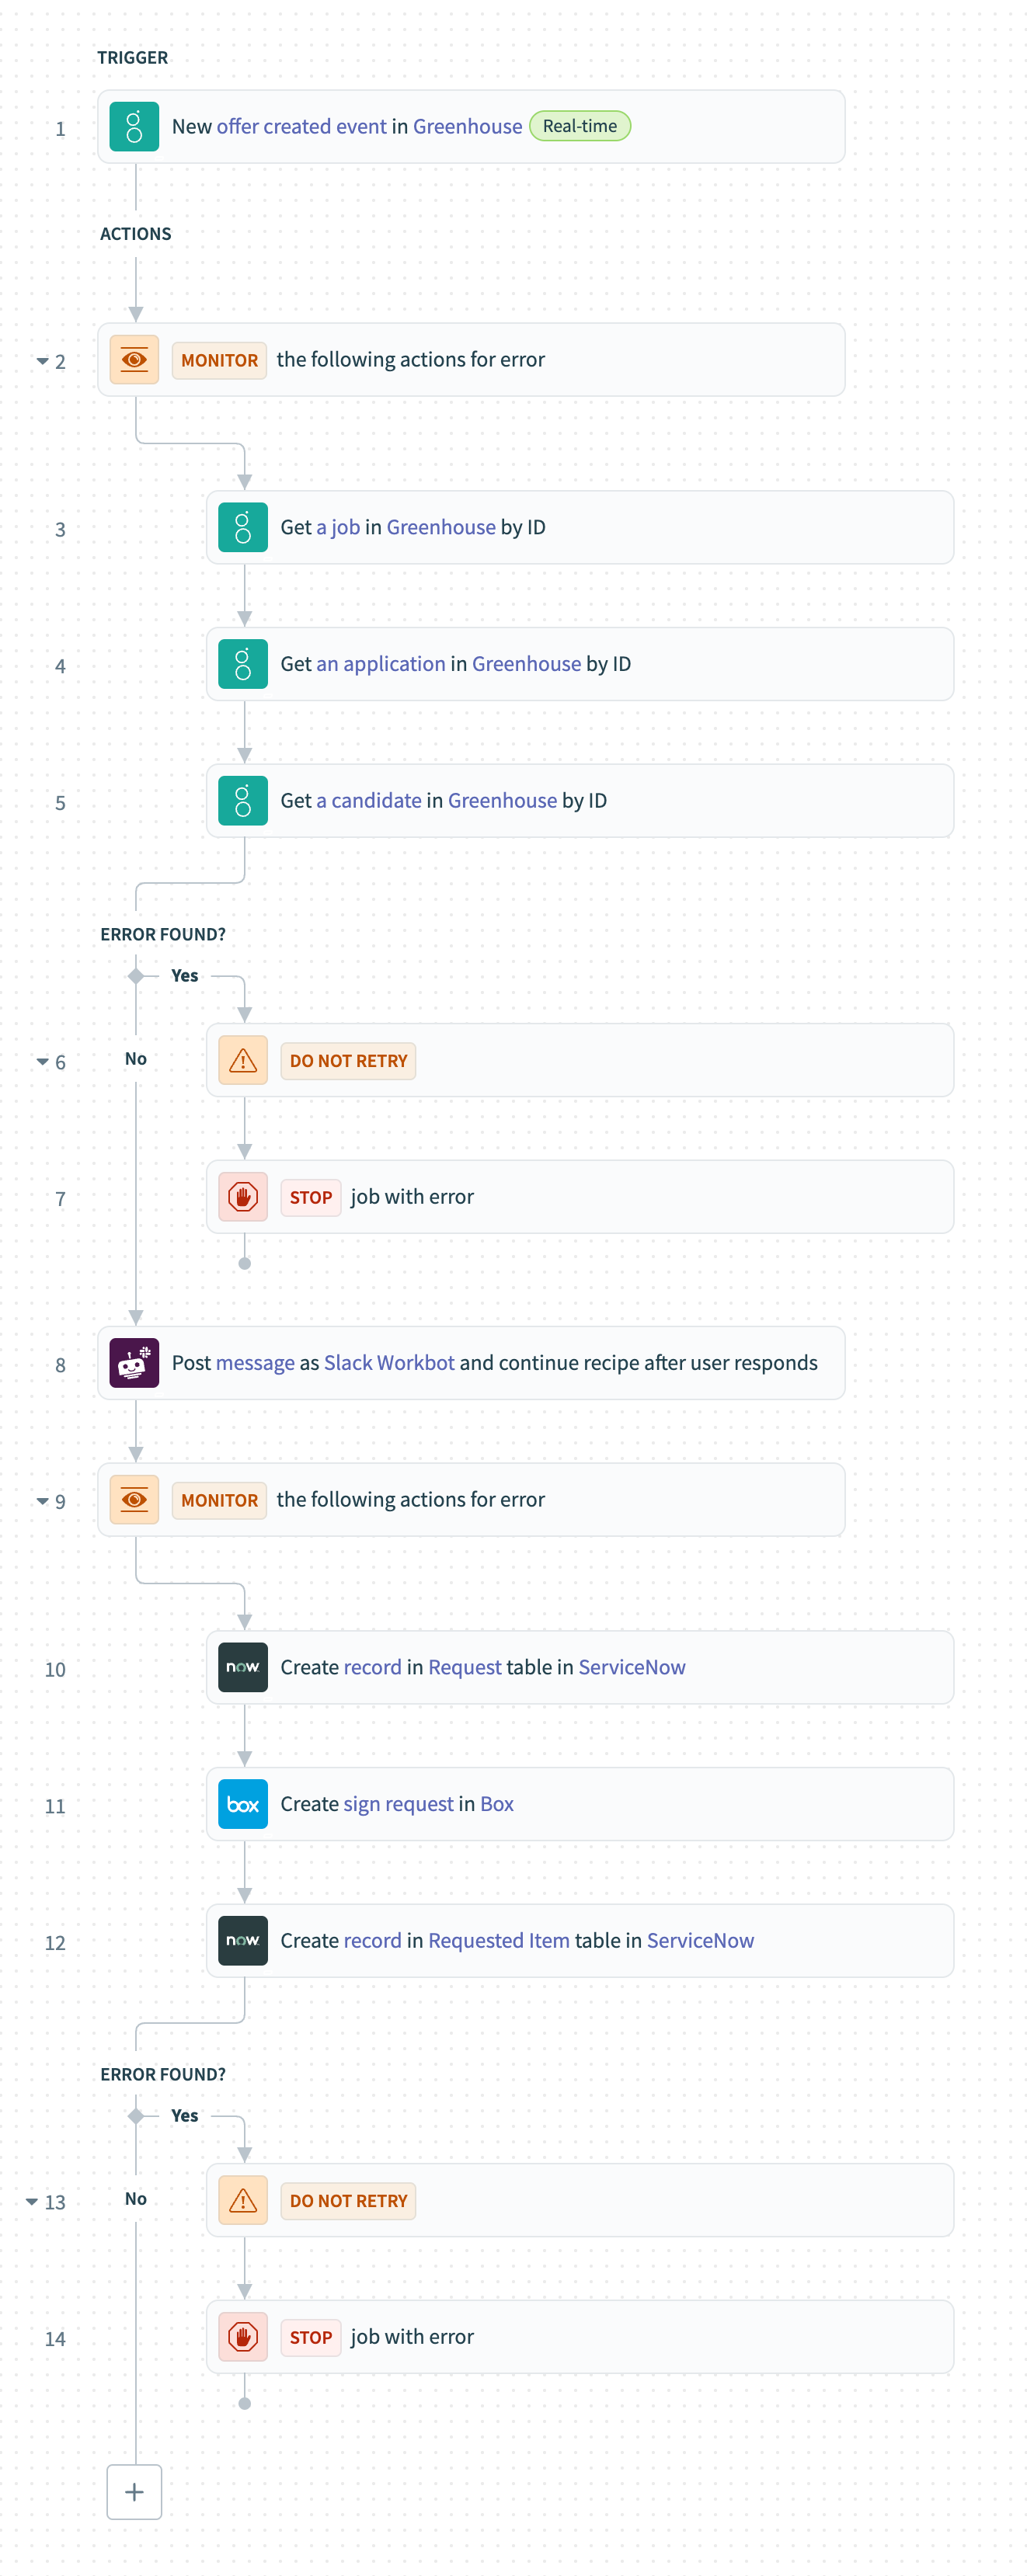 Sync Greenhouse offer letter to Box and create onboarding request in ServiceNow recipe
Last updated: 2/9/2026, 10:12:02 PM