Sync Quickbase employees to Oracle EBS and notify your team in Slack recipe
This use case guides you through connecting Quickbase, Oracle EBS, and Slack to Workato to create a powerful automation.
What does this recipe do?
This recipe syncs employees from Quickbase to Oracle E-Business Suite (EBS) and then posts a notification in Slack.
Create your recipe
Complete the following steps to create a recipe that syncs employees from Quickbase to Oracle EBS and then posts a notification in Slack.
USE CASES ARE INTENDED AS EXAMPLES ONLY
This use case serves as an example. Modifications to triggers, actions, or conditional logic may be necessary to adapt this recipe to your workflow.
Sign in to Workato.
Select the project where you plan to create the recipe.
Create connections for Quickbase, Oracle EBS, and Slack:
Create a Quickbase connection.
Create a Quickbase connection
This step creates a connection between Workato and your Quickbase account.
Workato supports the following authentication methods for connecting to Quickbase:
User-token authentication
Click Create > Connection or press C twice.
Search for and select Quickbase on the New connection page.
Provide a unique Connection name that identifies the Quickbase instance to which it is connected.
Use the Location drop-down menu to select the project where you plan to store the connection.
Enter your Quickbase subdomain. This is most often your company name.
Use the User-token authentication? drop-down menu to select Yes.
Provide your User token. Refer to the Generate a user token section for more information.
Click Connect.
Username and password authentication
Click Create > Connection or press C twice.
Search for and select Quickbase on the New connection page.
Provide a unique Connection name that identifies the Quickbase instance you plan to use.
 Set up your Quickbase connection with a username and password
Use the Location drop-down menu to select the project where you plan to store the connection.
Enter your Quickbase subdomain. This is most often your company name.
Use the User-token authentication? drop-down menu to select No.
Provide your Quickbase username and password.
Click Connect.
Create an Oracle EBS connection.
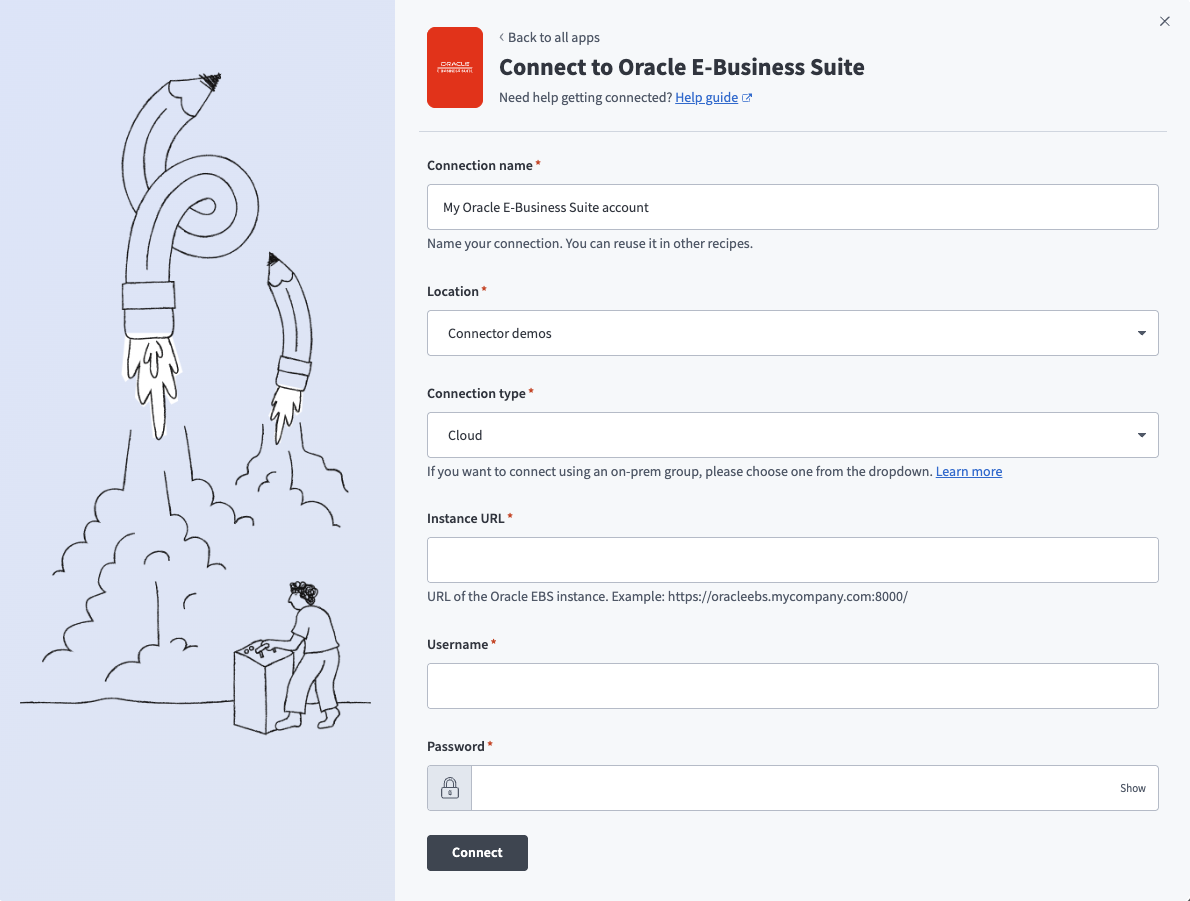
Create an Oracle EBS connection
This step creates a connection between Workato and your Oracle EBS account.
Ensure that you complete the prerequisite steps before you begin to set up your connection.
Complete the following steps to set up your connection:
Click Create > Connection or press C twice.
Search for and select Oracle E-Business Suite on the New connection page.
Enter a name for your connection in the Connection name field.
 Set up your Oracle E-Business Suite connection
Use the Location drop-down menu to select the project or folder where you plan to store your connection.
Use the Connection type drop-down menu to specify whether this is a cloud or on-prem connection. If you're connecting to an on-premise Oracle E-Business Suite instance, select the appropriate on-prem group from the drop-down menu.
Enter the base URL for your Oracle SOA Gateway REST services in the Instance URL field. For example, https://oracleebs.mycompany.com:8000/.
Enter your Oracle SOA Gateway REST services username in the Username field.
Enter your password in the Password field.
Click Connect.
Create a Slack connection.
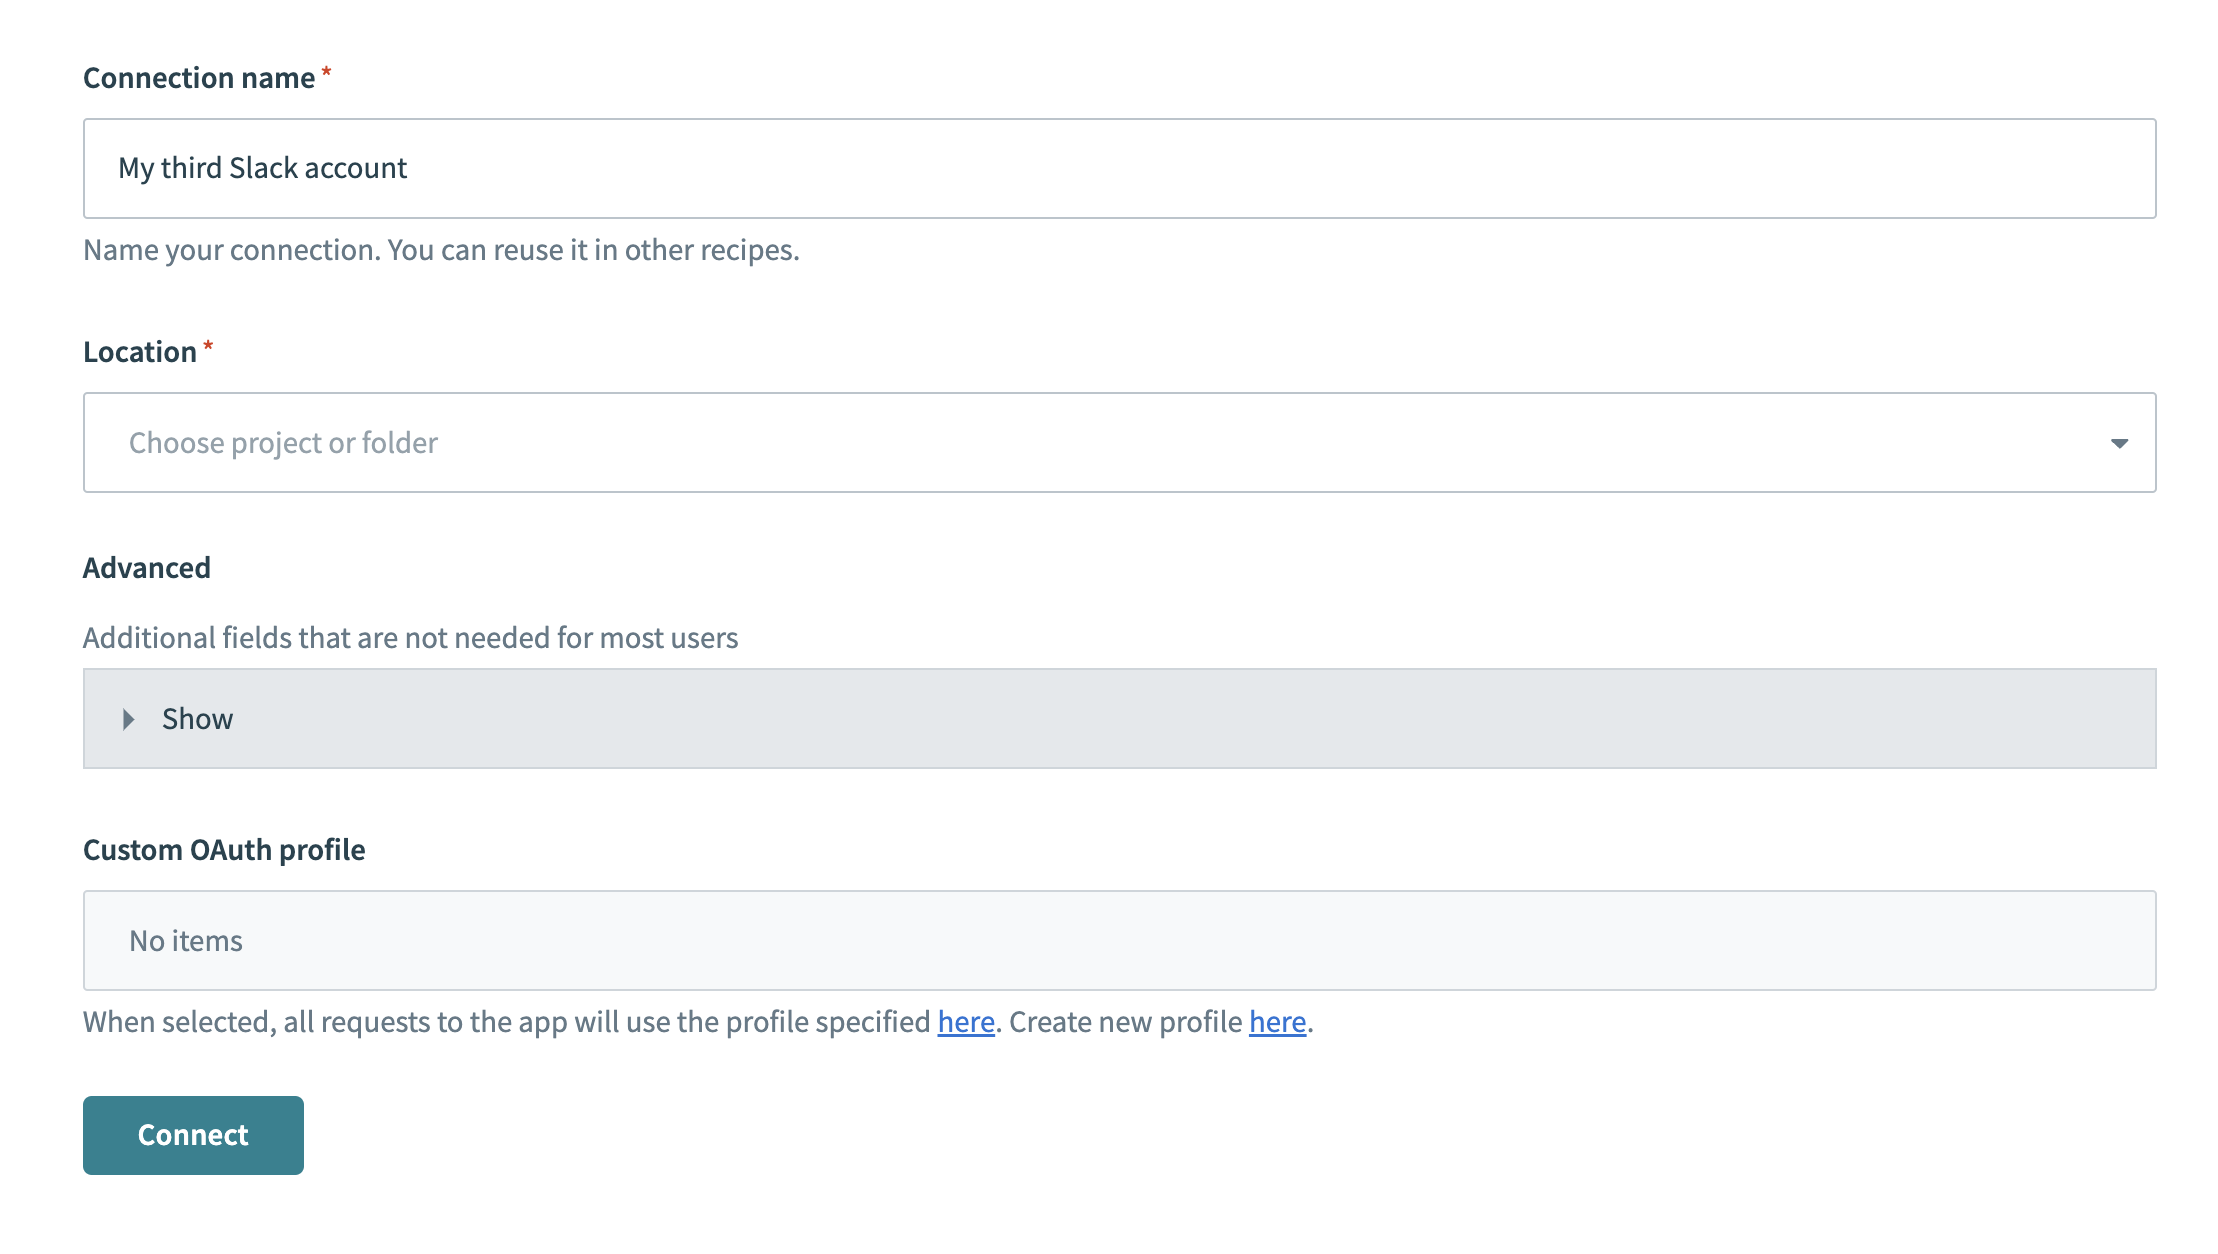
Create a Slack connection
This step creates a connection between Workato and your Slack account.
Click Create > Connection or press C twice.
Search for and select Slack on the New connection page.
Enter a name for your connection in the Connection name field.
 Slack connection setup
Use the Location drop-down menu to select the project where you plan to store the connection.
Optional. Configure Advanced and Custom OAuth profile settings if required for your account type.
Click Connect.
Go back to your project and click Create > Recipe or press C+R.
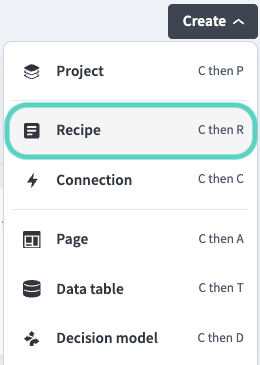 Create a new recipe
Enter a name for your recipe in the Name field.
Select the project where you plan to store the recipe from the Location drop-down menu.
Click Start building.
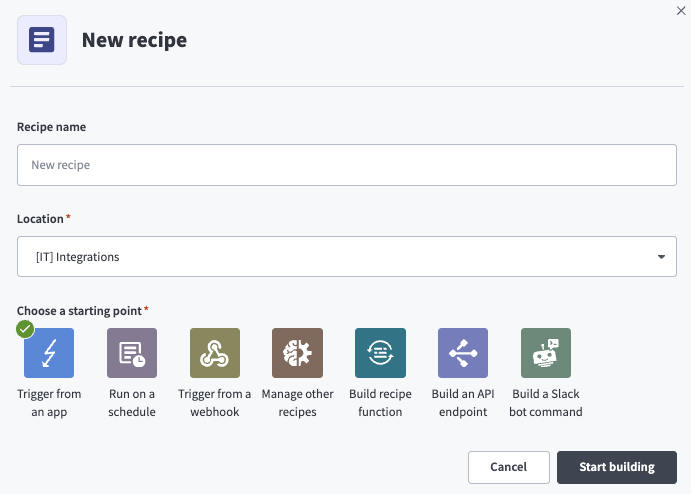 Start building your recipe
Click Pick a starting point, then select Trigger from an app.
Click Select an app and trigger event.
Set up your Quickbase New record trigger.
Set up Quickbase New record trigger
This trigger monitors your Quickbase account for new records.
Search for Quickbase and select it as your app.
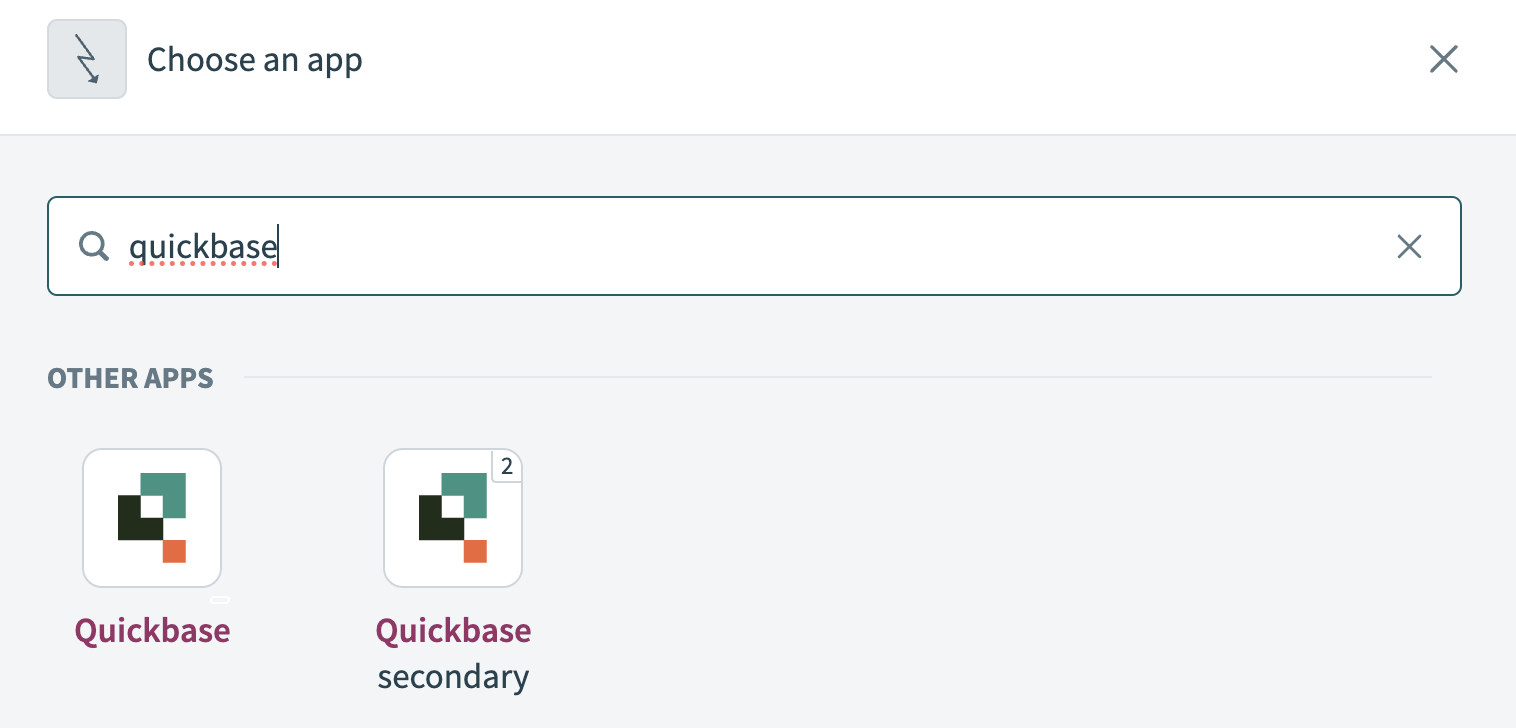 Select Quickbase as your app
Select the New record trigger.
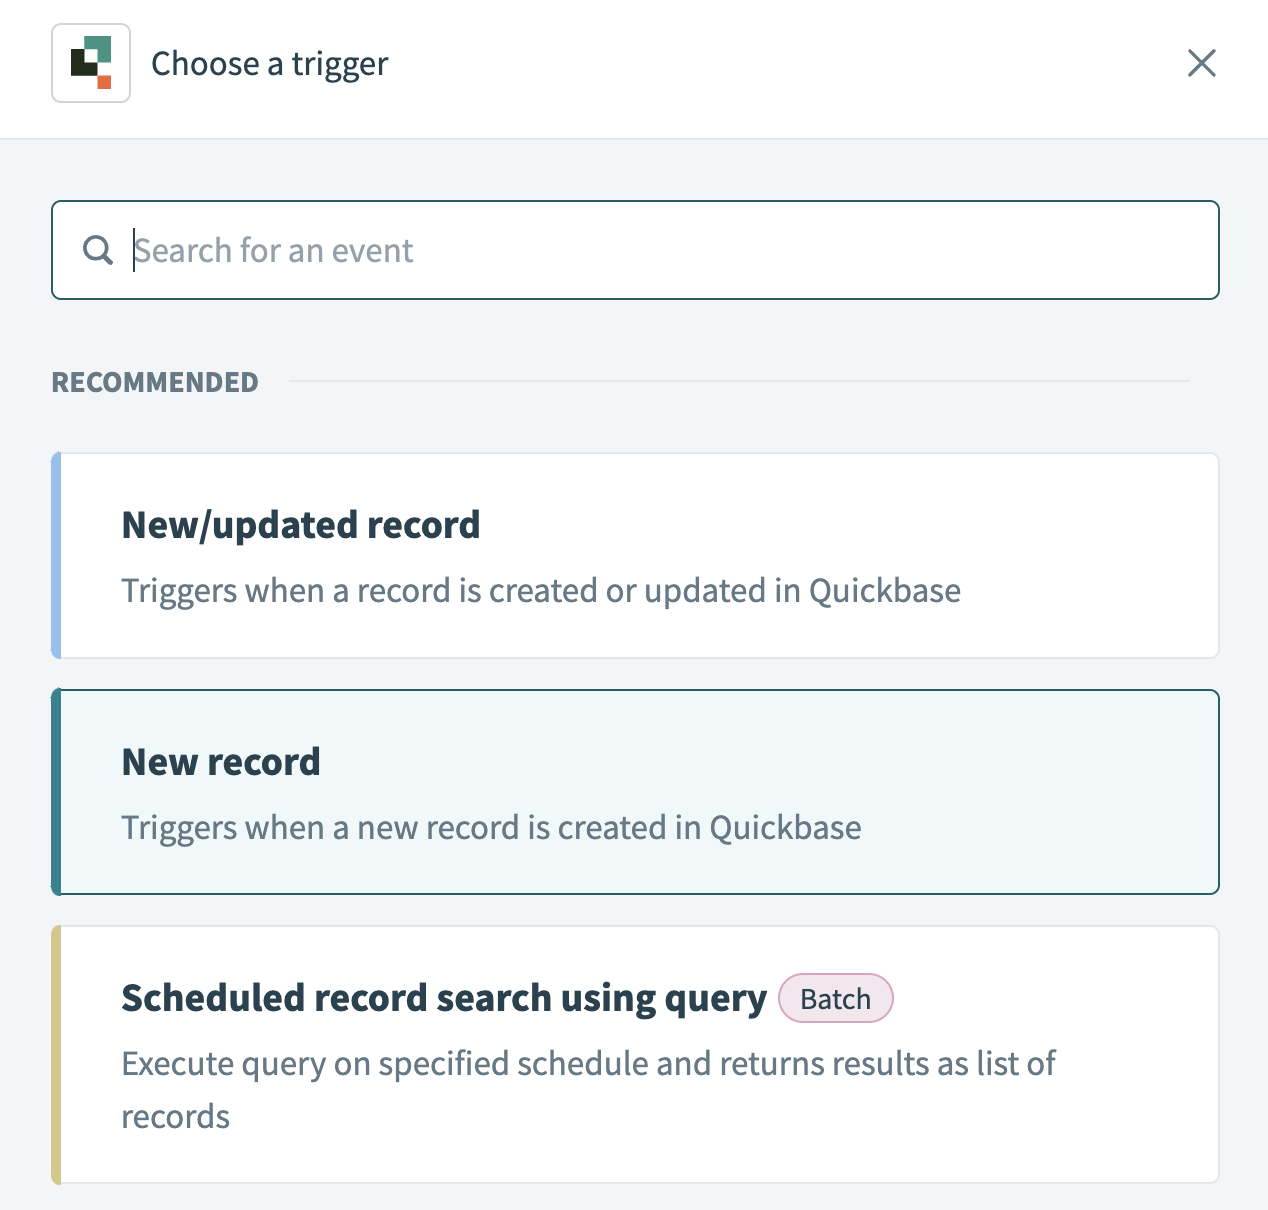 Select the New record trigger
Use the Application drop-down menu to select the application you plan to monitor for new records.
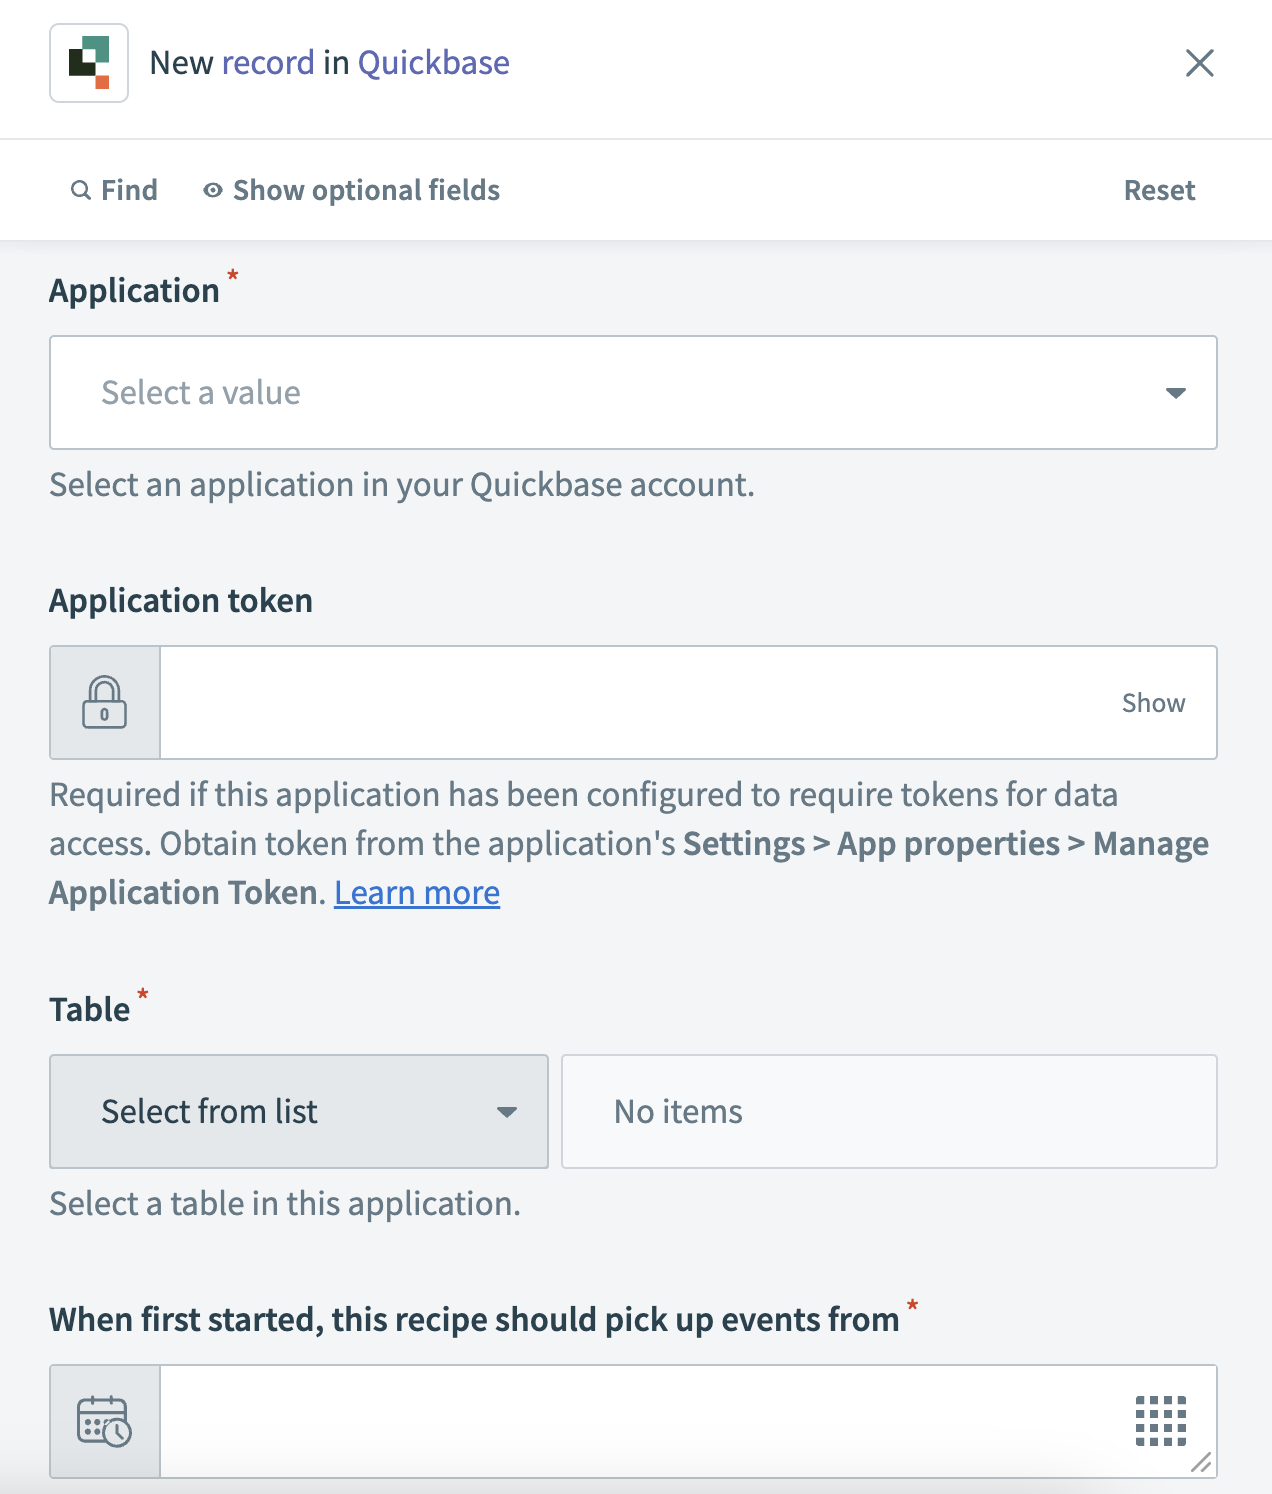 Set up your New record trigger
Use the Table drop-down menu to select the table item you plan to monitor. For example, Employees.
Use the calendar modal to select the date from which your recipe should begin to monitor events in the When first started, this recipe should pick up events from field. Refer to Triggers to learn more about this input field.
Click Save.
Click + Add step and select Action in app.
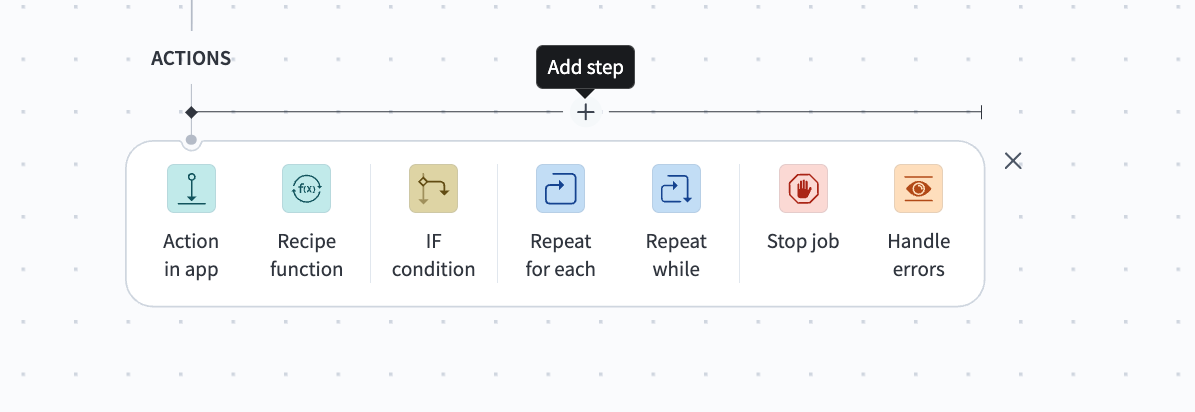 Click Add step > Add action in app
Set up your Oracle EBS Create employee action.
Set up Oracle EBS Create employee action
This step creates an employee record in your Oracle EBS account.
Search for Oracle E-Business Suite and select it as your app.
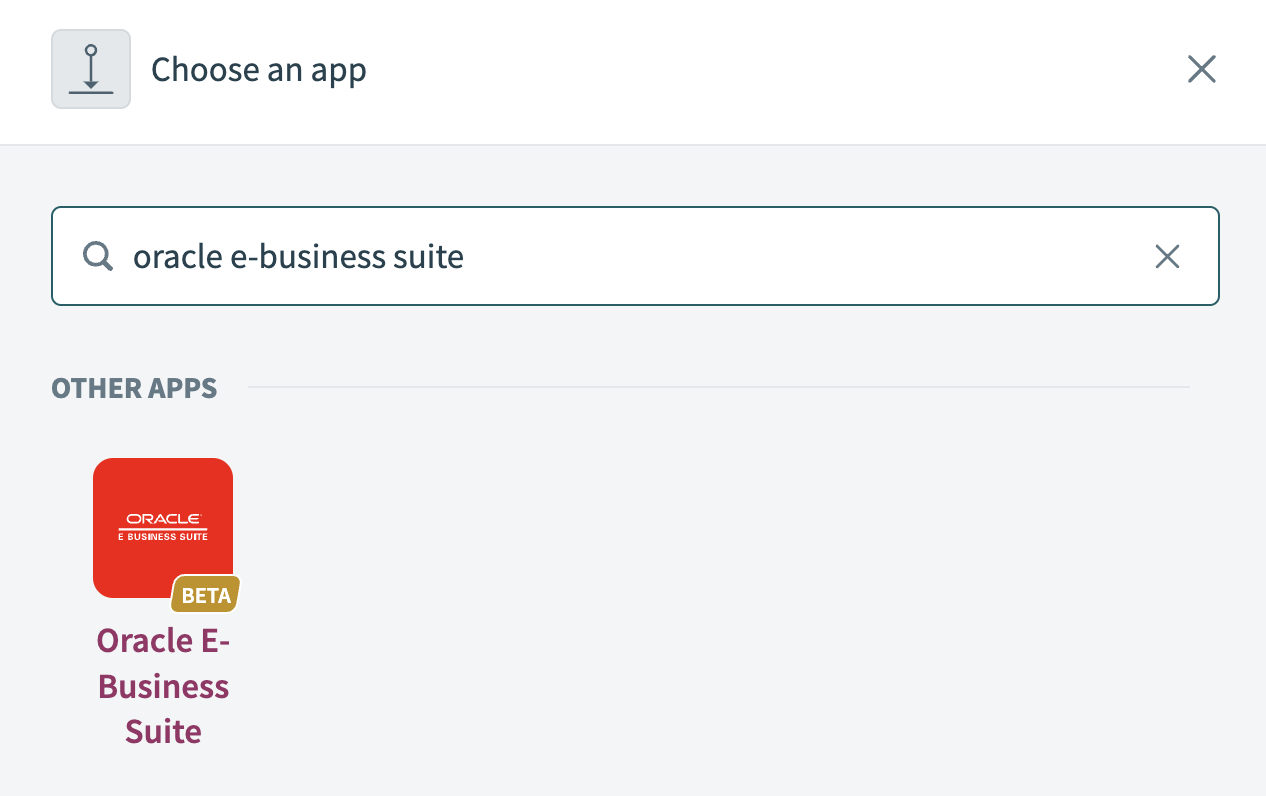 Choose Oracle EBS as your app
Select the Execute operation action.
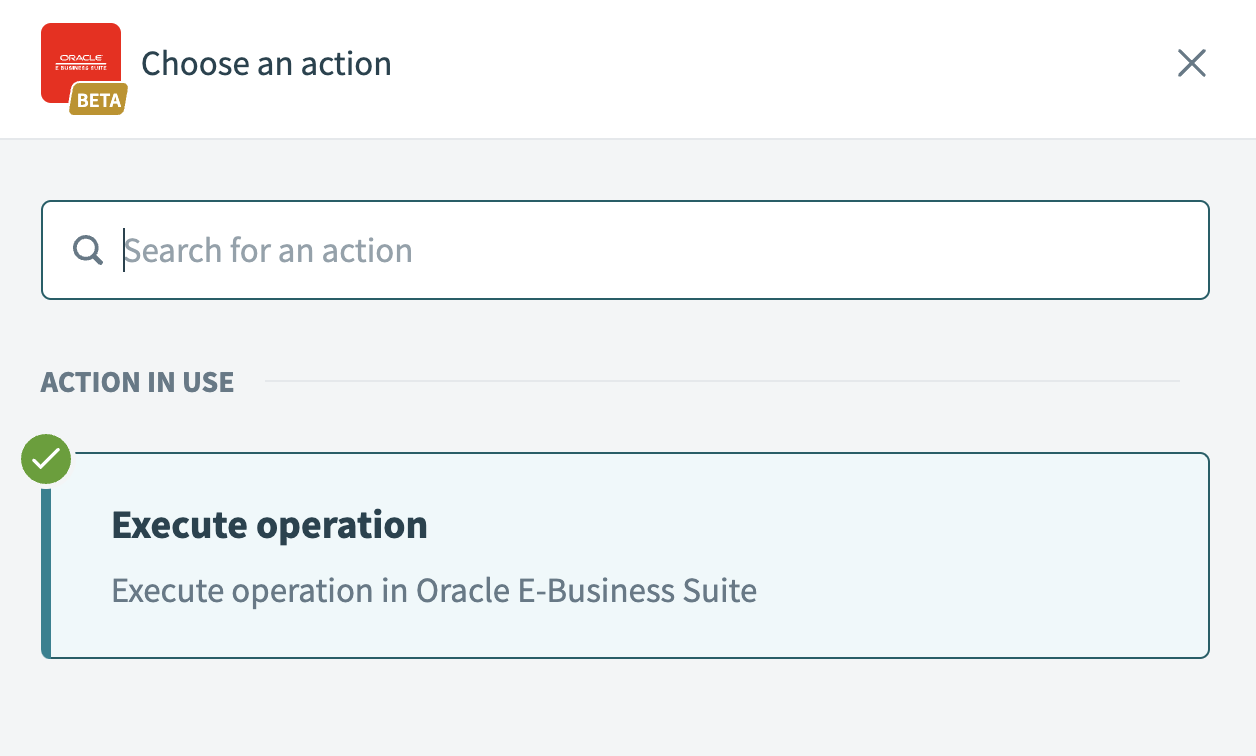 Select the Execute operation action
Provide a Service name for your action. For example, employee.
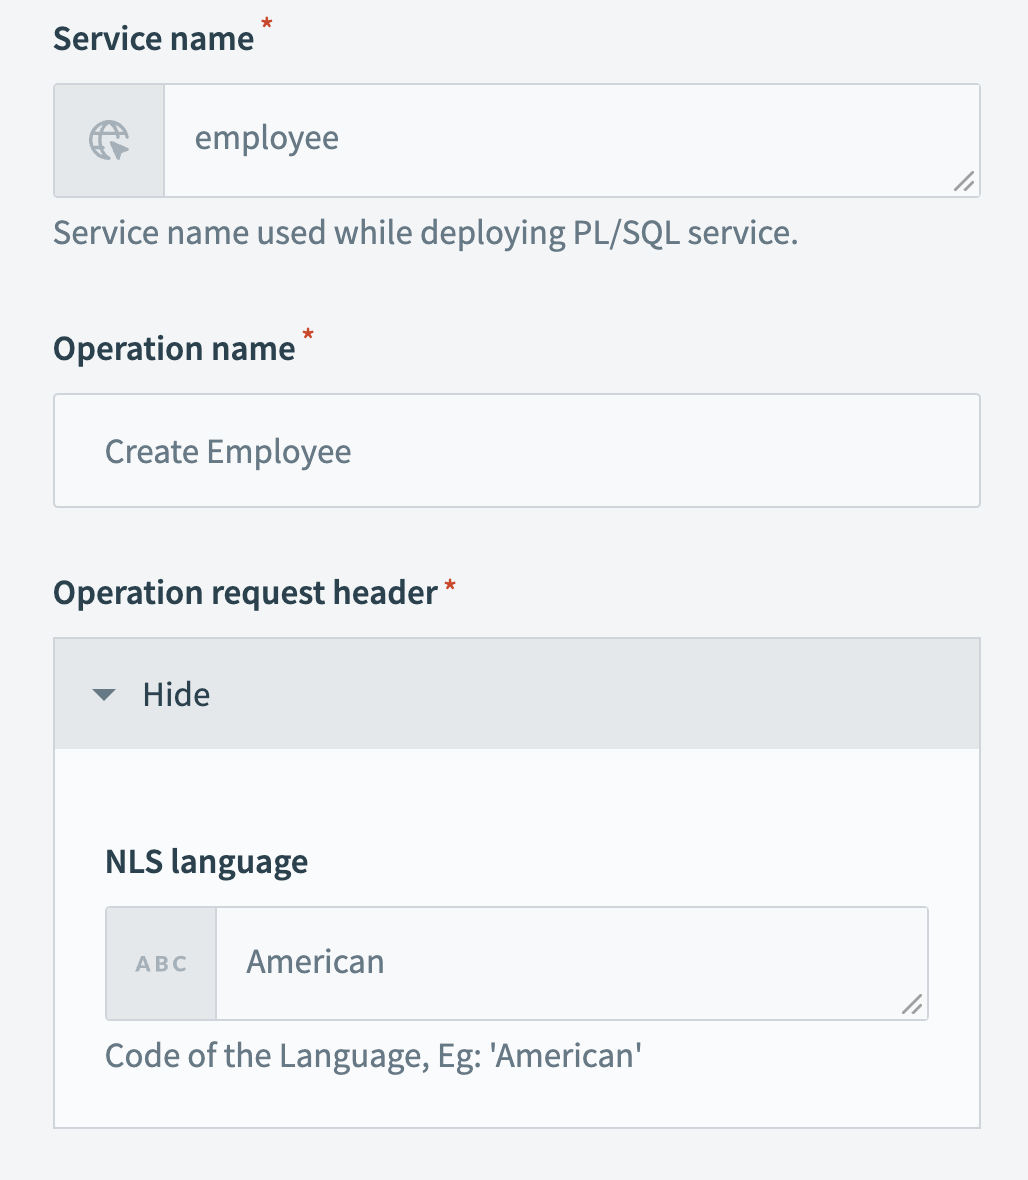 Provide a service and operation name
Provide an Operation name for your action. For example, Create employee.
Expand Operation request header and select the language code you plan to use for your action.
Expand Operation input and provide the First name, Last name, and Email address.  Provide values for your operation input
Click Save.
Click + Add step and select Add action in app.
Set up your Slack Post message action.
Set up Slack Post message action
This step posts a Slack message to the channel you specify with the new employee's details.
Search for Slack and select it as your app.
 Select Slack as your app
Select the Post message action.
Use the Channel drop-down menu to select the Slack channel where you plan to post your message.
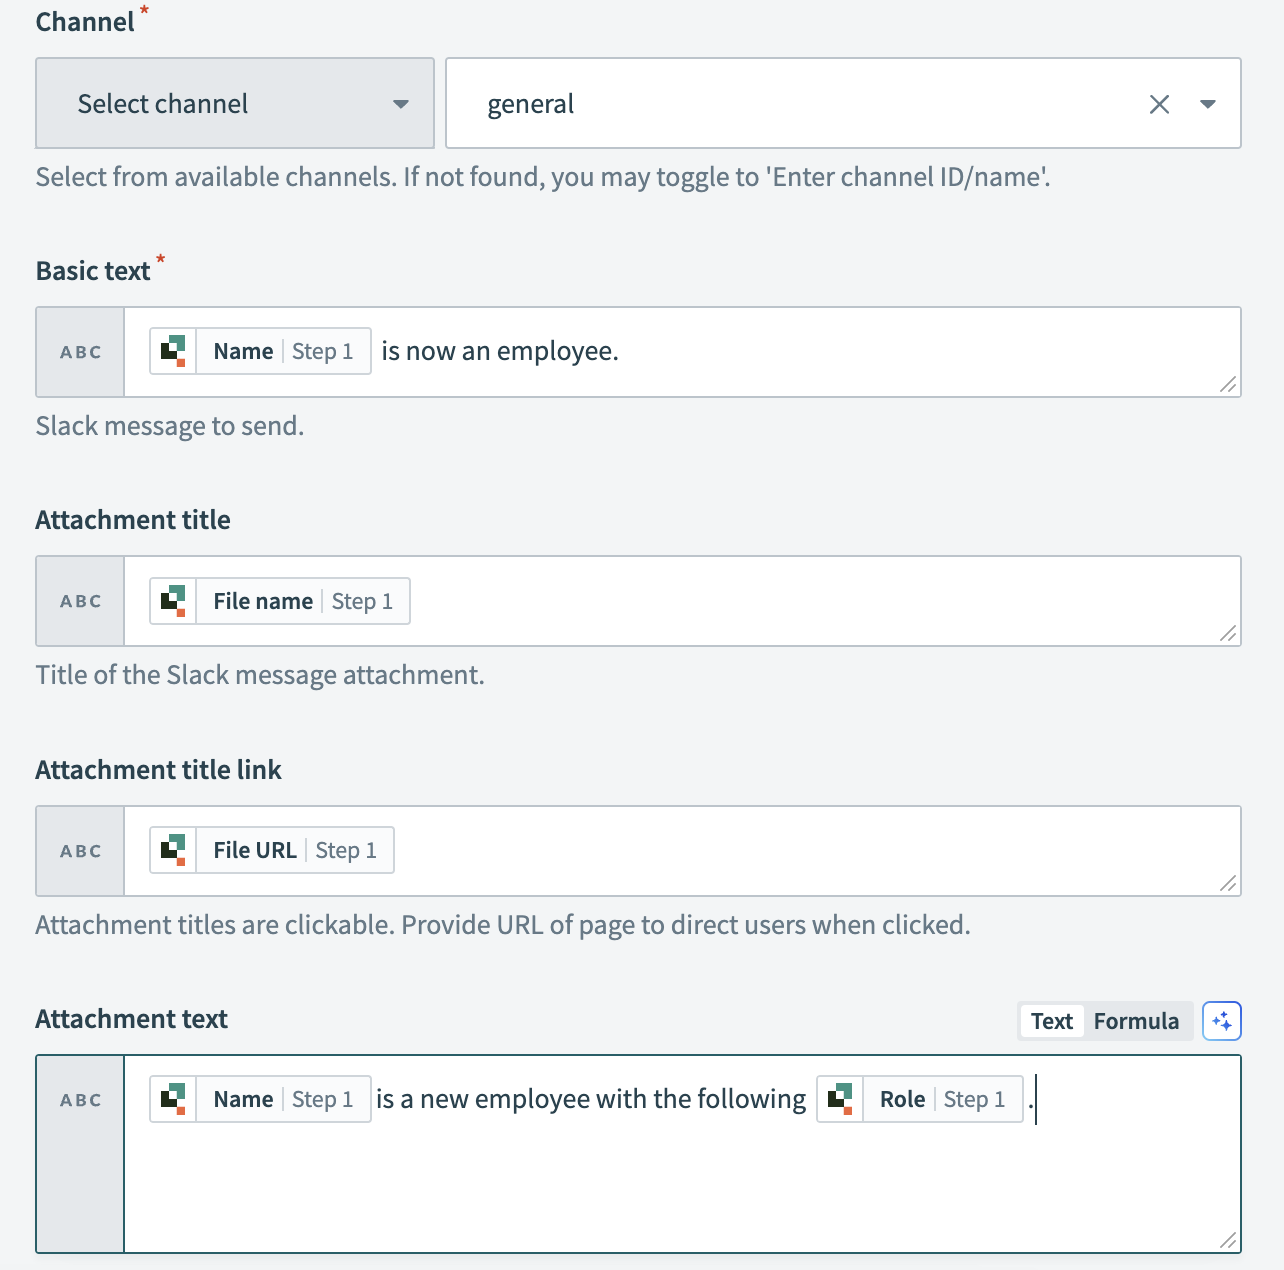 Set up your Slack action
Enter a message for the post in the Basic text field. You can also map the Quickbase NameStep 1 datapill into this field if you plan to automatically include the new employee's name.
Enter an attachment title for the Slack post in the Attachment title field.
Map the Quickbase File URLStep 1 datapill into the Attachment title link field. Attachment titles are clickable and direct users to the URL you provide when clicked.
Enter text for the attachment in the Attachment text field. You can map the Quickbase NameStep 1 and RoleStep 1 datapills into this field if you plan to include specific details about the new employee.
Click Save.
Your Sync Quickbase employees to Oracle EBS and notify your team in Slack recipe is ready to test and implement.
Last updated: