# Validate Salesforce contact information with JavaScript and upsert to Snowflake recipe
This use case guides you through connecting Salesforce, JavaScript snippets by Workato, Snowflake, and Email by Workato to create a powerful automation.
# What does this recipe do?
This recipe retrieves new Salesforce contacts in batches, validates each phone number using JavaScript, and upserts the valid contacts into a Snowflake table. Contacts with invalid phone numbers are excluded from the upsert, and the recipe sends an email listing these invalid contacts.
# Create your recipe
Complete the following steps to create a recipe that retrieves new Salesforce contacts in batches, validates each phone number using JavaScript, and inserts or updates rows in a Snowflake table:
USE CASES ARE INTENDED AS EXAMPLES ONLY
This use case serves as an example. Modifications to triggers, actions, or conditional logic may be necessary to adapt this recipe to your workflow.
Sign in to Workato.
Select the project where you plan to create the recipe.
Create connections for Salesforce and Snowflake:
WORKATO UTILITY CONNECTORS DON'T REQUIRE SETUP
The JavaScript snippets by Workato and Email by Workato connectors do not require connection setup.
Create a Salesforce connection.
# Create a Salesforce connection
This step creates a connection between Workato and your Salesforce account.
Click Create > Connection.
Search for and select Salesforce on the New connection page.
Provide a name for your connection in the Connection name field.
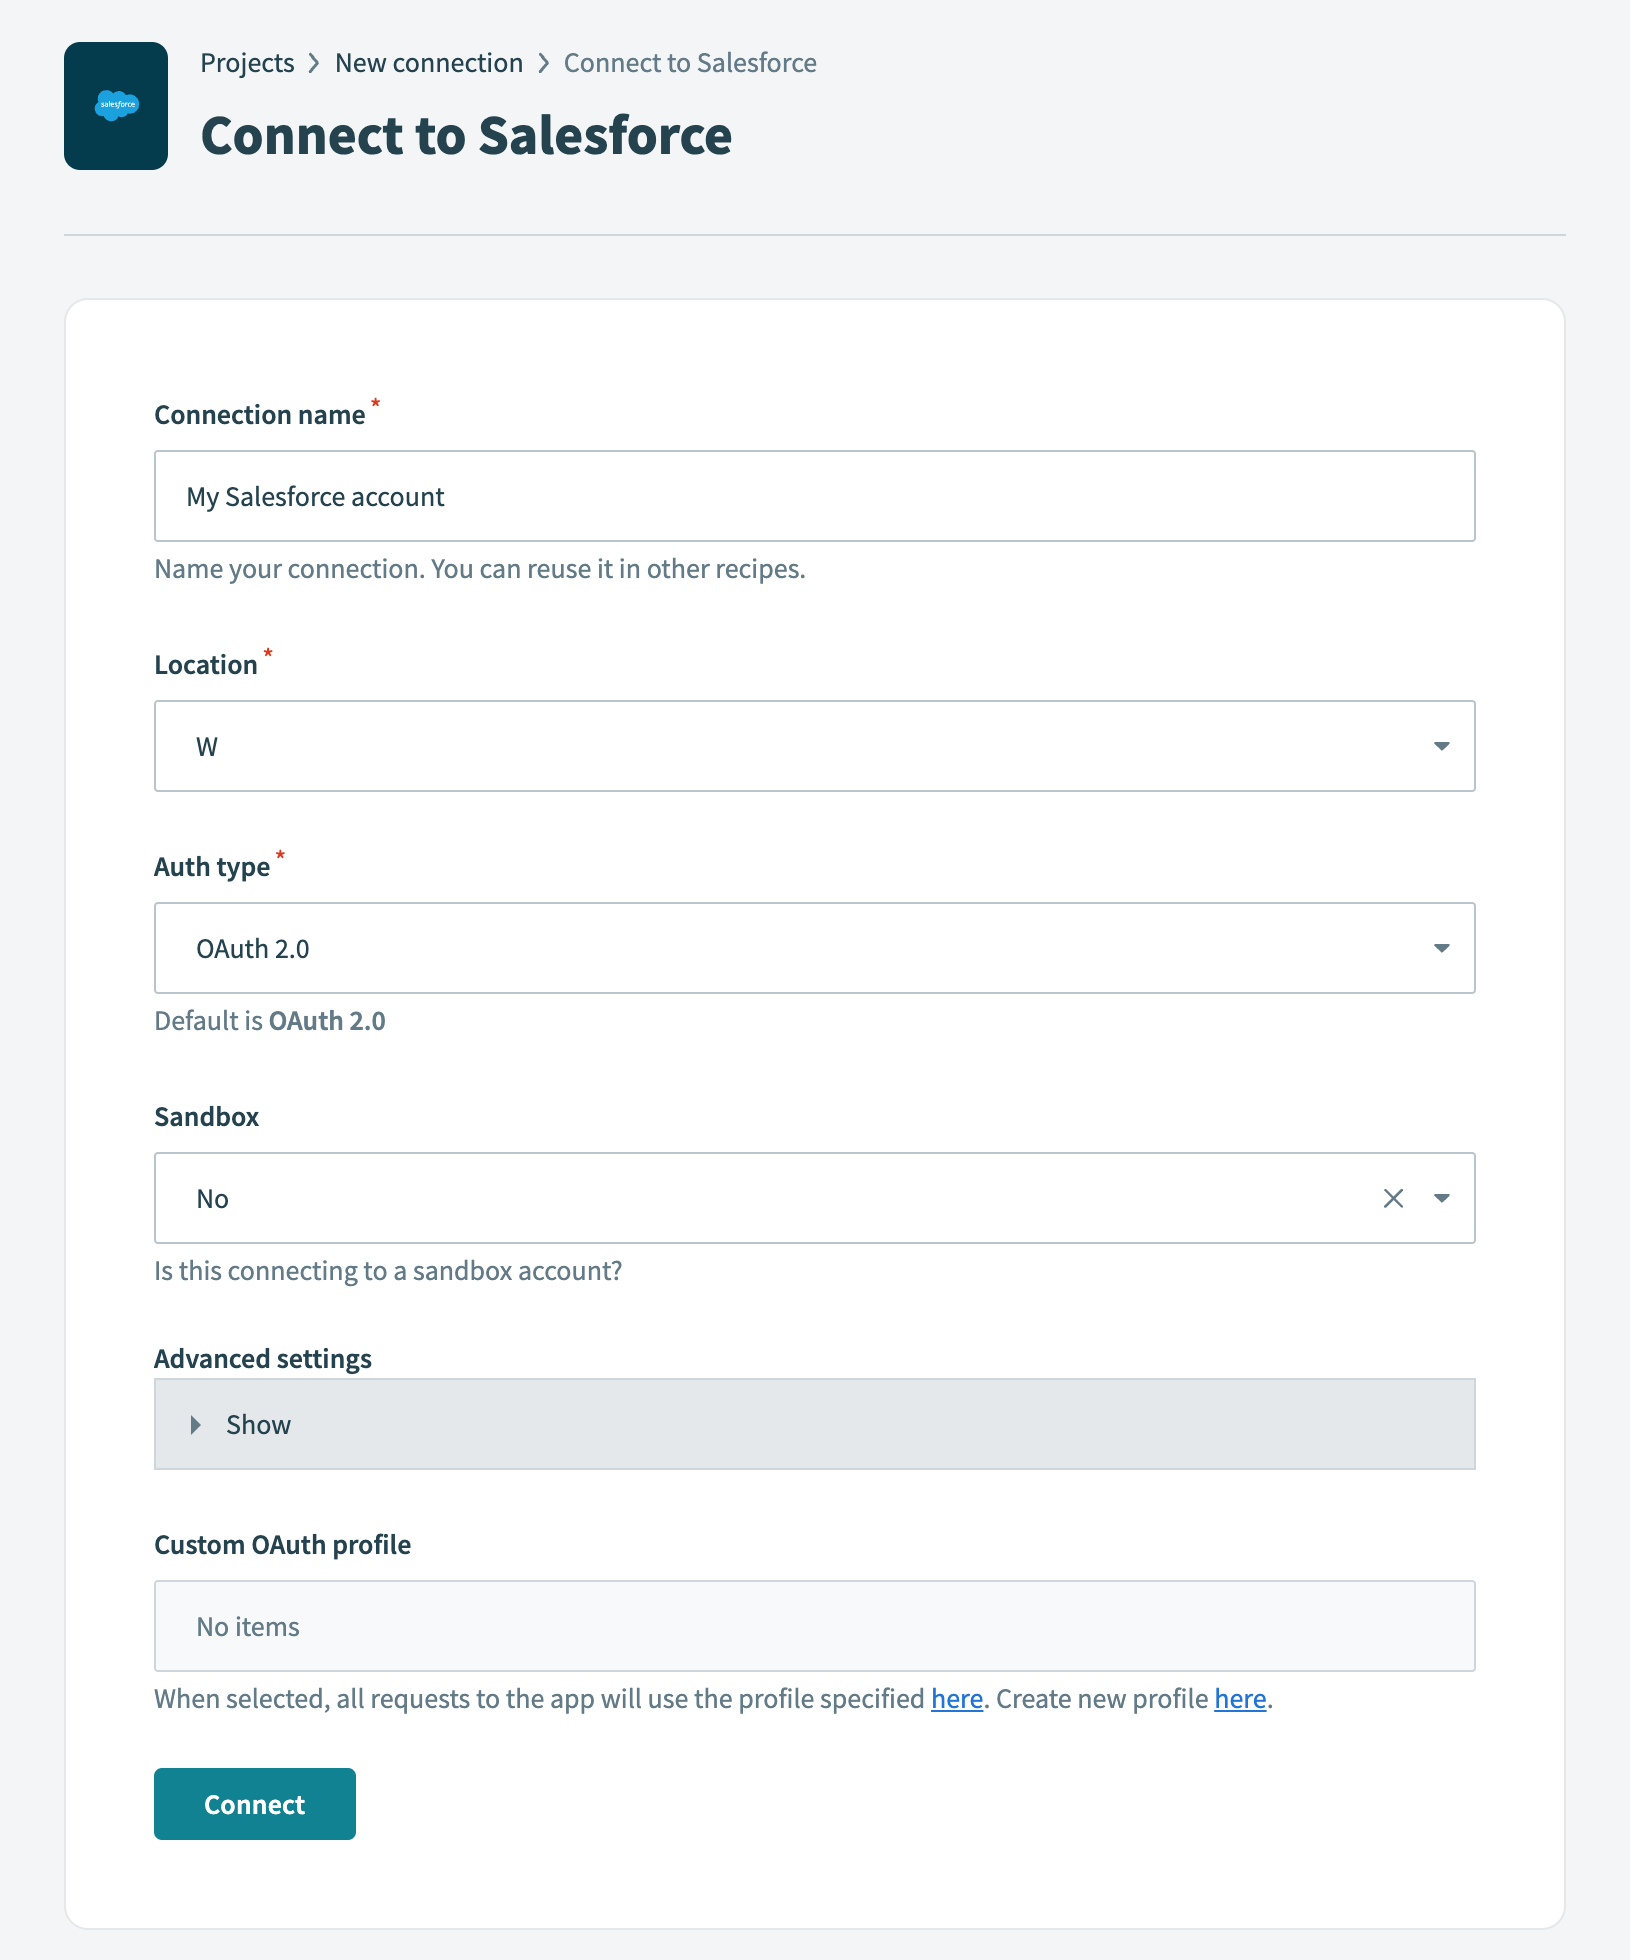 Salesforce connection setup
Use the Location drop-down menu to select the project where you plan to store the connection.
Use the Auth type drop-down menu to select the authentication method. The default is OAuth 2.0.
Use the Sandbox drop-down menu to specify whether the Salesforce account is a sandbox account.
Optional. Expand Advanced settings to configure advanced connection options.
Optional. Use the Custom OAuth profile drop-down menu to select a custom OAuth profile for your connection.
- This custom OAuth profile ensures that the connection is restricted to the same set of scopes you selected for all users with the profile, and the authentication flow uses the client app linked to the custom profile.
Click Connect.
Enter your Salesforce account credentials and click Log In.
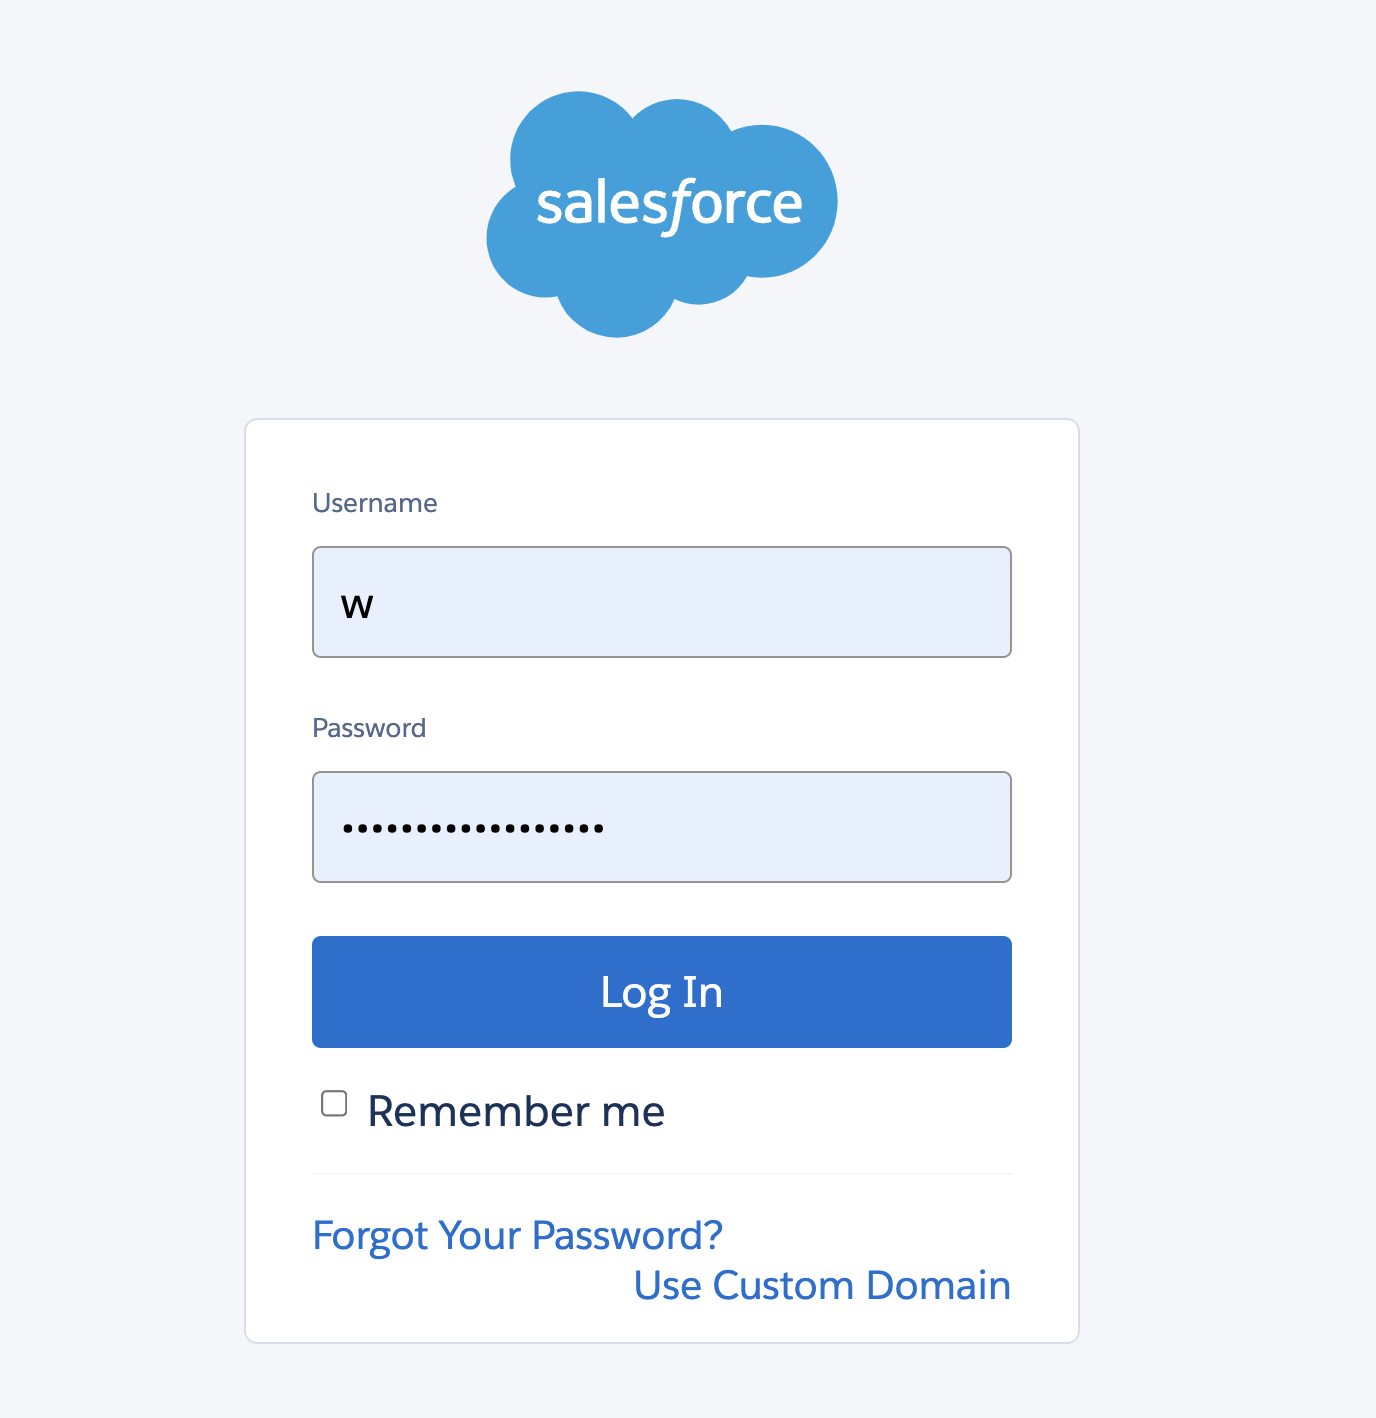 Log in to your Salesforce account
Create a Snowflake connection.
# Create a Snowflake connection
This step creates a connection between Workato and your Snowflake account.
Click Create > Connection.
Search for and select Snowflake on the New connection page.
Provide a name for your connection in the Connection name field.
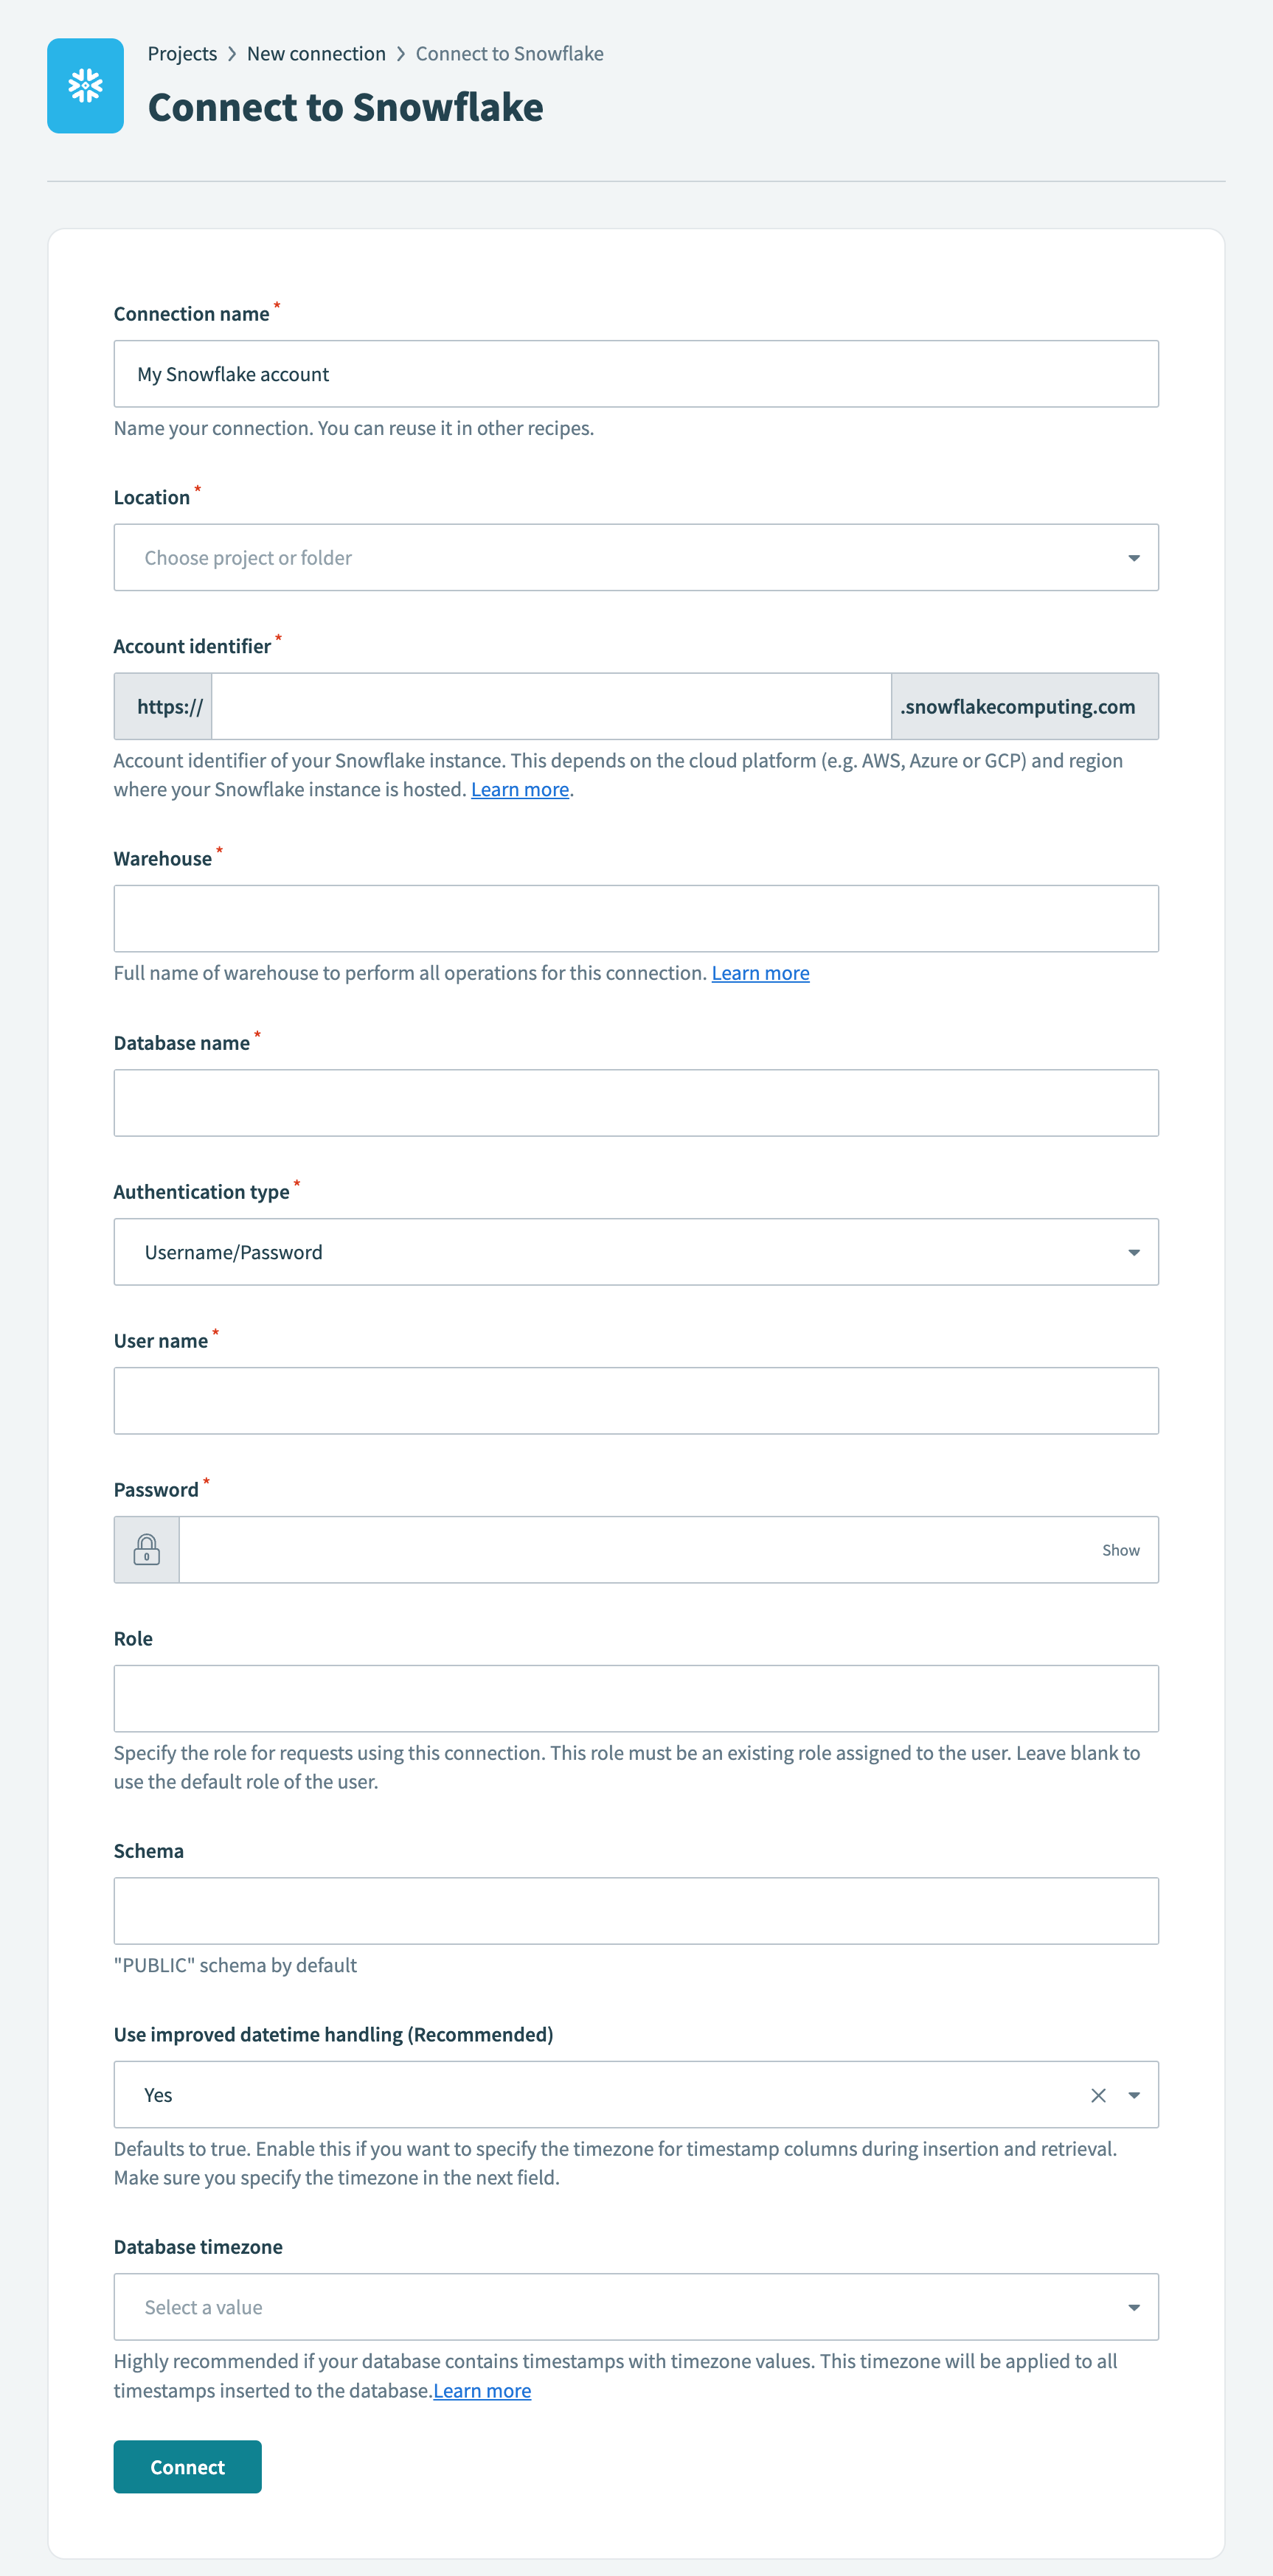 Snowflake connection setup
Use the Location drop-down menu to select the project where you plan to store the connection.
Enter your account identifier in the Account identifier field. Snowflake has multiple methods of identifying an account. Workato supports all methods:
- Account name:
https://{org.name}-{account_name} - Connection name:
https://{org.name}-{connectionname} - Account locator:
https://{account.locator}.{region}.{cloud}
If you're using the account locator, note that {region} and {cloud} are only required for certain locations. For example:
- If your account is hosted in AWS US West (Oregon), use
your-account-locator. - If your account is hosted in AWS US East (Ohio), use
your-account-locator.us-east-2. - If your account is hosted in Azure West Europe, use
your-account-locator.west-europe.azure.
Enter the full name of the warehouse where you plan to perform all operations for this connection in the Warehouse field. For example, compute_wh.
Enter the database you plan to use in your recipe connection in the Database name field.
Use the Authentication type drop-down menu to select your authentication type.
- Username/Password: Enter your username and password if you select this option.
- OAuth 2.0: Enter your Client ID and Client Secret if you select this option.
Click Connect.
Go back to your project and click Create > Recipe.
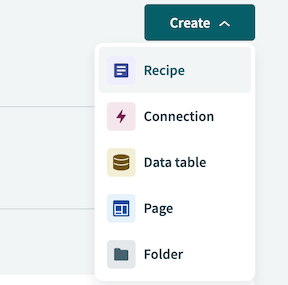 Create a new recipe
Enter a name for your recipe in the Name field.
Select the project where you plan to store the recipe from the Location drop-down menu.
Click Start building.
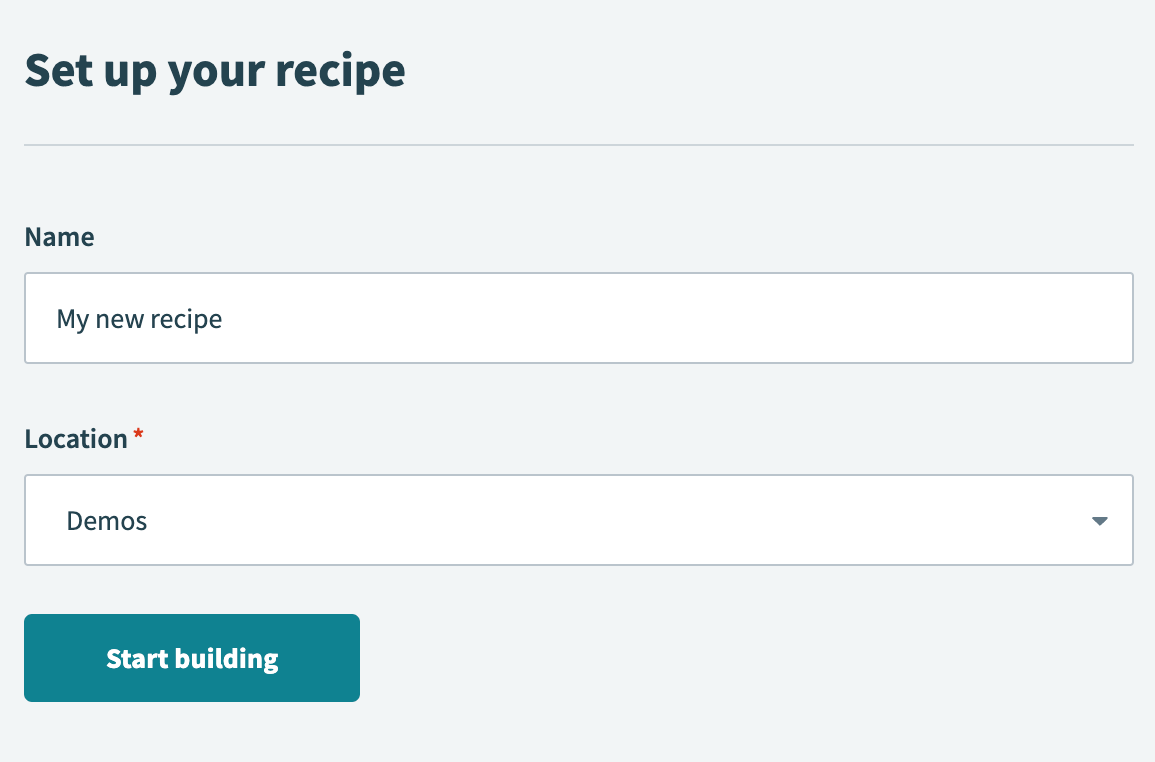 Start building your recipe
Click Pick a starting point, then select Trigger from an app.
Click Select an app and trigger event.
Set up your Salesforce New records batch trigger.
# Set up Salesforce New records batch trigger
This trigger monitors Salesforce daily for new contact records and retrieves specific fields when new contacts are found.
Search for Salesforce and select it as your app.
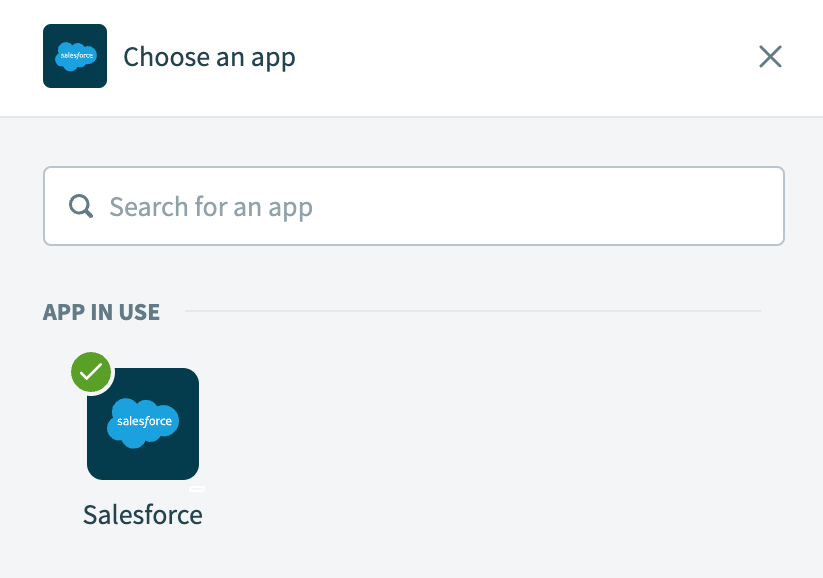 Choose Salesforce
Select the New records trigger.
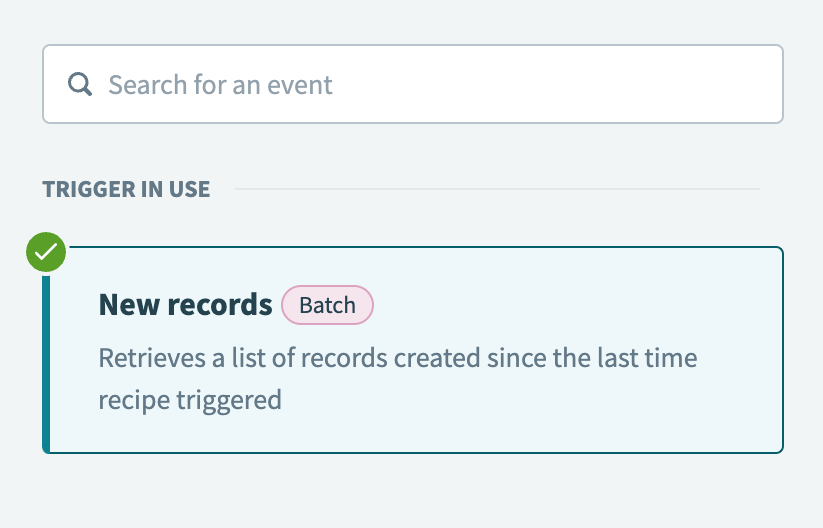 Select the New records batch trigger
Select the Salesforce connection you created in the preceding steps.
Use the Object drop-down menu to select Contact as the Salesforce object you plan to monitor for new records.
Optional. Use the Fields to retrieve drop-down menu to specify the fields you plan to retrieve. This example selects the following fields:
- Contact ID
- Account ID
- Last Name
- First Name
- Business Phone
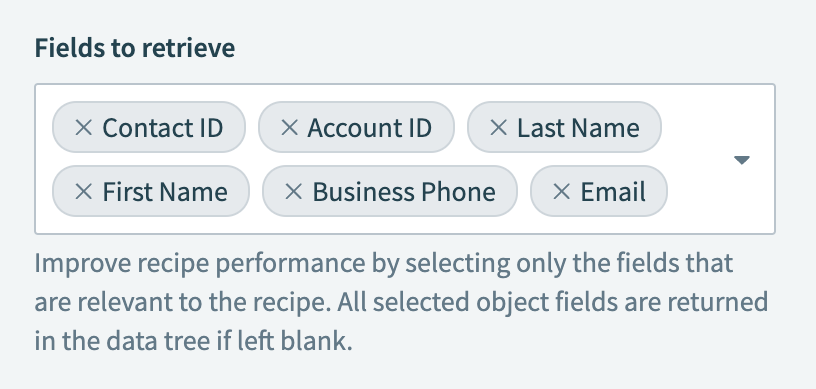 Specify the fields you plan to retrieve
Enter the batch size in the Batch size field. The default is 100, and the maximum is 2000 records per batch.
Optional. Click Show optional fields, select Trigger poll interval, and click Apply changes.
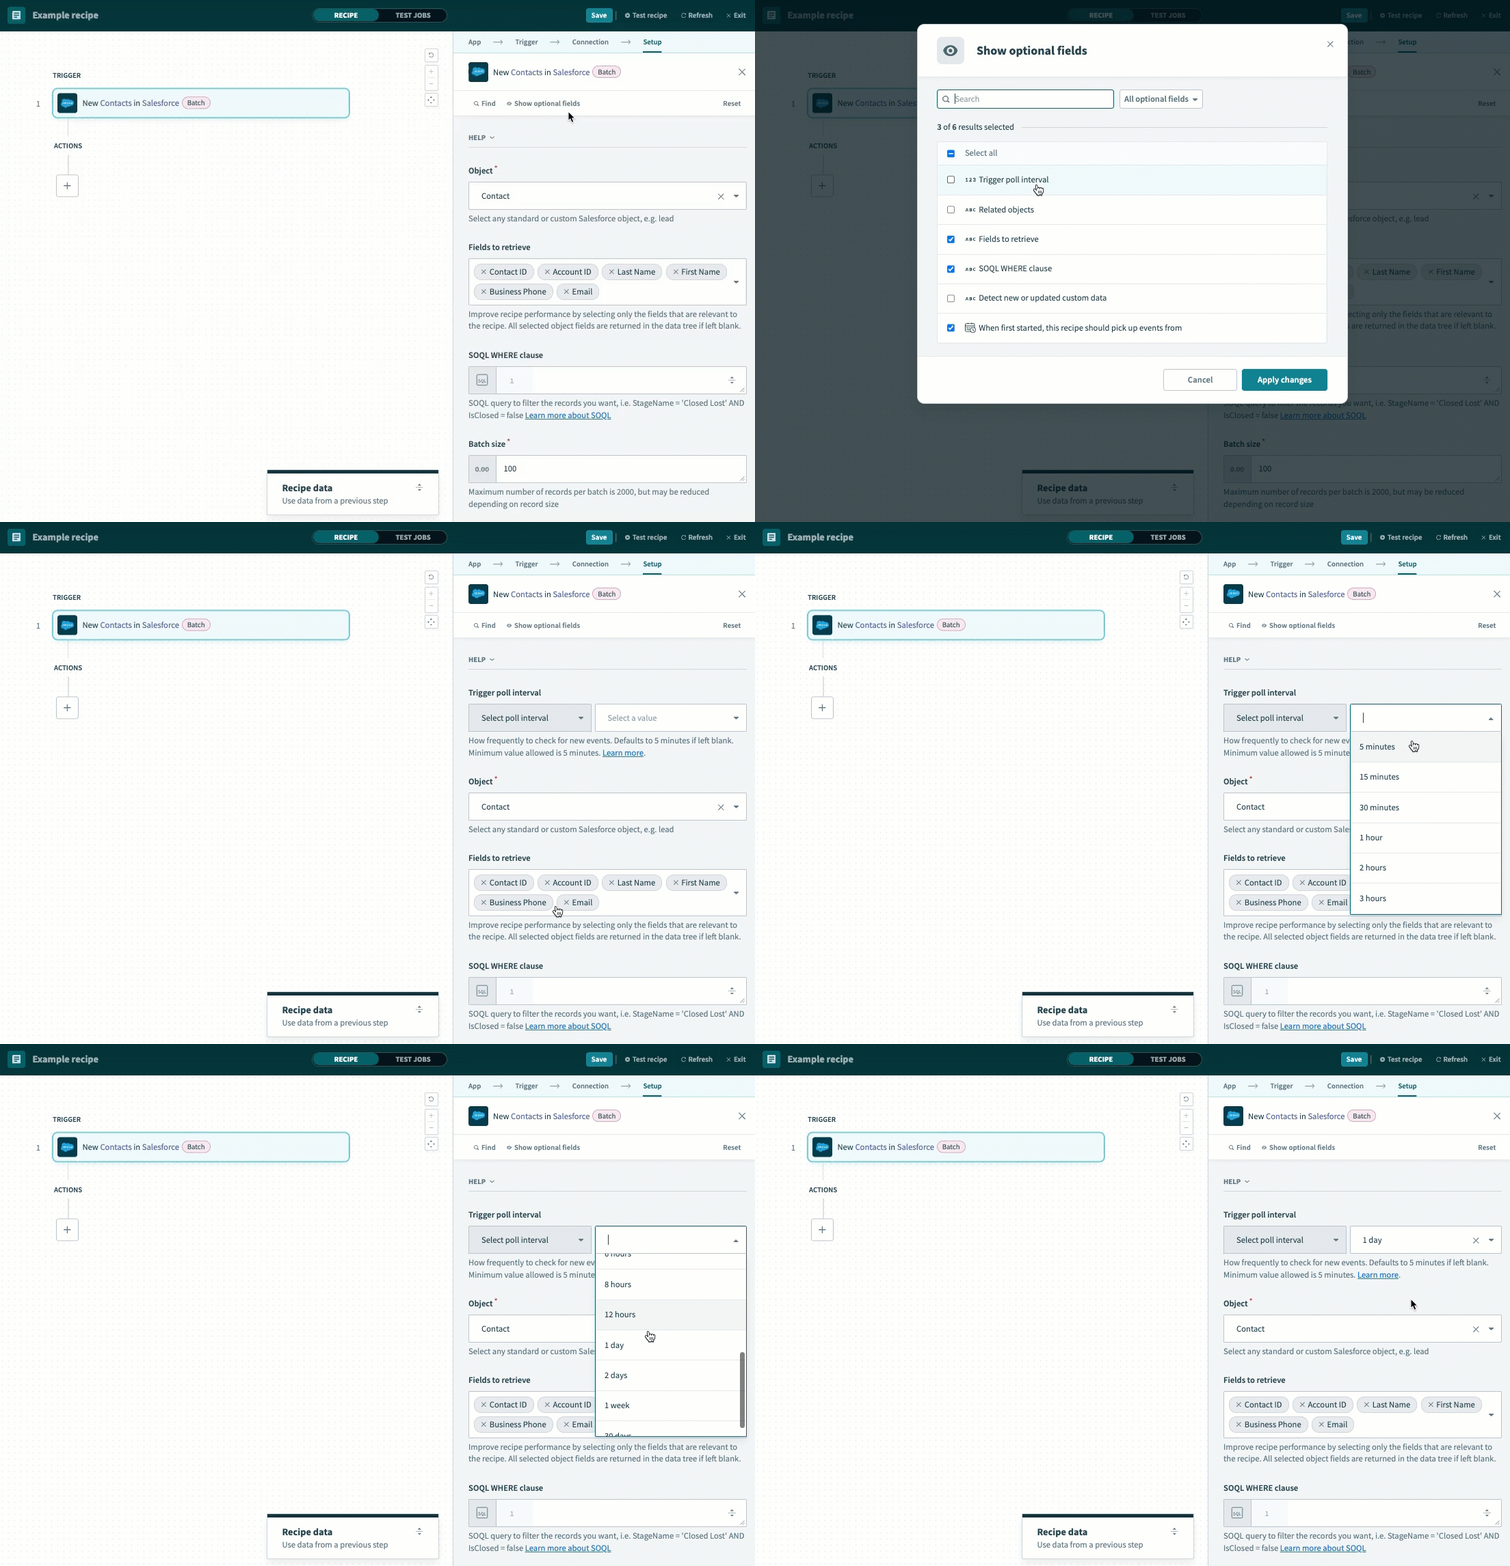 Configure the Trigger poll interval
Optional. Use the Trigger poll interval drop-down menu to specify how frequently this recipe should check for new contacts in Salesforce. This example selects 1 day.
Click Save.
Click + Add step and select Action in app.
 Click Add step > Add action in app
Set up your JavaScript snippets by Workato Execute code action.
# Set up JavaScript snippets by Workato Execute code action
This step validates contacts by checking if each record contains a valid phone number. This action returns the following output fields: val_contacts (list of valid contacts), bad_contacts (list of invalid contacts), and log. The log message varies based on whether all Salesforce contacts in the batch are valid or if any have invalid phone numbers.
Search for JavaScript snippets by Workato and select it as your app.
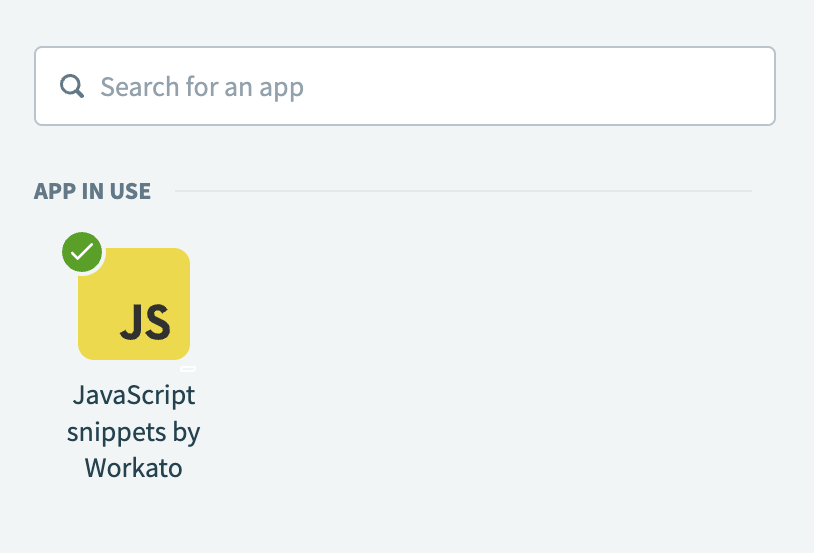 Choose JavaScript snippets by Workato
Select the Execute code action.
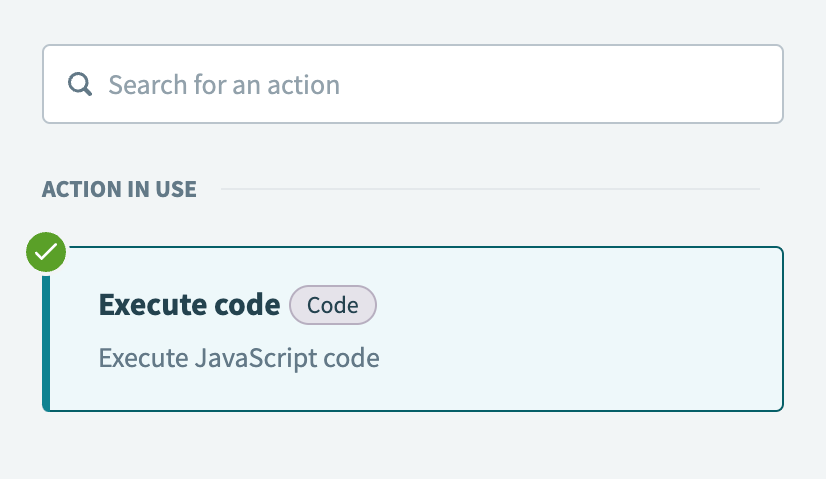 Select the Execute code action
Enter Validate contacts in the Name field. This changes the action name in the recipe editor.
 Configure the Name field
Go to Input fields and select Add field.
Enter contacts in the Name field.
Click Add field.
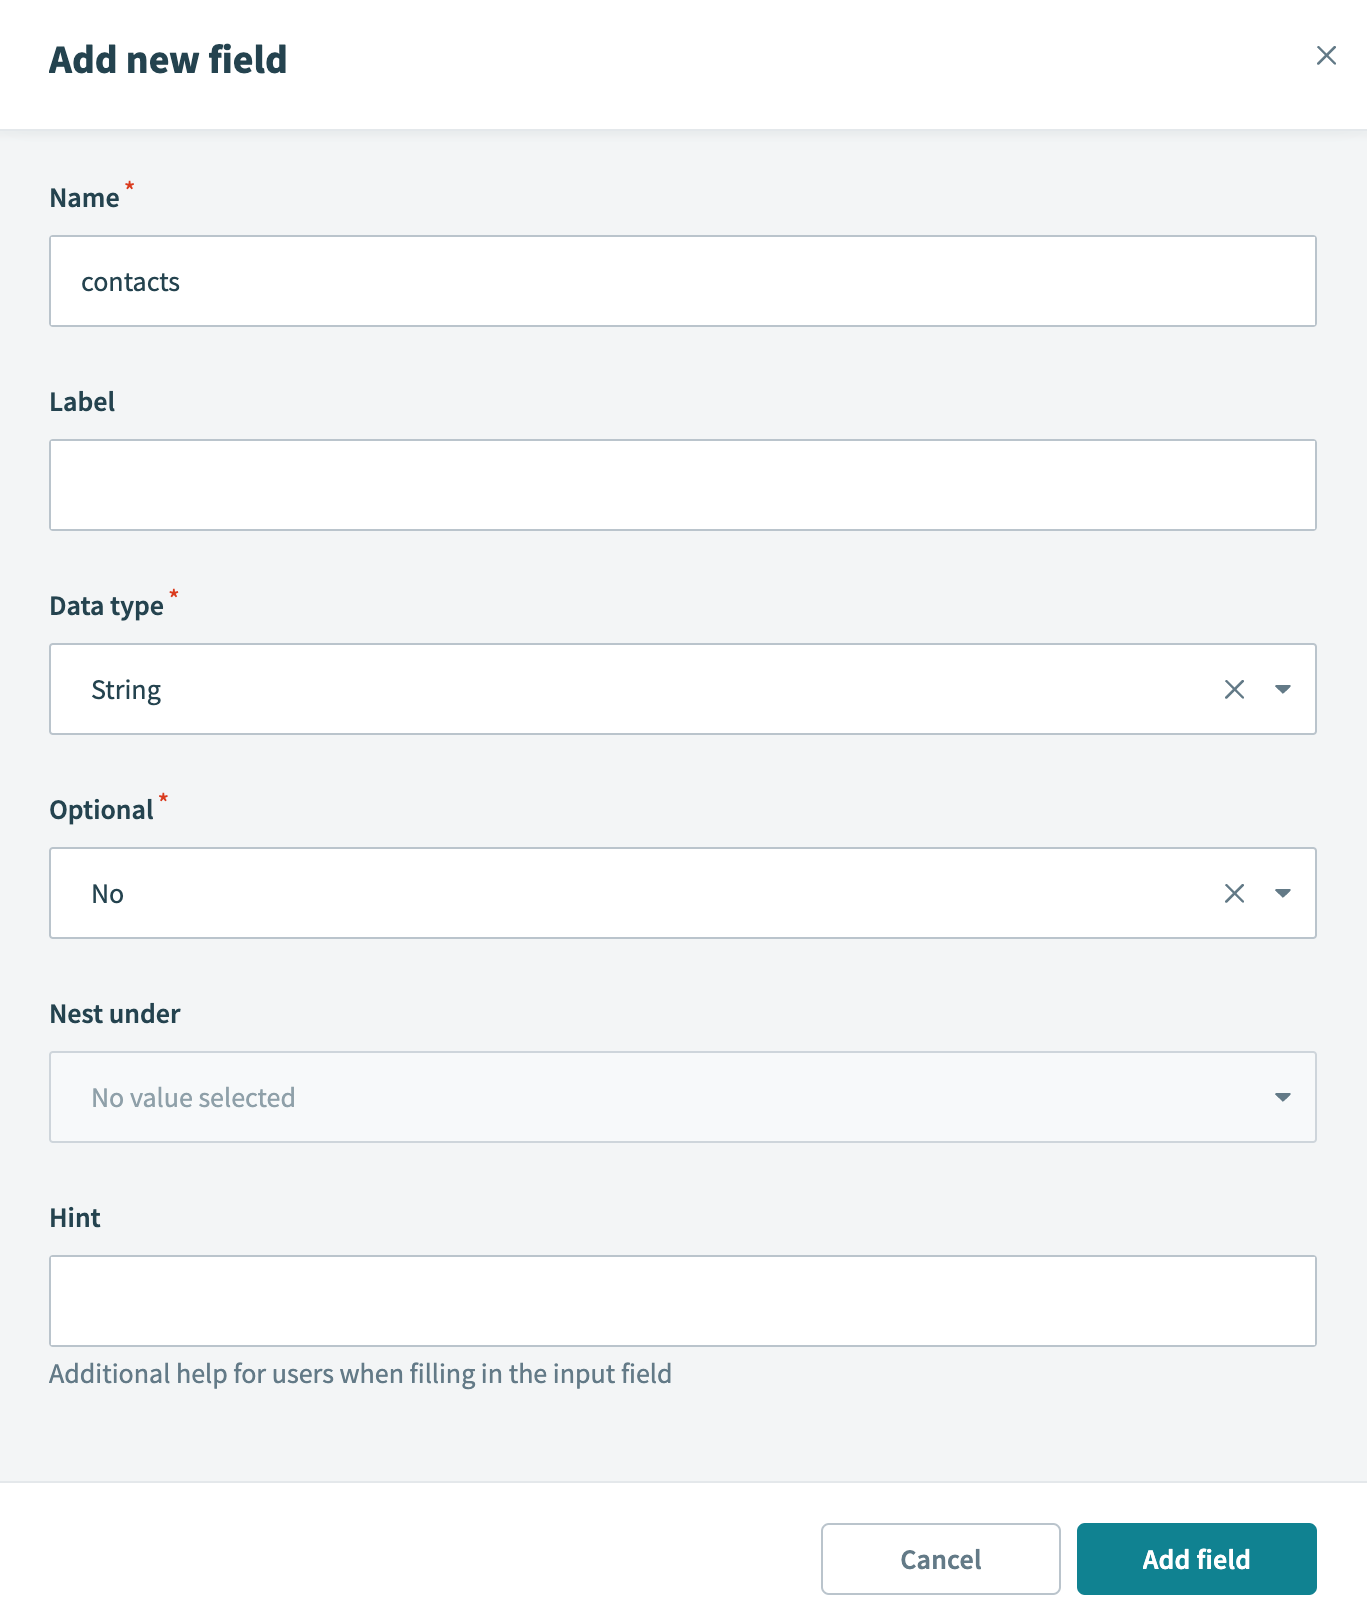 Select the Execute code action
Switch the Contacts field to formula mode.
Map the Salesforce Contacts Step 1 list datapill to the Contacts field. You can't map this datapill unless the Contacts field is switched to formula mode.
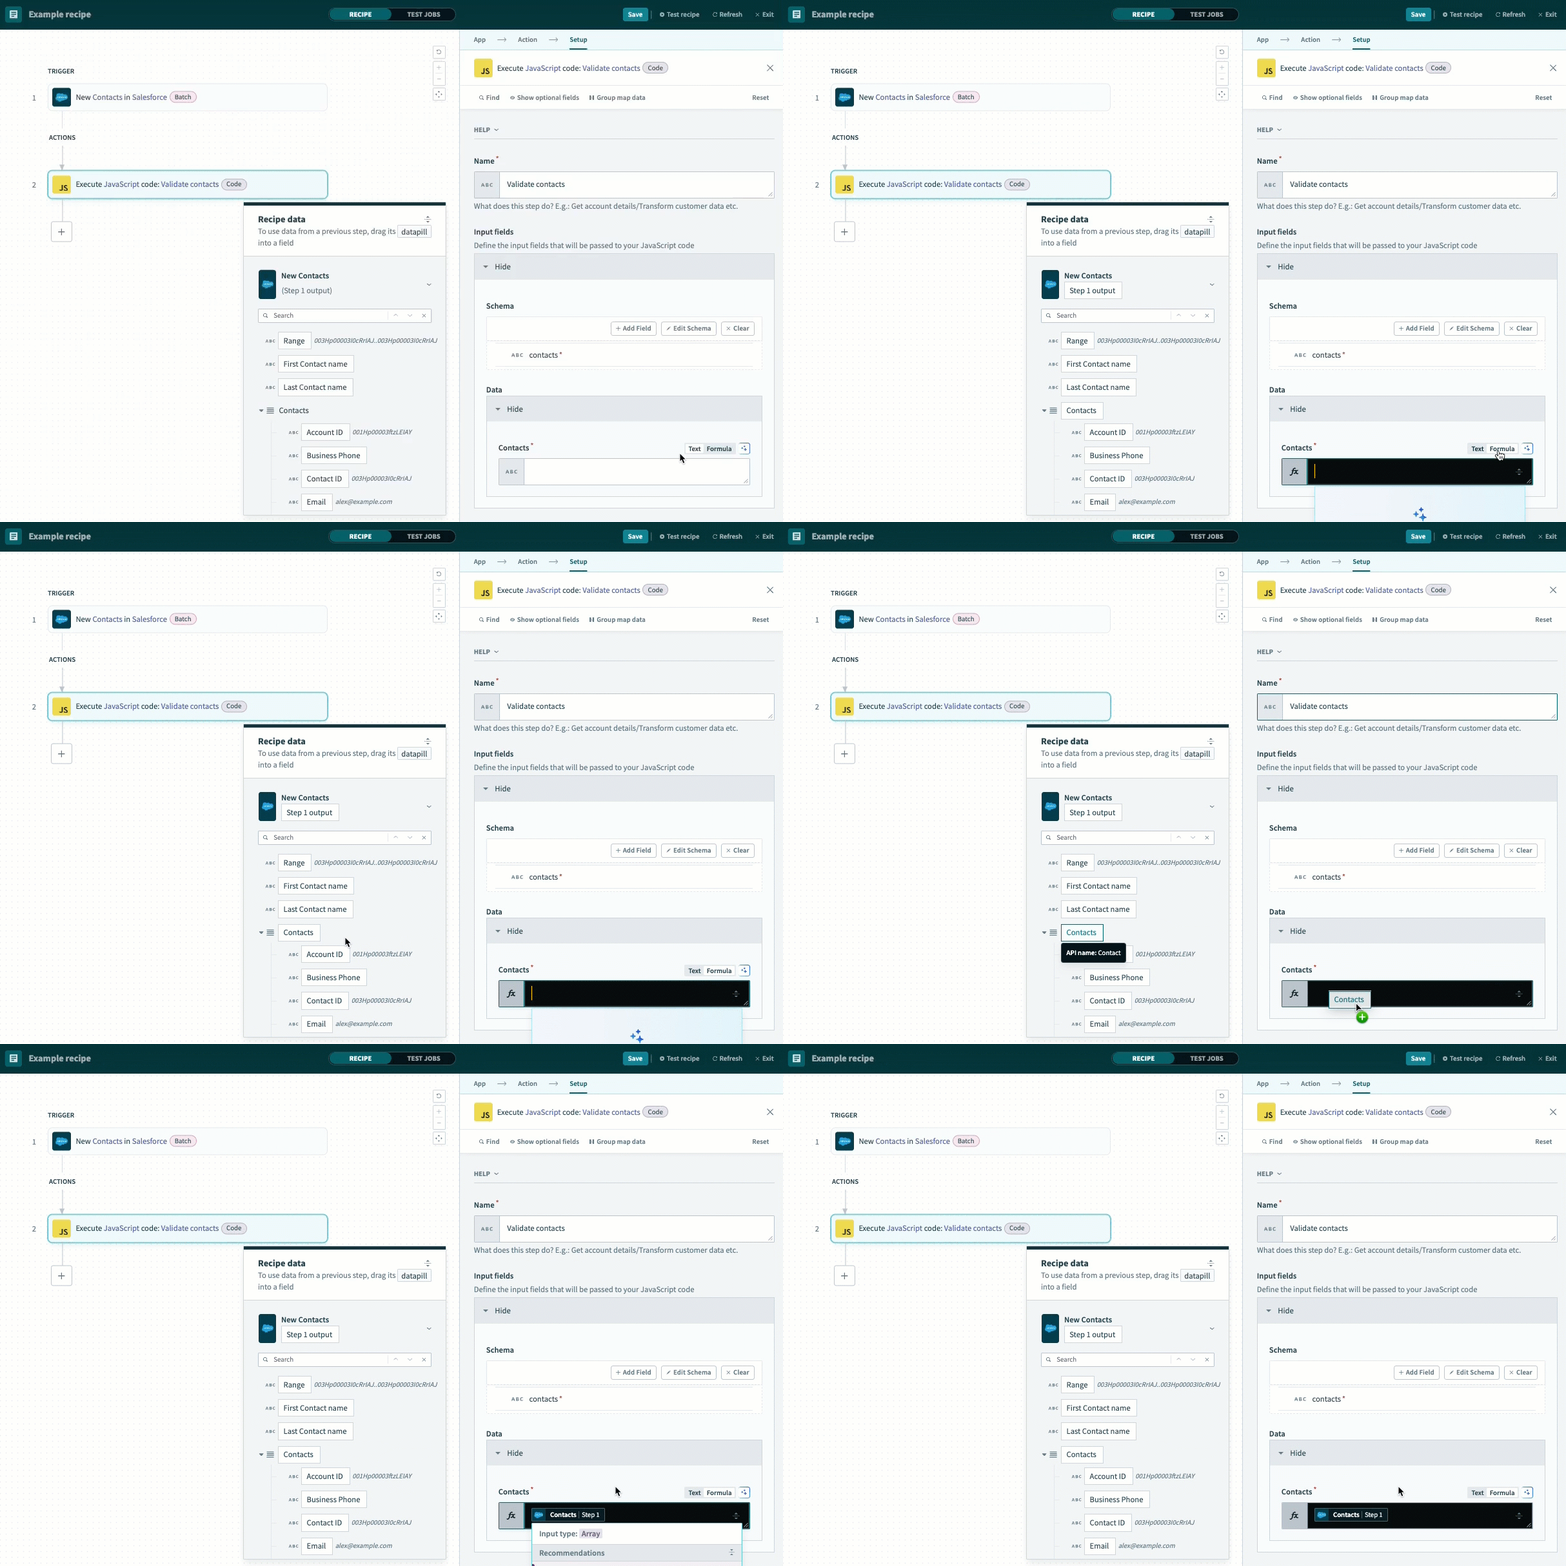 Map the Contacts Step 1 datapill
Go to Output fields and create a placeholder field.
Click Edit schema.
Copy and paste the following JSON schema to replace the existing schema:
[
  {
    "name": "val_contacts",
    "type": "array",
    "of": "object",
    "label": "Val contacts",
    "properties": [
      {
        "properties": [
          {
            "control_type": "text",
            "label": "Type",
            "type": "string",
            "name": "type"
          },
          {
            "control_type": "text",
            "label": "URL",
            "type": "string",
            "name": "url"
          }
        ],
        "label": "Attributes",
        "type": "object",
        "name": "attributes"
      },
      {
        "control_type": "text",
        "label": "Account ID",
        "type": "string",
        "name": "AccountId"
      },
      {
        "control_type": "text",
        "label": "Phone",
        "type": "string",
        "name": "Phone"
      },
      {
        "control_type": "text",
        "label": "ID",
        "type": "string",
        "name": "Id"
      },
      {
        "control_type": "text",
        "label": "Email",
        "type": "string",
        "name": "Email"
      },
      {
        "control_type": "text",
        "label": "First name",
        "type": "string",
        "name": "FirstName"
      },
      {
        "control_type": "text",
        "label": "Last name",
        "type": "string",
        "name": "LastName"
      },
      {
        "control_type": "text",
        "label": "Valid",
        "render_input": {},
        "parse_output": {},
        "toggle_hint": "Select from option list",
        "toggle_field": {
          "label": "Valid",
          "control_type": "text",
          "toggle_hint": "Use custom value",
          "type": "boolean",
          "name": "valid"
        },
        "type": "boolean",
        "name": "valid"
      }
    ]
  },
  {
    "name": "bad_contacts",
    "type": "array",
    "of": "object",
    "label": "Bad contacts",
    "properties": [
      {
        "properties": [
          {
            "control_type": "text",
            "label": "Type",
            "type": "string",
            "name": "type"
          },
          {
            "control_type": "text",
            "label": "URL",
            "type": "string",
            "name": "url"
          }
        ],
        "label": "Attributes",
        "type": "object",
        "name": "attributes"
      },
      {
        "control_type": "text",
        "label": "Account ID",
        "type": "string",
        "name": "AccountId"
      },
      {
        "control_type": "text",
        "label": "Phone",
        "type": "string",
        "name": "Phone"
      },
      {
        "control_type": "text",
        "label": "ID",
        "type": "string",
        "name": "Id"
      },
      {
        "control_type": "text",
        "label": "Email",
        "type": "string",
        "name": "Email"
      },
      {
        "control_type": "text",
        "label": "First name",
        "type": "string",
        "name": "FirstName"
      },
      {
        "control_type": "text",
        "label": "Last name",
        "type": "string",
        "name": "LastName"
      },
      {
        "control_type": "text",
        "label": "Valid",
        "render_input": {},
        "parse_output": {},
        "toggle_hint": "Select from option list",
        "toggle_field": {
          "label": "Valid",
          "control_type": "text",
          "toggle_hint": "Use custom value",
          "type": "boolean",
          "name": "valid"
        },
        "type": "boolean",
        "name": "valid"
      }
    ]
  },
  {
    "control_type": "text",
    "label": "Log",
    "type": "string",
    "name": "log"
  }
]
Click Update to apply the new JSON schema. You can scroll through the listings under Output fields to see the newly applied schema output:
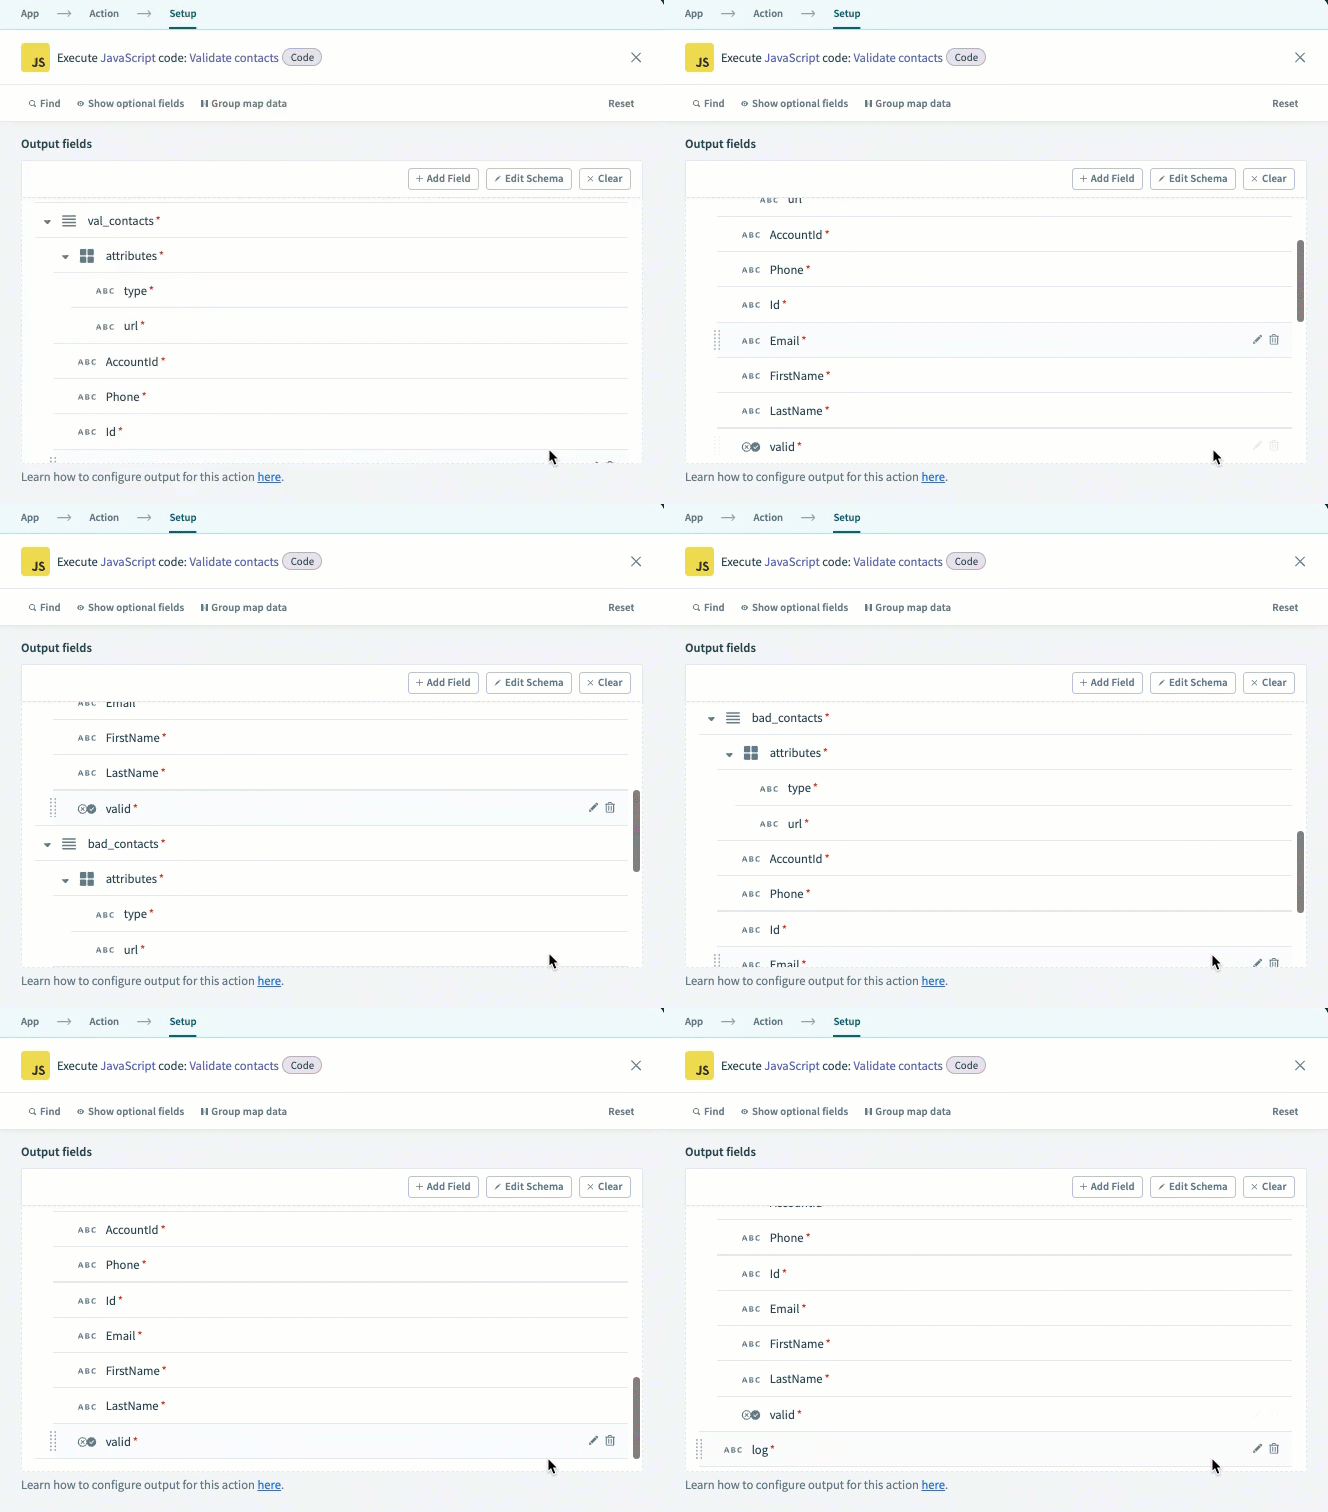 Output fields
You can modify this schema based on the fields you plan to retrieve from Salesforce and upsert into Snowflake.
Clear the contents of the Code field.
Copy and paste the following JavaScript code into the Code field:
const _ = require("lodash");

class ContactValidator {
  static validContact = (phone) => {
    return this.validPhoneNumber(phone);
  };

  static validPhoneNumber = (phone) => {
    let phone_regex = /^\(?\d{3}\)?[-.\s]?\d{3}[-.\s]?\d{4}$/;
    return phone ? phone_regex.test(phone) : false;
  };

  static validate = function(contacts) {
    const bad_contacts = [];
    const val_contacts = _.filter(contacts, (contact) => {
      let phone = _.get(contact, 'Phone');
      const isValid = this.validContact(phone);
      contact['valid'] = isValid;

      if (!isValid) {
        bad_contacts.push(contact); // Add invalid contact to the array
        return false;  // Don't include invalid contacts in val_contacts
      }
      return true;  // Include only valid contacts in val_contacts
    });

    // Create a log message based on the bad contacts
    const logMessage = bad_contacts.length > 0
      ? `The following contacts were not replicated due to invalid phone numbers: ${bad_contacts.map(c => `${c.FirstName} ${c.LastName} (${c.Phone})`).join(', ')}`
      : 'All contacts were valid and successfully replicated.';

    return { val_contacts, bad_contacts, log: logMessage };
  };
}

exports.main = ({ contacts }) => {
  return ContactValidator.validate(contacts);
};
Click Save.
Click + Add step and select Action in app.
Set up your Snowflake Replicate rows batch action.
# Set up Snowflake Replicate rows batch action
This step inserts or updates the records from the valid contacts list into the Snowflake table.
Search for Snowflake and select it as your app.
 Choose Snowflake
Select the Replicate rows action.
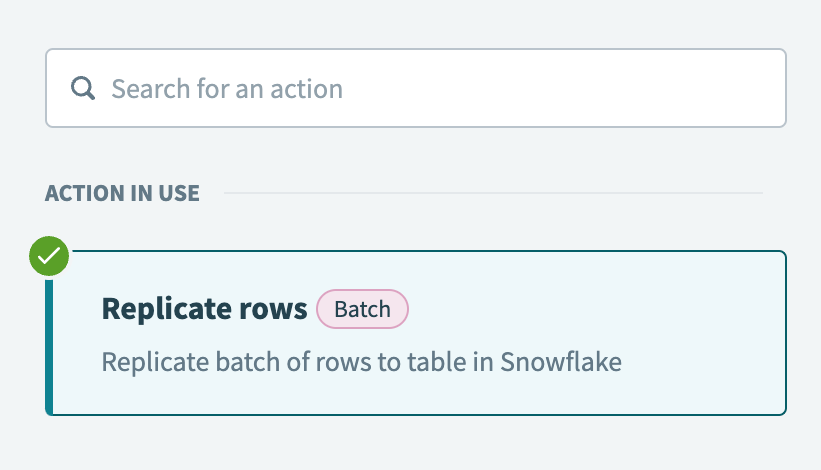 Select the Replicate rows batch action
Select the Snowflake connection you created in the preceding steps.
Use the Table drop-down menu to select the Snowflake table where you plan to replicate rows.
Ensure that the Rows field is switched to formula mode and map the JavaScript snippets by Workato Val contacts Step 2 datapill.
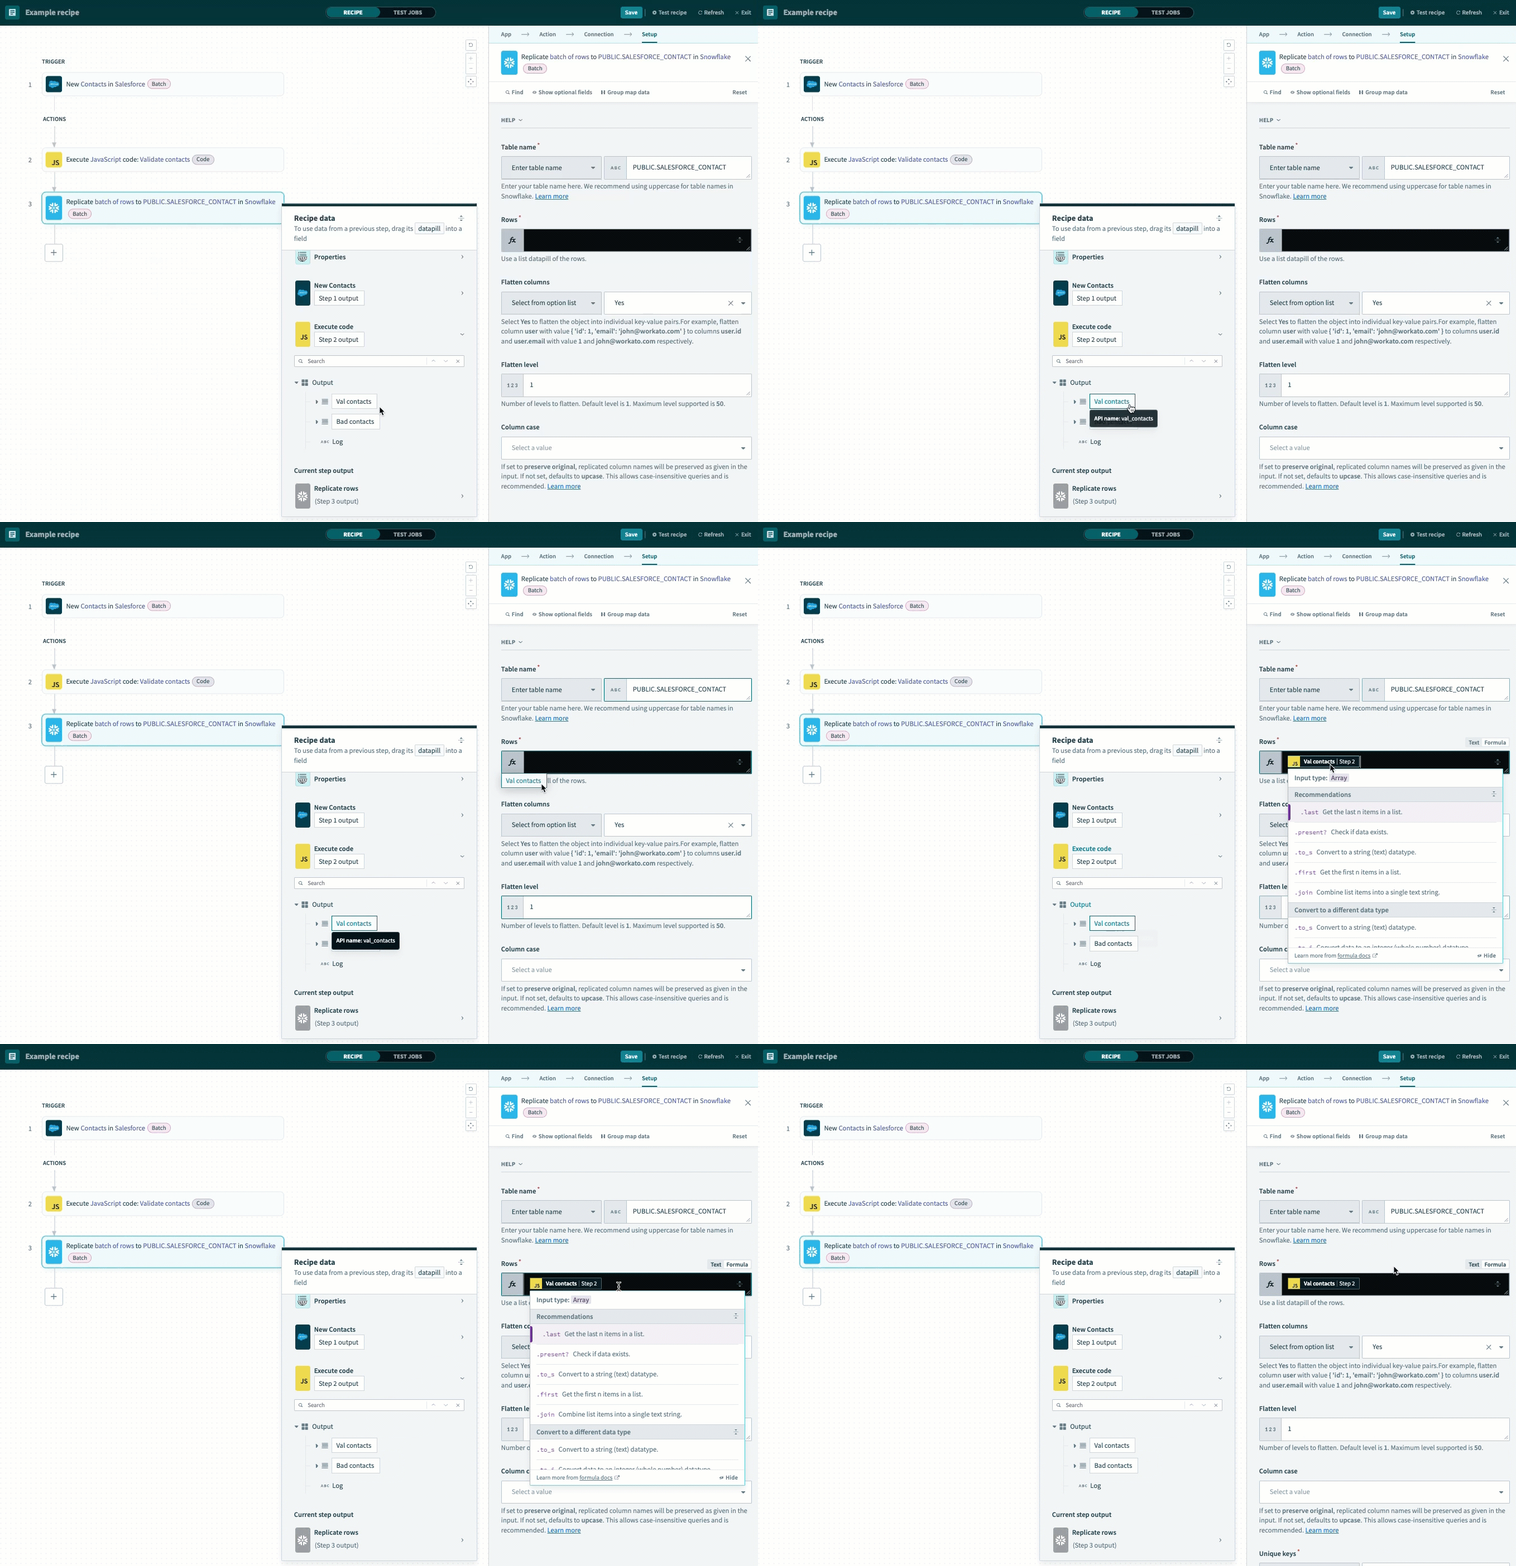 Map the Val contacts Step 2 datapill
Use the Flatten columns drop-down menu to select Yes.
Enter 1 in the Flatten level field.
Use the Unique keys drop-down menu to select one or more unique keys to identify duplicate rows. This example selects ID (contact ID) as the unique key.
 Select the unique key
Optional. Use the Exclude columns drop-down menu to select the columns to exclude while replicating rows. This example selects Attributes and Valid.
 Select the columns to exclude from the upsert
Click Save.
Click + Add step and select IF condition.
 Click Add step > IF condition
How do IF conditions work?
# Snowflake and Salesforce IF condition example
An IF condition enables you to make decisions based on specific conditions. You can control your recipe workflow by executing different actions depending on whether a condition you specify is true or false.
Set up your JavaScript snippets by Workato and Salesforce IF condition.
# Set up a JavaScript snippets by Workato and Salesforce IF condition
This step checks if the bad contacts list size is greater than zero. This means that the batch contains one or more contacts with invalid phone numbers if this condition is true.
Switch Data field to formula mode.
Map the JavaScript snippets by Workato Bad contacts Step 2 datapill to Data field.
Append the .length formula.
Use the Condition drop-down menu to select greater than.
Switch the Value field to formula mode and enter 0.
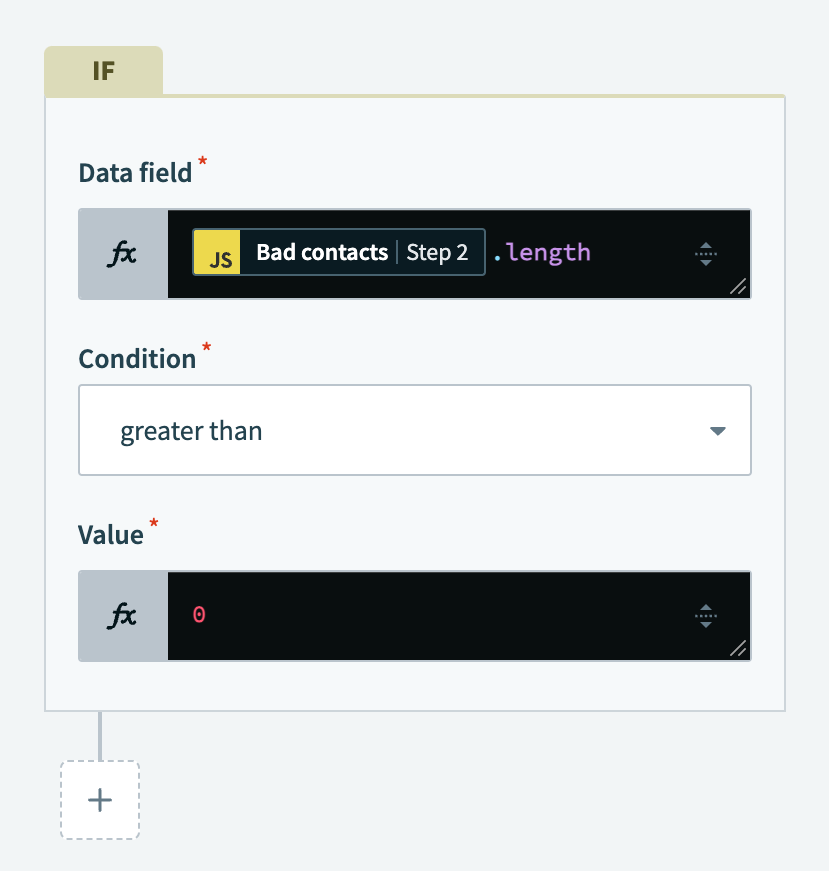 Configure the IF condition
Click Save.
Click Select an app and action.
Set up your Email by Workato Send email action.
# Set up Email by Workato Send email action
Workato sends an email to a recipient you specify detailing which Salesforce contacts weren't replicated into Snowflake due to invalid phone numbers if the bad contacts list size is greater than zero.
Search for Email by Workato and select it as your app.
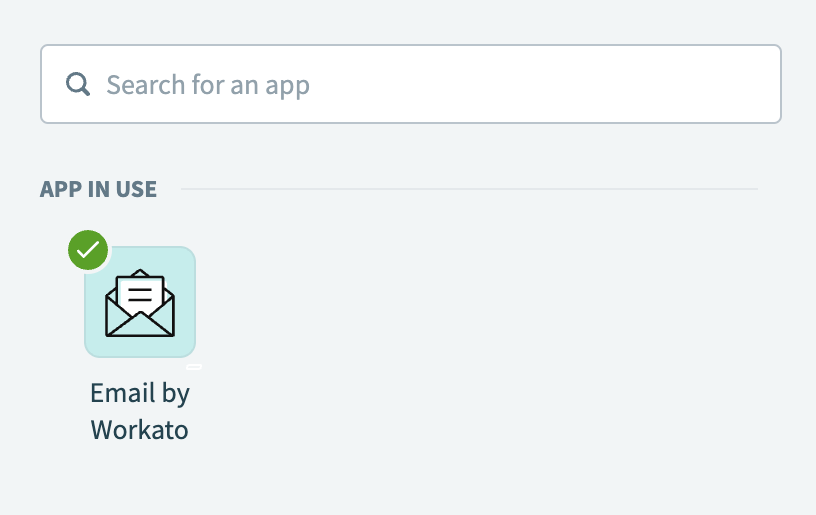 Choose Email by Workato
Select the Send email action.
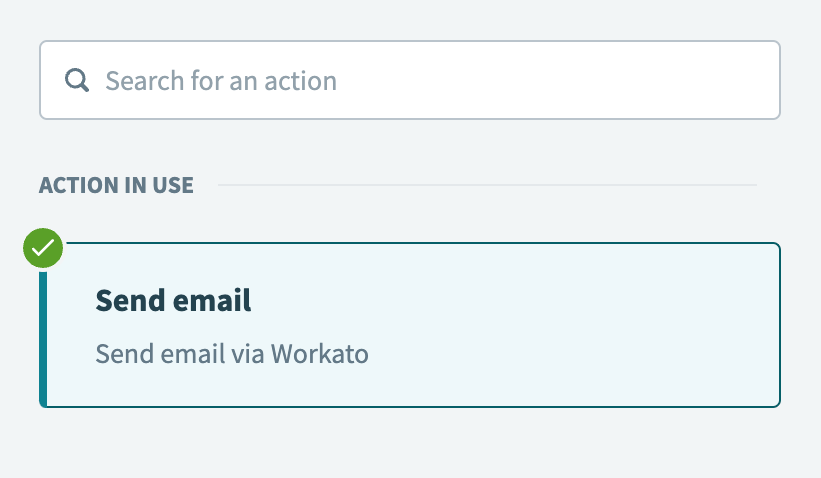 Select the Send email action
Provide the recipient's email address in the To field.
Enter a subject line in the Subject field. For example, Salesforce Contacts Not Replicated into Snowflake Due to Invalid Data
Use the Email type drop-down menu to select Text.
Map the JavaScript snippets by Workato Log Step 2 datapill to the Message field.
 Configure the message
Click Save.
Your Validate Salesforce contact information with JavaScript and upsert to Snowflake recipe is ready to test and implement.
Example recipe configuration.
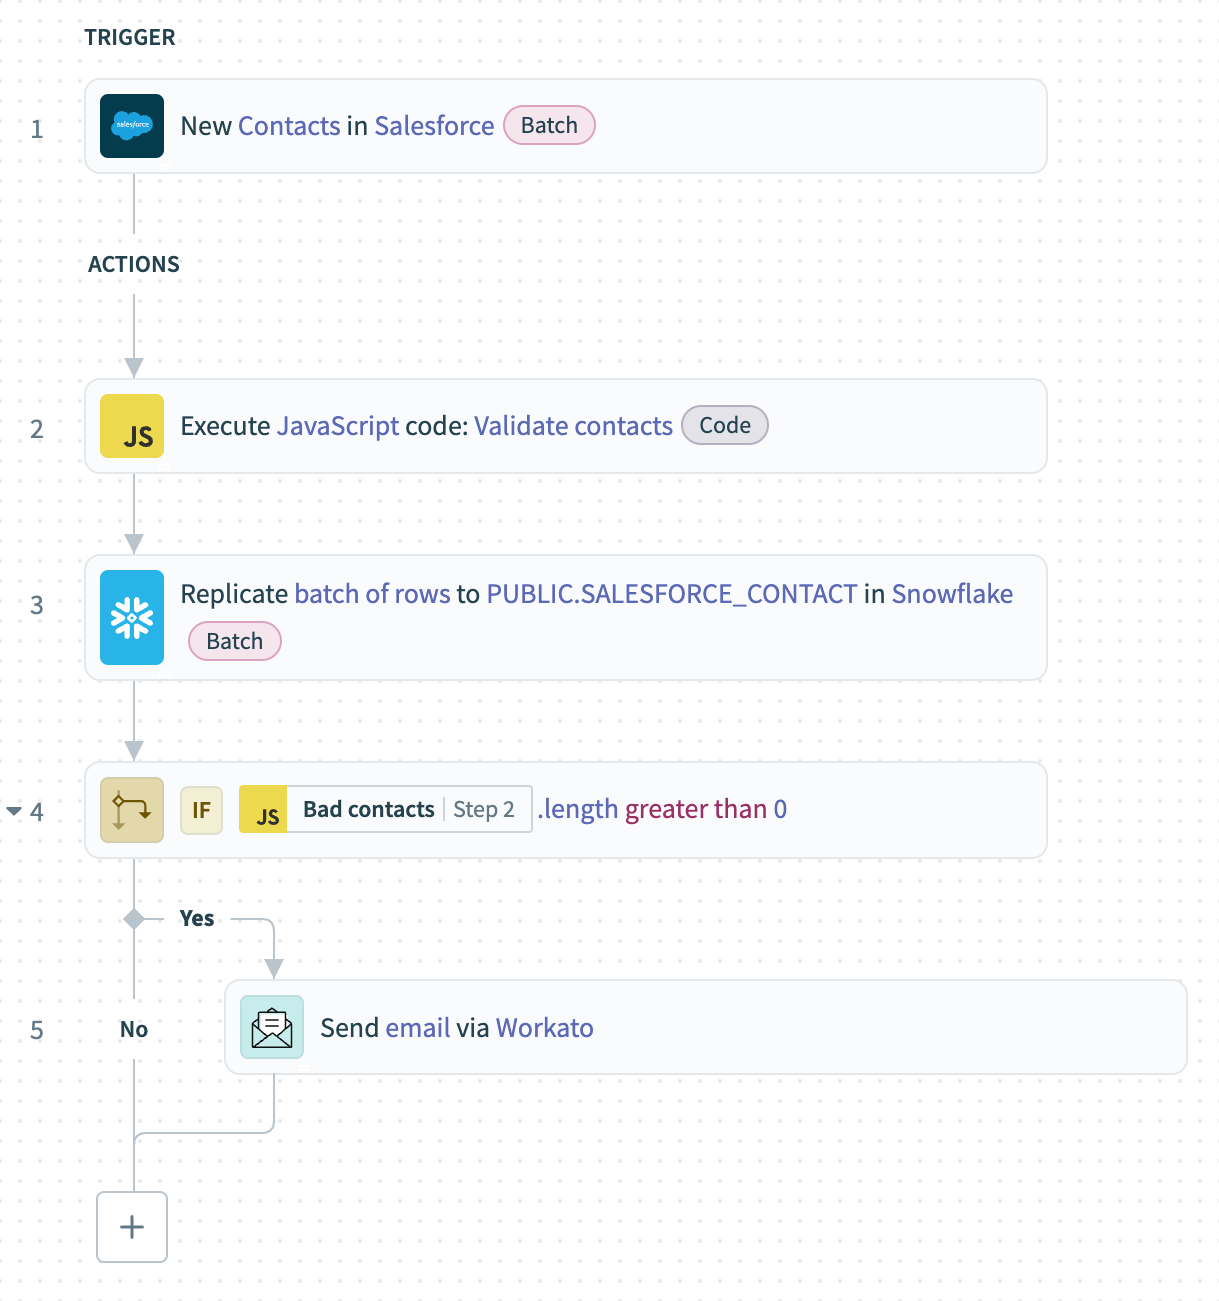 Validate Salesforce contact information with JavaScript and upsert to Snowflake recipe
Last updated: 12/22/2025, 5:25:59 PM