# On-prem agent installation using macOS package
This page provides steps on how to install an on-prem agent (OPA) for a Mac operating system (OS).
# Prerequisites
You must create an on-prem group before you can add an on-prem agent.
# Create an on-prem agent with macOS
Complete the following steps to create an on-prem agent with macOS:
Sign in to your Workato account.
Go to Tools > On-prem groups and select the group where you plan to add an agent.
Click Add agent. The Add agent dialog opens.
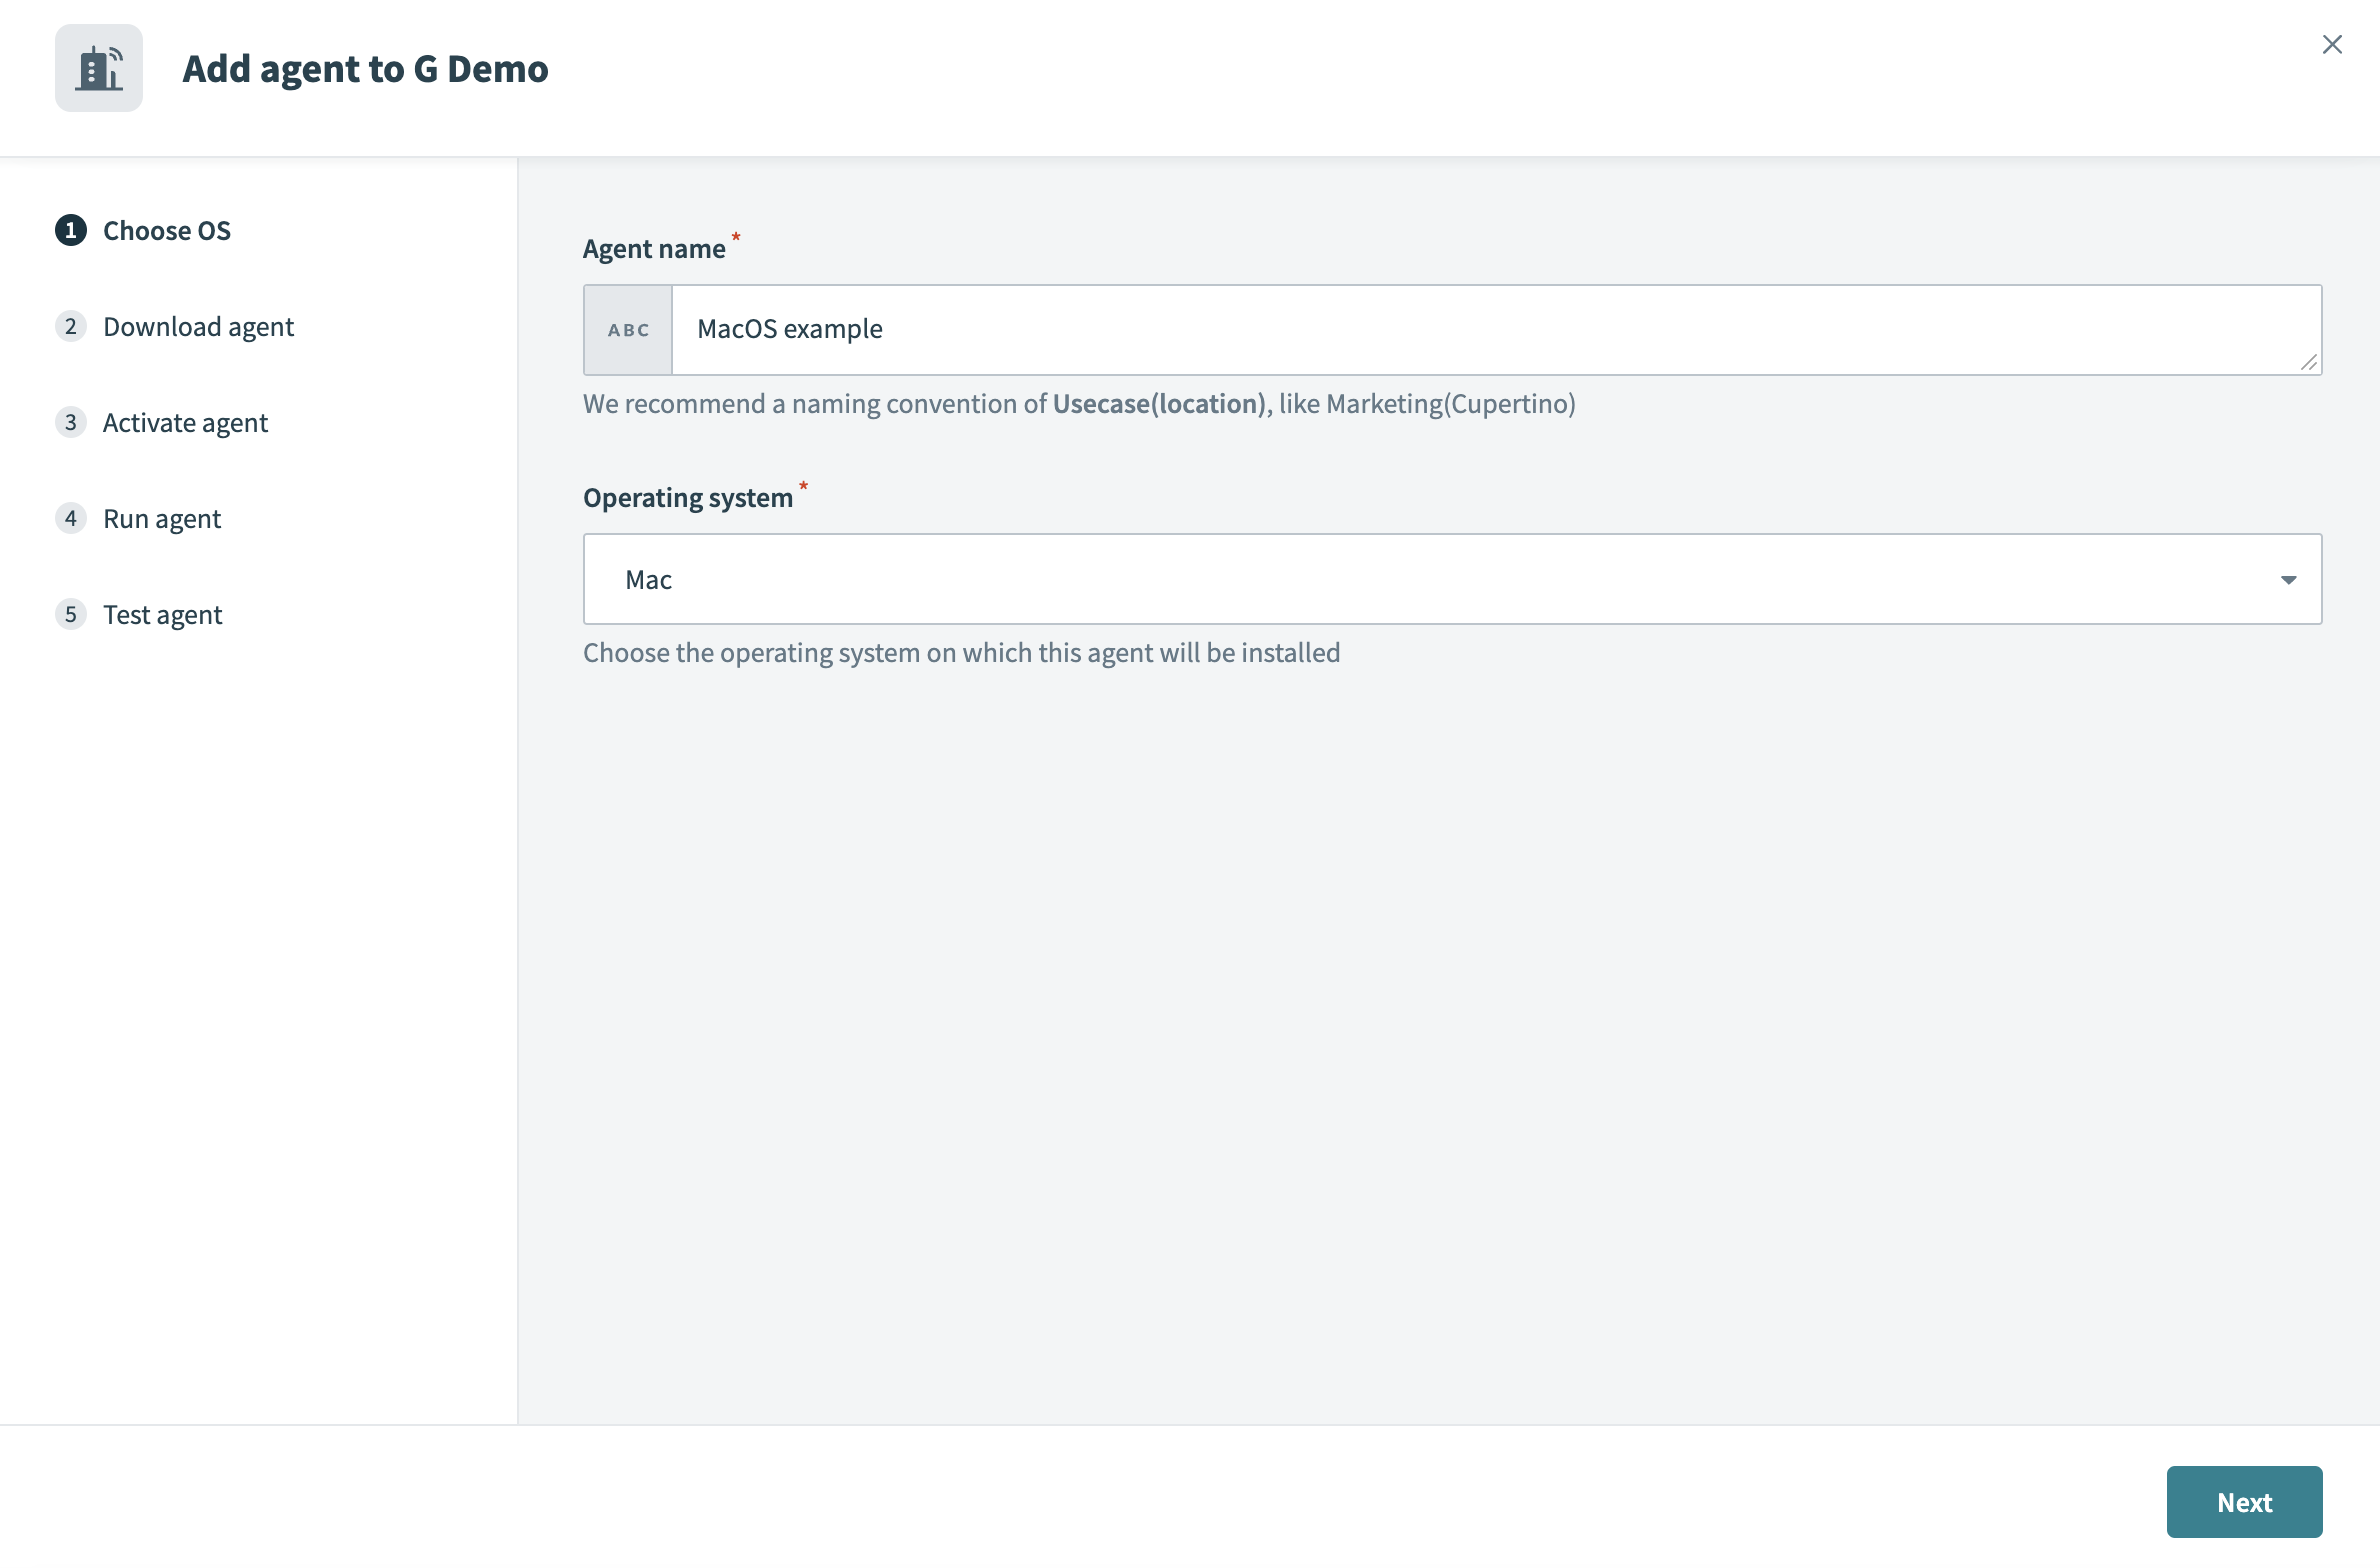
Provide an Agent name, use the Operating system drop-down menu to select Mac, and then click Next.
 Select Mac as your operating system
Click Download agent package and then click Next. This downloads the required Mac package to your machine as a .tar.gz archive file.
Extract the package into the folder you plan to use for your configuration.
Open the folder that contains the download package in terminal.
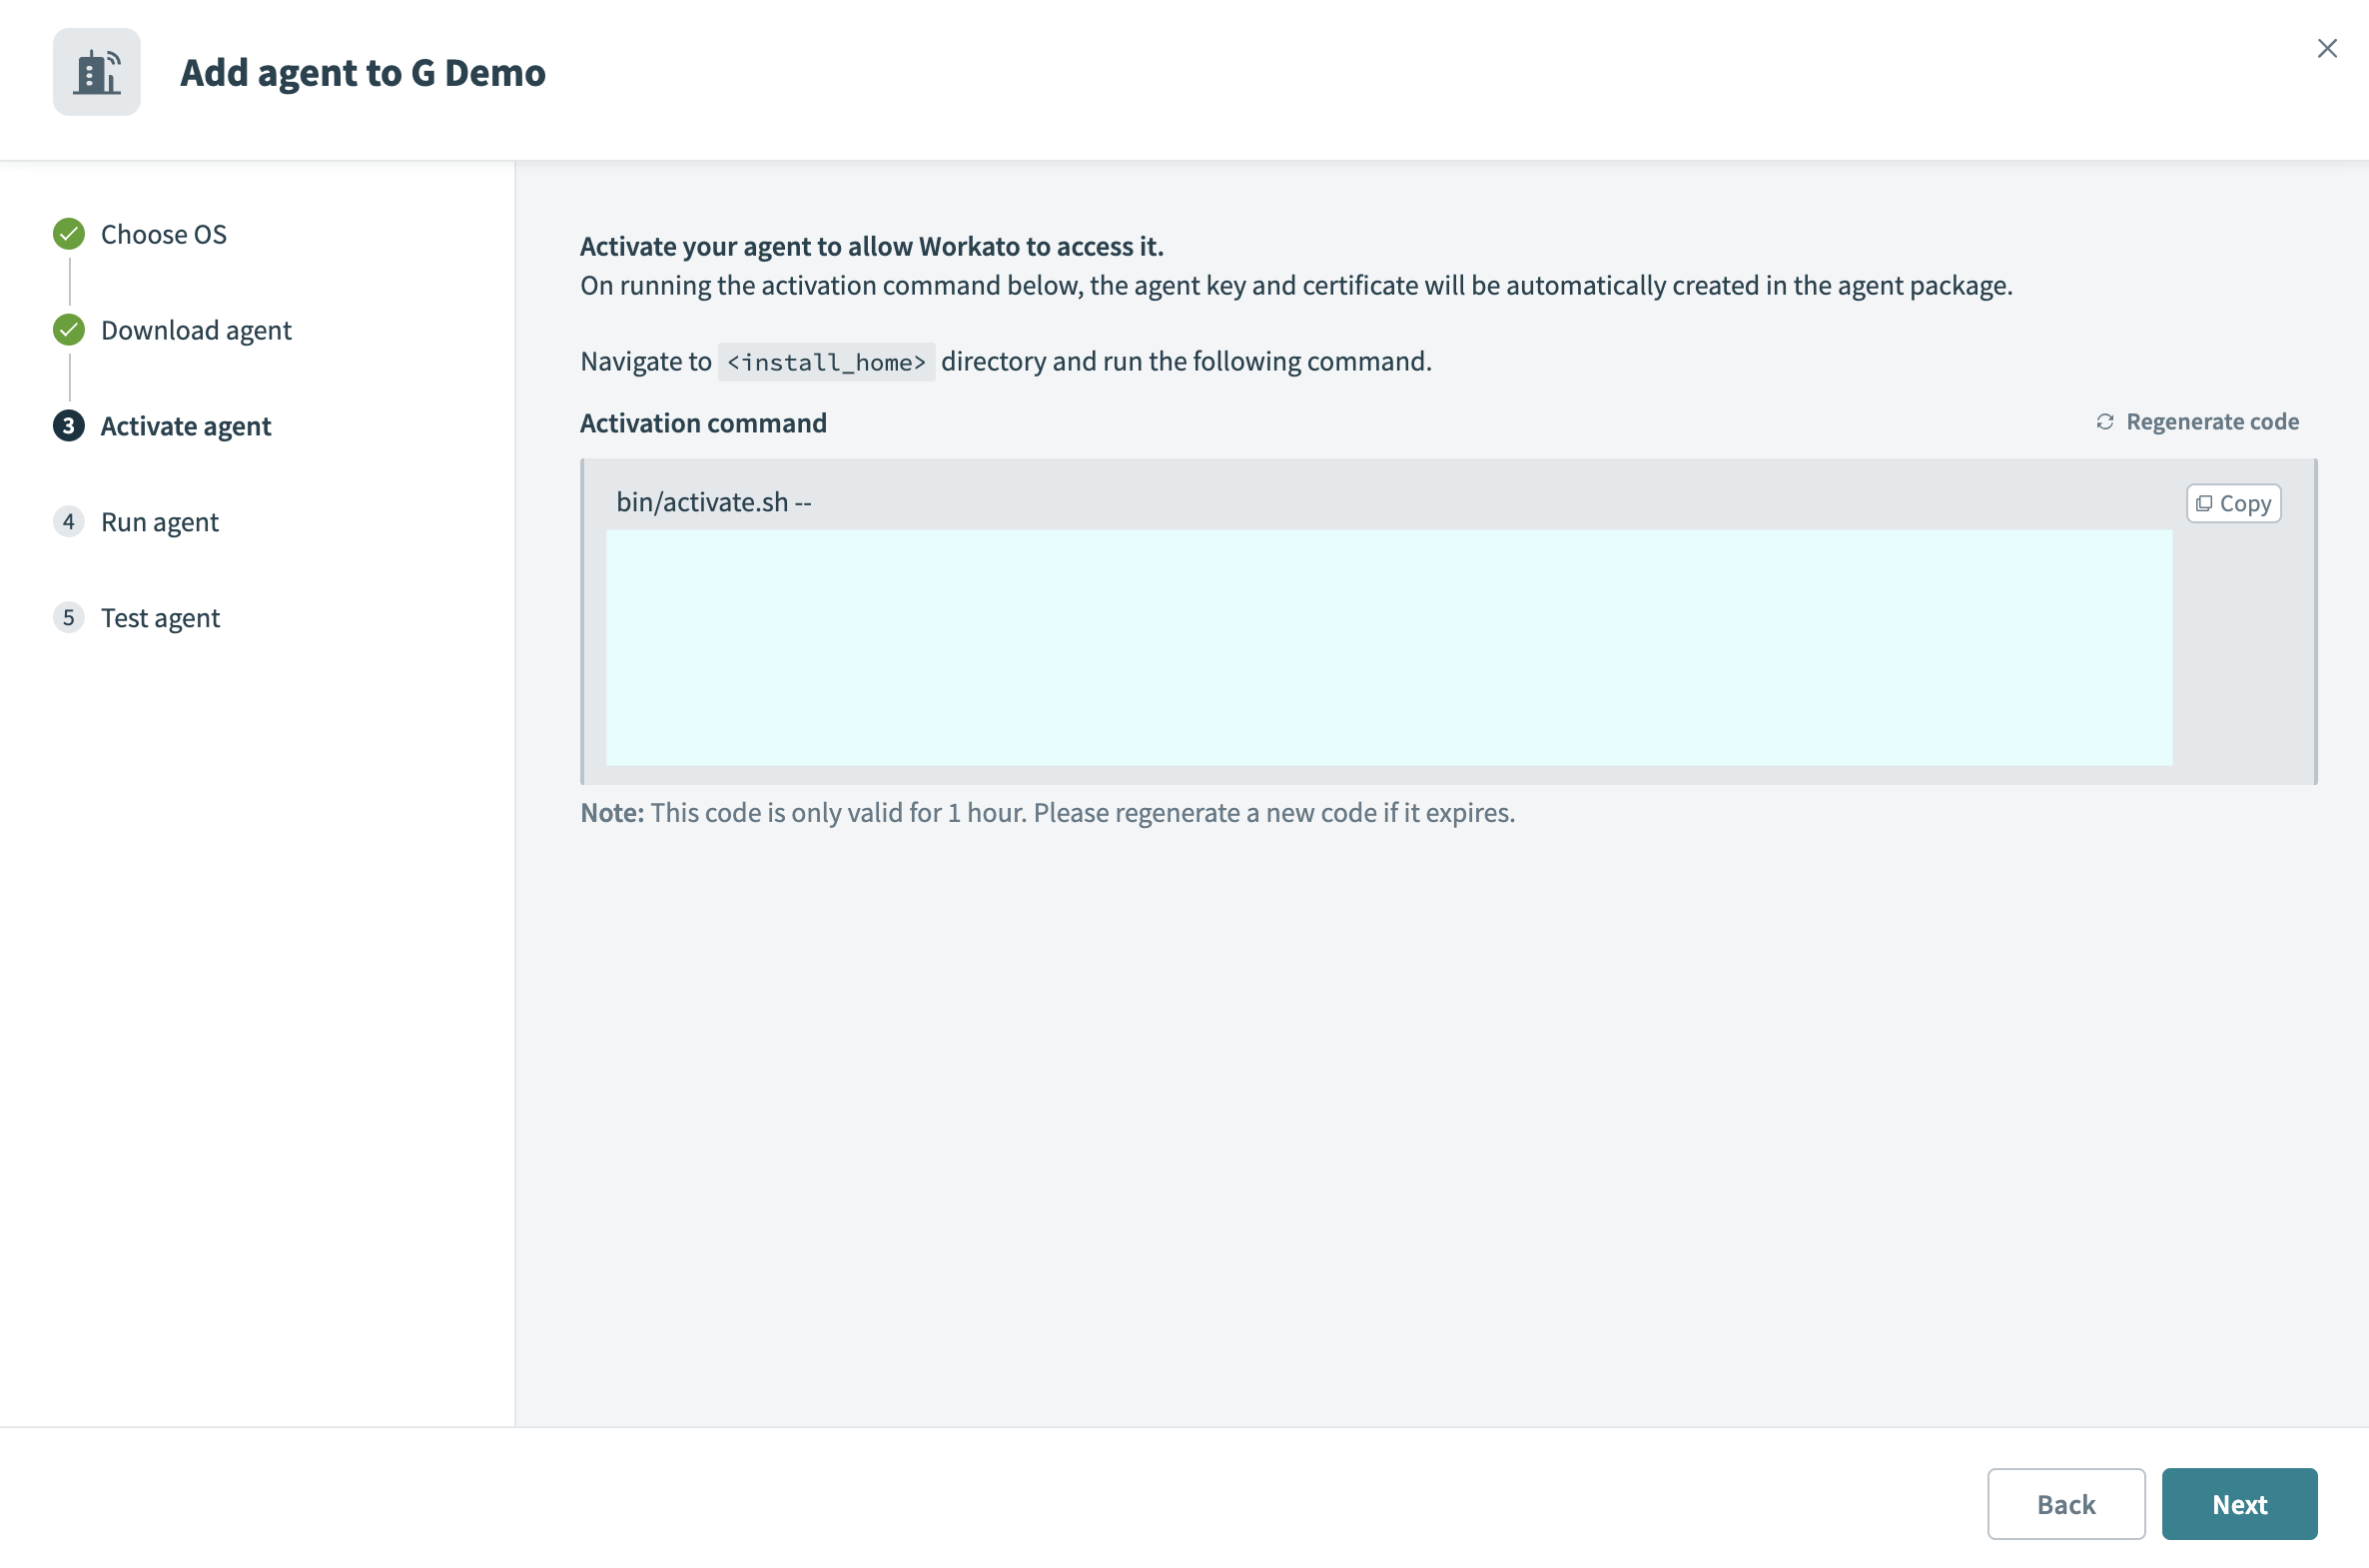
Copy and paste the Activation command from Workato into the terminal and run it. The agent key and certificate are automatically created in the agent package.
AGENT ACTIVATION USING A PROXY
You must add the --proxy-host=<host-ip-address> and --proxy-port=<port number> parameters to the Activation command if you're using a proxy. Refer to the Set up proxy access for your on-prem agent guide for more information.
Run the activate script with the --help parameter to display the list of accepted input properties.
 Copy and paste the Activation command
CODE IS VALID FOR ONE HOUR
The code is valid for one hour. Click Regenerate code to generate a new code if it expires.
ALLOW TRAFFIC TO WORKATO FROM YOUR SERVER
Ensure traffic to Workato is allowed from your server to use OPA. Refer to security allowlists to add Workato to your allowlist.
Return to your Workato On-prem window and click Next.
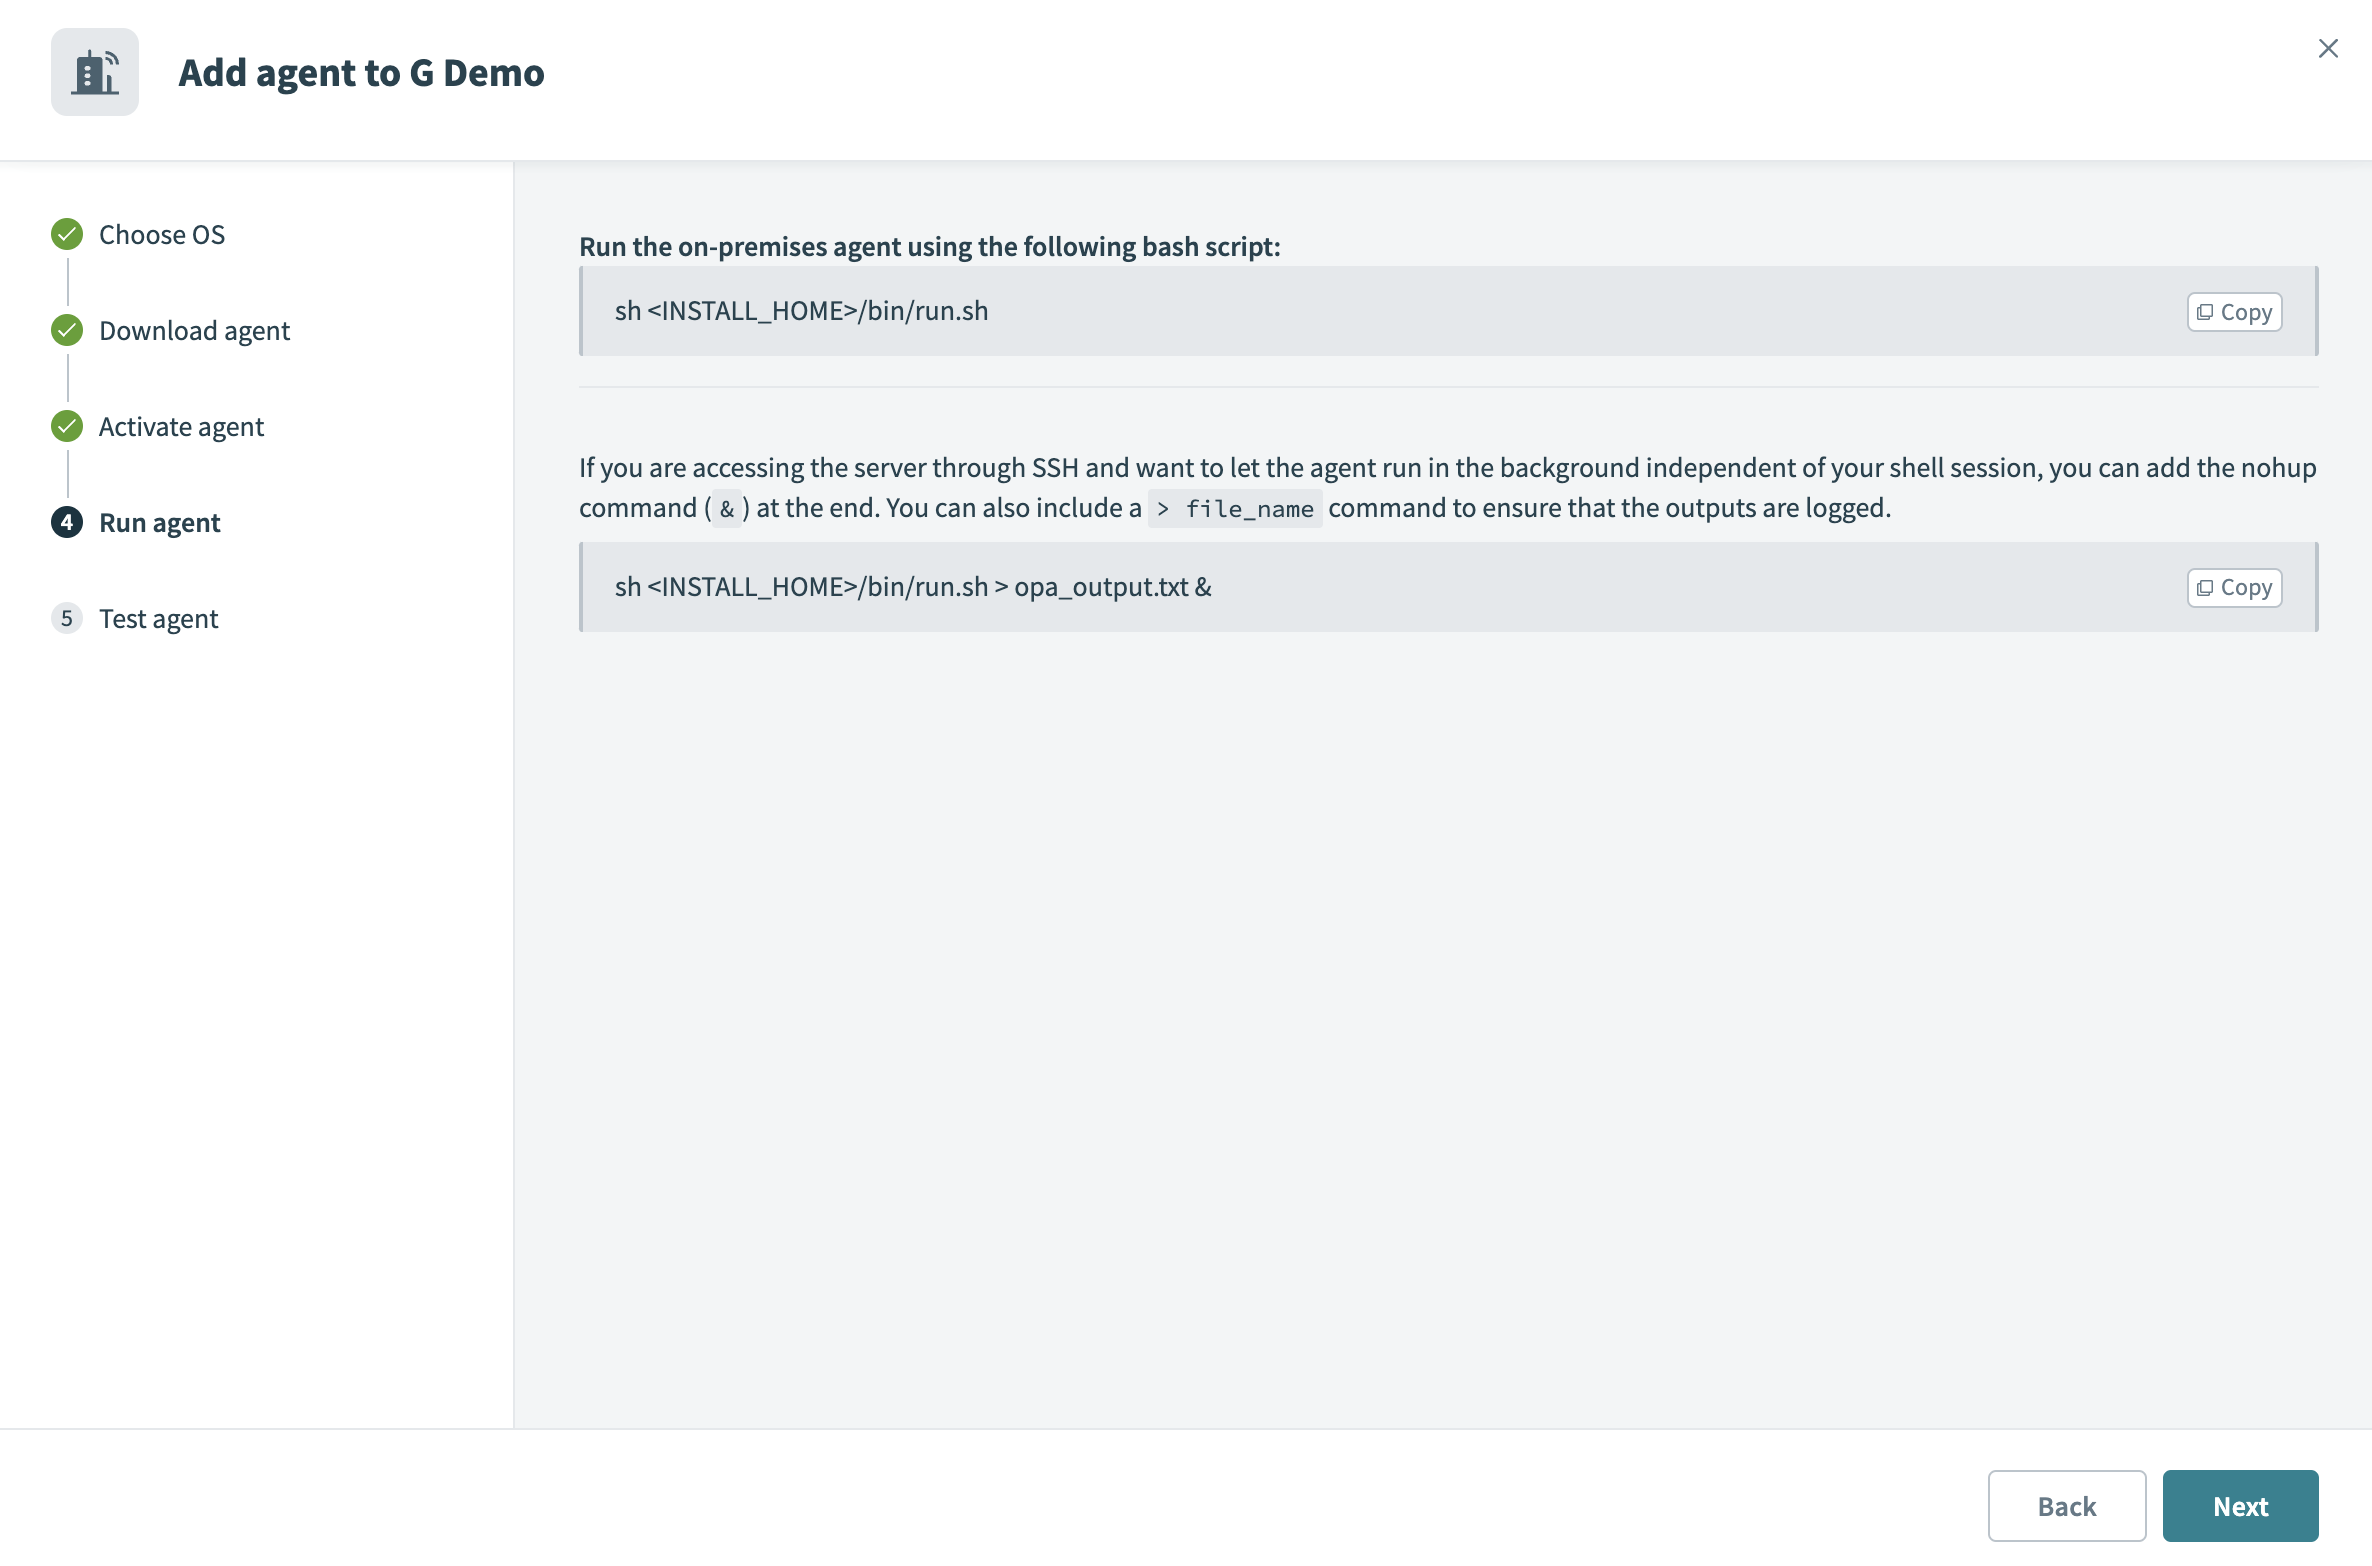
Run the on-prem agent by entering the following script, replacing <YOUR_FOLDER> with the name of your folder:
sh <YOUR_FOLDER>/bin/run.sh
 Run the on-prem agent
SSH SCRIPT CONFIGURATION
If you are accessing the server through SSH and plan to allow the agent to run in the background independent of your shell session, you must add the nohup command (&) at the end of the script. You can also include a > file_name command to ensure that the outputs are logged.
sh <YOUR_FOLDER>/bin/run.sh > opa_output.txt &
Click Next.
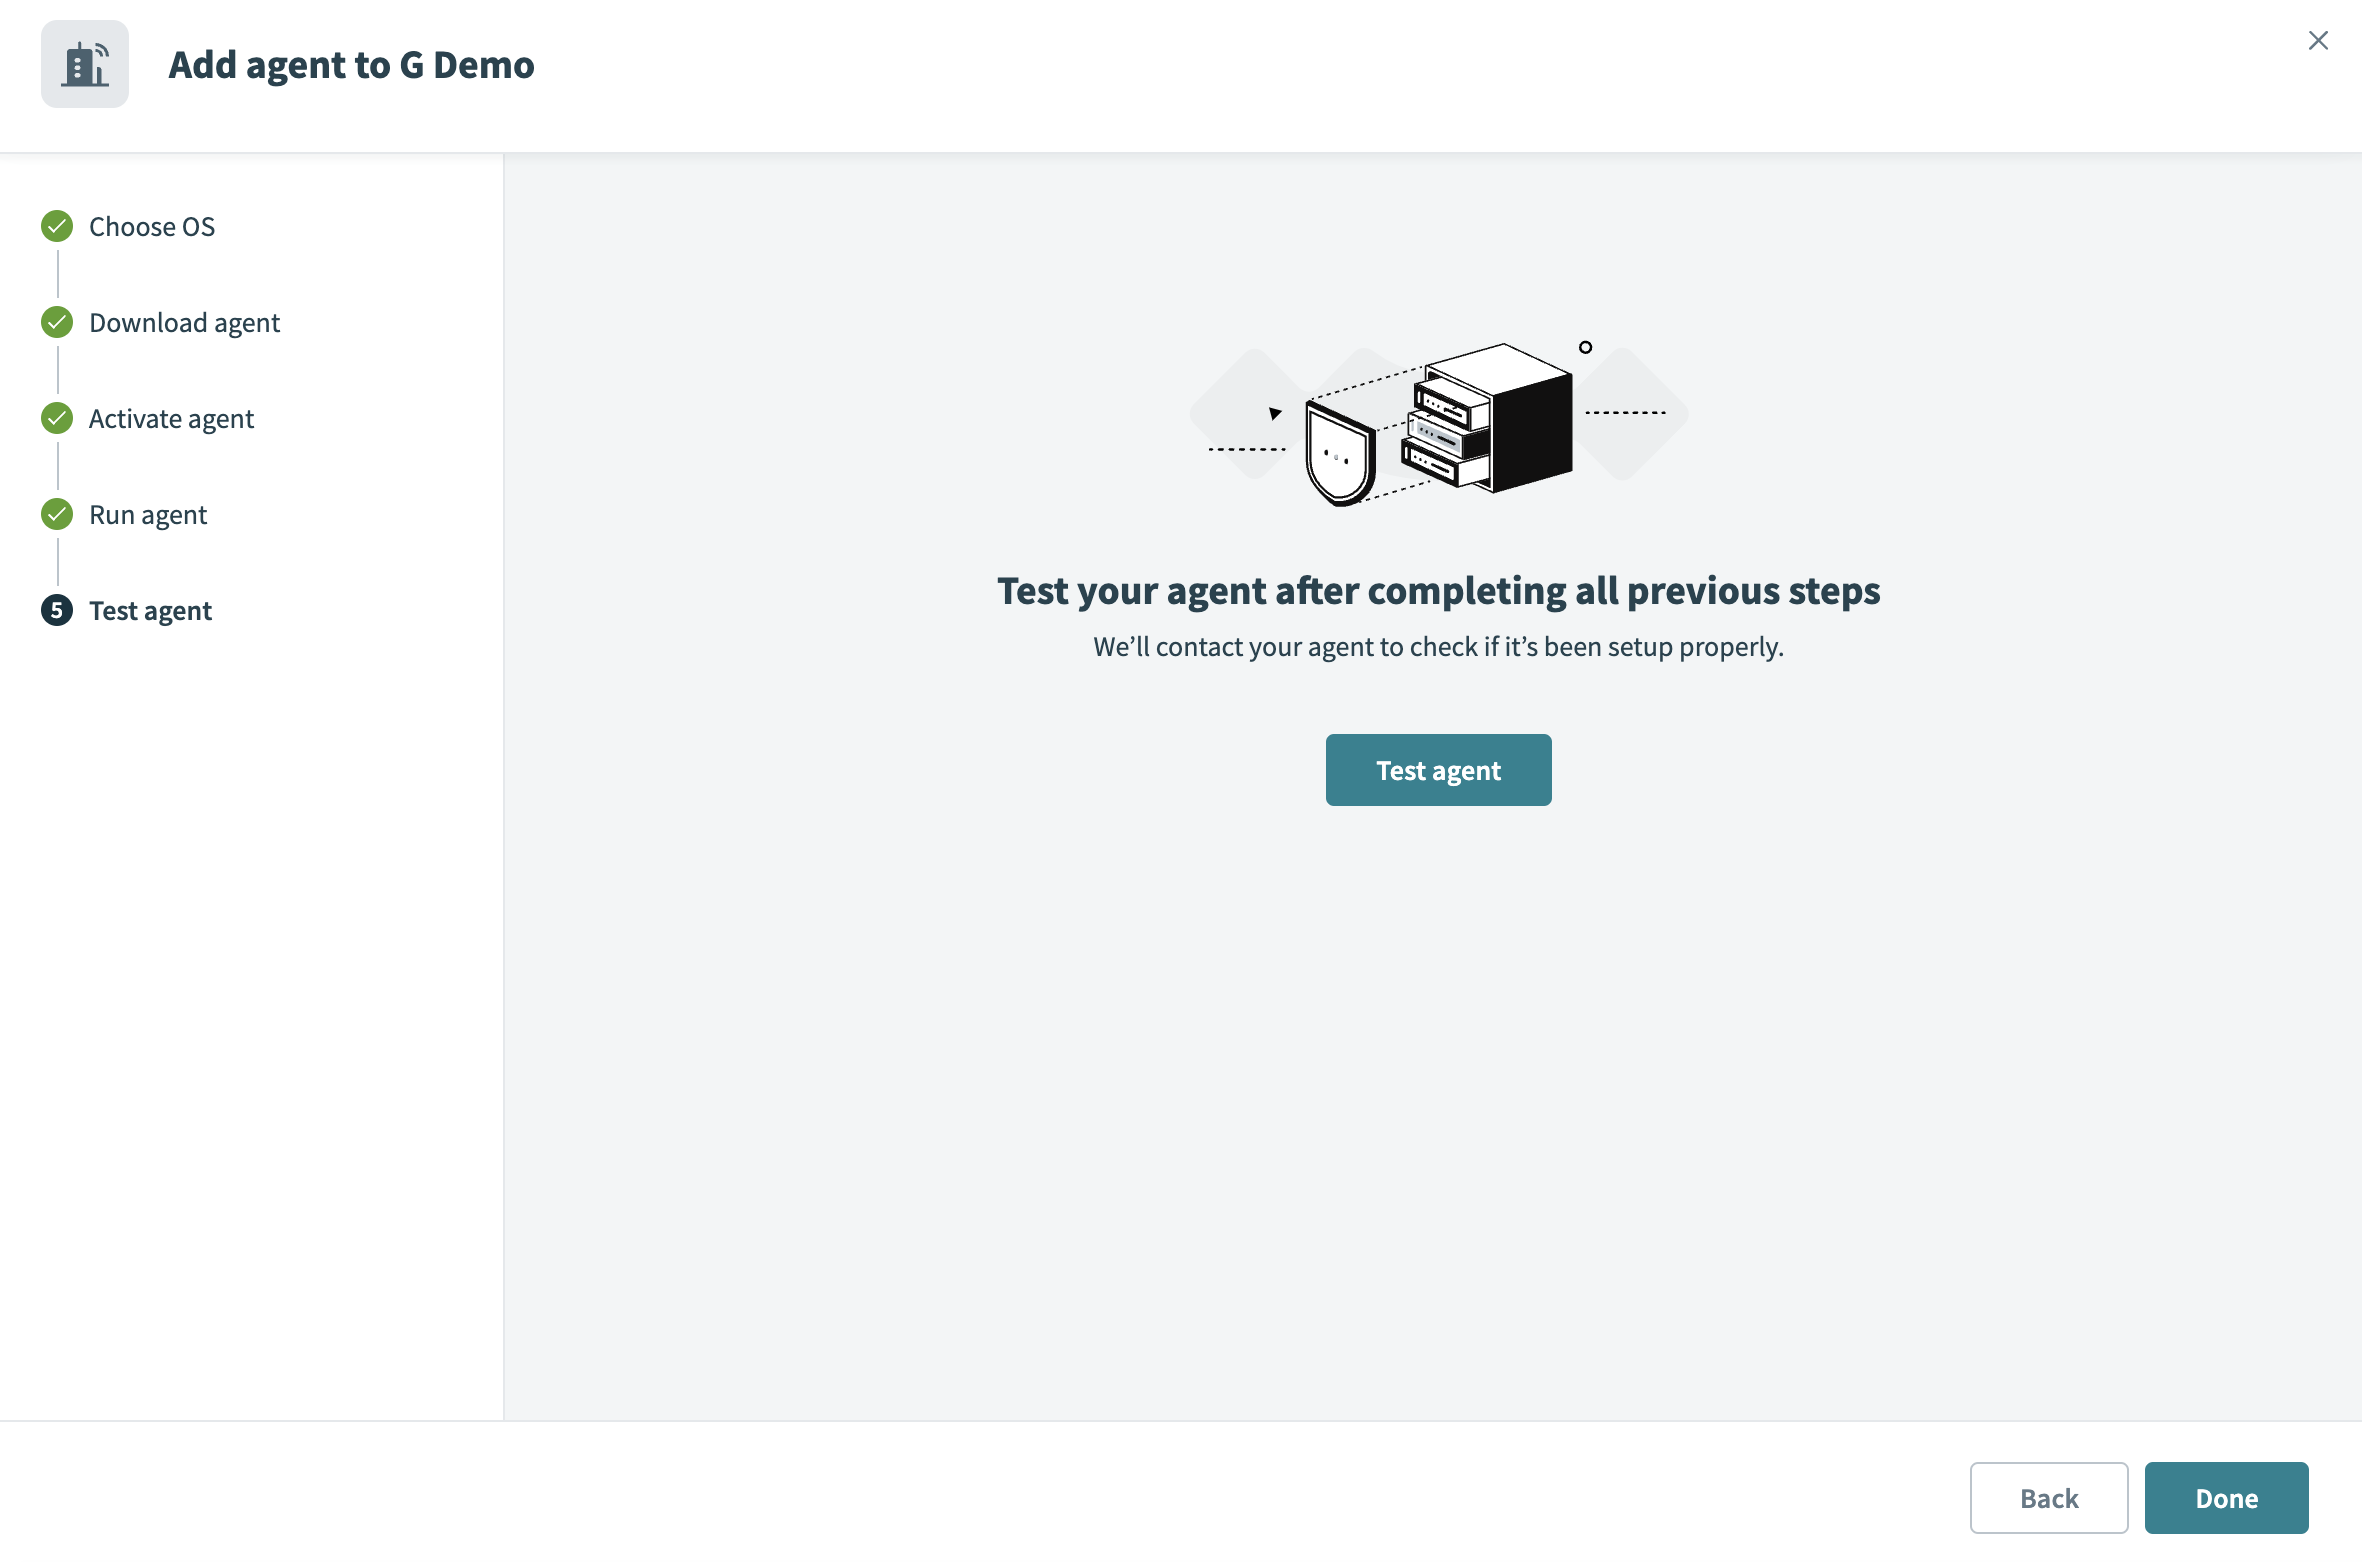
Click Test agent to confirm that your on-prem agent is working as expected.
 Test the on-prem agent
Click Done to complete the installation.
PRIVATE KEY
Workato does not have access to your private key file, cert.key, in the OPA conf folder. Ensure you protect this file from unauthorized access.
Last updated: 6/16/2025, 4:25:37 PM