Manage your workspace collaborators with role-based access control
Role-based access control (RBAC) in Workato enables you to manage who can access what across your workspace, environments, and projects. Your available roles depend on which permissions model your workspace uses.
PERMISSION REQUIREMENTS
You must meet one of the following requirements to perform the tasks in this guide:
- Sign in using the workspace root login
- Have the Environment admin system role or legacy Admin system role
- Have a custom role with Workspace access privileges
Understand permissions models
Workato supports two permissions models. The features and role types you see depend on which model is enabled in your workspace.
- New permissions model: Manage access using environment roles, project roles, and collaborator groups. This is the default for all workspaces.
- Legacy permissions model: Uses workspace-level roles only and doesn't support collaborator groups or project-level permissions.
DEPRECATION NOTICE
The legacy permissions model will be deprecated at the end of August 2026. Workato recommends that you migrate to the new permissions model before this date. Refer to the Migrate to the new access control model guide for step-by-step instructions.
How role-based access control works
RBAC secures your organization's data by assigning roles that define what collaborators can view, create, and manage. In the new permissions model, you control access at the environment and project level:
- Environment roles: Manage access to an entire environment and define what collaborators can do within it.
- Project roles: Control access inside individual projects, including recipes, assets, folders, and connections.
- Custom roles: Define granular privileges within environments or projects to match your organization's needs.
LEGACY SYSTEM ROLES
In workspaces using the legacy permissions model, legacy system roles such as Admin and Operator remain visible but aren't used in the new permissions model. If your workspace has migrated, manage access using environment roles and project roles instead.
Add environment or project roles
You must create environment roles or project roles instead of collaborator roles for the permissions model. These roles let you define granular privileges and control access across environments and projects.
FEATURE AVAILABILITY
The custom collaborator role feature is available to customers on specific pricing plans. Refer to your pricing plan and contract to learn more.
LEGACY ROLES
Custom roles remain visible in the Collaborator roles tab even if your workspace has the permissions model enabled, but you haven't migrated your custom roles. However, you can't create new collaborator roles. Workato prompts you to migrate to the new permissions model to manage access using environment and project roles instead.
Add an environment role
Complete the following steps to add an environment role:
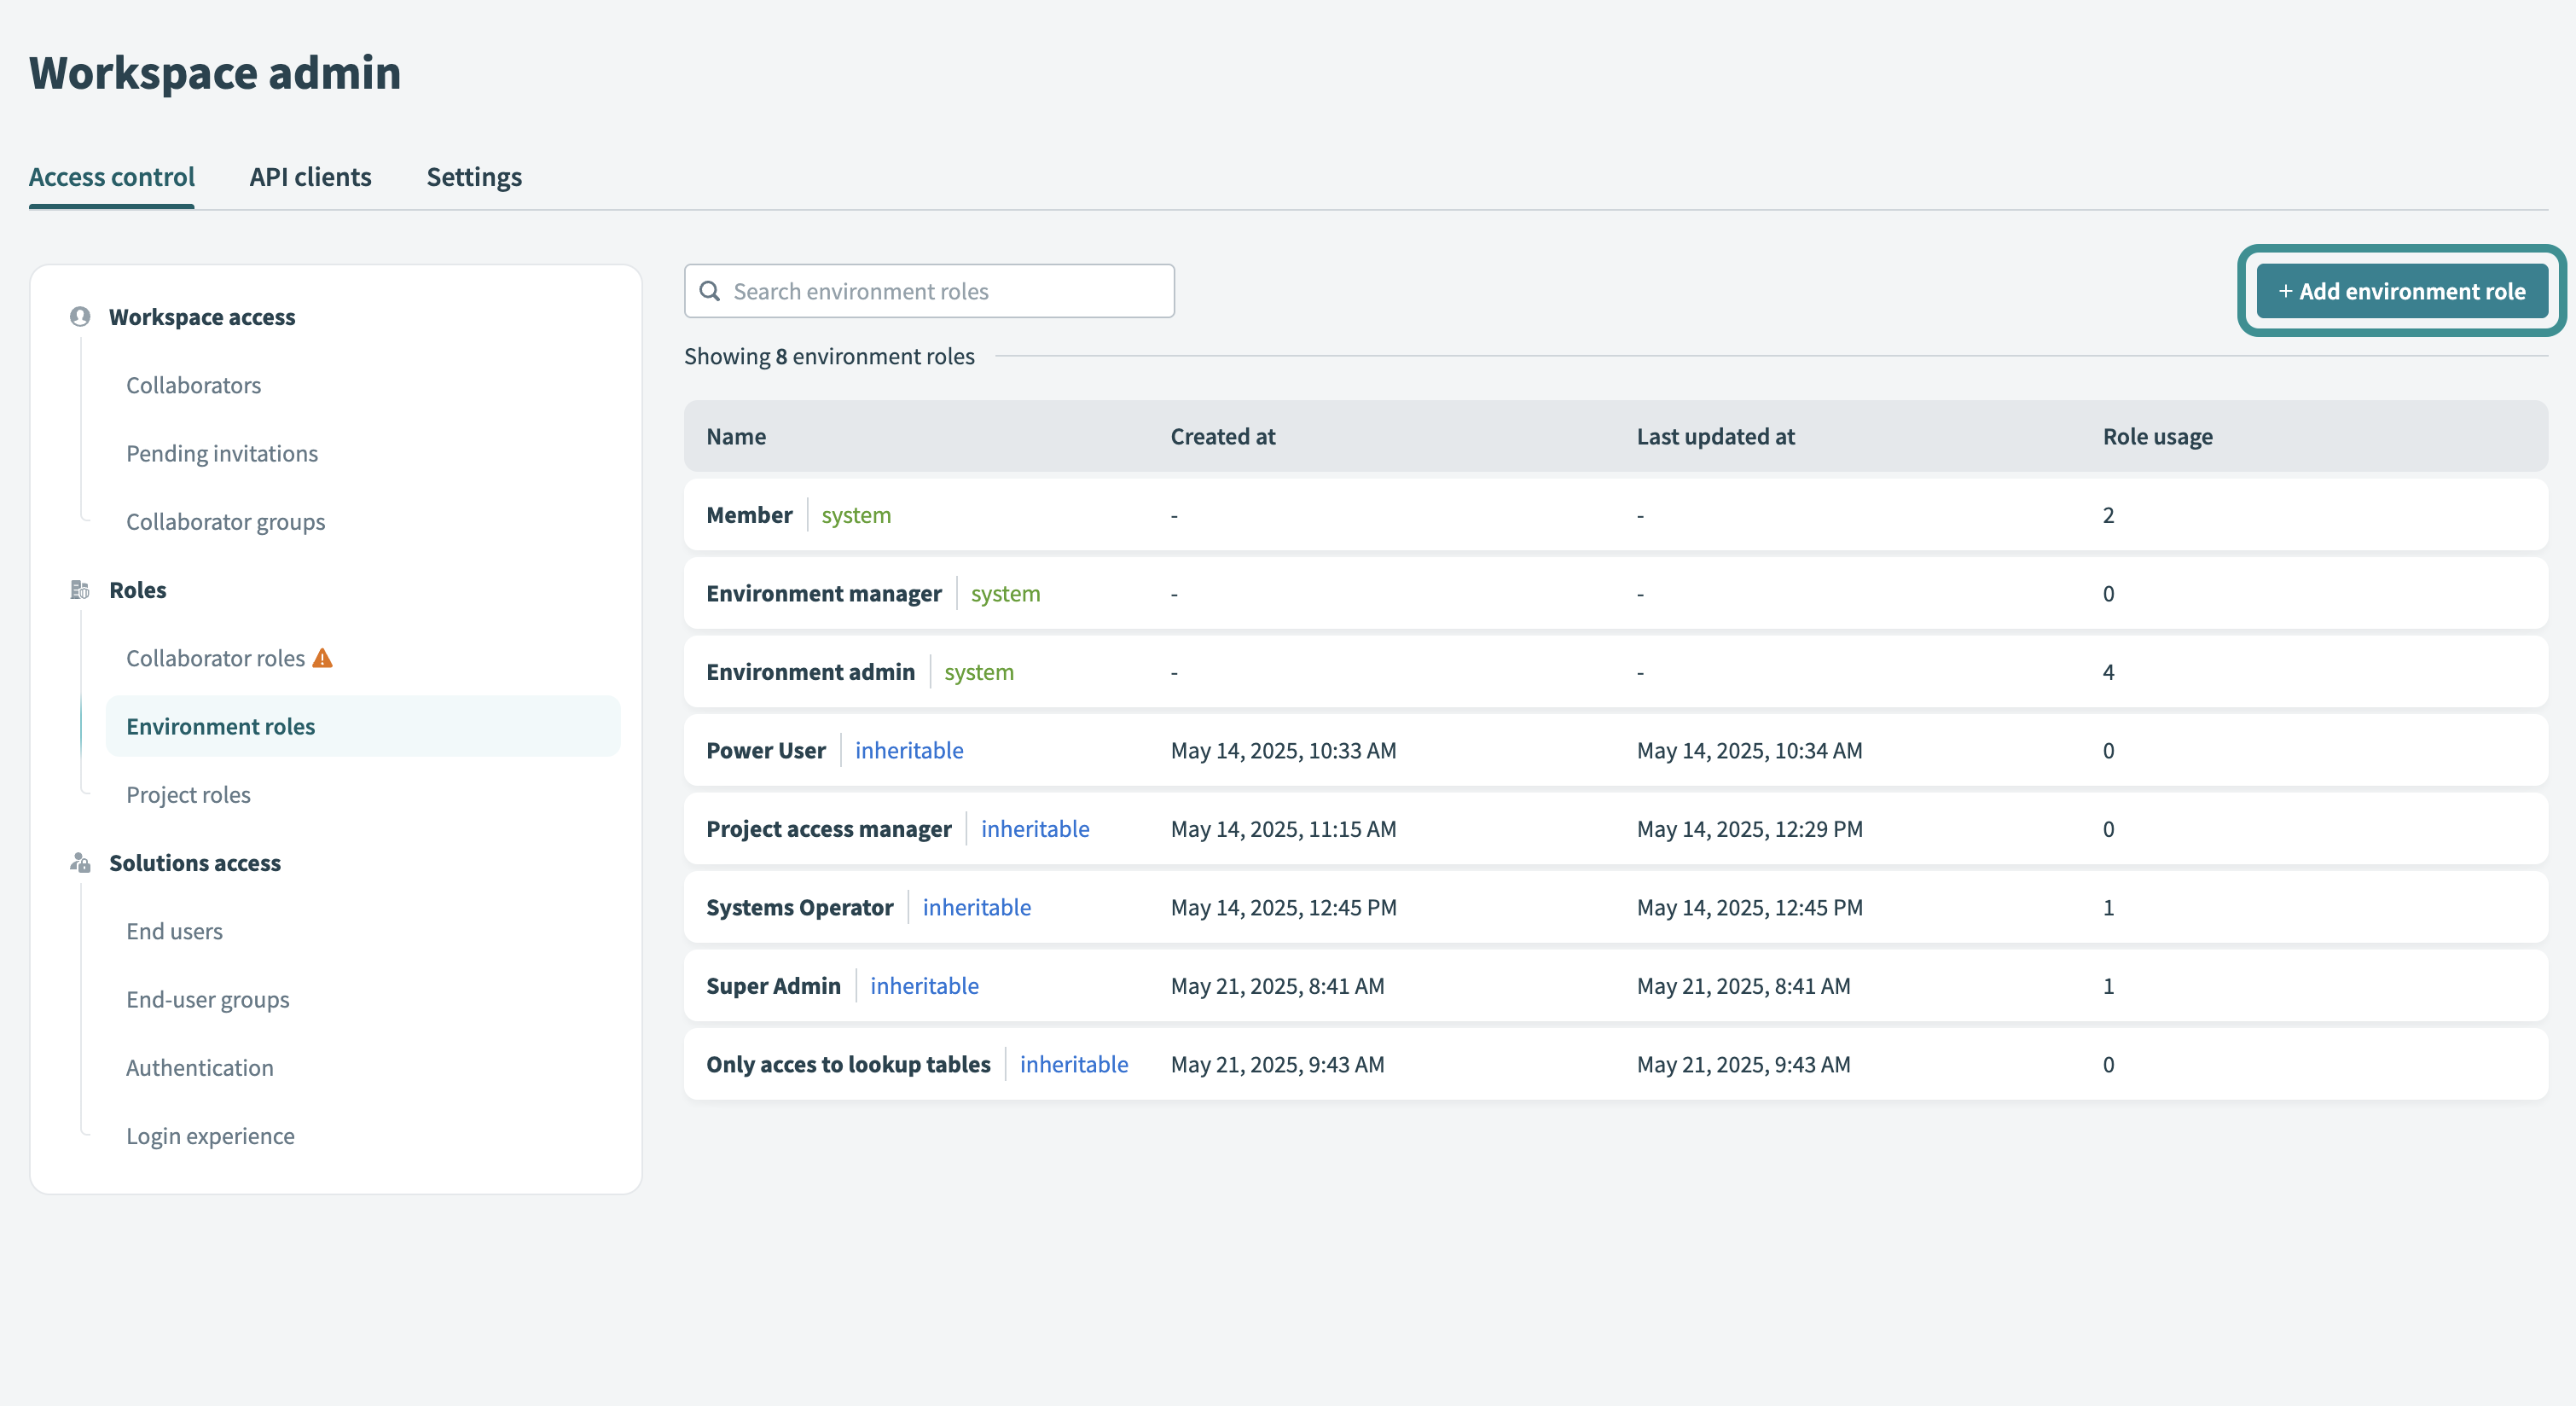
Go to Workspace admin > Access control > Environment roles.
Click + Add environment role.
 Add an environment role
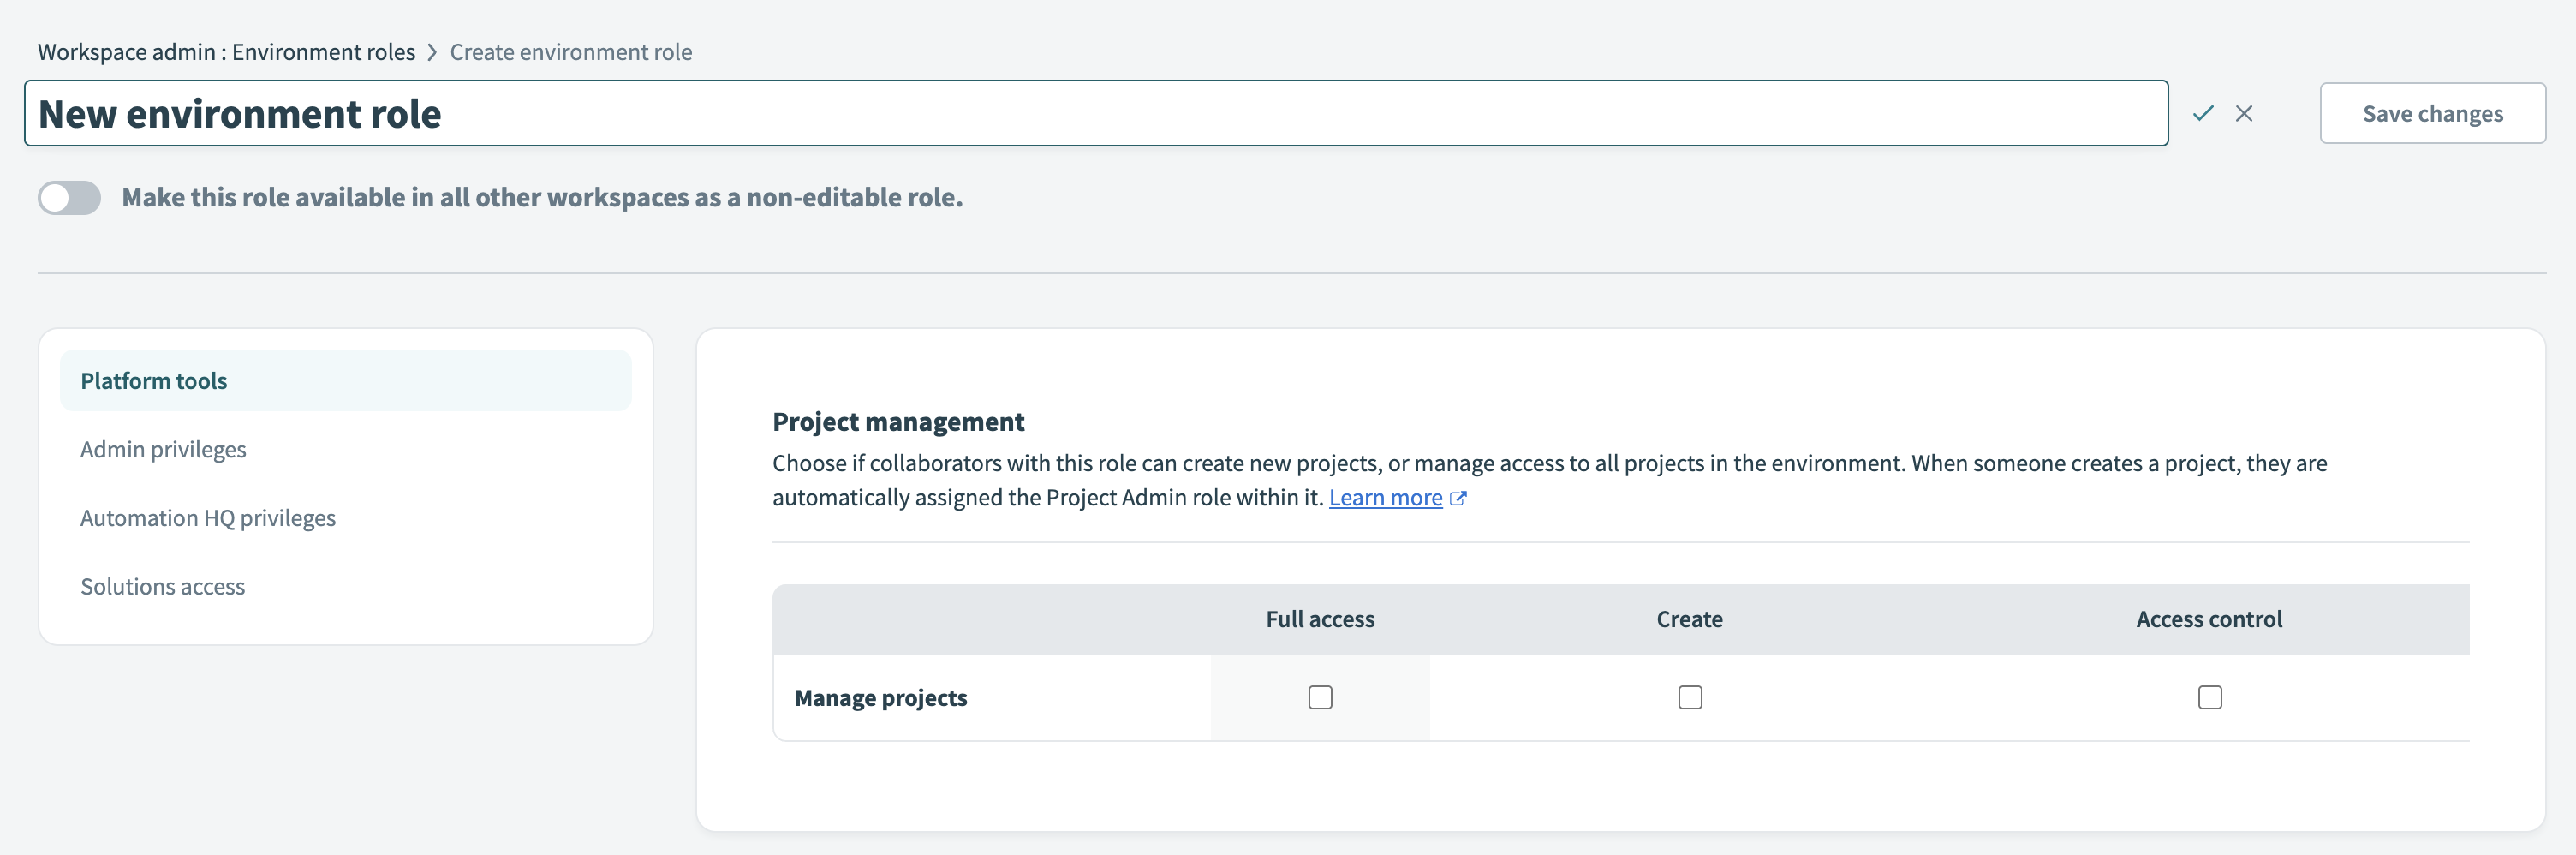
Click Edit (pencil icon) next to New environment role to name the environment role, and click ✓ Save to confirm your changes.
 Name environment role
Assign privileges to the role from the available options. Refer to the Environment privileges reference for more details about each privilege.
ASSIGNING PRIVILEGES
Consider the following when you assign privileges:
Some privileges require dependencies. For example, the Edit File Storage permission requires View File Storage.
When a privilege has dependencies, they appear when you hover over the privilege. Selecting or deselecting them adjusts the related permissions automatically.
 Autoselecting interdependent privileges
Click Save changes when finished.
Add a project role
Complete the following steps to add a project role:
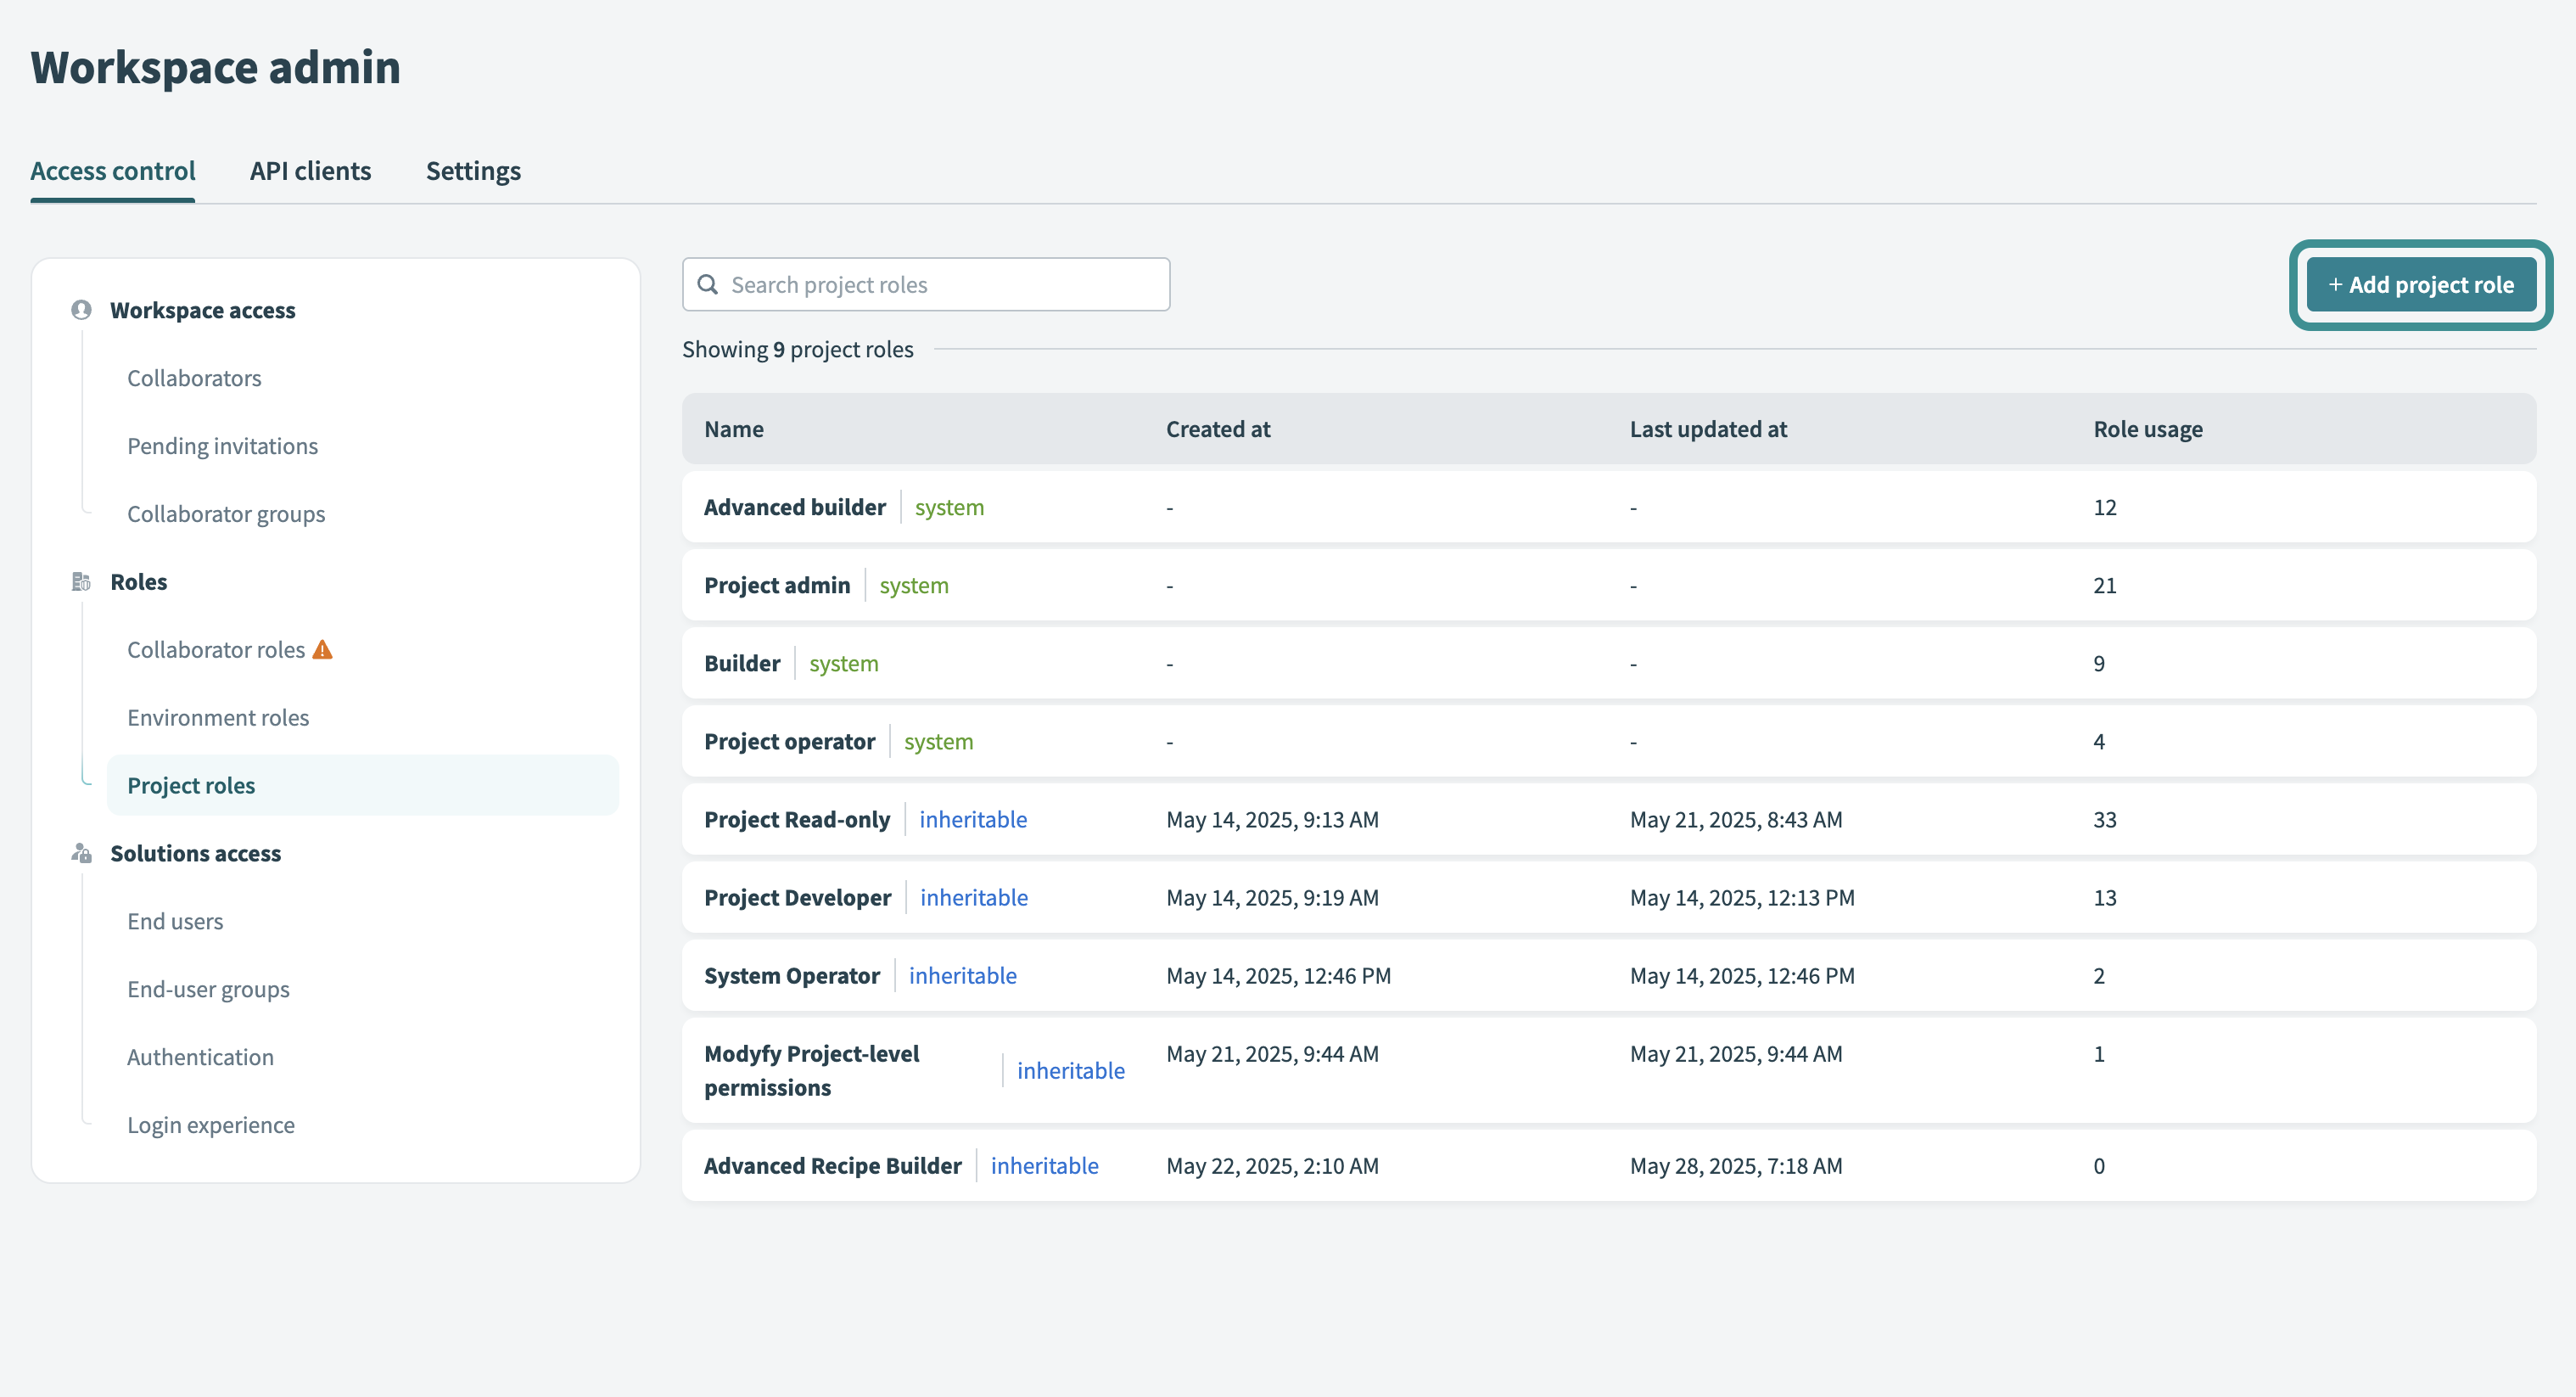
Go to Workspace admin > Access control > Project roles.
Click + Add project role.
 Add a project role
Click Edit (pencil icon) next to New project role to name the collaborator role, and click ✓ Save to confirm your changes.
 Name project role
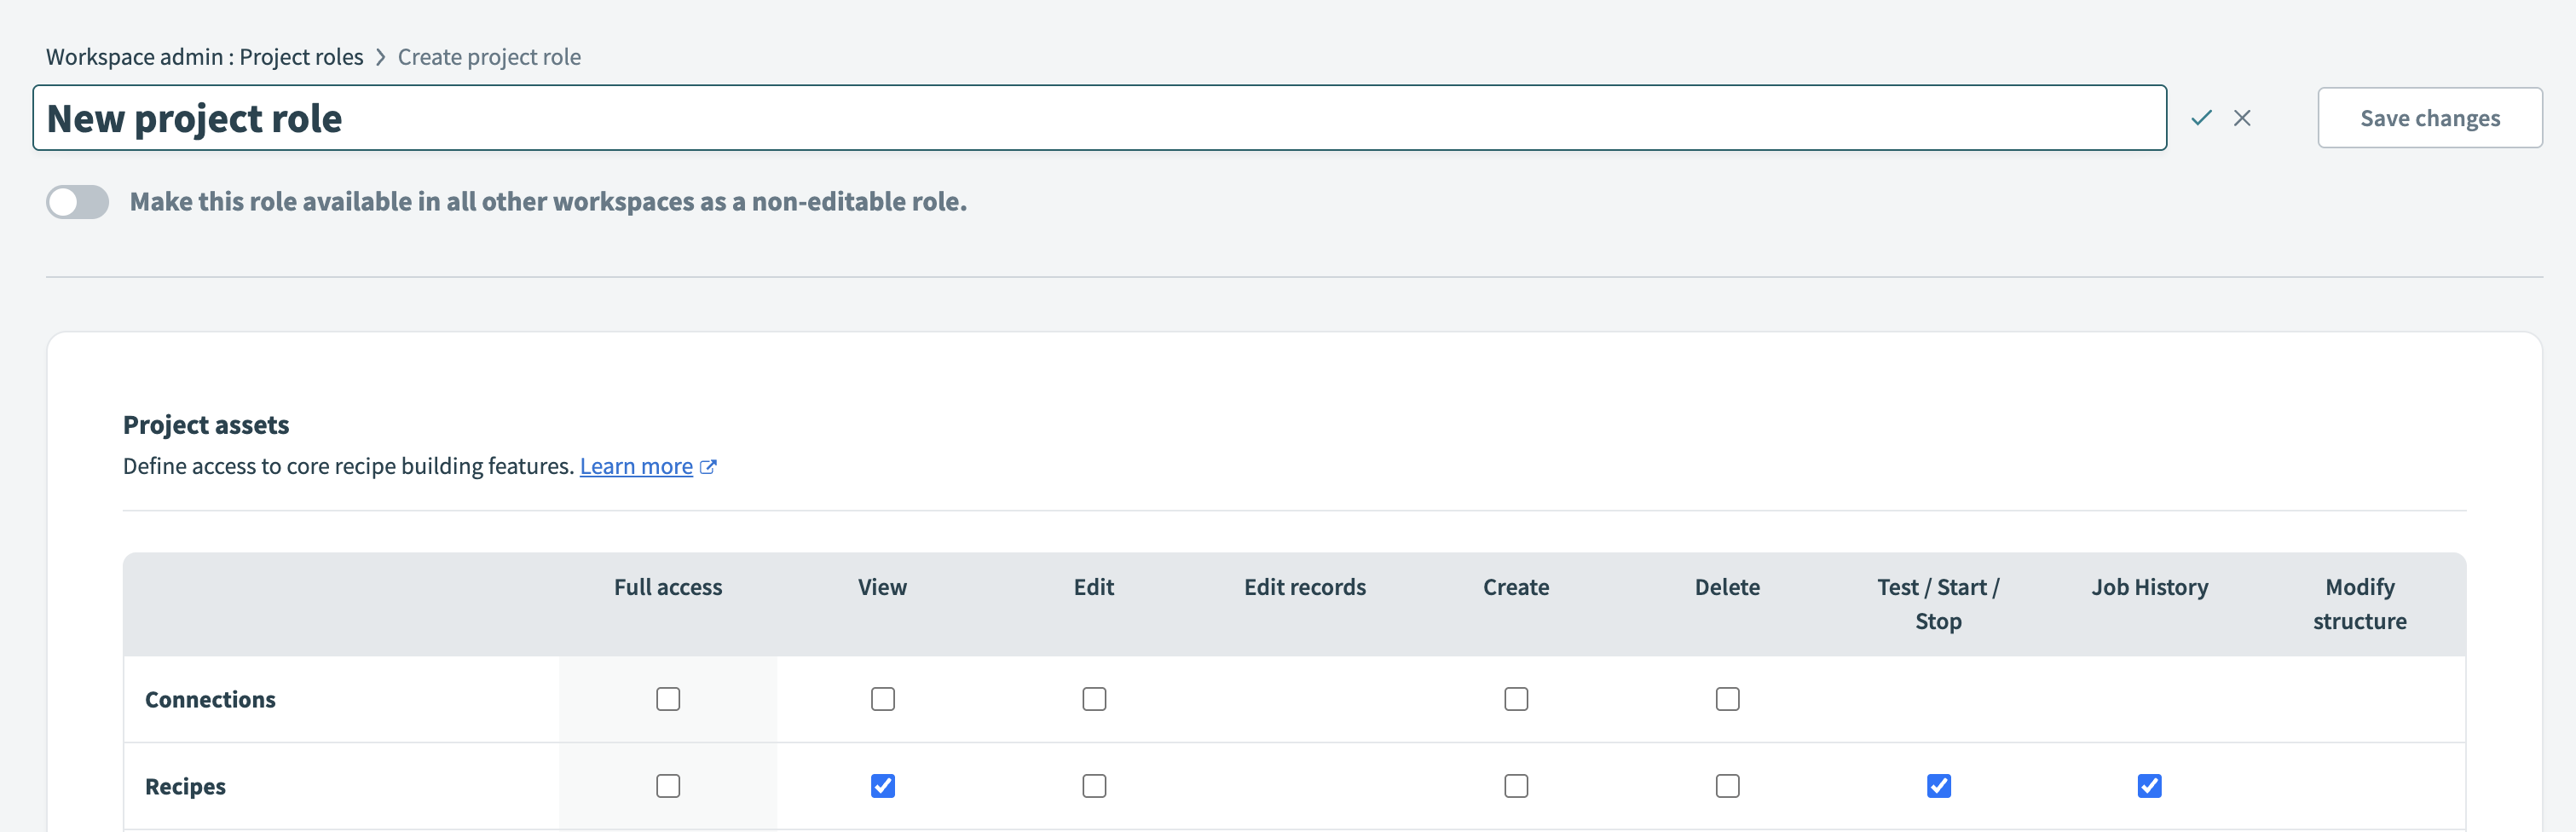
Assign privileges to the role from the available options. Refer to the Project privileges reference for more details about each privilege.
ASSIGNING PRIVILEGES
Consider the following when you assign privileges:
New project roles include default permissions. By default, new project roles have View privileges for recipes, Genies and folders. Clear these privileges if they aren't required.
Some privileges require dependencies. For example, View folders is required to view recipes and connections stored in those folders.
Autoselecting interdependent privileges
Hovering over a privilege displays its requirements, and related permissions adjust automatically.
Click Save changes when finished.
Assign roles to team collaborators
You can assign roles to collaborators when you invite them to the workspace. You can also update roles at any time.
Watch a quick video overview
Clone roles
Cloning a role creates a copy you can modify without affecting the original.
CLONE ROLES PROGRAMMATICALLY
You can clone roles programmatically through the Workato API.
Clone an environment role
Complete the following steps to clone an environment role in Workato:
Go to Workspace admin > Access control > Environment roles in your Workato account.
Click the environment role you plan to clone. This opens the Edit environment role page.
Click Clone role.
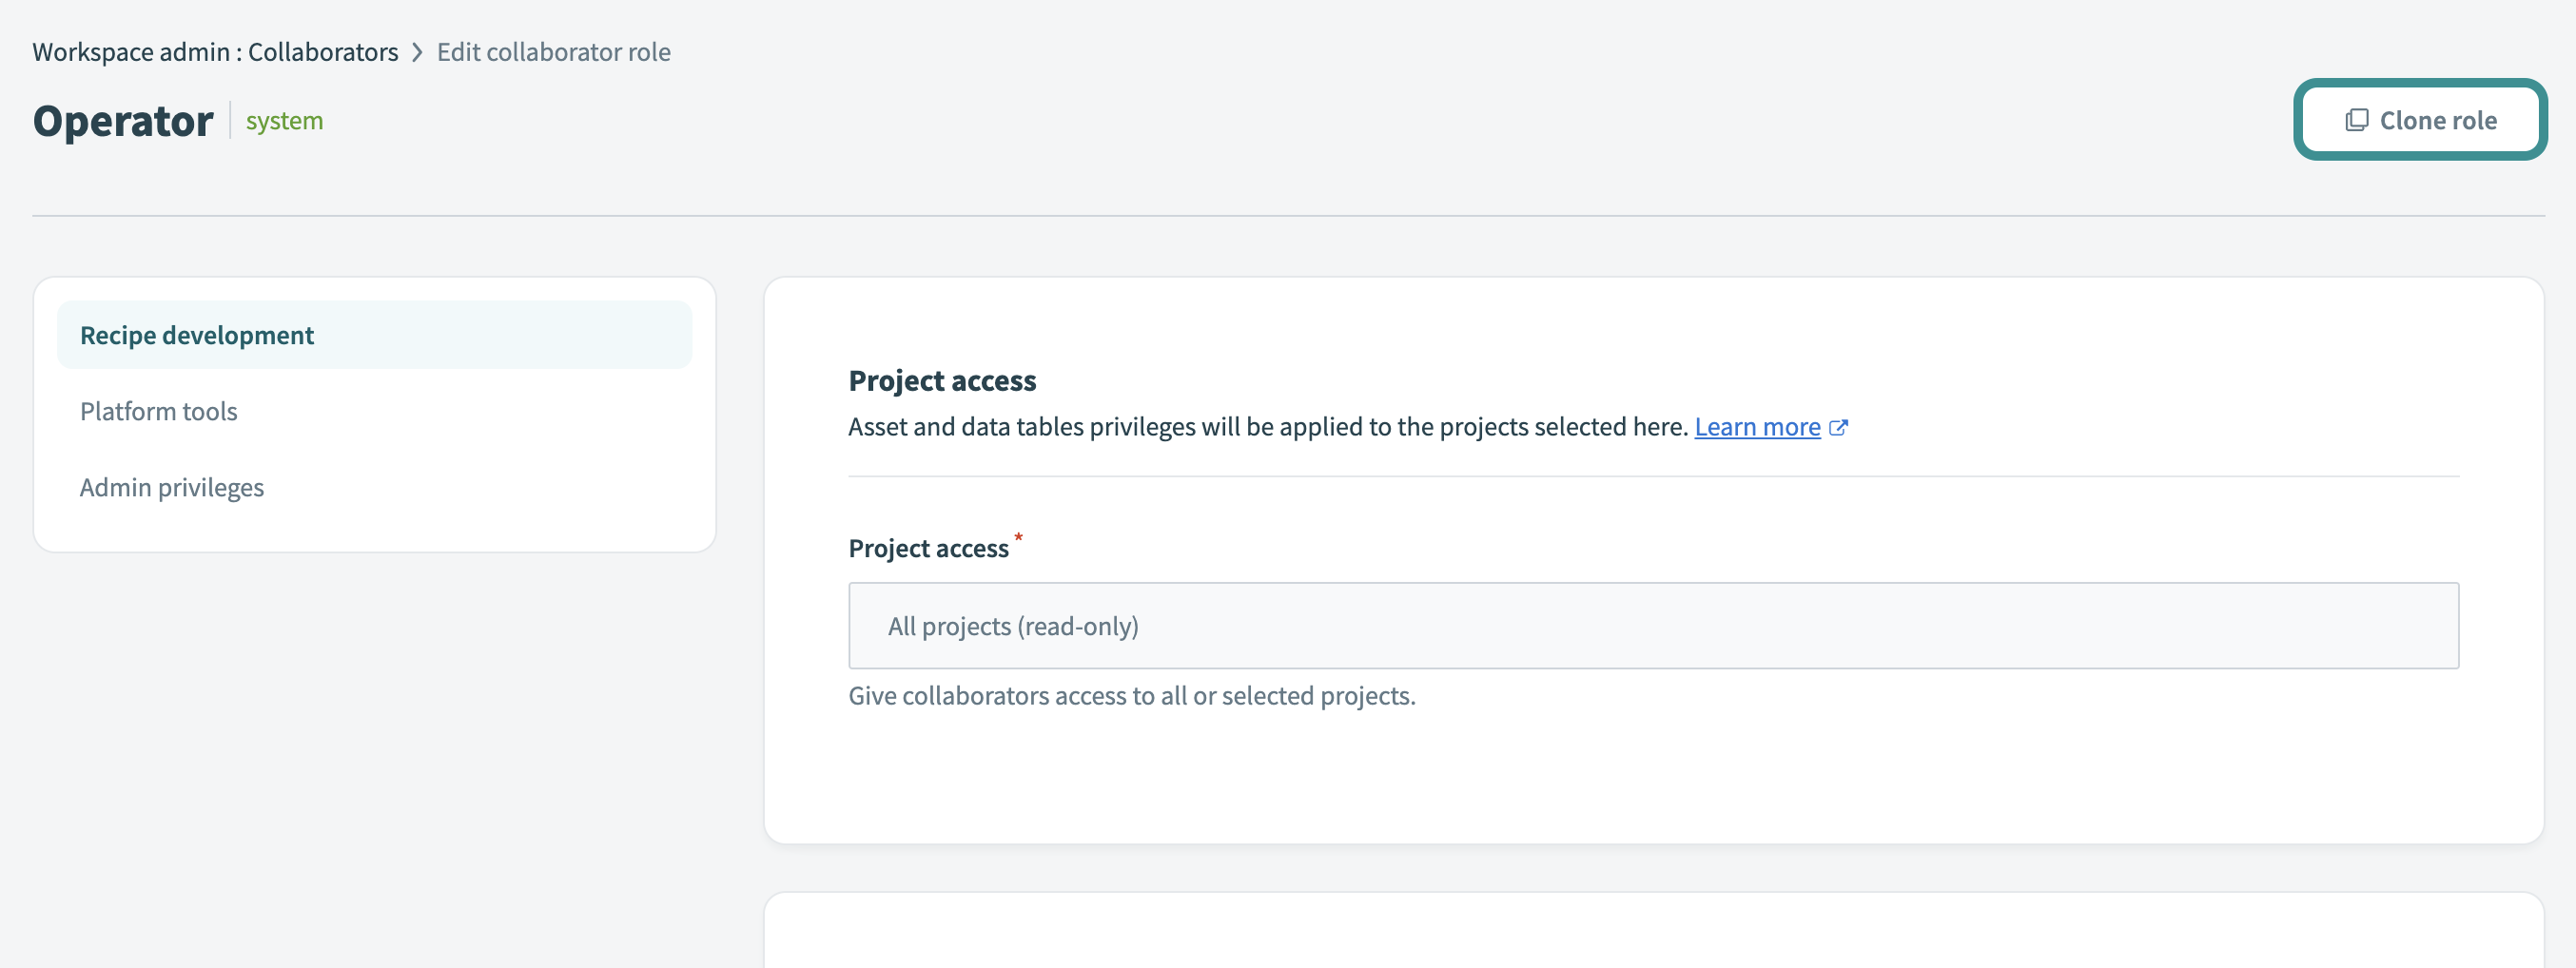 Clone role
Rename and modify the copy of the role as needed.
Click Save changes.
Clone a project role
Complete the following steps to clone a project role in Workato:
Go to Workspace admin > Access control > Project roles in your Workato account.
Click the project role you plan to clone. This opens the Edit project role page.
Click Clone role.
Clone role
Rename and modify the copy of the role as needed.
Click Save changes.
Delete roles
We recommend that you reassign collaborators to new roles before you delete a role to prevent access issues.
SYSTEM ROLES CAN'T BE DELETED
You can't delete system environment roles or system project roles.
Access changes based on the role type when you delete a role:
Environment roles: Deleting an environment role revokes a collaborator's access to that specific environment. For example, a collaborator has access to DEV and TEST environments. In DEV, they're assigned the HR - Dev role, and in TEST, the Tester role. If you delete the HR - Dev role, the collaborator loses access to the DEV environment until you assign them a new environment role. Their access to TEST remains unaffected.
Project roles: Deleting a project role revokes a collaborator's access to projects with that role assigned to them. Other projects remain unaffected as long as the collaborator has roles assigned there.
Complete the following steps to delete a role:
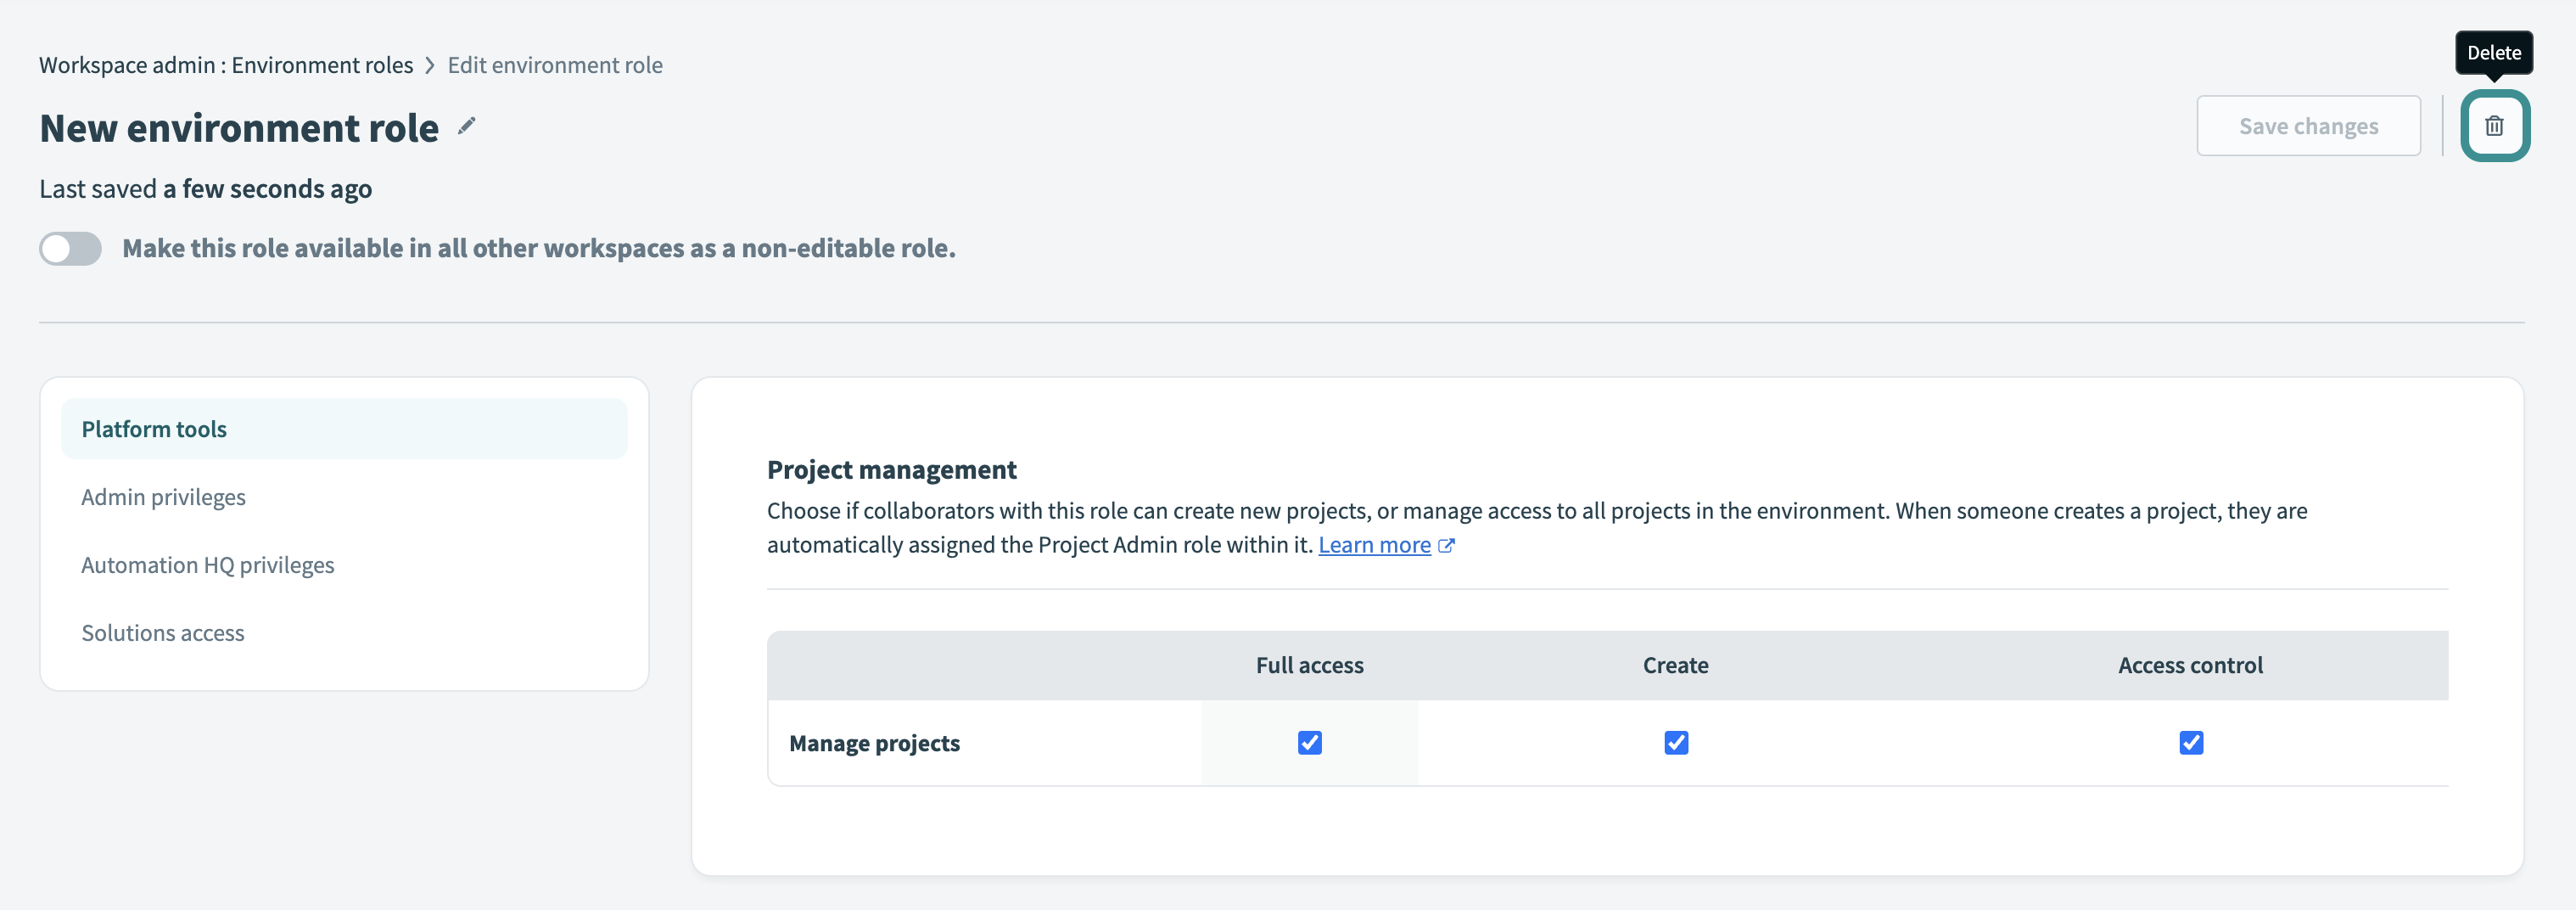 Delete environment role
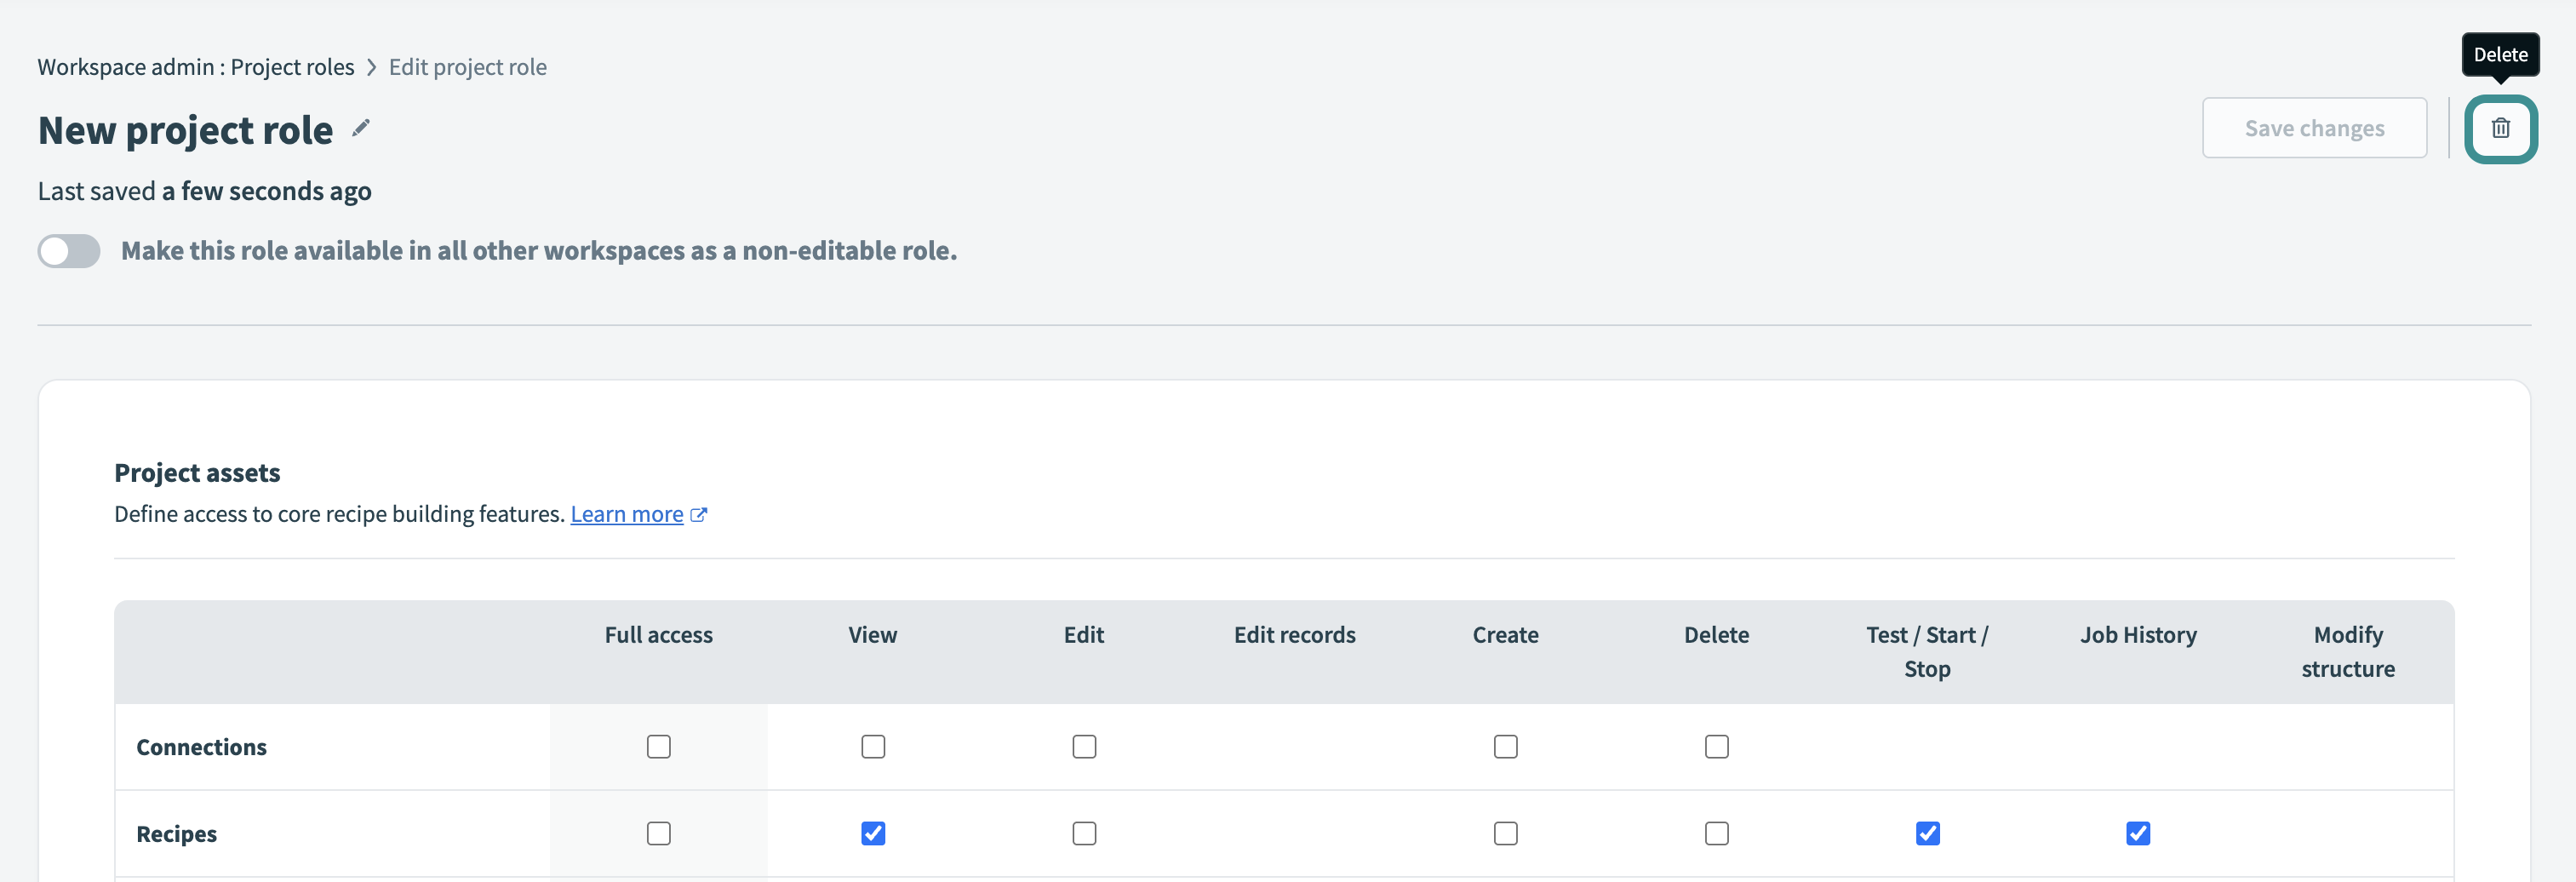 Delete project role
Last updated: