# Getting started with Workbot for Workplace by Workato
# What is Workato?
NOTE
Skip to Setup Workbot if you're already familiar with Workato or want to quickly get started with Workbot.
Workato helps you automate business workflows across cloud apps, on-premise apps and employees, for example, New case in Salesforce will create issue in Jira & incident in ServiceNow, and more.
Workato combines enterprise-grade workflow automation with the ease-of-use expected from consumer apps, allowing business users and IT to quickly build workflow automations.
# Workbot for Workplace, powered by Workato
NOTE
Skip to Setup Workbot if you're already familiar with Workbot.
Workbot is a bot platform built on top of Workato. It helps you run these business workflows directly from Workplace.
These business workflows can be initiated from Workplace by using Workbot commands. When the command is sent to Workbot (via direct messages or group chats), it will look for the corresponding workflow in Workato and execute the workflow steps.
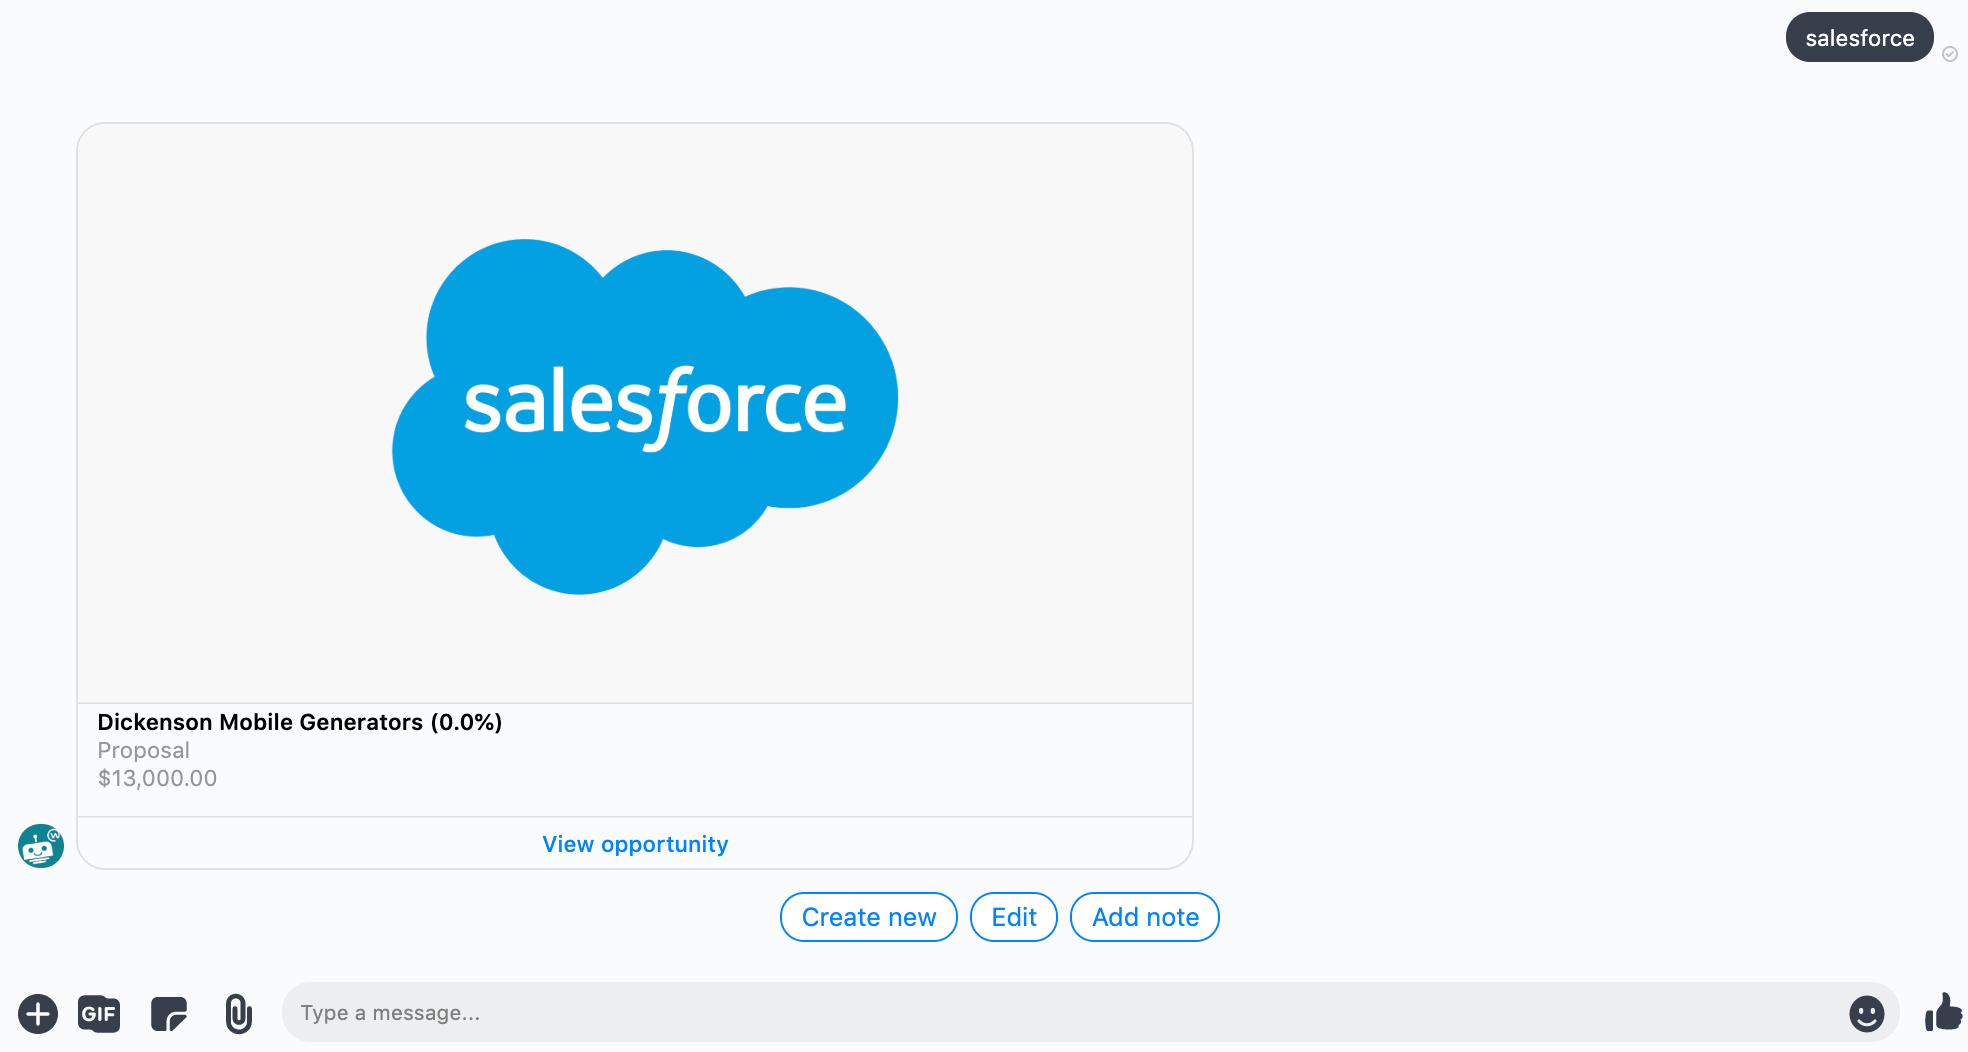 Sending a 'salesforce' command. The retrieves open opportunities in Salesforce, then sends a reply
These workflows — combined with Workbot — allow you to retrieve, create, and update data across all your apps - directly within Workplace.
In Workato, these powerful workflows are known as Recipes.
# Recipes
Recipes are automated workflows built by users that can span multiple apps.
Each recipe comprises of a Trigger and one or more Actions that are carried out when a trigger event occurs.
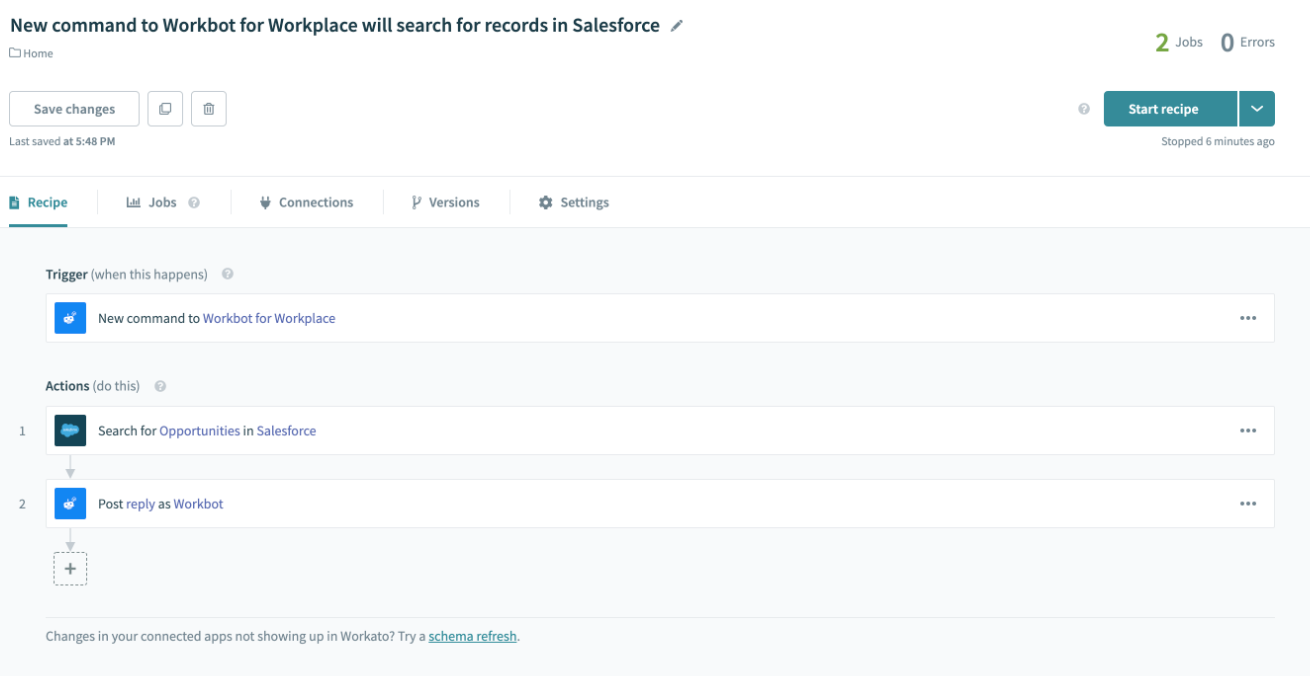
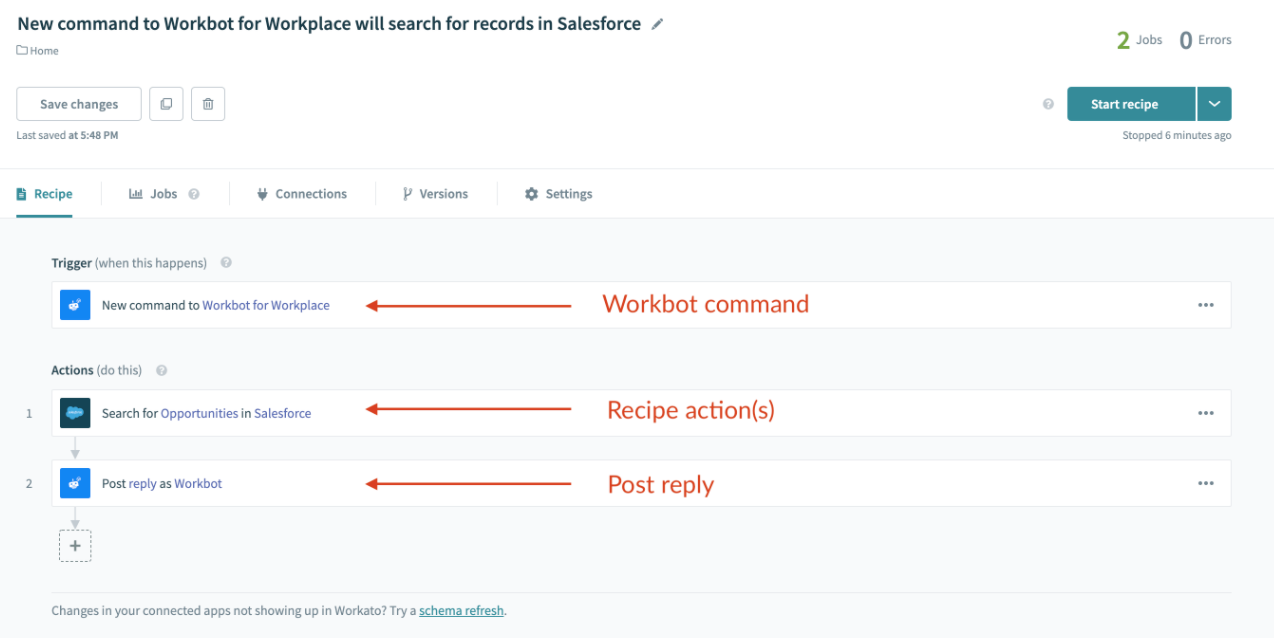
# Workbot command trigger
Workbot commands allow you to trigger recipes from Workplace. These recipes can then perform actions in your apps (for example, creating new ServiceNow tickets, listing Salesforce opportunities). Refer to the Workbot commands reference guide for more information.
 A recipe configured with a 'newissue' Workbot command
# Setup Workbot
# Requirements
To use Workbot for Workplace, you need to:
- have Workplace Premium
- be an admin in your Workplace instance
# Permissions
Workbot for Workplace uses these permissions:
message
read_user_email
# Setup
To install Workbot to your Workspace instance, you need to create a connection to Workbot for Workplace. Head over to App connections to create a new connection. Alternatively, you can create a new connection by creating a new Workbot for Workplace recipe (opens new window).
In App, search for Workbot for Workplace.
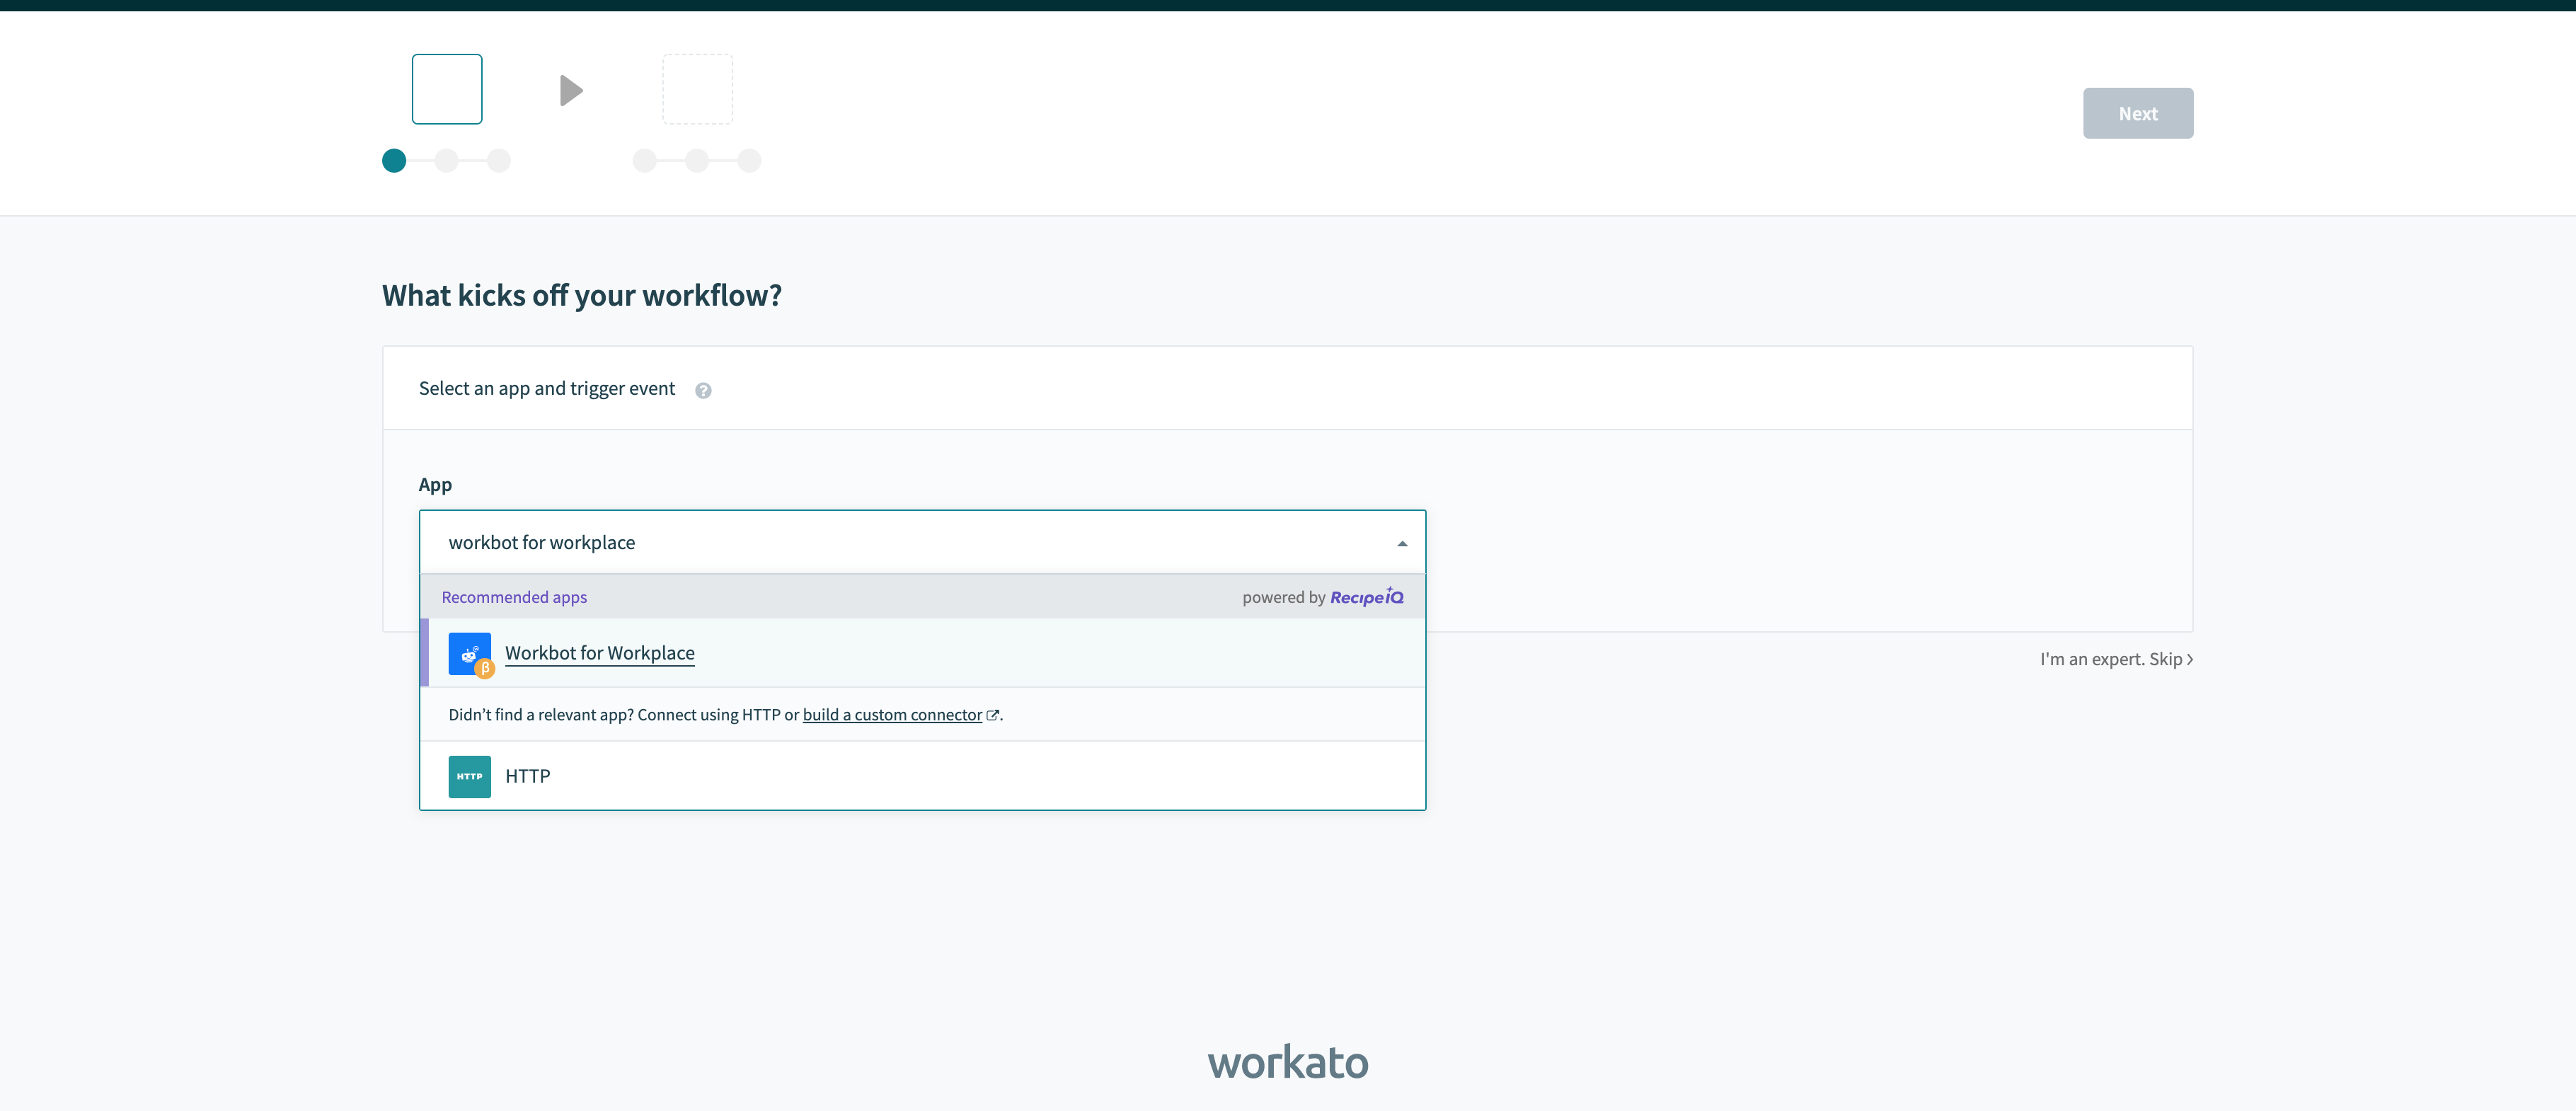 Create a new recipe and search for Workbot for Workplace
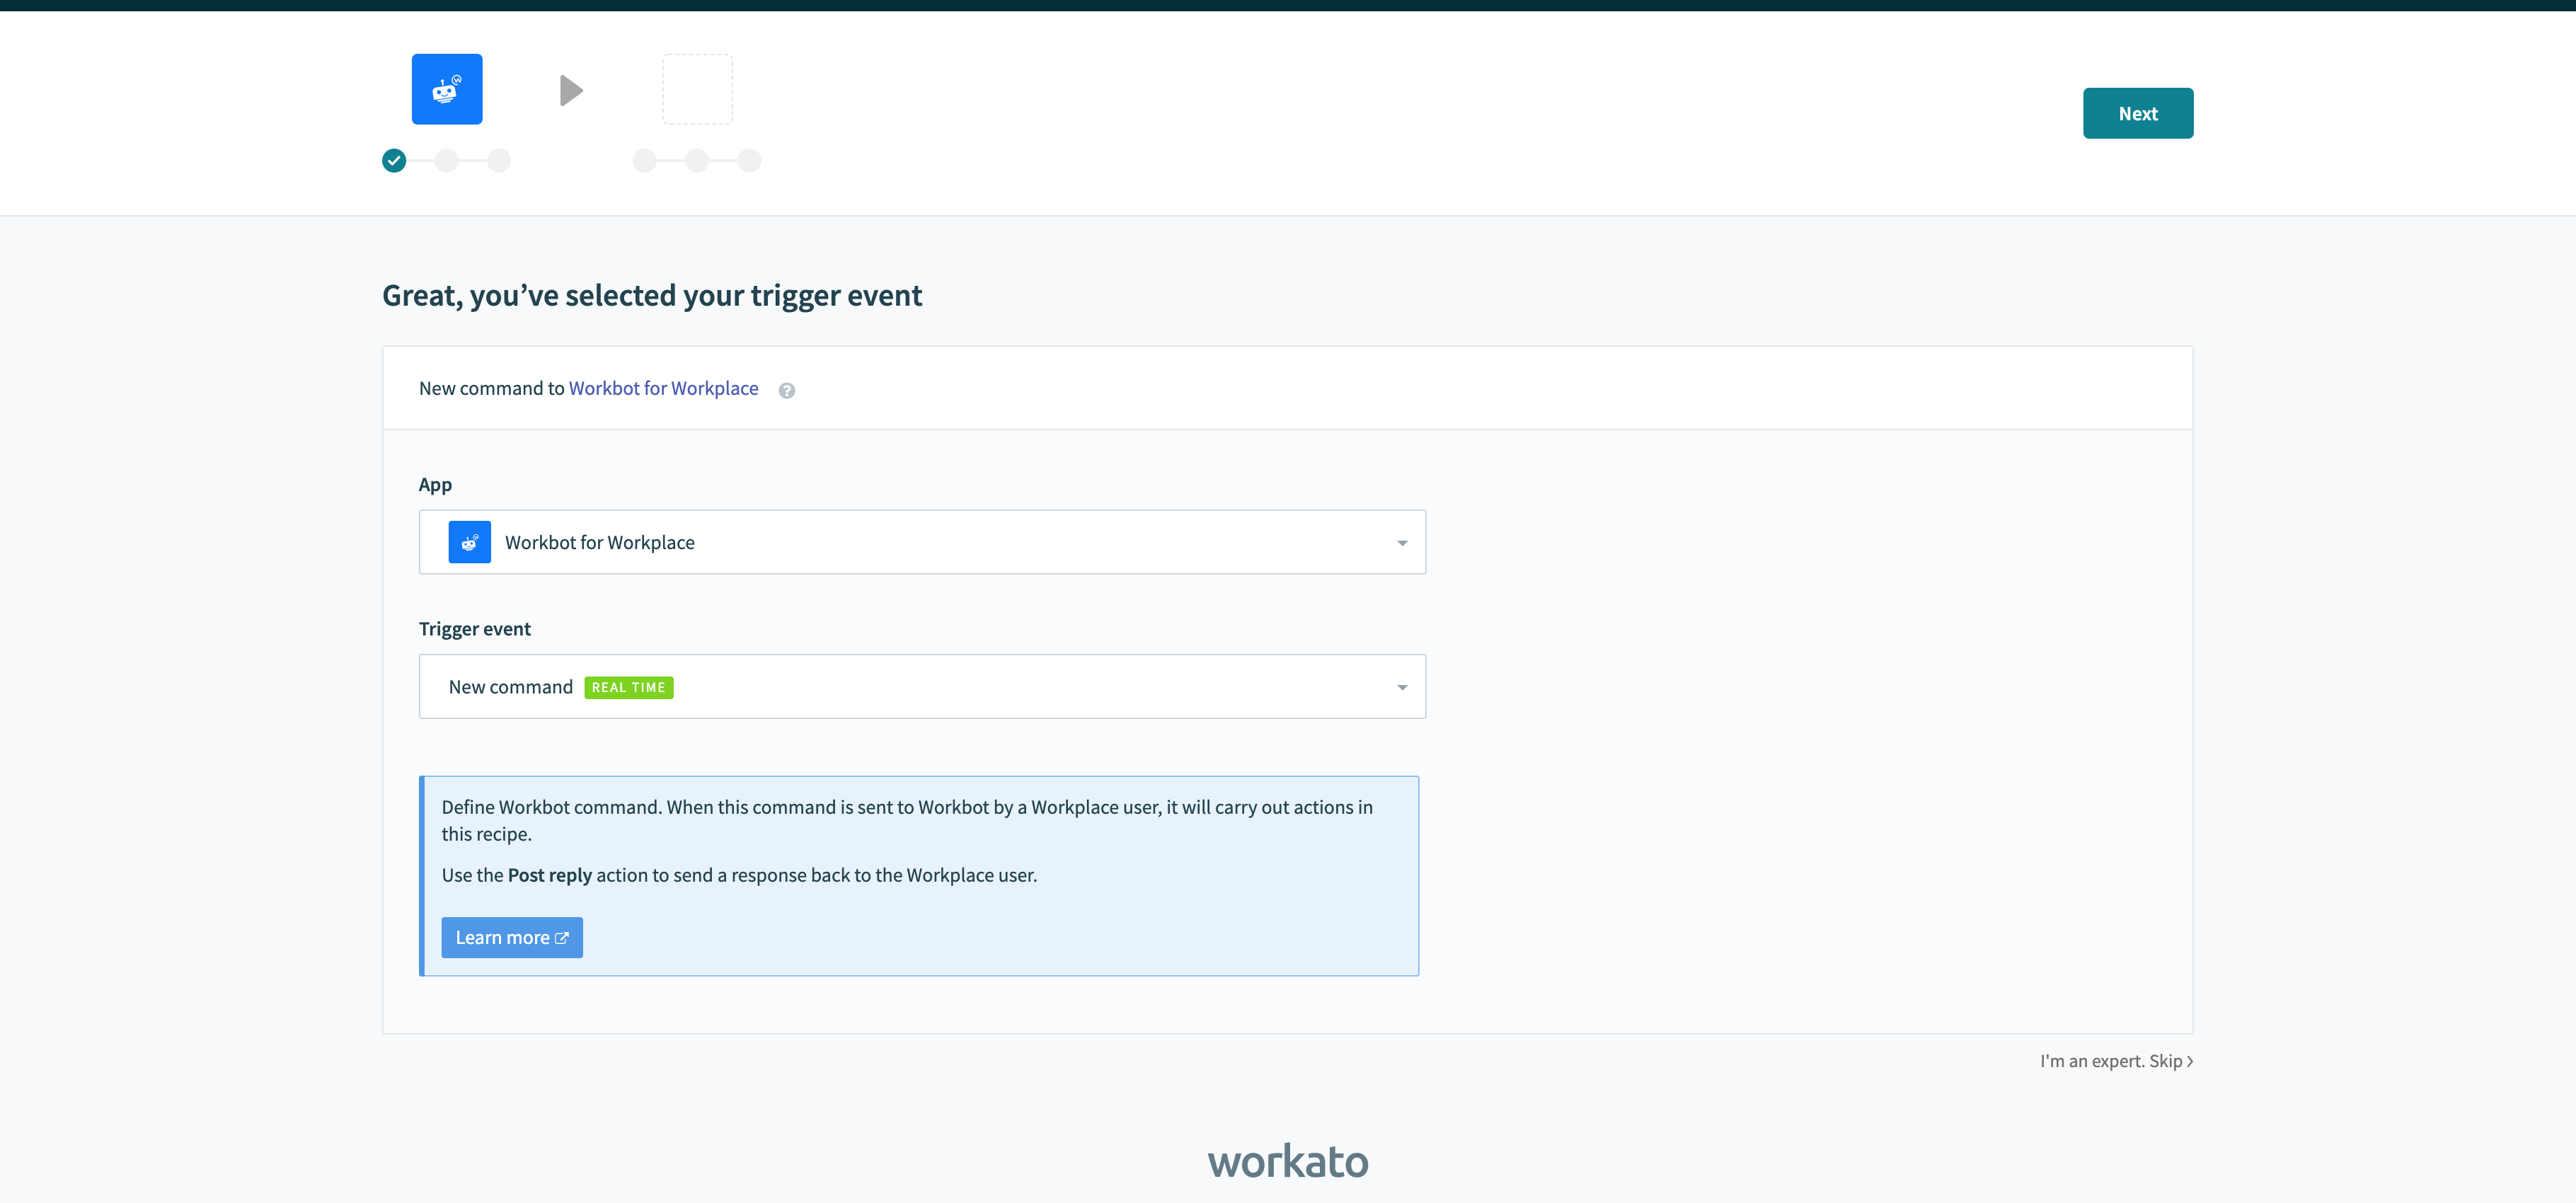 Trigger event auto-populates to 'New command'. Hit Next to continue
Begin the setup by clicking on Link your account.
Ignore Custom Access Token for now - it's used for Workplace custom integrations (opens new window))
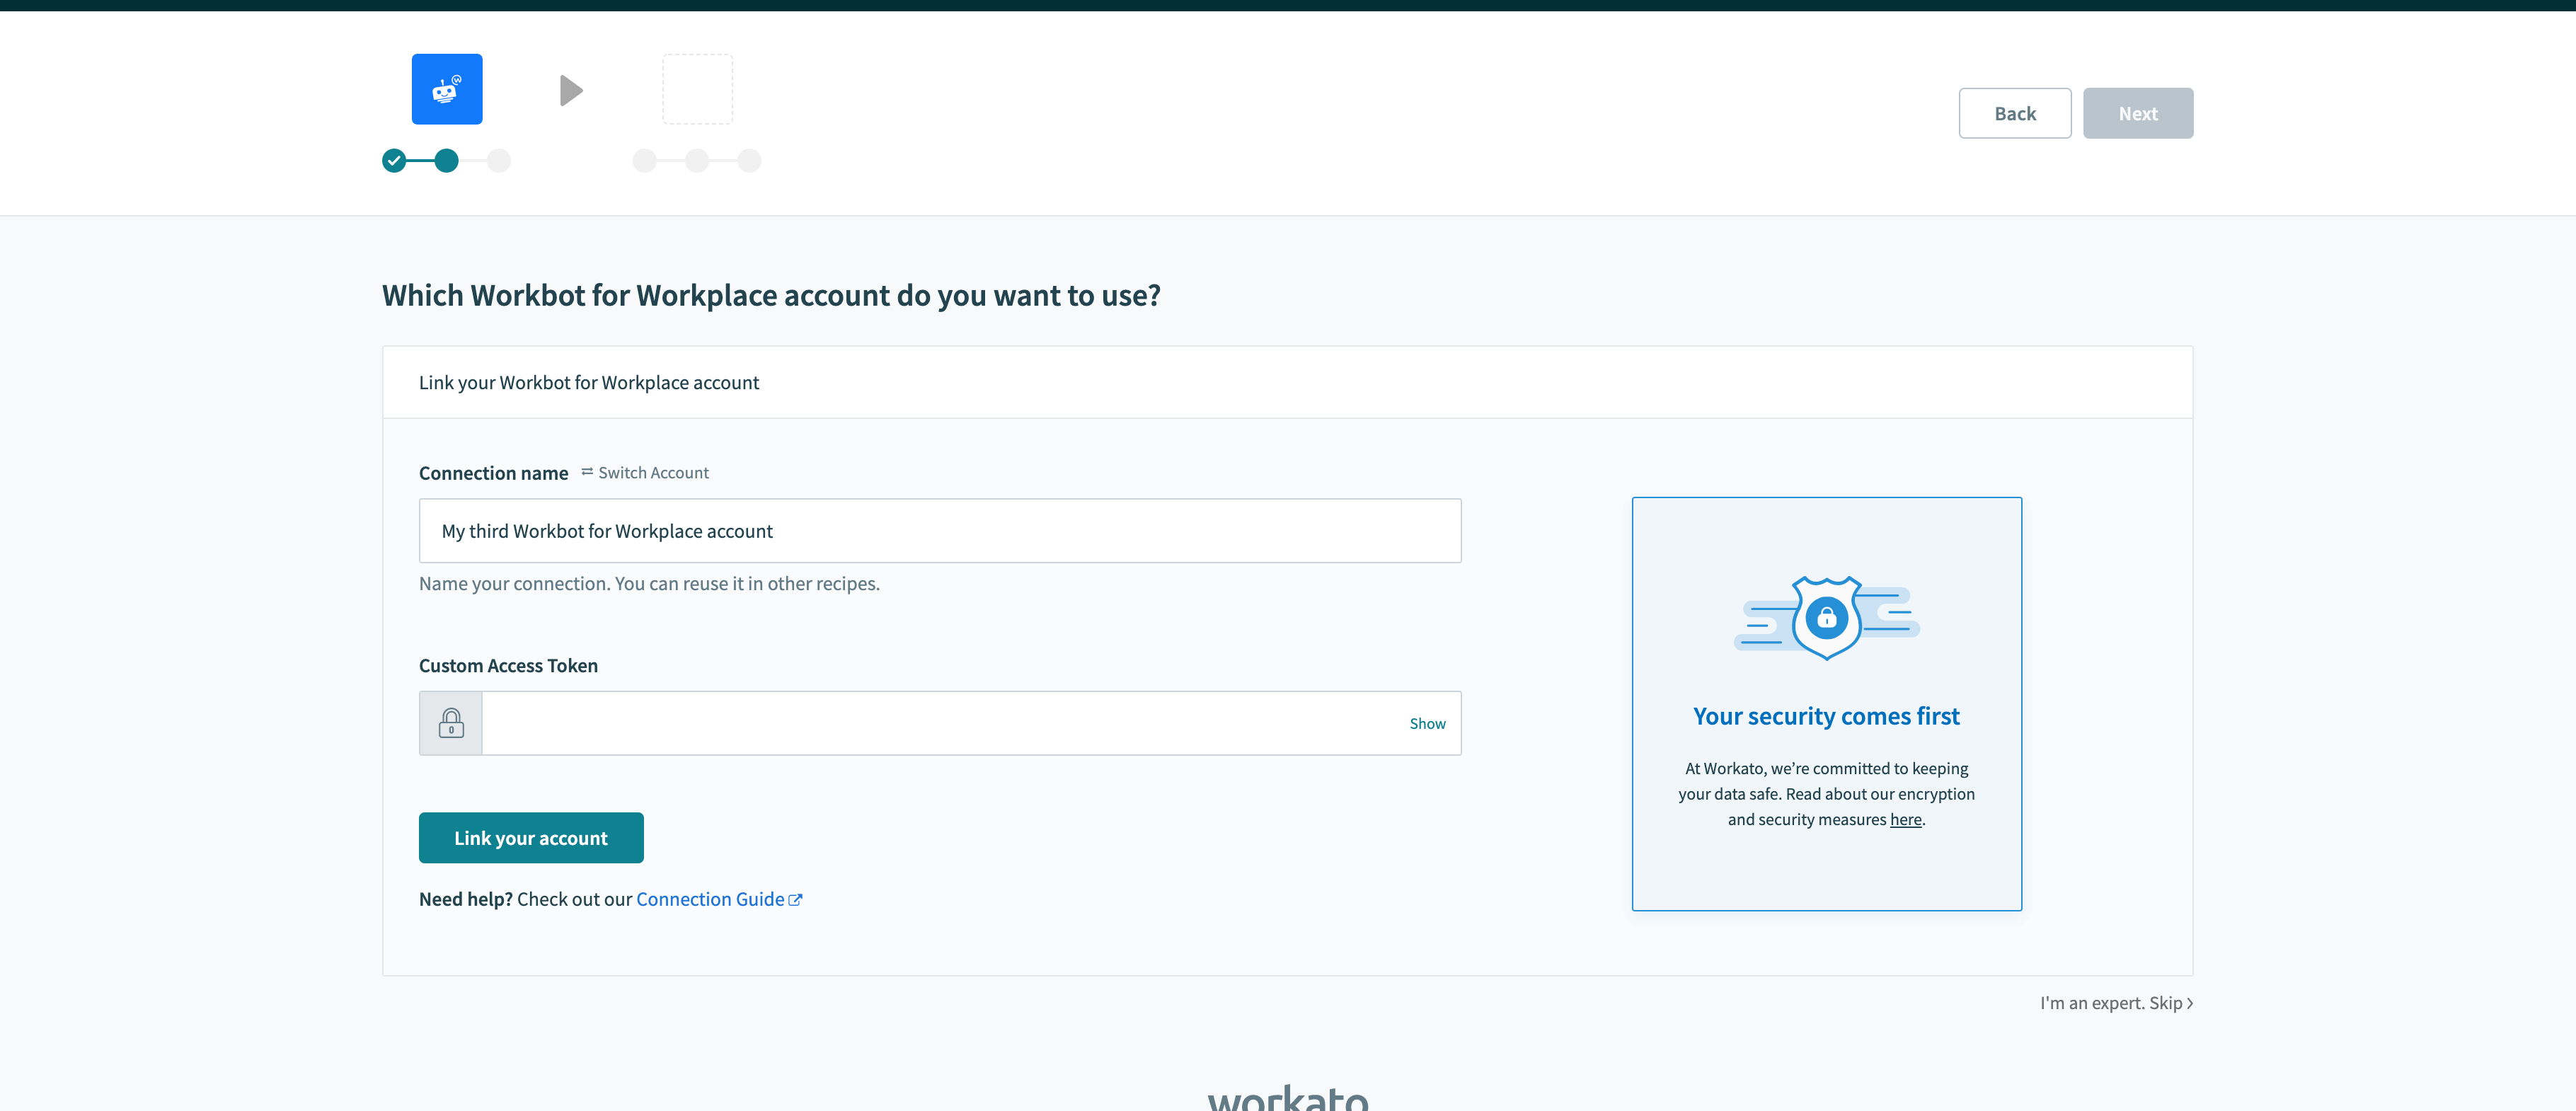 Start the setup by clicking on 'Link your account'
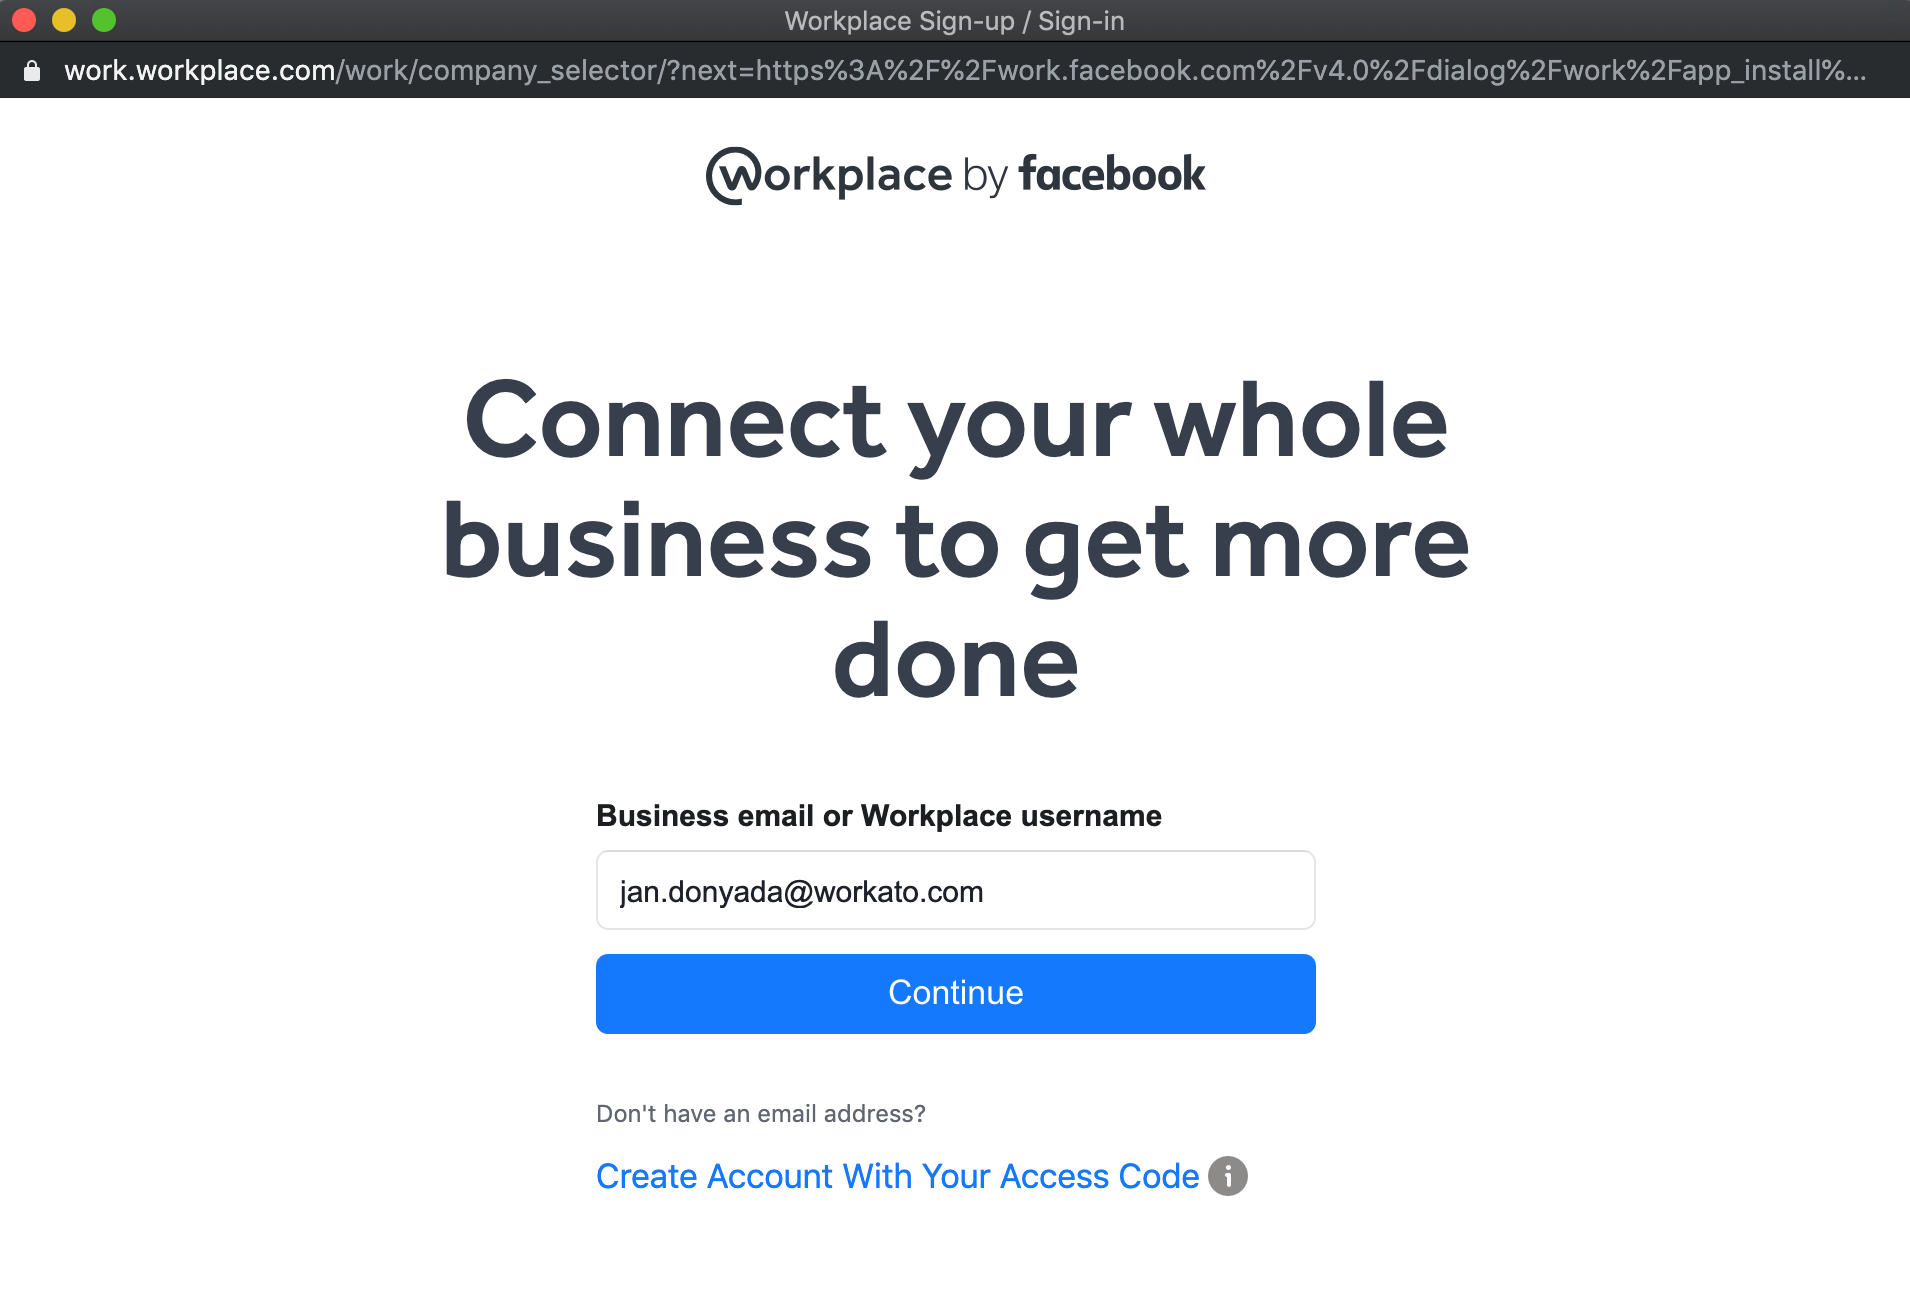
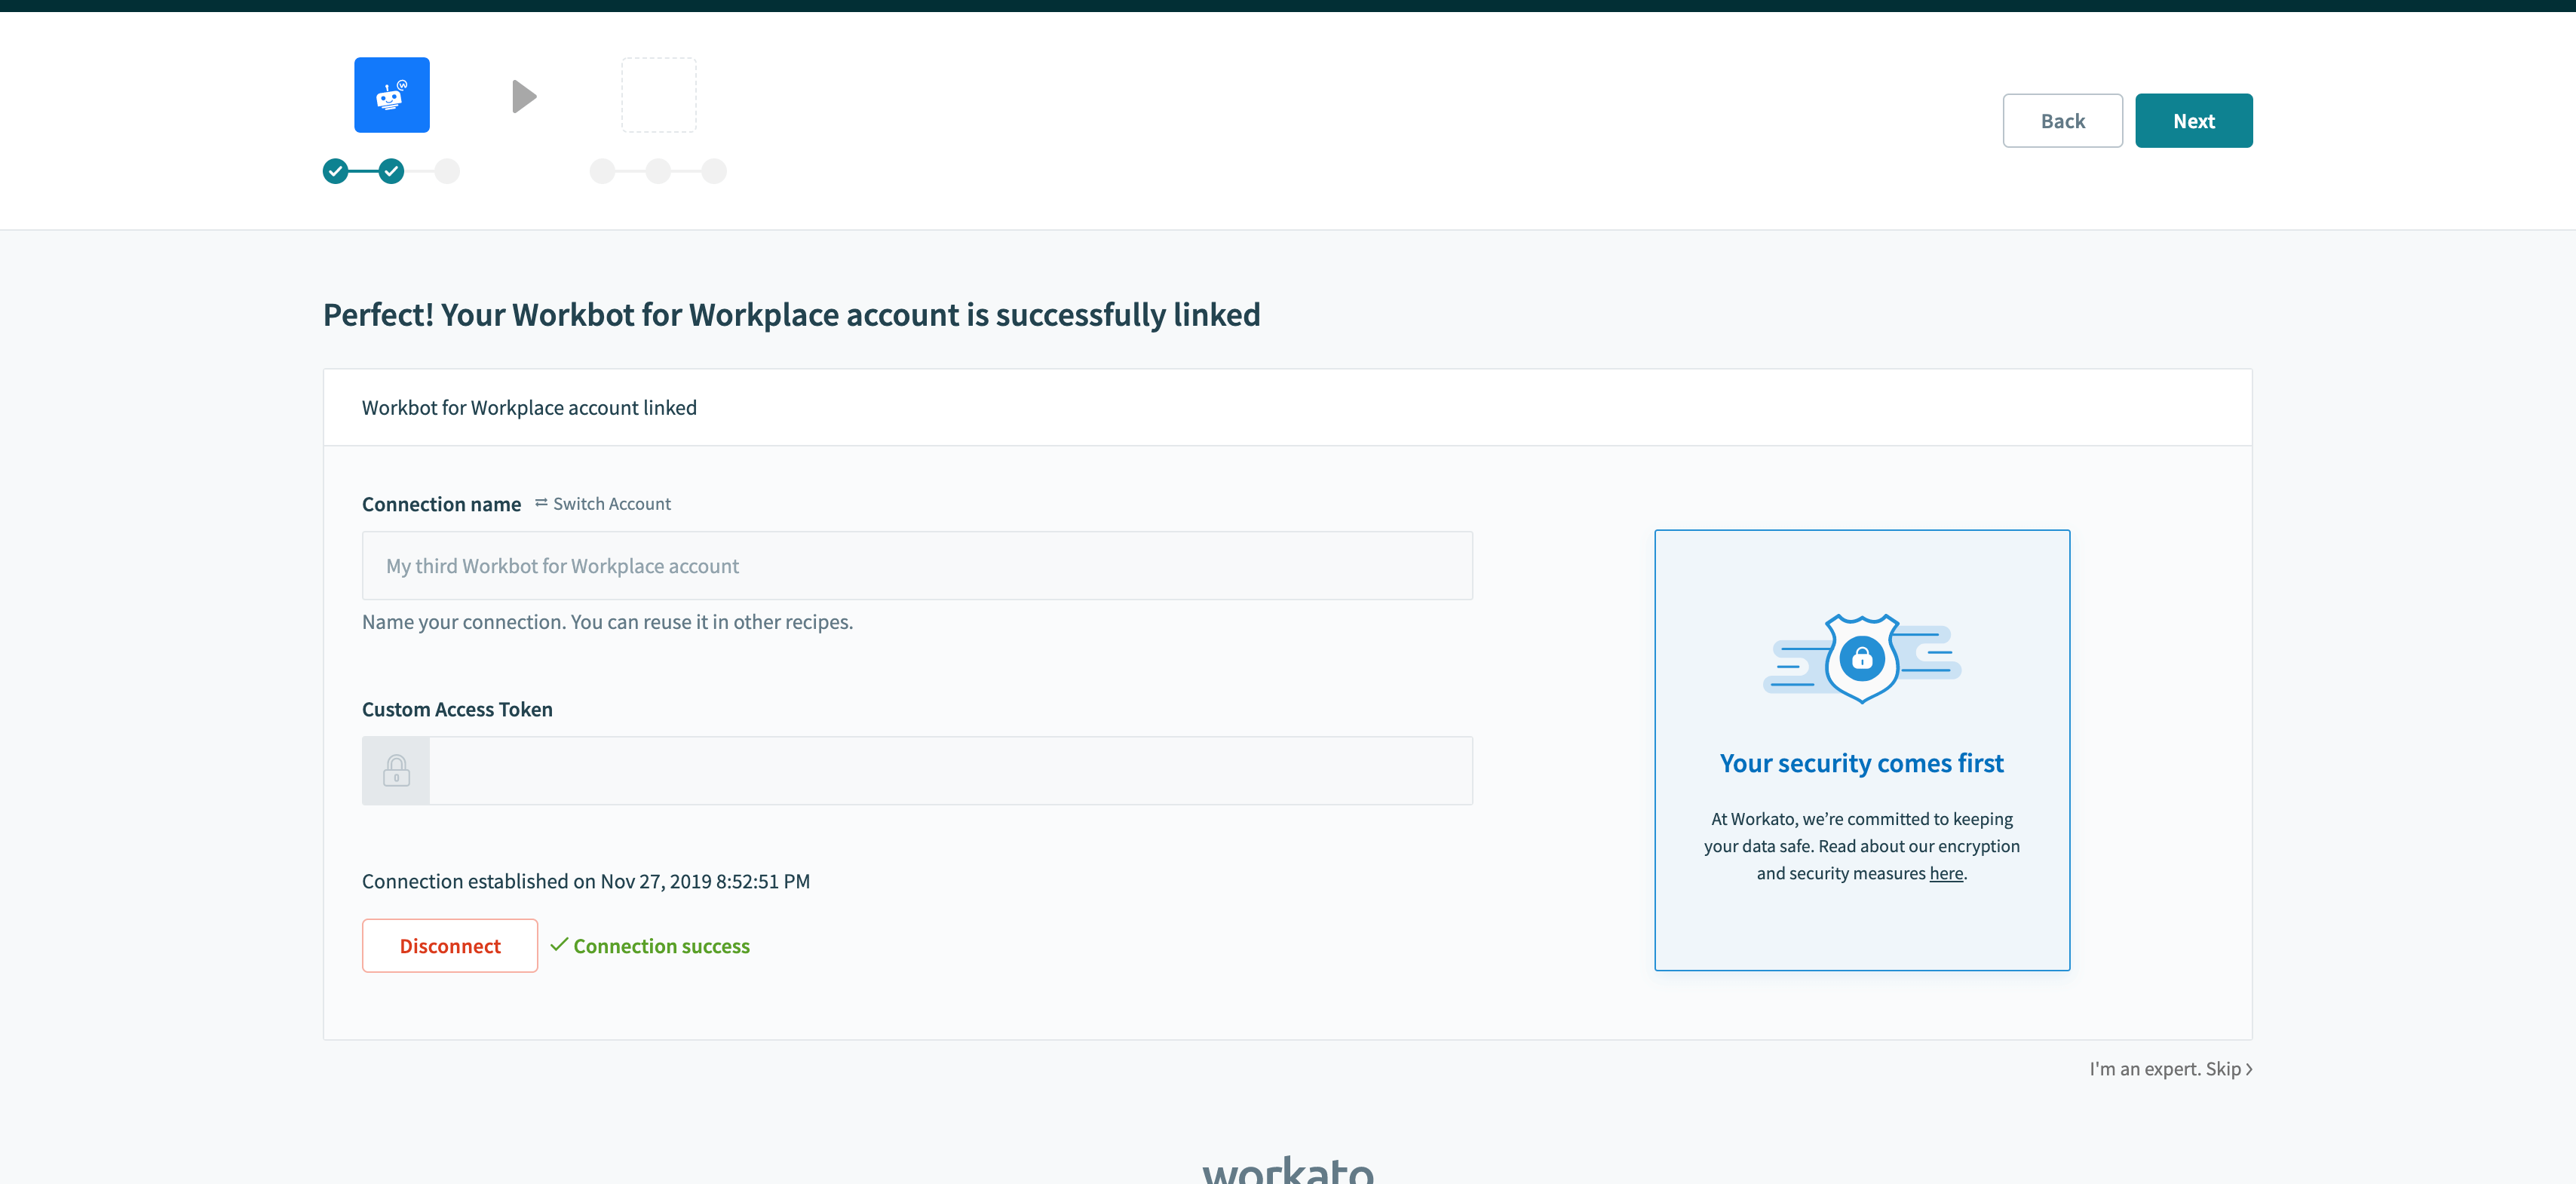
This should open your browser (or a browser tab) and prompt you to log into your Workplace account:
Select Add to Workplace.
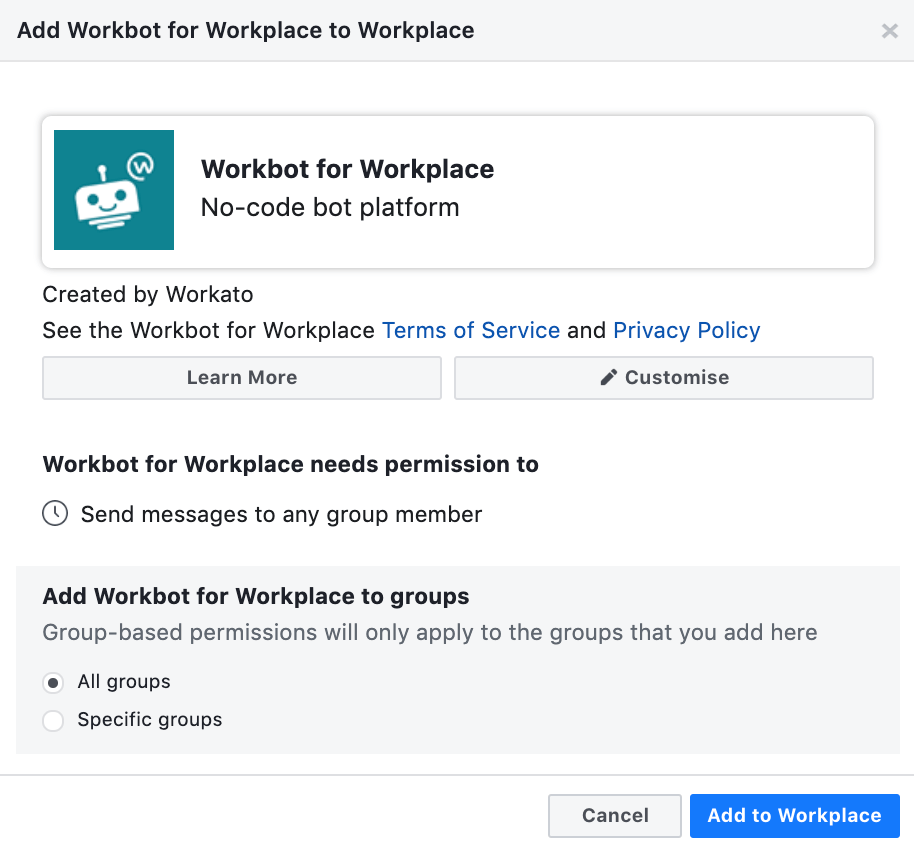
If the installation was successful, you should see Connection success.
Workbot has now been added to your Workplace account. It's now time to create your first Workbot recipe! Head over to Workbot triggers to learn how to configure a Workbot command.
 Example 'new_issue' command
# The help command
Available bot commands can be displayed by typing 'help'. A bot command becomes available when a recipe satisfies the following conditions:
- has a connected Workbot for Workplace connection,
- has a recipe with the Workbot for Workplace
New commandtrigger and - the recipe has been started
- Hide command in 'help' messages is set to No
 A Workbot with three available bot commands
# Additional info
Head over to our documentation for more information on how Workbot works!
Last updated: 5/26/2025, 3:37:00 AM