# Workbot command trigger
Workbot commands allow you to trigger recipes from Workplace. These recipes can then perform actions in your apps (for example, creating new ServiceNow tickets, listing Salesforce opportunities).
This means you can from perform actions in your apps from within Workplace!
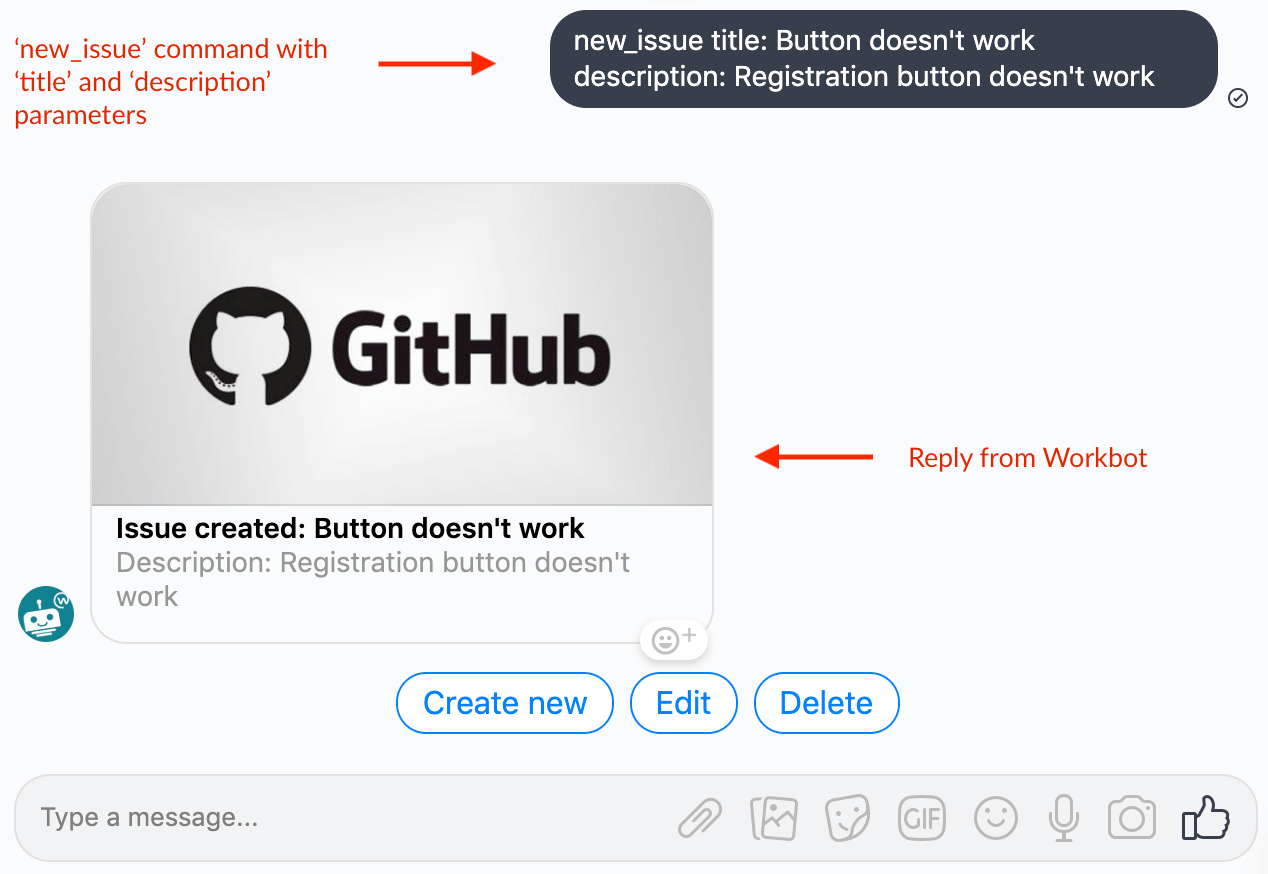 Sending a 'new_issue' command with additional parameters in Workplace, then receiving a reply
When a command is sent to Workbot in Workplace, it will trigger the Workbot recipe and execute its actions.
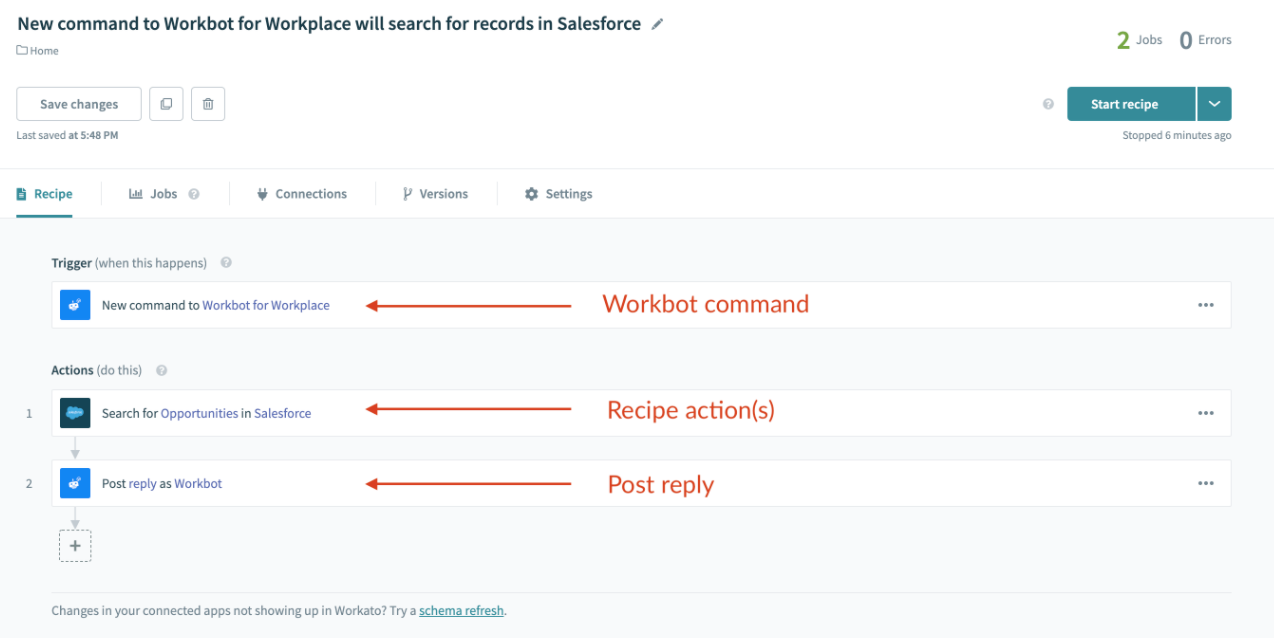 A Workbot recipe with a Workbot command trigger
# Configuring the command
 Example 'new_issue' command
# Input fields
The table below lists the input fields in the trigger and what they do.
| Input field | Description |
|---|---|
| Command name | Name of the command. |
| Parameters | Parameter can store additional data that can be used as datapills in follow-up recipe actions. |
| Command hint | Display this instead of command name in response to help messages. |
| Hidden command | If Yes, command will not show up as a command in help messages. Defaults to No. |
# Command name
Workbot commands can invoke their recipes by:
- Sending the command name in a direct message to Workbot, for example, new_issue
- Sending the command name in a channel and tagging Workbot, for example, @workbot new_issue
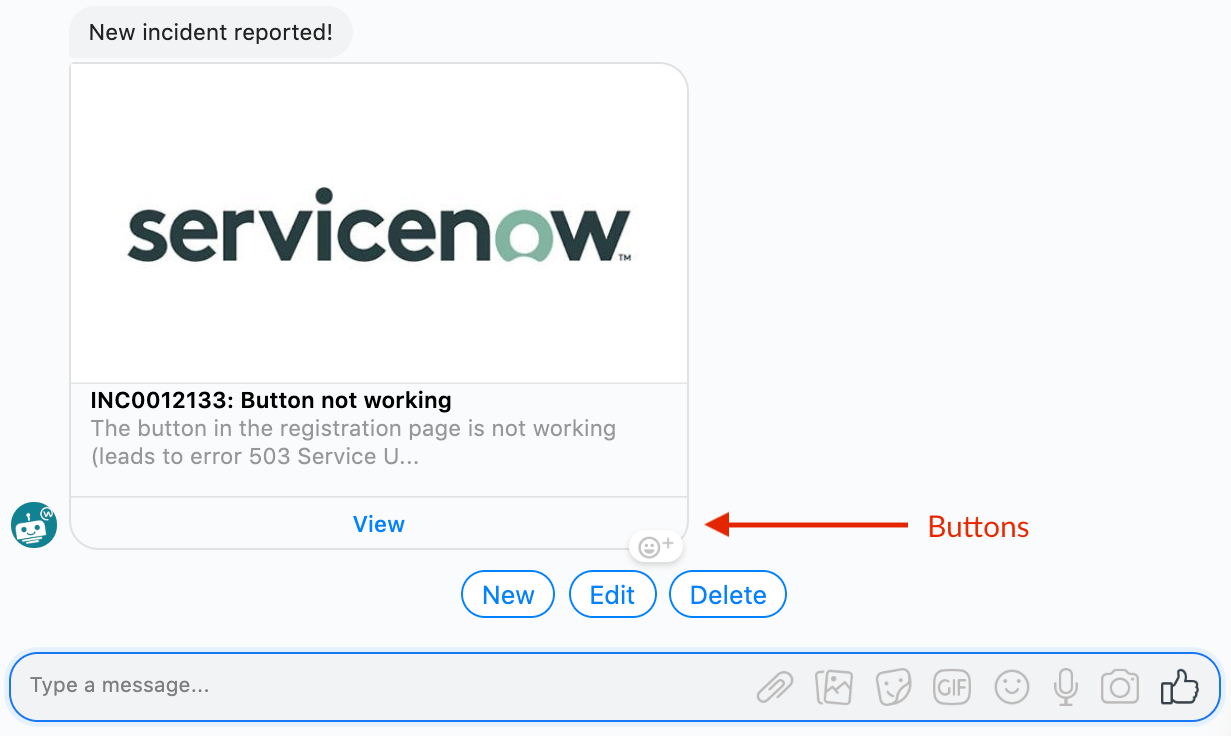
- Submitting a command button with the command name configured:
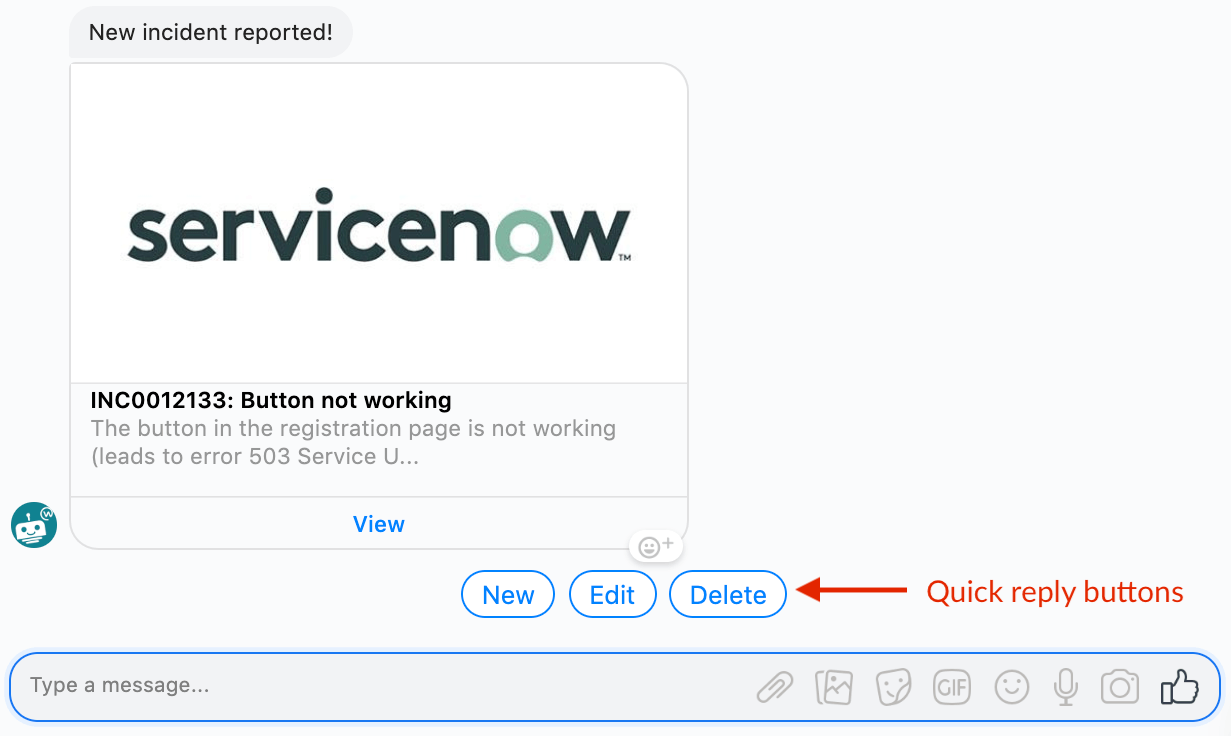
A button can be configured to invoke another Workbot recipe - Submitting a quick reply button with the command name configured:
Quick reply button configured to invoke another Workbot recipe
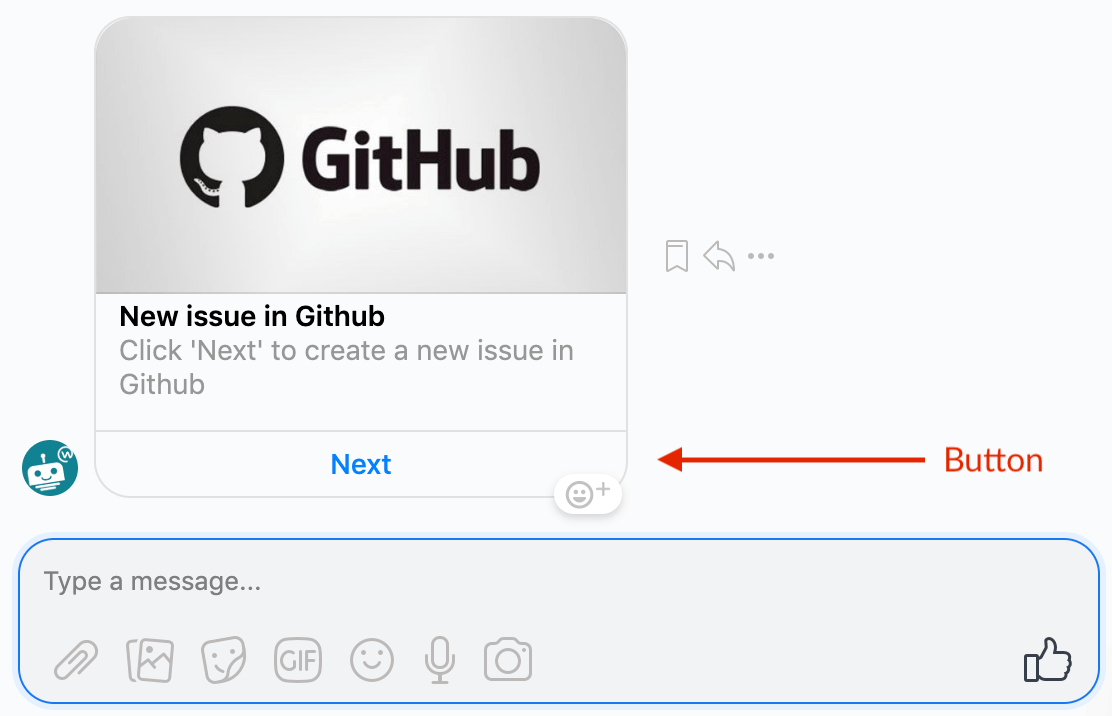 The 'Next' button invokes the 'new_issue' command and executes the recipe when submitted
# Parameters
Commands can also prompt users for additional parameters. For example, to create a new Github ticket, the user should provide the title and description of the incident.
In this case, you can add 2 parameters; title & description. When the command is invoked, Workbot will prompt the user for each parameter.
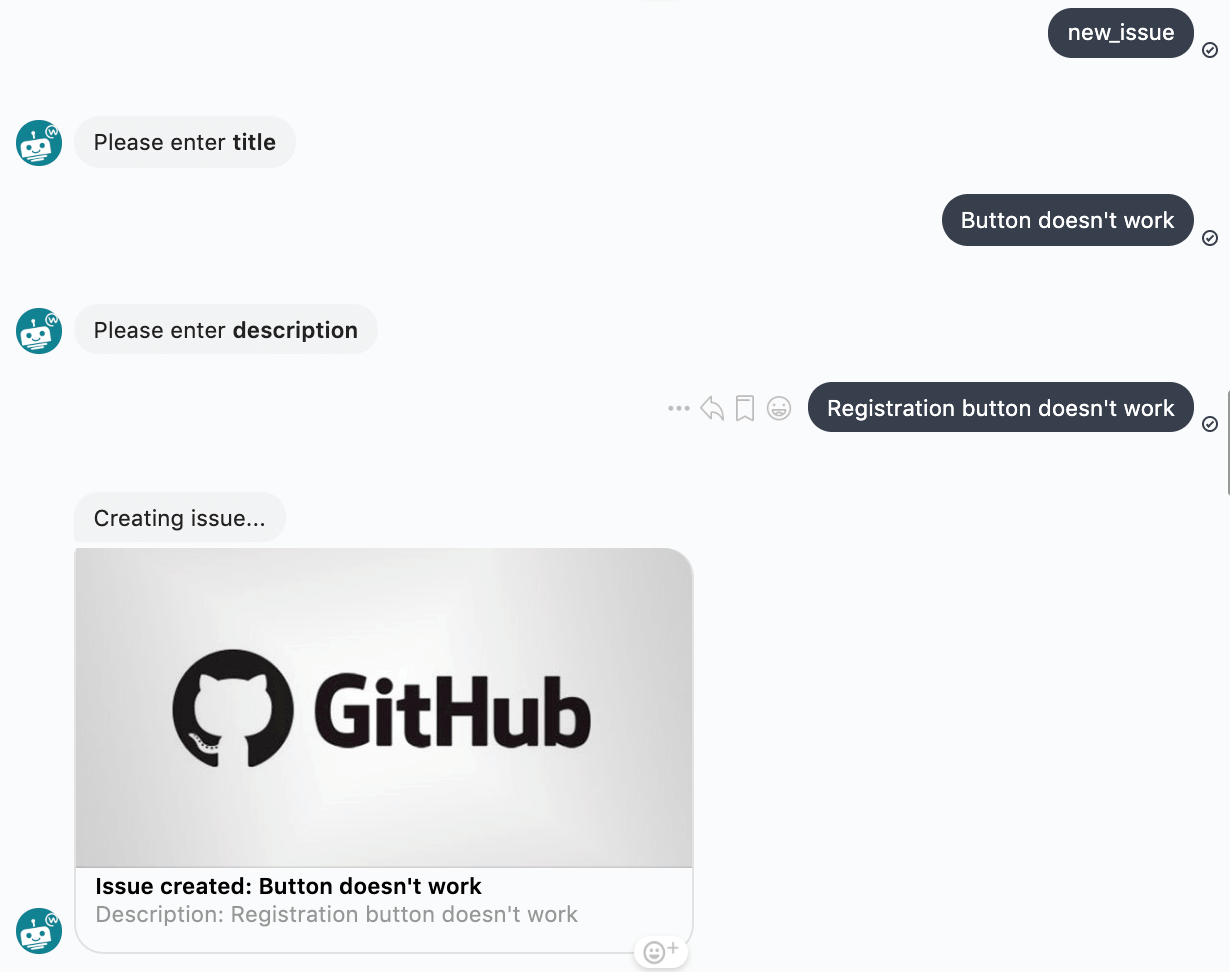 Workbot can ask users for info if you specify additional parameters in your command
Users can also skip the prompts by supplying the parameters together with the command.
Sending a 'new_issue' command with additional parameters Title and Description
# Defining parameters
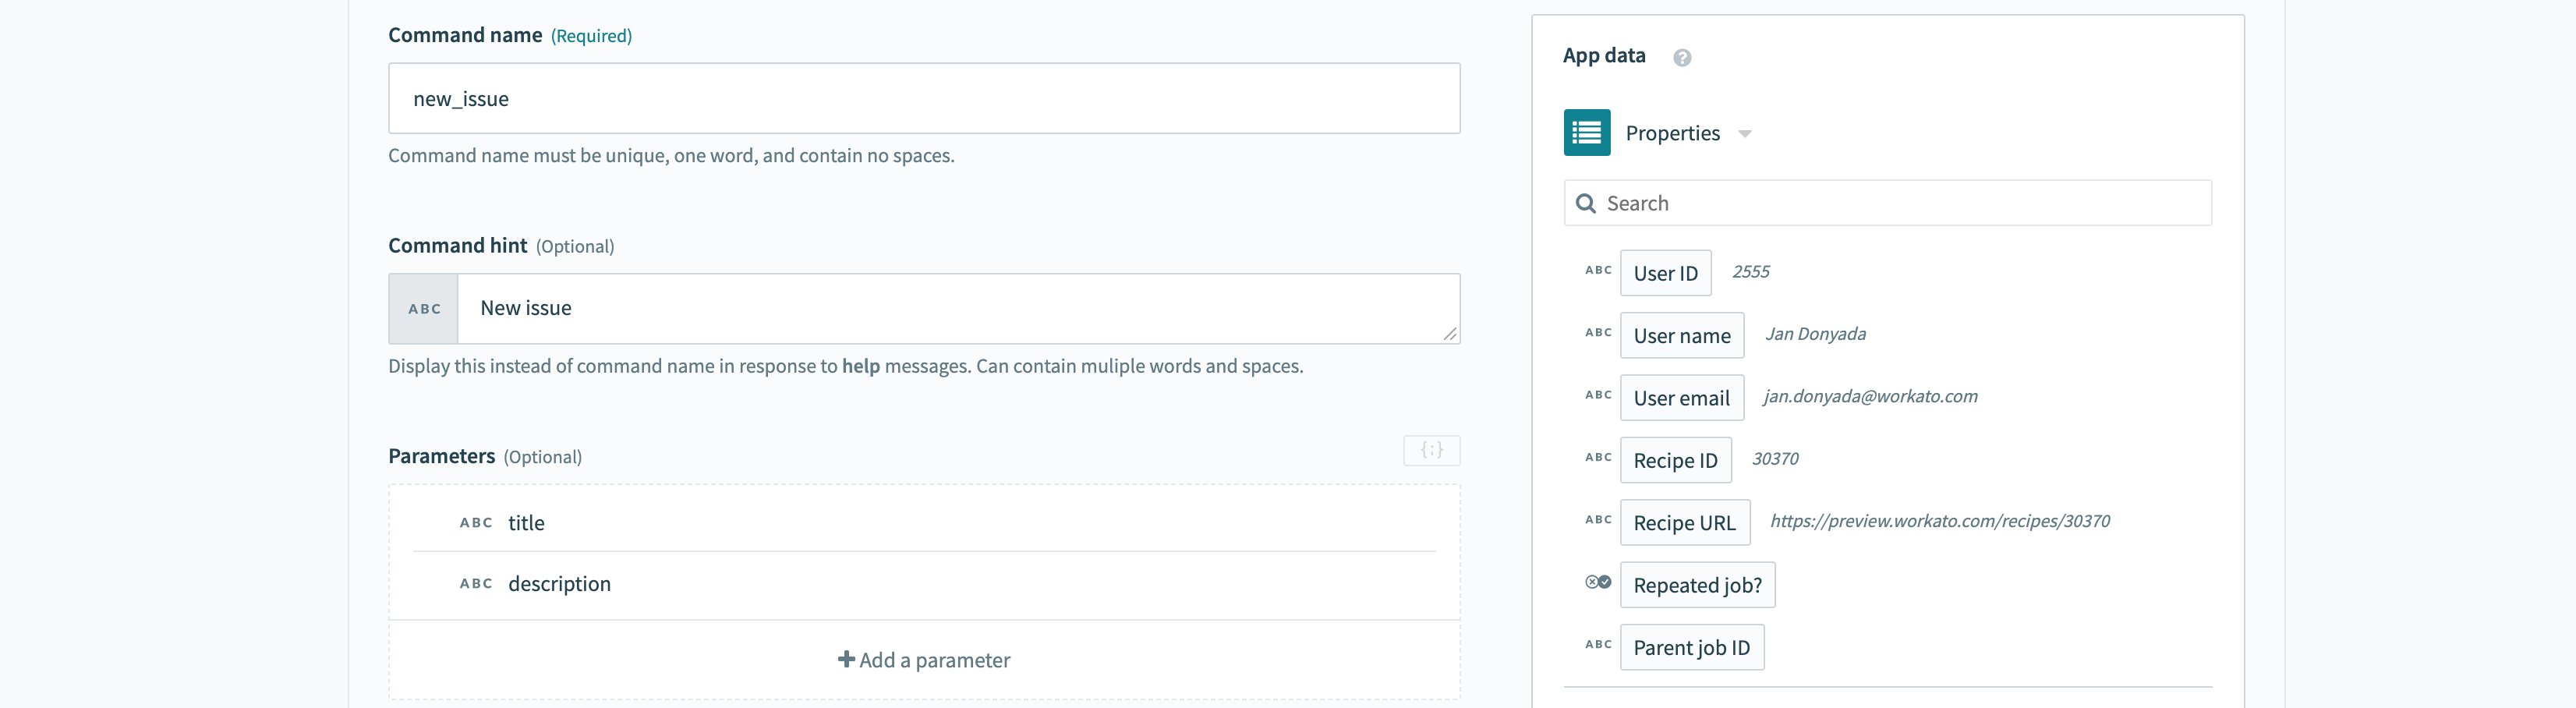 2 parameters added to command
To add a parameter, select the +Add parameter button under the Parameters section of a Workbot command trigger.
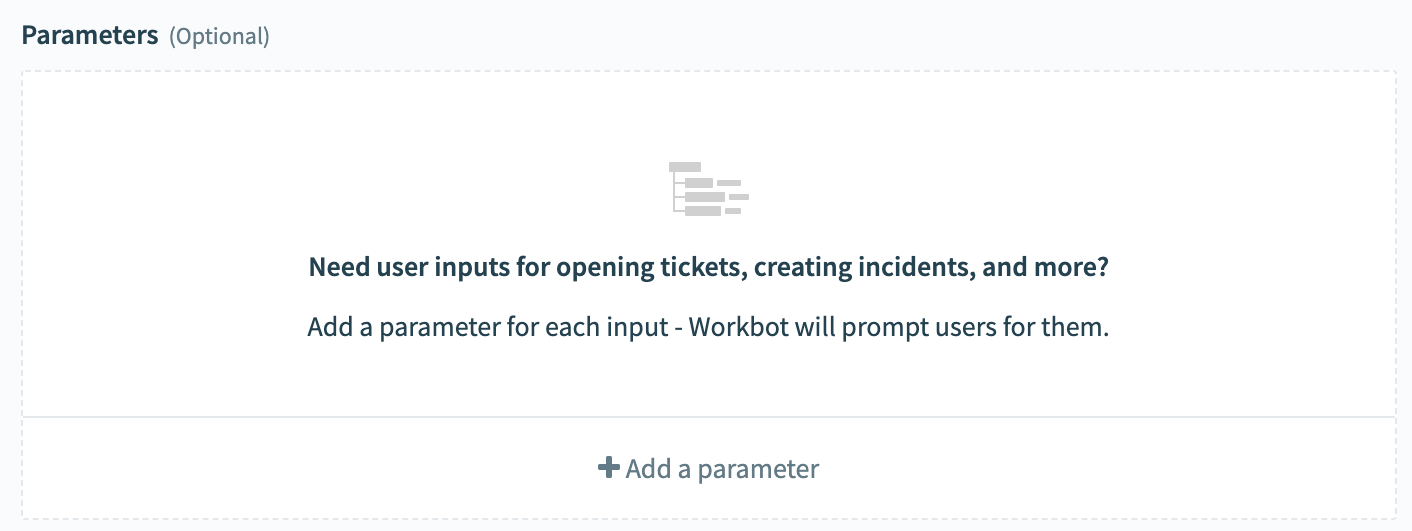 Adding a new parameter
Configure the parameter by specifying the parameter name, the data type (typically string) and so on.
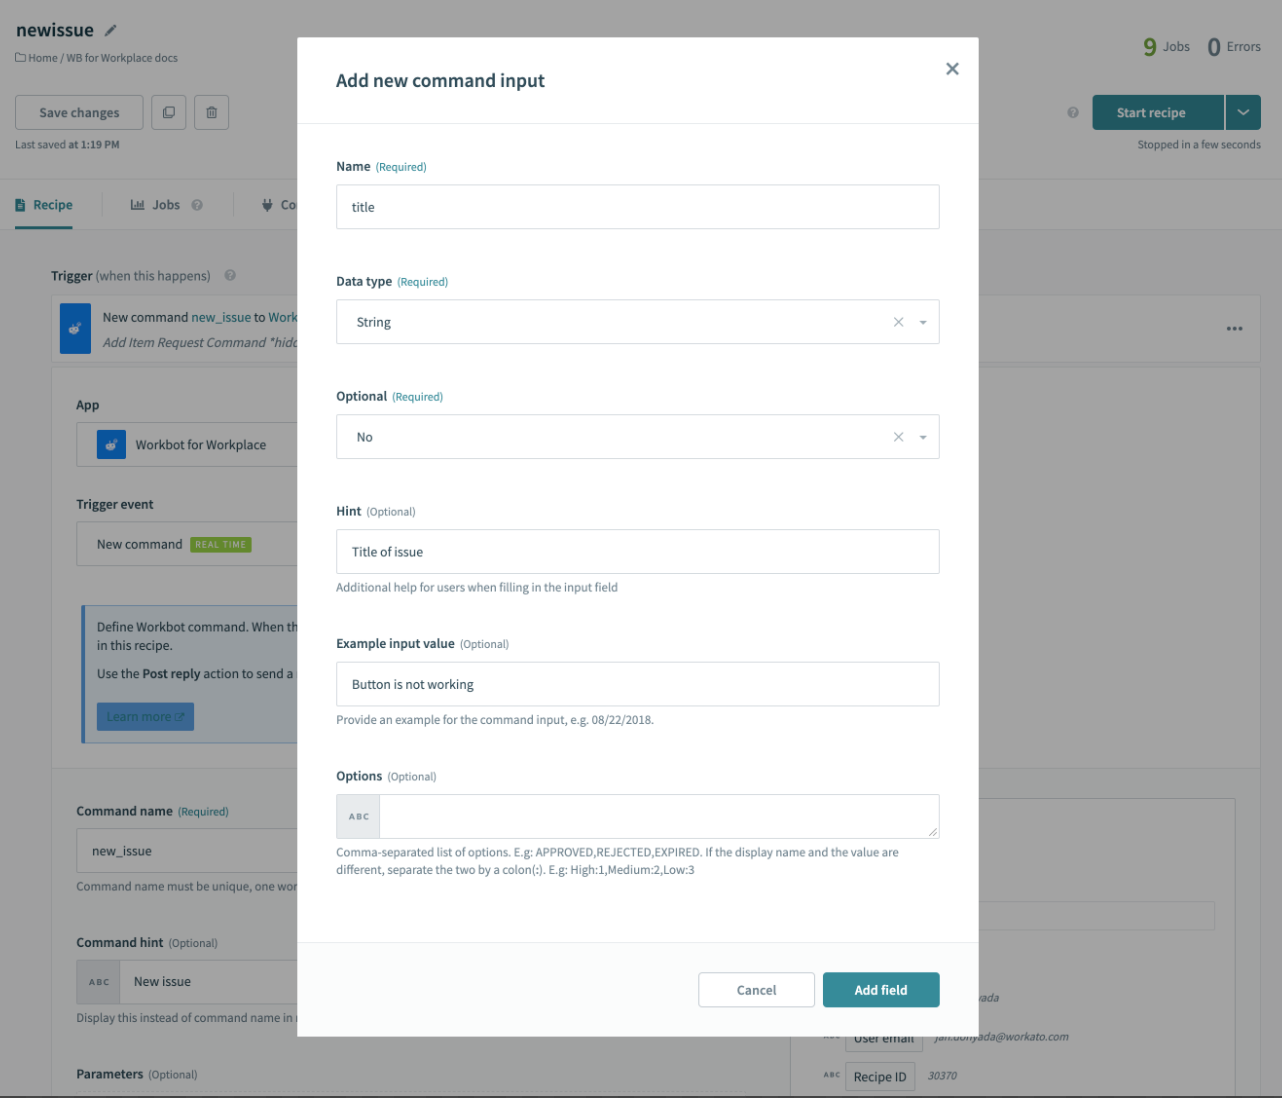 Configuring a parameter
The table below describes in further detail what each parameter configuration field does.
| Input field | Description |
|---|---|
| Name |
Name of the parameter. This is the name you use to reference the parameter in:
|
| Data type |
Data type of the parameter. Currently only supports string.
|
| Optional? | If set to Yes, users can skip this input. If set to No, users are required to provide this input. |
| Options | If the display name and the value are different, separate the two by a colon, for example, High:1,Medium:2,Low:3. |
# Advanced methods to pass parameter values
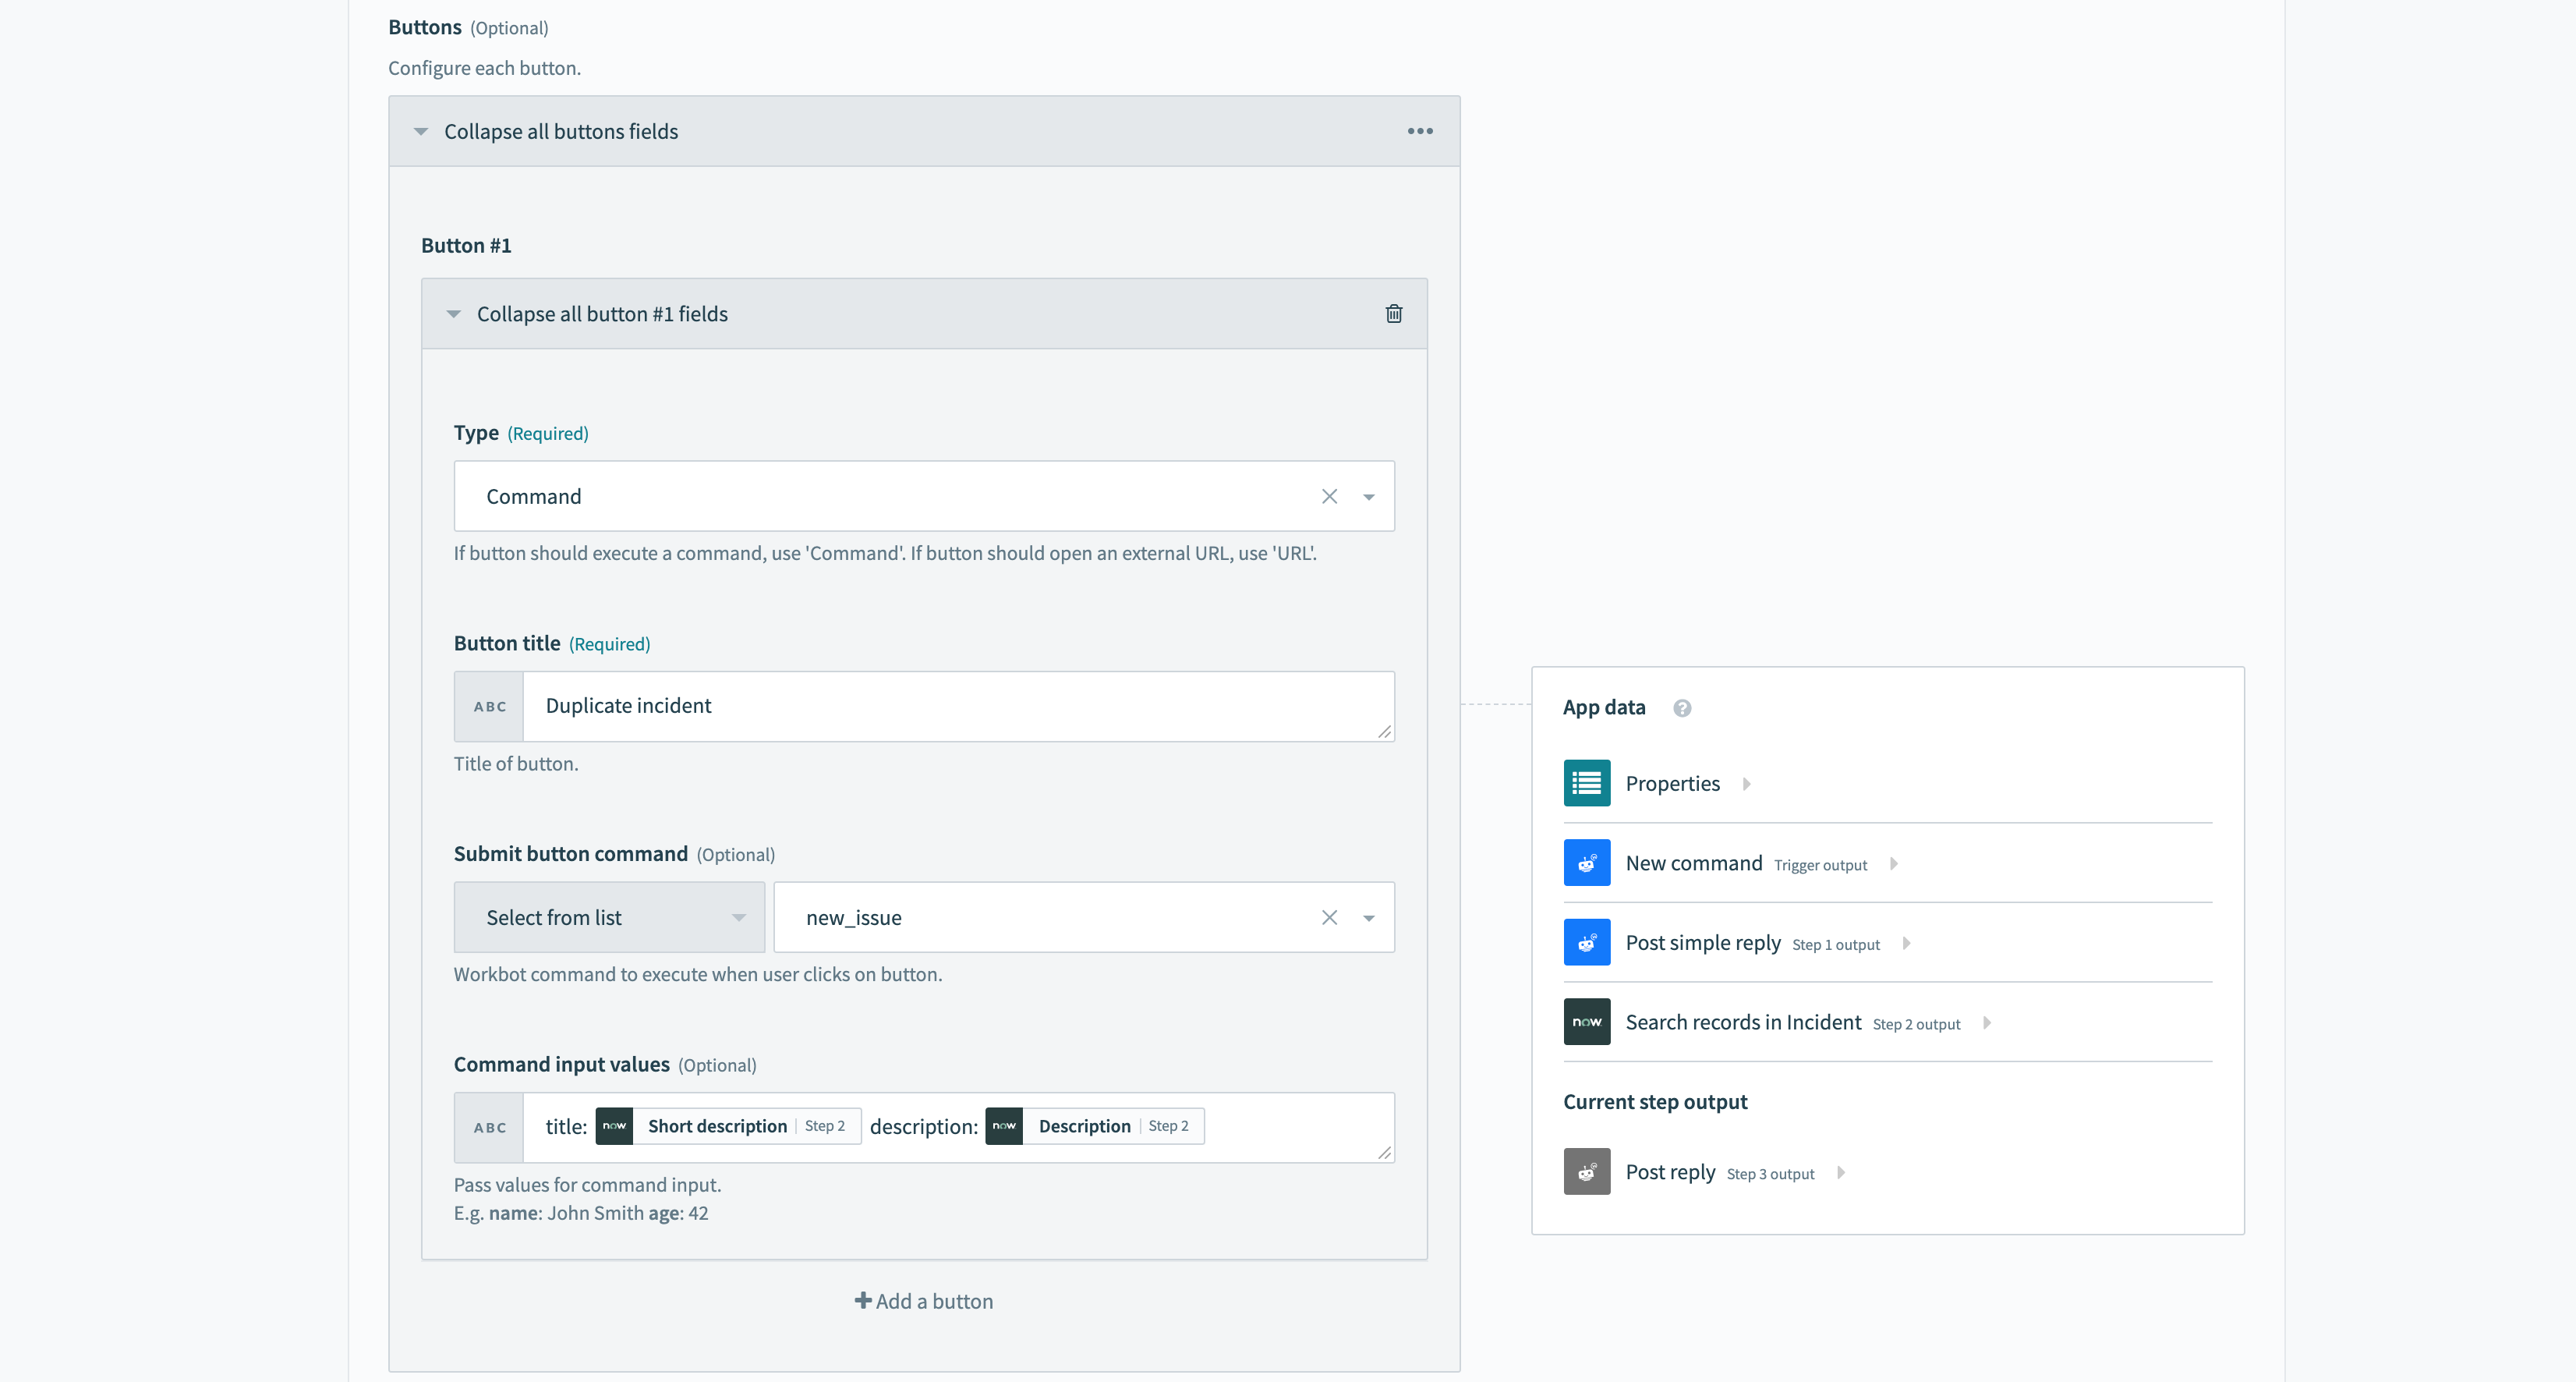
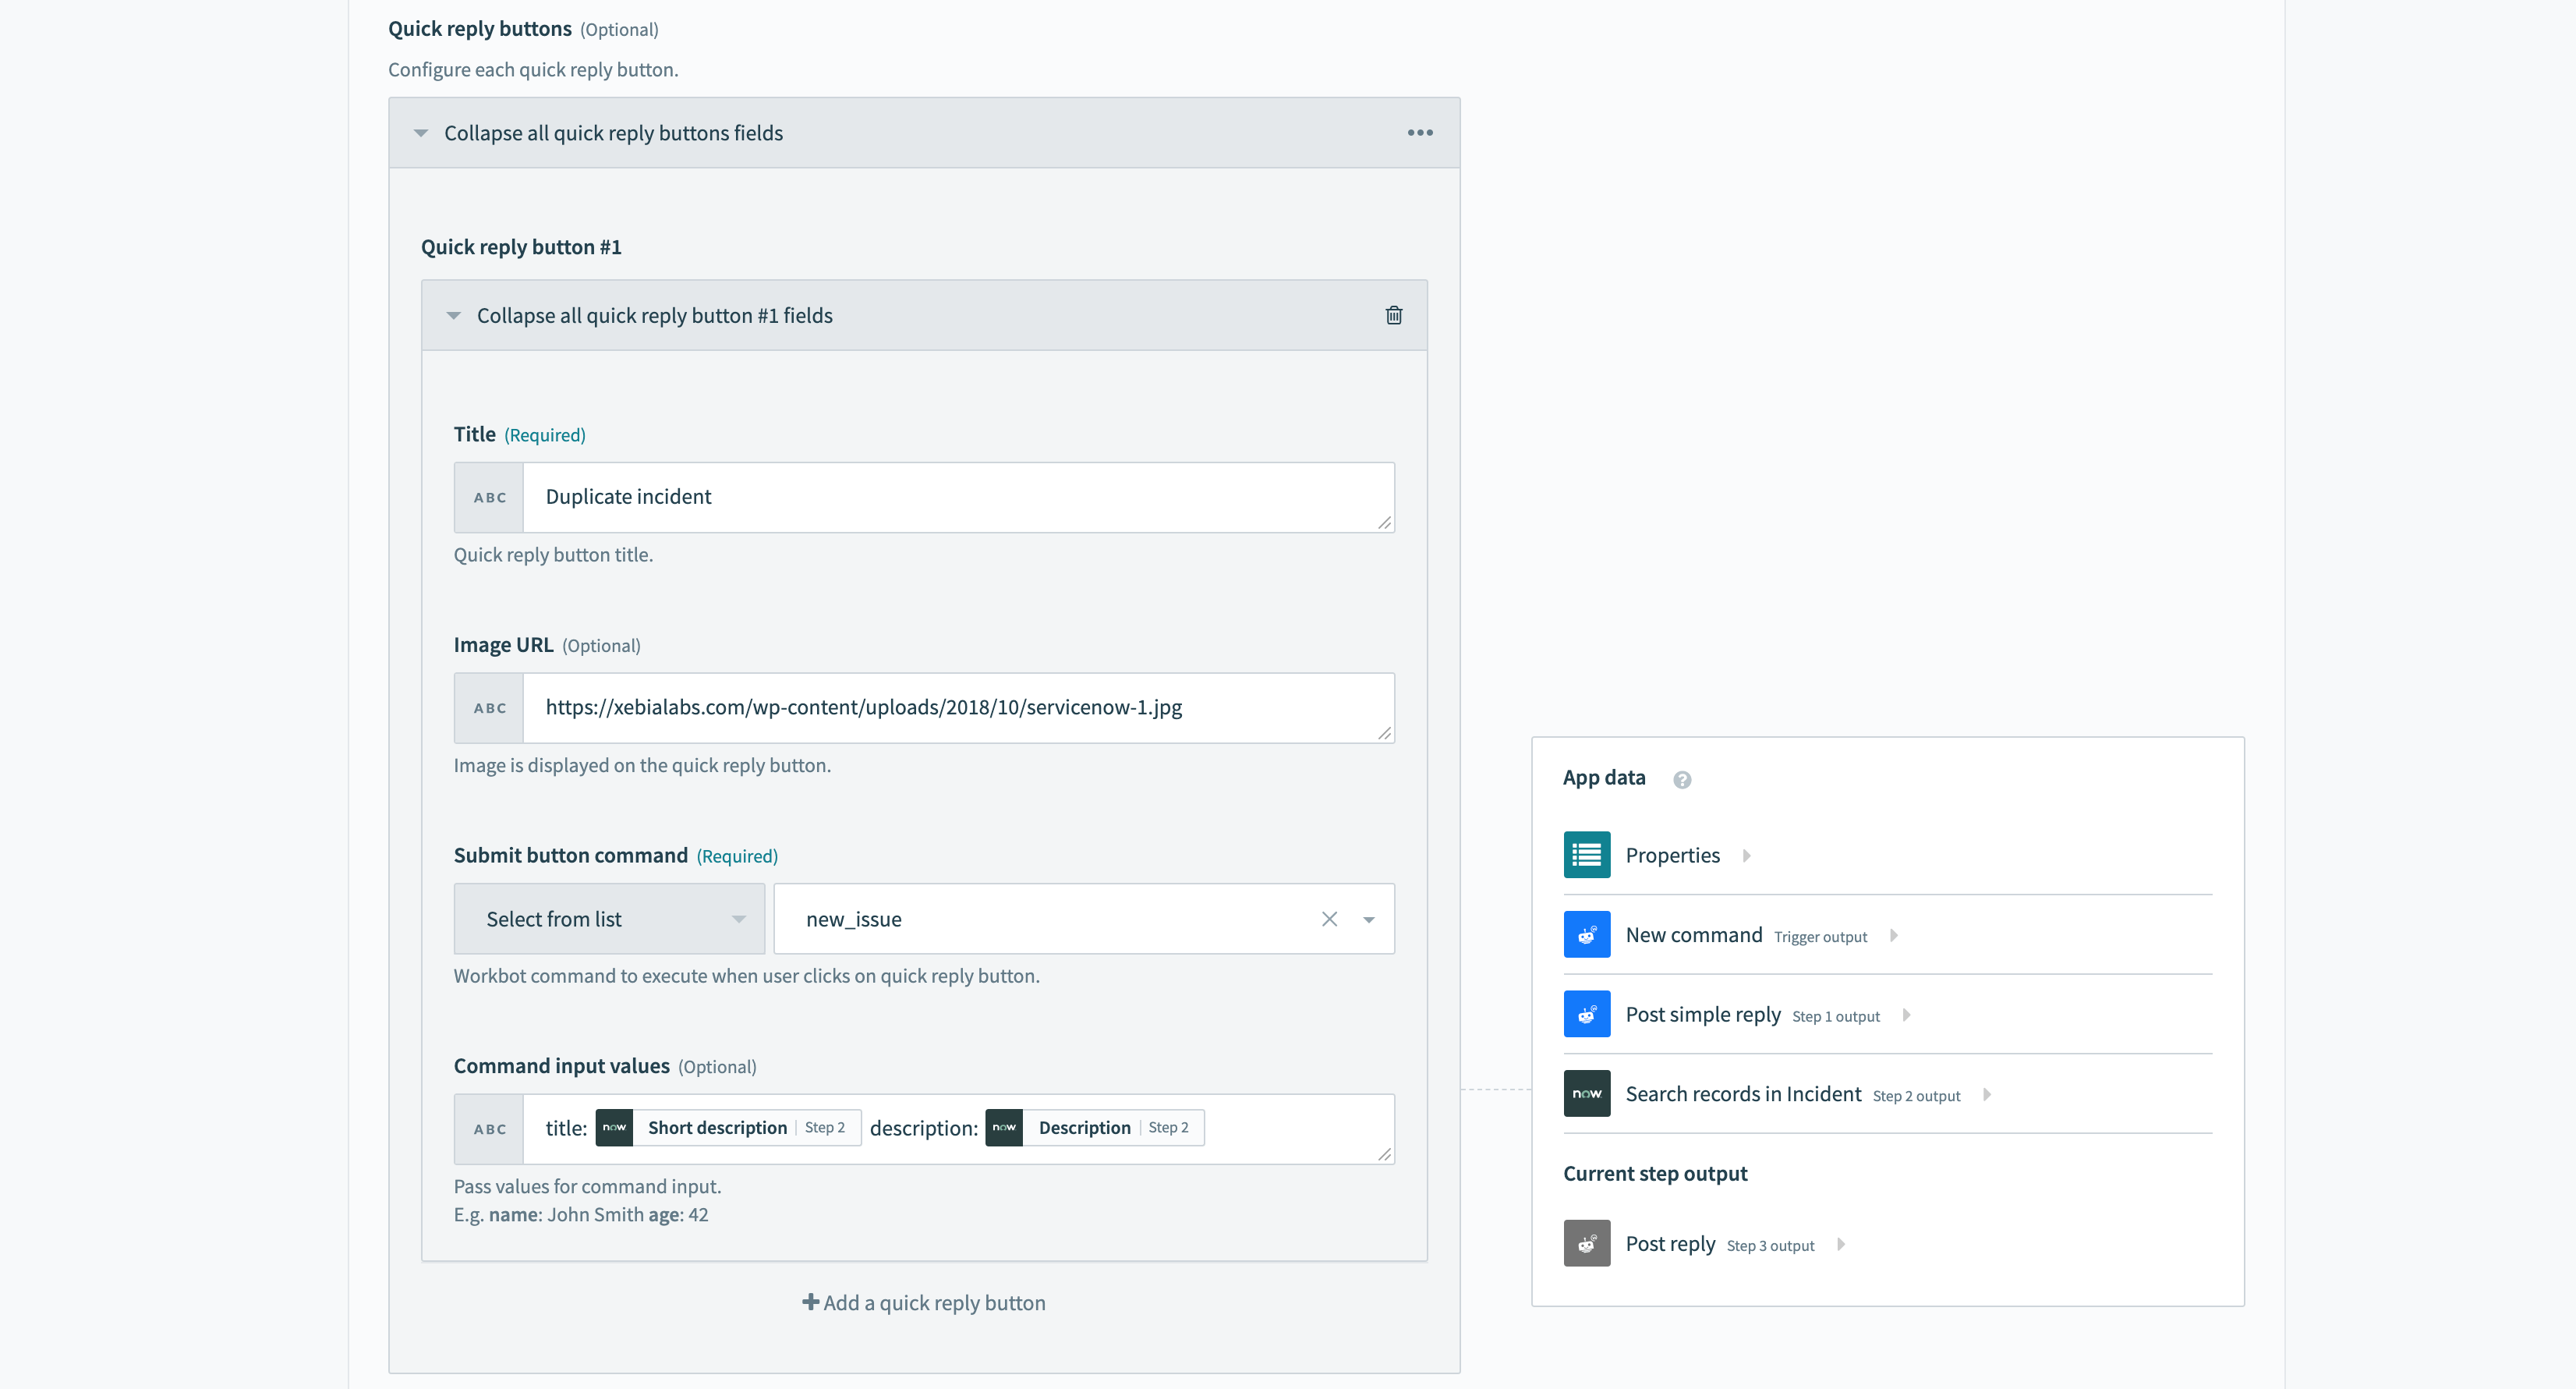
Parameter values can also be passed by buttons and quick reply buttons when they invoke a downstream Workbot command recipe. Typically, you use parameters to pass additional context for downstream Workbot recipe to use.
A 'Duplicate incident' button which invokes the 'new_issue' recipe, passing it context about the incident to be duplicated.
A 'Duplicate incident' quick reply button which invokes the 'new_issue' recipe, passing it context about the incident to be duplicated.
FURTHER READING
Last updated: 7/22/2025, 10:51:52 PM