# Set up Enterprise Workbot with Slack Enterprise Grid
This guide demonstrates how to configure a Slack Enterprise Workbot to work with Slack Enterprise Grid.
WORKBOT COMPATIBILITY
Enterprise Workbot is compatible with Slack Connect and can be used in shared channels.
# Setup requirements
You must use Enterprise Workbot to integrate with Slack Enterprise Grid. Standard Workbot isn't compatible. Ensure you have the following to configure Enterprise Workbot:
- A Slack Enterprise Grid (opens new window) plan
- An Enterprise Workbot in Workato. Refer to the Create an Enterprise Workbot guide to create the bot before proceeding.
- Access to Custom OAuth profiles in Workato.
- Org-readiness enabled on your Slack app profile. Without this setting, the bot can’t integrate with Slack Enterprise Grid.
If you don’t see the Workbot or Custom OAuth profiles options in the Platform or Tools menu, ensure your Workato workspace has access to these features.
# Configuration overview
Complete the following steps to set up Enterprise Workbot with Slack Enterprise Grid:
- Step 1: Obtain your Slack app’s application token
- Step 2: Update the Workbot’s Custom OAuth profile in Workato
- Step 3: Reconnect your Enterprise Workbot to Slack
- Step 4: Approve the Workbot installation in Slack
- Step 5: Add Enterprise Workbot to workspaces within your Slack Enterprise Grid
# Obtain your Slack app's application token
Complete the following steps to generate an app-level token from Slack. This token authorizes your Enterprise Workbot to interact with your Slack organization.
Click the app associated with the Workbot.
Go to Basic Information > App-Level Tokens and click Generate Token and Scopes.
Enter a name for the token in the Token Name field.
Click Add Scope and select authorizations:read from the drop-down menu.
Click Generate.
Copy the token and store it in a secure location.
# Update the Workbot's Custom OAuth profile
Complete the following steps to update your Workbot’s Custom OAuth profile in Workato with the Slack app token you generated. This ensures that your Workbot can authenticate correctly with Slack Enterprise Grid.
Go to Tools > Custom OAuth profiles.
Click the profile associated with the Enterprise Workbot.
Expand the Step 1 section on your bot's Custom OAuth profile page.
Paste the token you generated in Step 1 in the Application Token field.
Click Save.
Click Done.
# Reconnect your Enterprise Workbot
Complete the following steps to reconnect your Enterprise Workbot to Slack. Updating the OAuth profile requires reauthorization to ensure the bot functions correctly in your organization.
Go to Platform > Workbot.
Click the Workbot connection.
Click Edit connection on the Workbot's overview page.
Click Disconnect.
Click Reconnect.
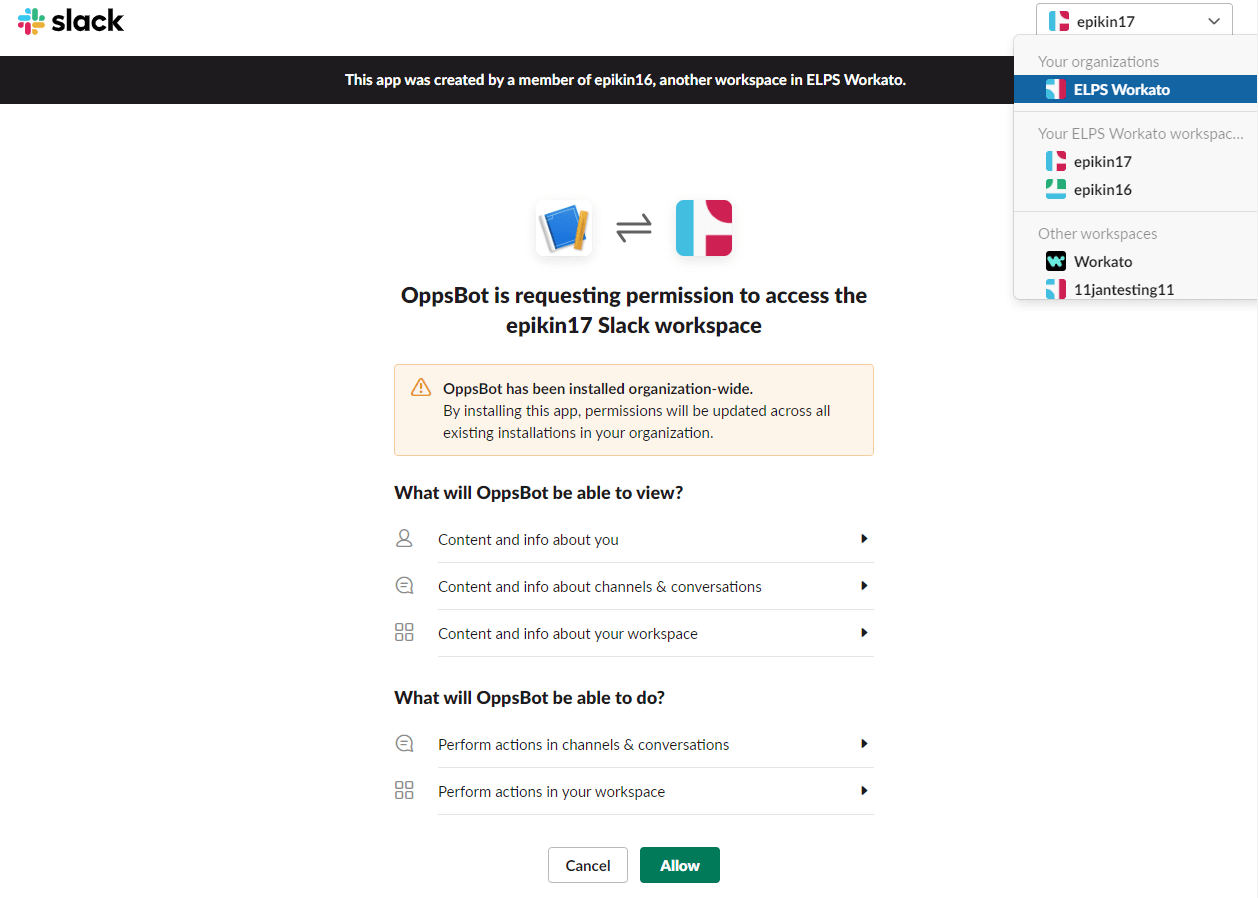
Confirm the app installs into the organization and not an individual workspace in the authorization window.
Complete the following steps to change the installation location:
Click the drop-down menu in the app authorization window.
Select the organization where you plan to install the Enterprise Workbot.

Click Allow.
# Approve the bot installation in Slack
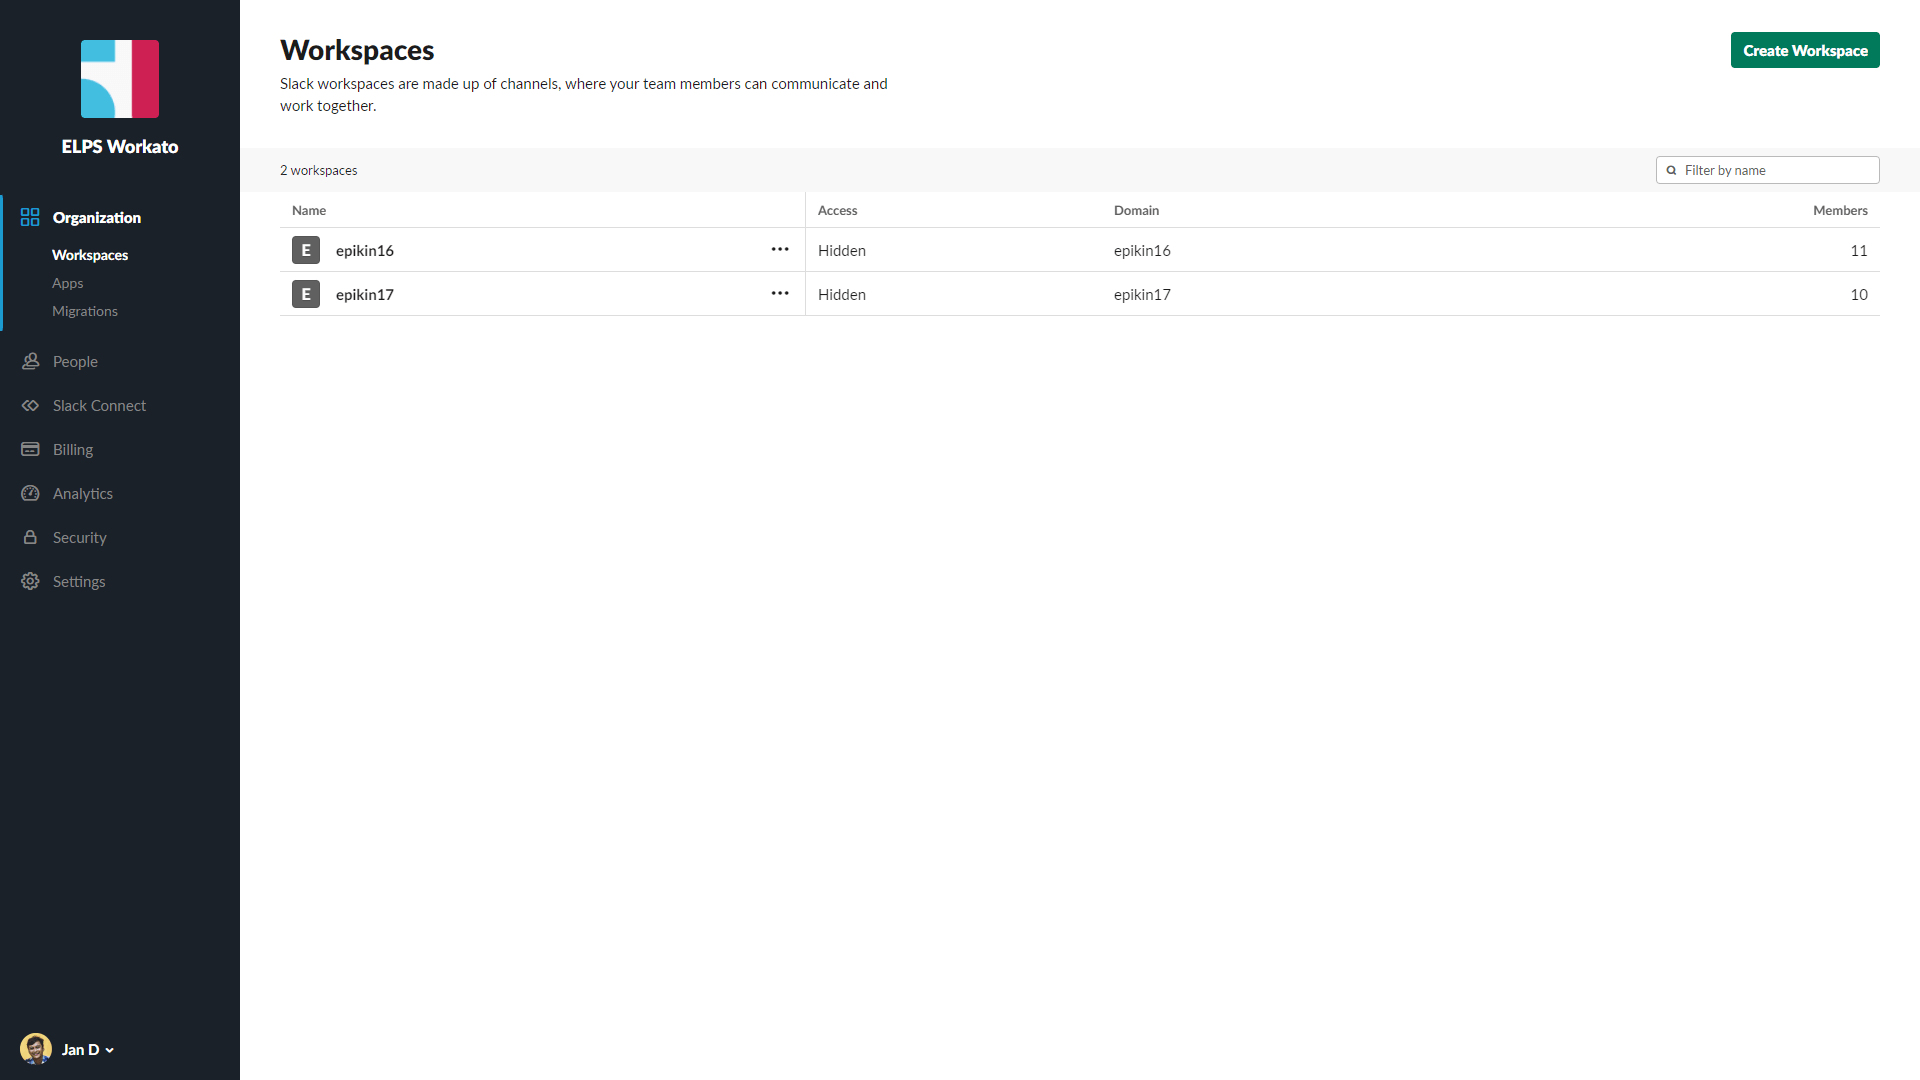
Complete the following steps to approve the Enterprise Workbot installation in Slack from the Enterprise Grid admin dashboard (opens new window). This approval allows the bot to operate across your Slack organization.
NOTE
You need Org Admin or Org Owner permissions in Slack for this step.
Open the Slack desktop app and select your workspace name from the menu.
Select Settings & administration > Organization settings. The admin dashboard opens in a new browser tab.

Click Organizations > Apps in the dashboard menu.
Find your Enterprise Workbot app in the Installed Apps tab.
Open the three dots menu next to the Enterprise Workbot app.
Click Approve this app.
# Add your Enterprise Workbot to workspaces
Complete the following steps to add the Enterprise Workbot to specific Slack workspaces within your Enterprise Grid. This makes the bot available for users in those workspaces.
Go to the Apps page in your Enterprise Grid admin dashboard.
Locate your Enterprise Workbot app in the Installed Apps tab.
Click the three dots menu next to the Enterprise Workbot app and select Add to more workspaces.
Select the workspaces where you plan to add the Enterprise Bot and then click Next.
Review the requested permissions for the Enterprise Workbot and click Next.
Click the I'm ready to add this app checkbox.
Click Add App.
# What's next?
Your Enterprise Workbot is now ready to use in Slack Enterprise Grid, which enables you to perform the following tasks:
- Create slash commands allowing users to interact with the bot directly from Slack
- Define command replies for how the bot responds to user inputs
- Perform actions such as posting notifications, downloading attachments, and more
Last updated: 1/14/2026, 4:13:41 PM