# Action Board in Workato GO
You can visualize your Agent Studio KPI metrics in Workato GO with Action Board. This enables you to build a dashboard of Key Performance Indicators (KPIs).
Watch a quick video guide: Create an Action board in Agent Studio
A KPI is a quantifiable measurement of progress toward company goals. KPIs can help highlight areas of success and areas that require improvement with your genies. You can view KPIs on your genie's Overview page by clicking the KPI tab.
KPI TAB IS ONLY AVAILABLE FOR GENIES WITH THE WORKATO GO CHAT INTERFACE
The KPI tab is only visible on the Overview page of genies that use the Workato GO chat interface.
KPIs use Data tables to store frequently used data and efficiently reference this data in KPI skill recipes. KPIs are added to the data table you specify when you create a KPI skill recipe.
# KPI design principles
Use clear, outcome-driven definitions when designing KPIs. Each KPI must state what the genie achieves and how you measure that outcome.
The following examples show how to apply this pattern in practice:
Weekly ticket deflection rate: Monitor this rate to determine if it fall below the target, and notify the IT team to review recent conversations and identify knowledge base gaps if improvements are needed.
Leave requests submitted successfully: Monitor the submission success rate to determine if the rate drops, and notify the HR team to review the submission flow and fix issues if improvements are needed.
Open approval requests: Monitor the number of pending approvals, and notify the approver if requests accumulate.
Monthly escalation rate: Monitor escalation trends over time to determine if the rate increases, and notify the genie owner to review escalated conversations and identify improvement areas if needed.
Complete the following steps to design a KPI thumbnail:
Define what data is needed to calculate the KPI. Consider the following:
- Where does this data come from?
- What formula produces the metric value from the raw data?
Create a Data table with the appropriate fields for your KPI to pull data from. Consider the following:
- Which fields are used in the calculation?
- Are these fields logged by your skill recipes?
Determine the time aggregation for your KPI. Select an aggregation type, such as daily, weekly, running total, or point-in-time. Ensure the aggregation aligns with your Data table schema and KPI configuration.
Set baseline and target metrics. Baseline and target metrics provide your KPI with context to help you determine whether the current value is good, bad, or improving.
# Prerequisites
Verify you have the following configuration items before you create an Action Board:
Your genie chat interface uses Workato GO.
Your genie AI model uses an Anthropic Claude model. Action Board isn't available with OpenAI GPT models or bring your own LLM models.
Skill recipes that generate KPI data log outcome data to a Data table. Action Board pulls data from Data tables. KPI metrics remain empty or inaccurate if your recipes don't log outcome data.
# Create a KPI
You must create a KPI for your Agent Studio genie before you can create an action board to display in Workato GO.
Complete the following steps to create a KPI:
Sign in to your Workato account.
Go to AI Hub and click the Genies tab. A list of your existing genies displays.
Select the genie where you plan to add a KPI.
Click the KPI tab.
Click + Add.
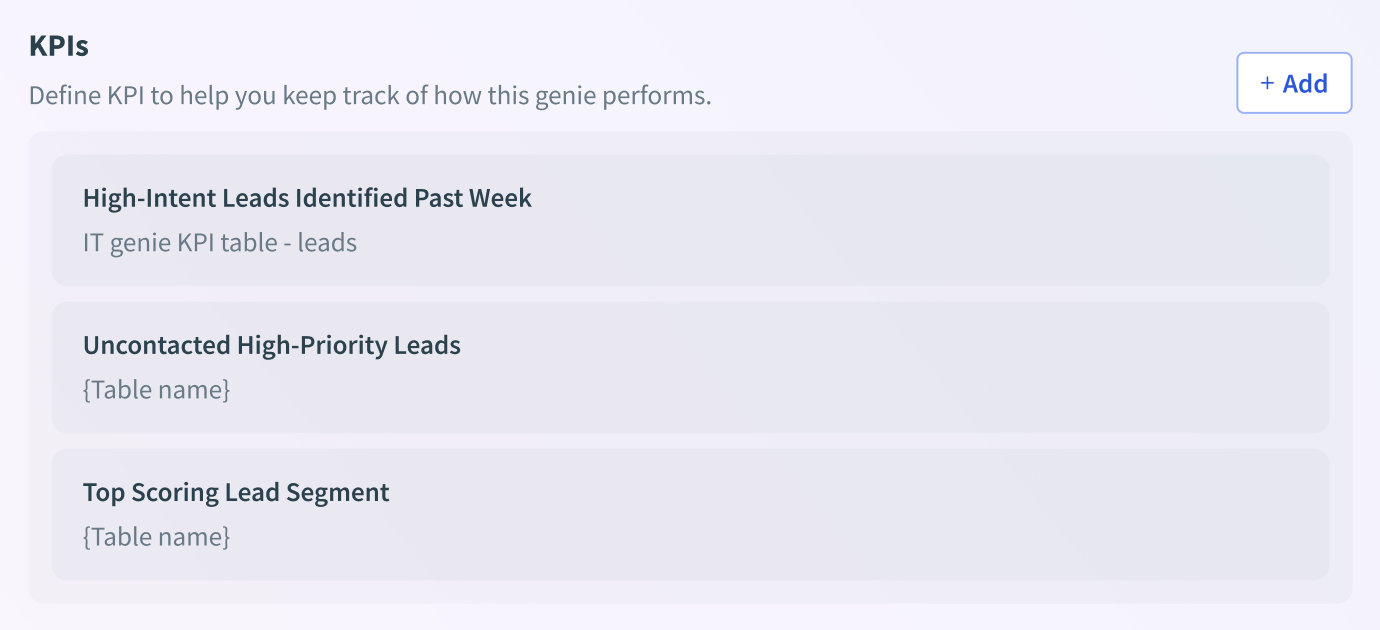 KPI section
Enter a name for your KPI in the KPI name field. For example: High intent leads.
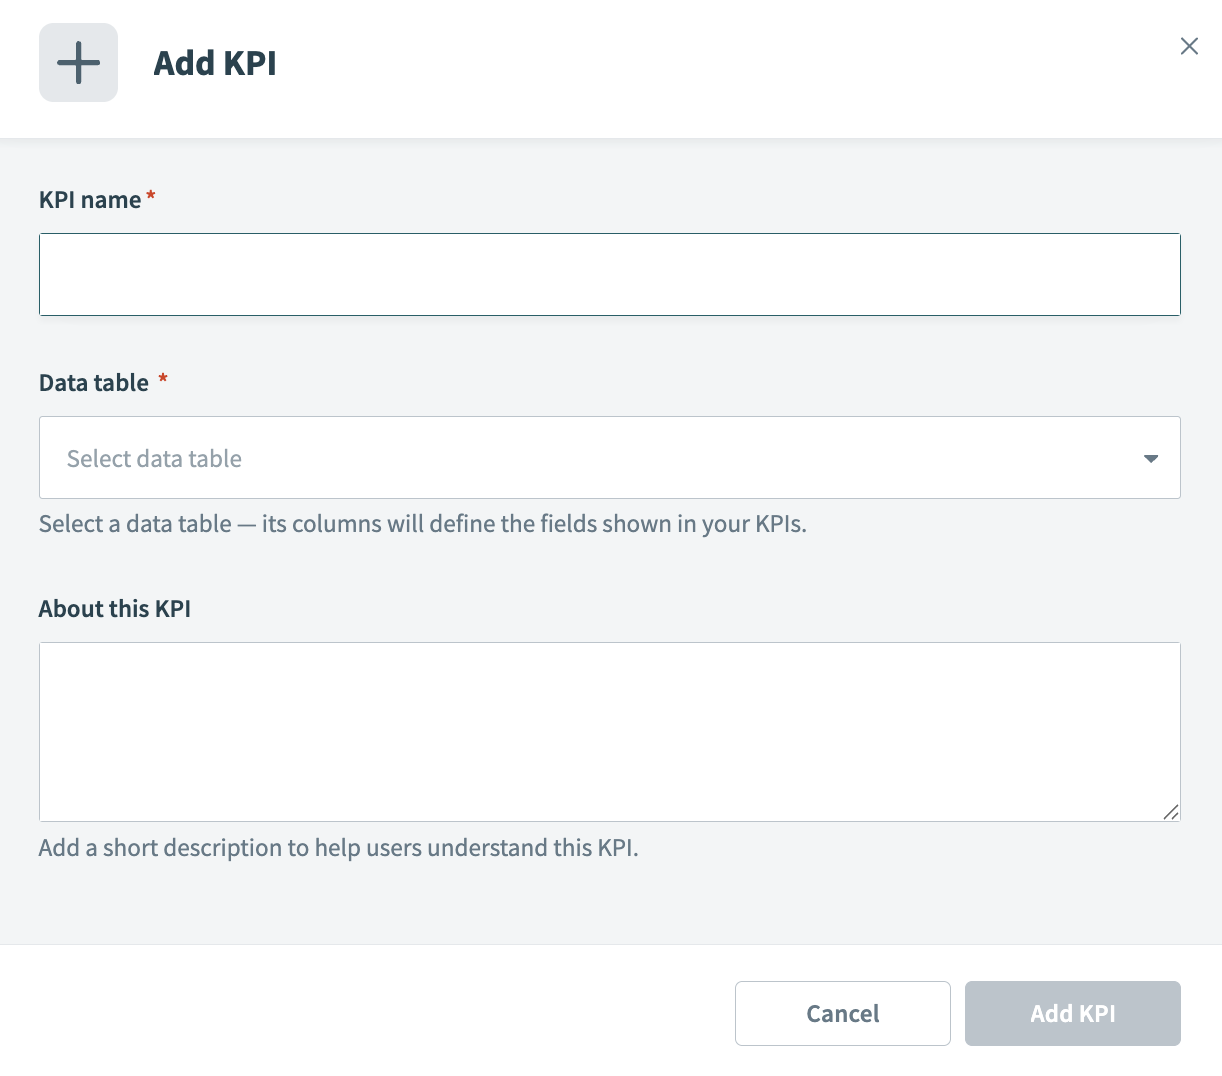 Add KPI modal
Use the Data table drop-down menu to select the data table you plan to use.
Optional. Provide a description of your KPI in the About this KPI field.
Click Add KPI.
# Display KPIs in Workato GO with Action Board
You can choose how your KPIs are displayed in your Workato GO action board.
The following thumbnails are available:
- Default: This thumbnail displays information in card format and is available to all user groups.
- Metric & chart: This thumbnail displays top and bottom metrics that you configure in chart format. You can select which user groups can view this thumbnail within Workato GO.
- Stacked metrics: This thumbnail displays three metrics that you configure in a stacked format. You can select which user groups can view this thumbnail within Workato GO.
- Detailed table: This thumbnail displays detailed information in a table format that you configure. You can select which user groups can view this thumbnail within Workato GO.
LIMITED TO FIVE THUMBNAILS
Each action board is limited to five thumbnails.
Action Board displays a genie widget in addition to thumbnails. The genie widget is a conversational interface embedded directly in the Action Board. This lets you interact with the genie without leaving the dashboard view.
The genie widget uses your genie's Job description, skills, and knowledge bases. It surfaces the same genie used in the Workato GO chat interface directly within the dashboard.
The genie widget is configured automatically when your deploy your genie to Workato GO. No additional configuration is needed.
# Create an action board thumbnail
Complete the following steps to create a thumbnail for your action board:
Sign in to your Workato account.
Go to AI Hub and click the Genies tab. A list of your existing genies displays.
Select the genie where you plan to add an Action Board thumbnail.
Click the End user settings tab.
Click Display in Workato GO.
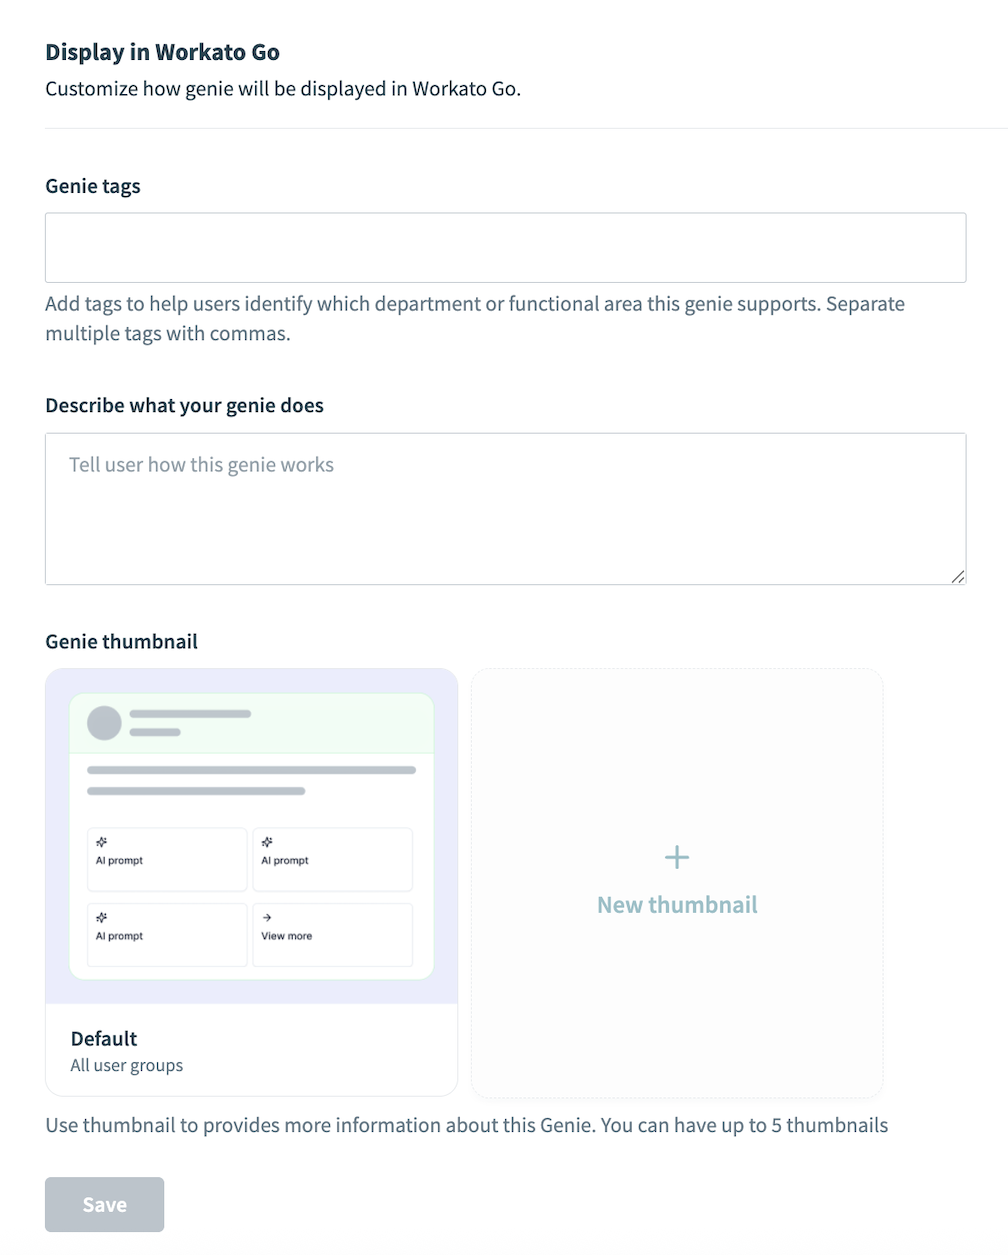 Display in Workato GO
Go to Genie tags and add tags to help users identify which department the genie supports. For example: Sales.
Provide a description in the Describe what your genie does field.
Go to the Genie thumbnail section and select the Default thumbnail or click New thumbnail to select one of the following thumbnails:
- Metric & chart
- Stacked metrics
- Detailed table
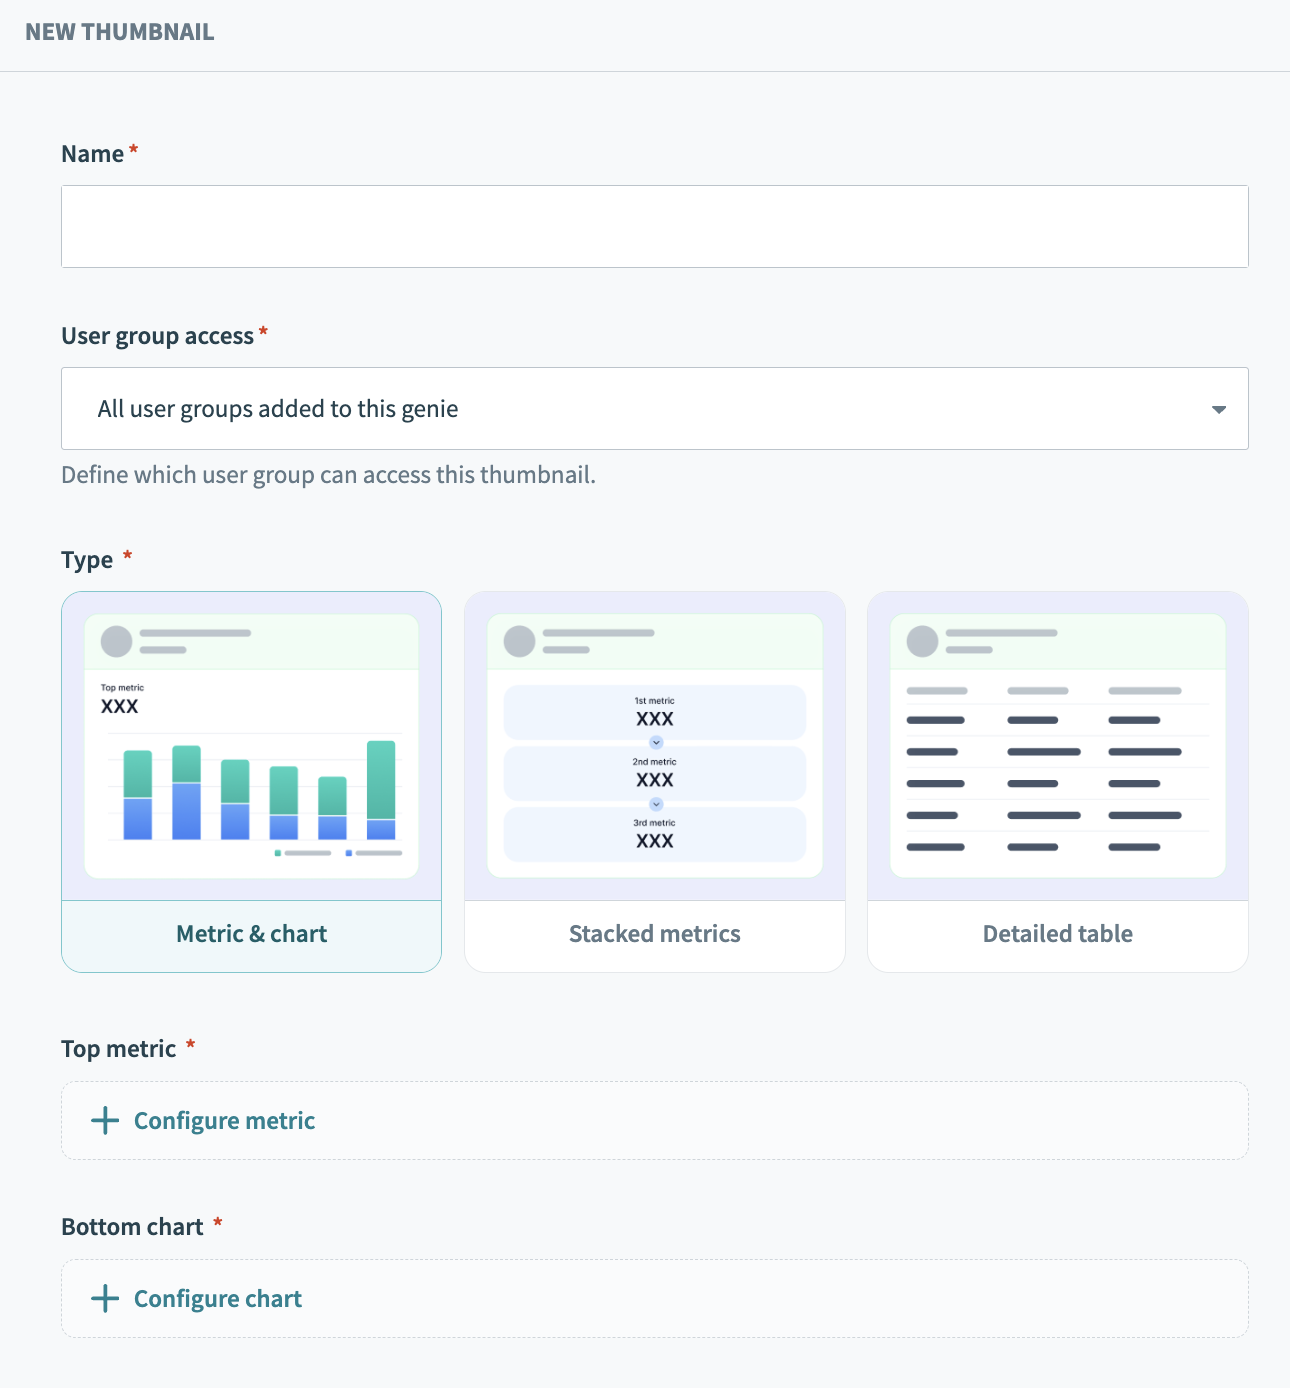 New thumbnail
Configure your thumbnail:
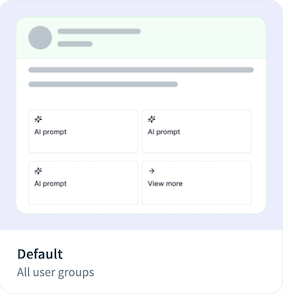 Default thumbnail
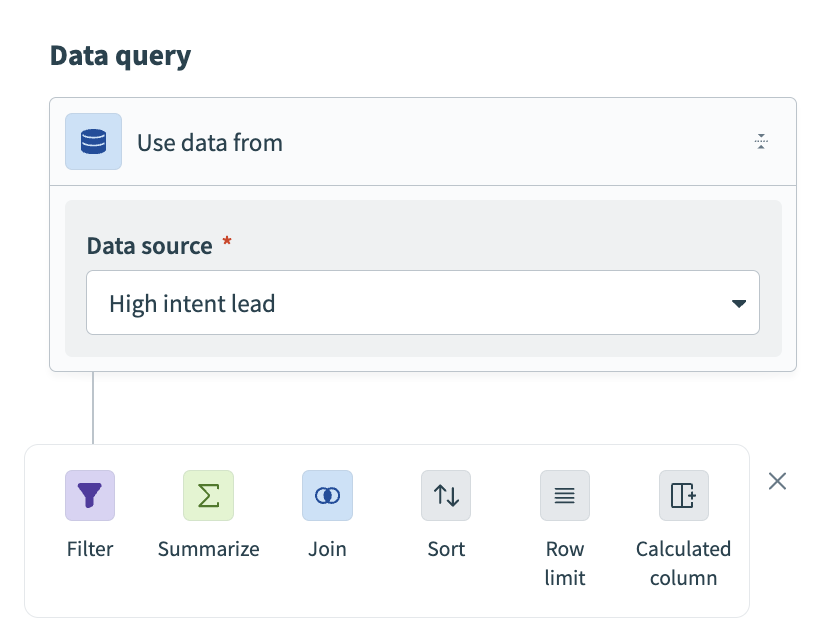 Data query section
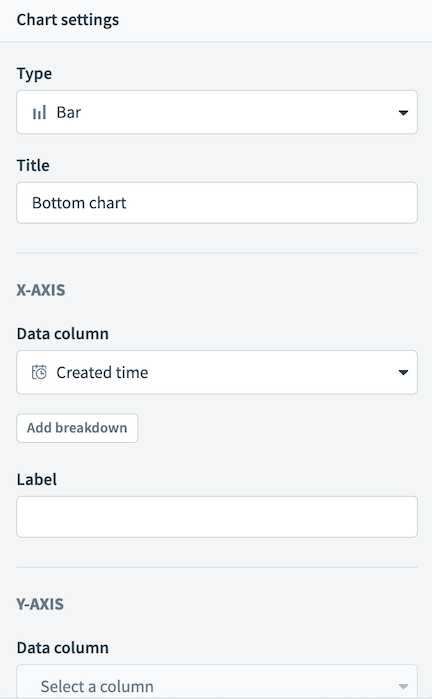 Chart settings
 Table configuration
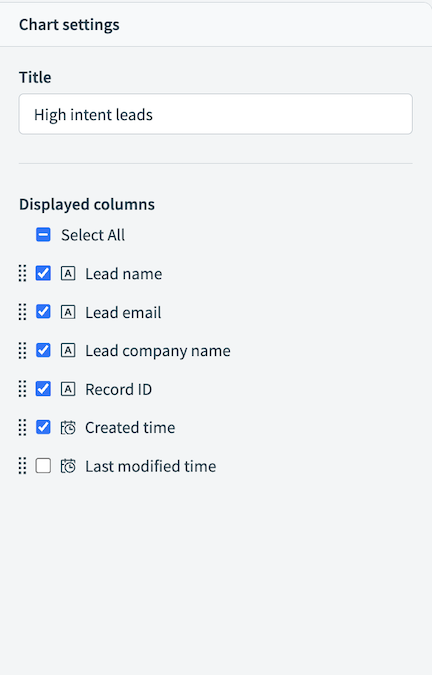 Table chart settings
Optional. Go to Workato GO to view your action board.
 Action Board in Workato GO
Last updated: 4/6/2026, 8:11:03 PM