# Add a Google Calendar data source to Workato GO
You must configure Google Calendar to allow Workato GO to search for information.
PREREQUISITES
Complete the Google Workspace prerequisites before you add Google Calendar as a data source.
# Add Google Calendar as a data source
Complete the following steps to add Google Calendar as a data source in Workato GO:
Sign in to your Workato GO account.
Expand the Admin menu in the sidebar and click Data sources.
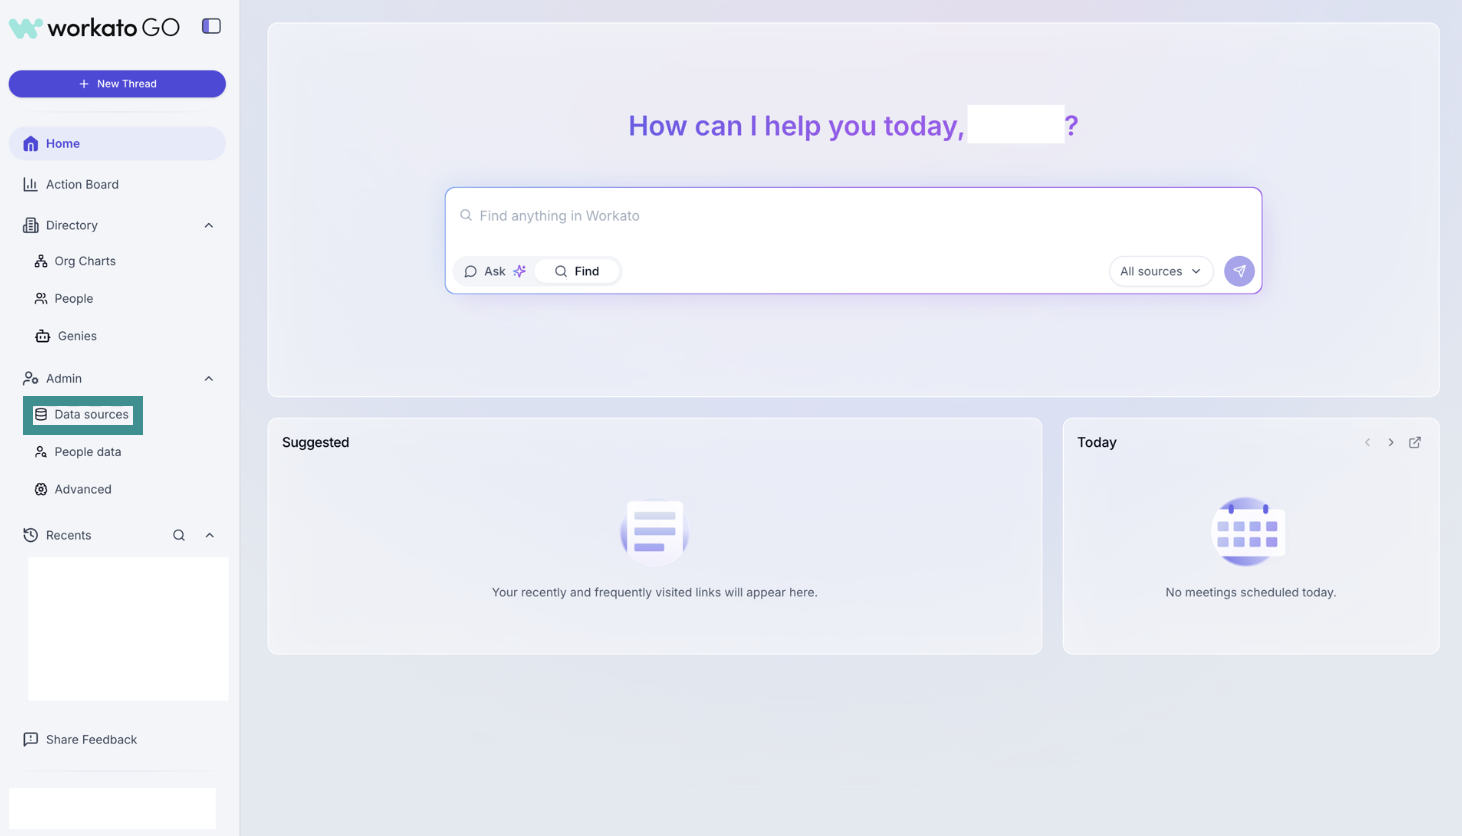 Go to Admin > Data sources
Click Add Data Source. The Add Data Source page displays.
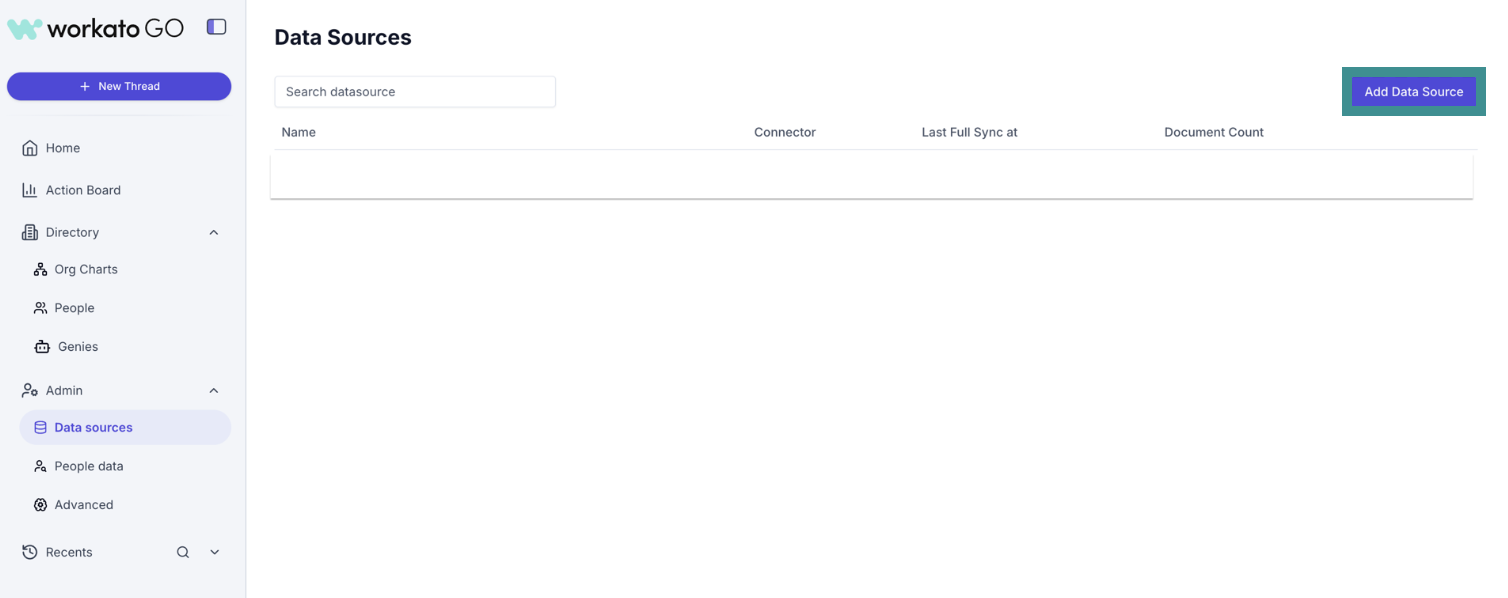 Click Add Data Source
Select the Google Calendar app.
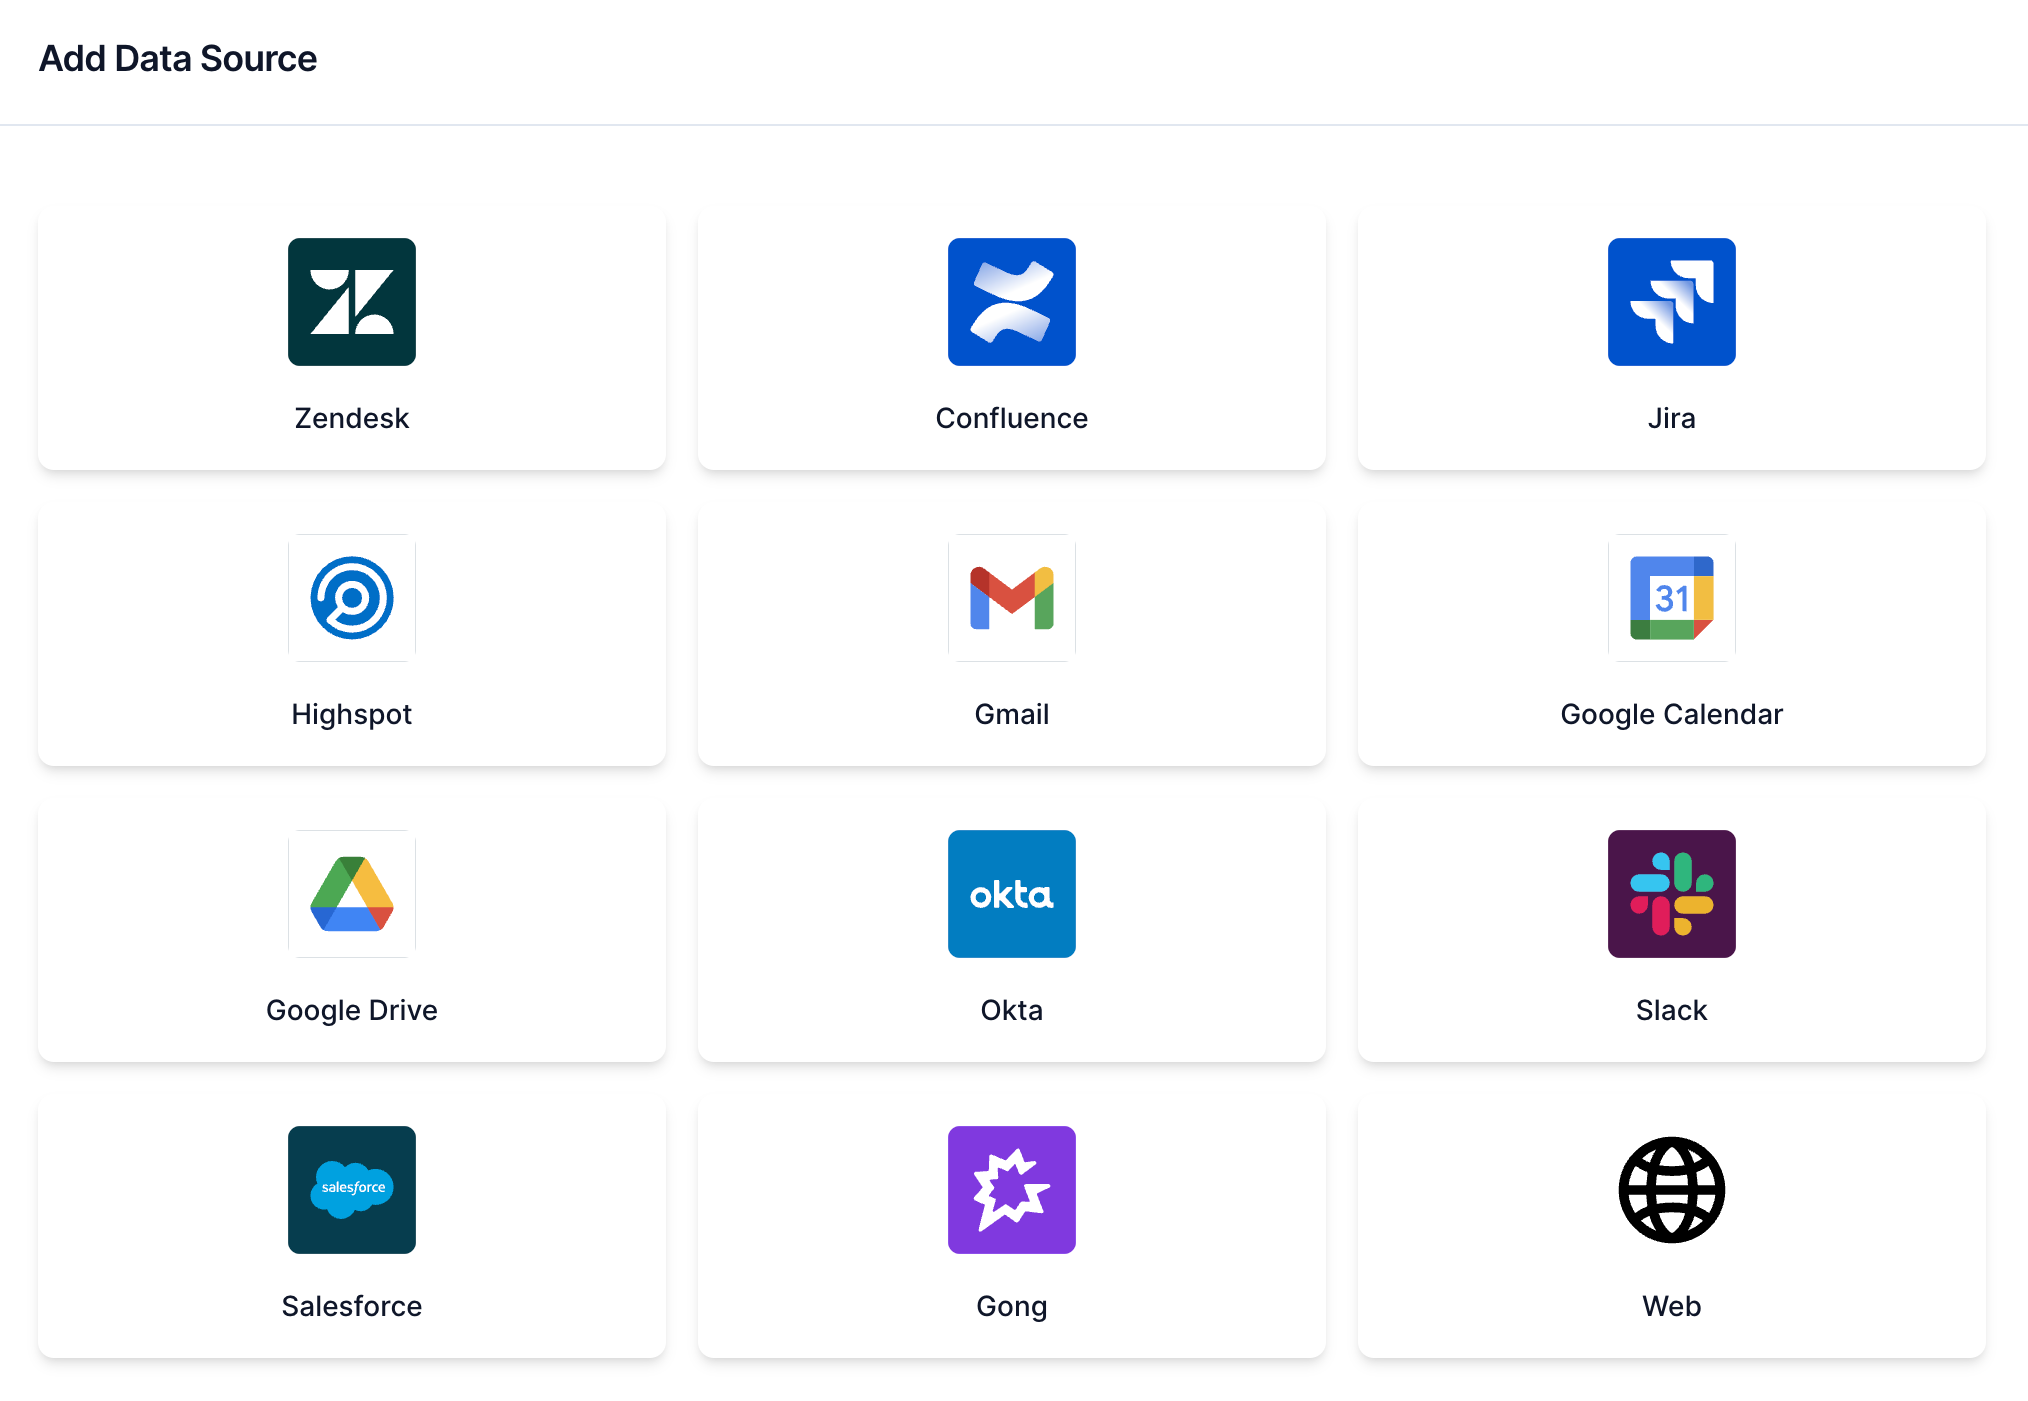 Select Google Calendar
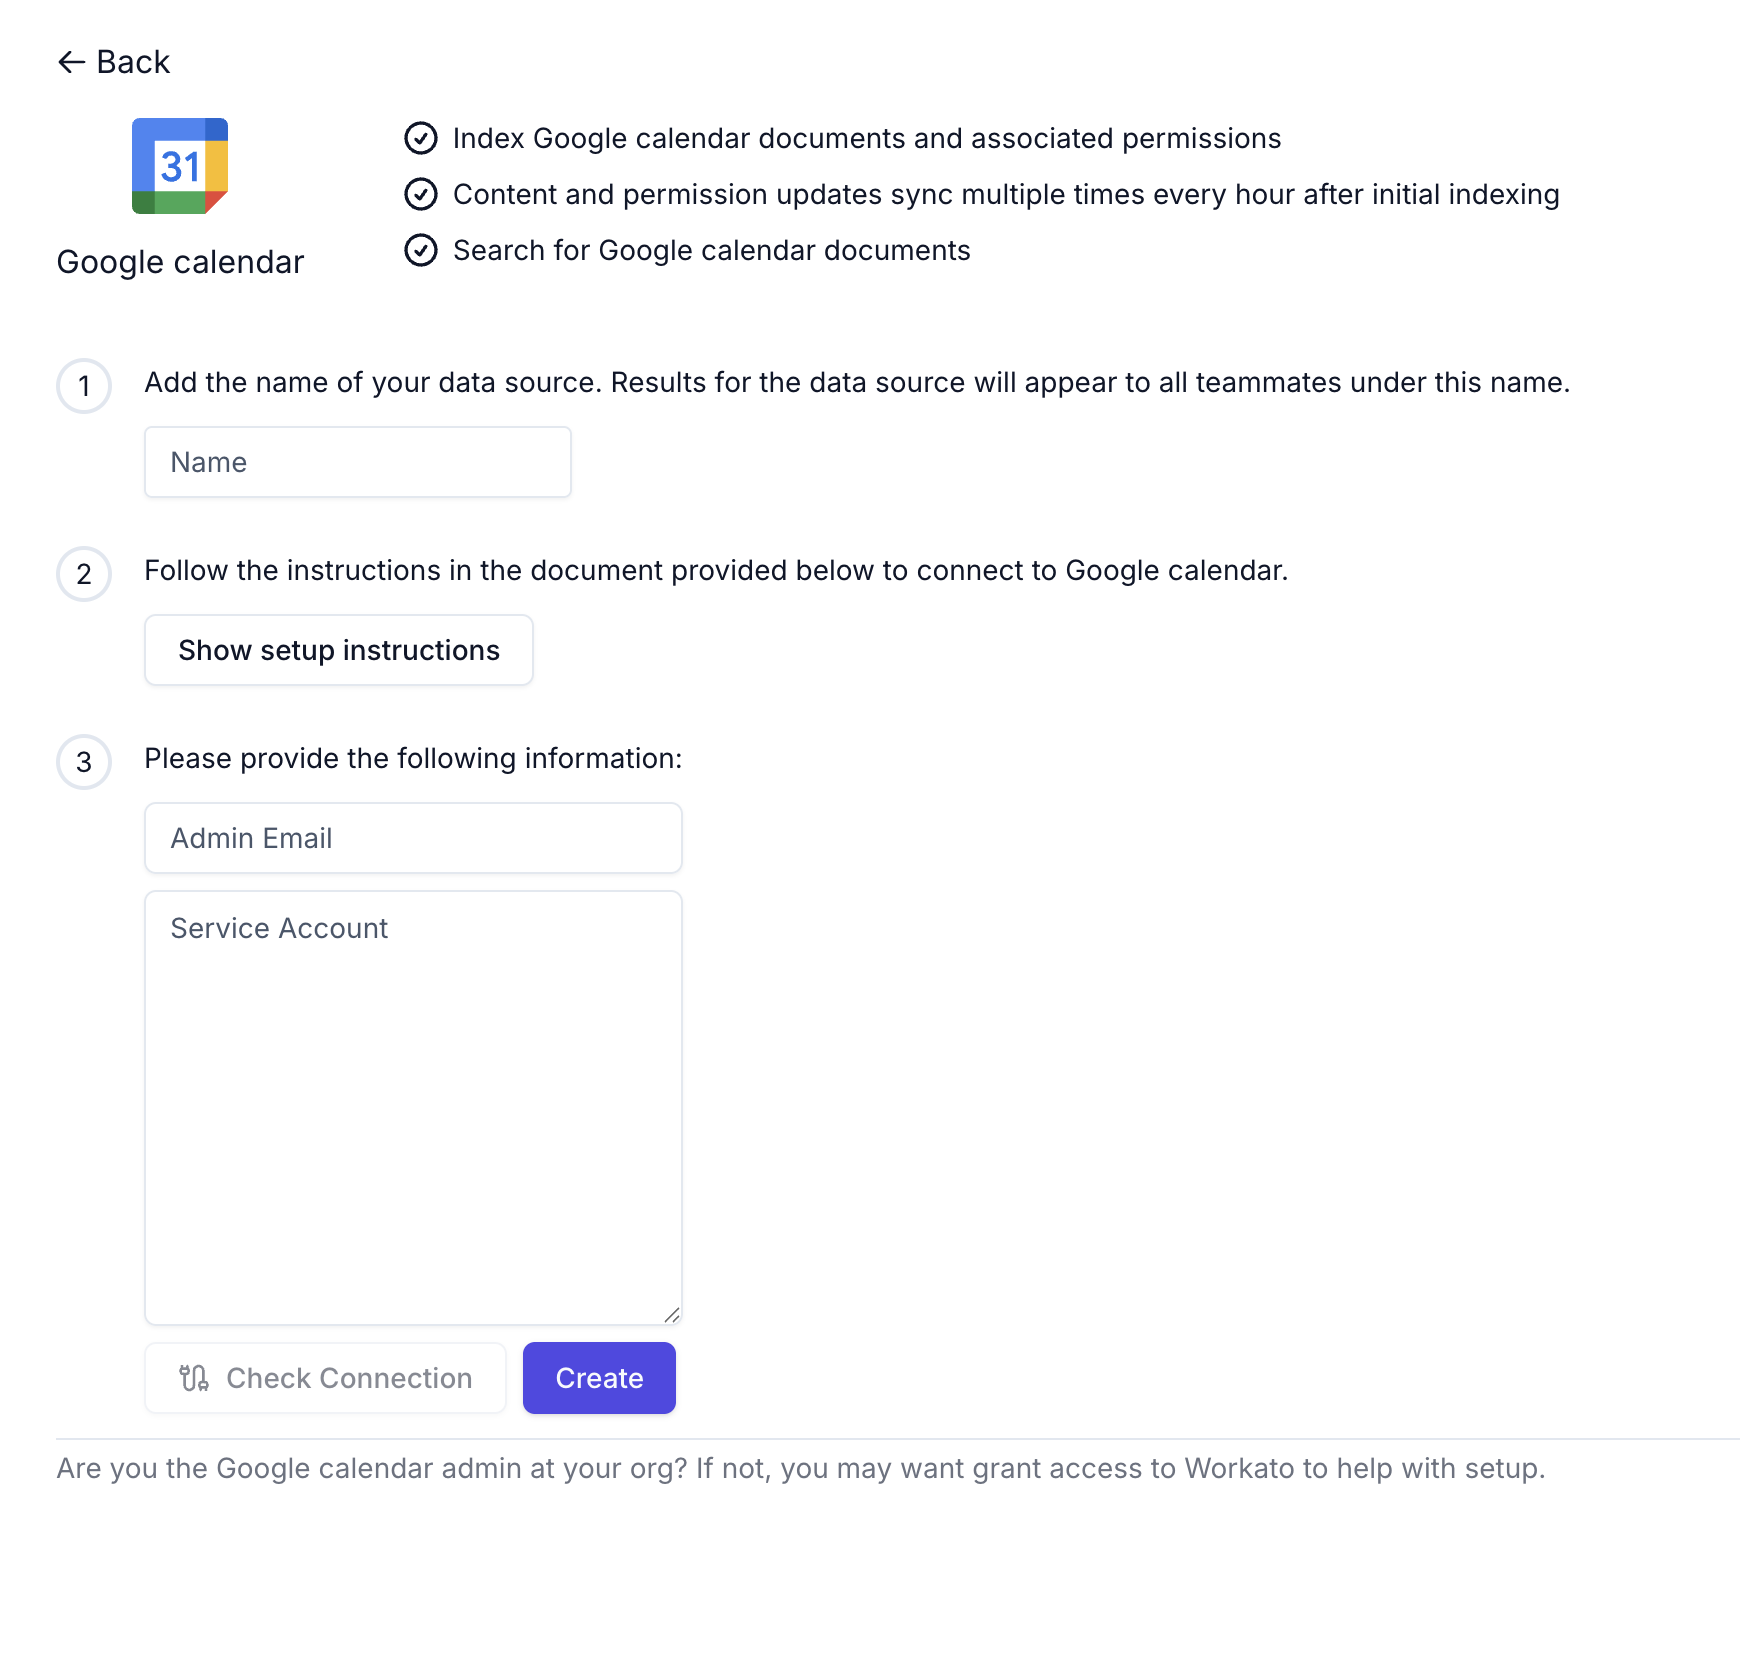
Enter a name for your data source in the Name field.
 Configure your data source
Enter the admin email associated with your account in the Admin Email field. This is the same email you configured in the prerequisite steps.
Go to the Service Account field and paste your service account custom role JSON configuration. This is the same file that you obtained during the prerequisite steps. The contents are similar to the following:
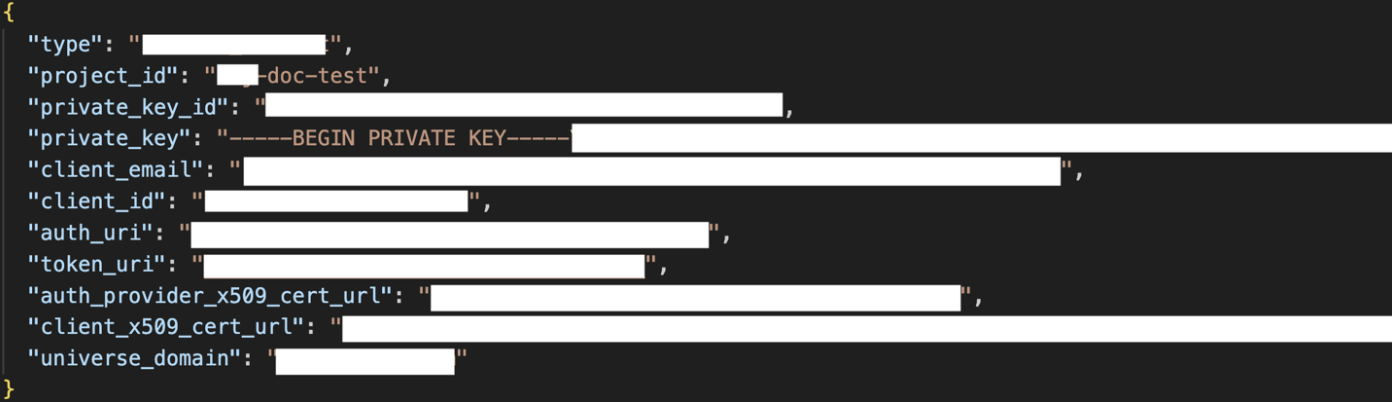 Service account JSON
Click Create. Your data source is now listed on the Data Sources page.
Last updated: 3/13/2026, 7:56:30 PM