API clients and API keys
Clients are logical groups of users, such as members from the same organization, who receive access to one or more API collections. A client can generate API keys to authenticate requests, manage access to API collections, and define security parameters.
API clients
Go to Platform > API platform > Clients to manage existing clients and add new ones.
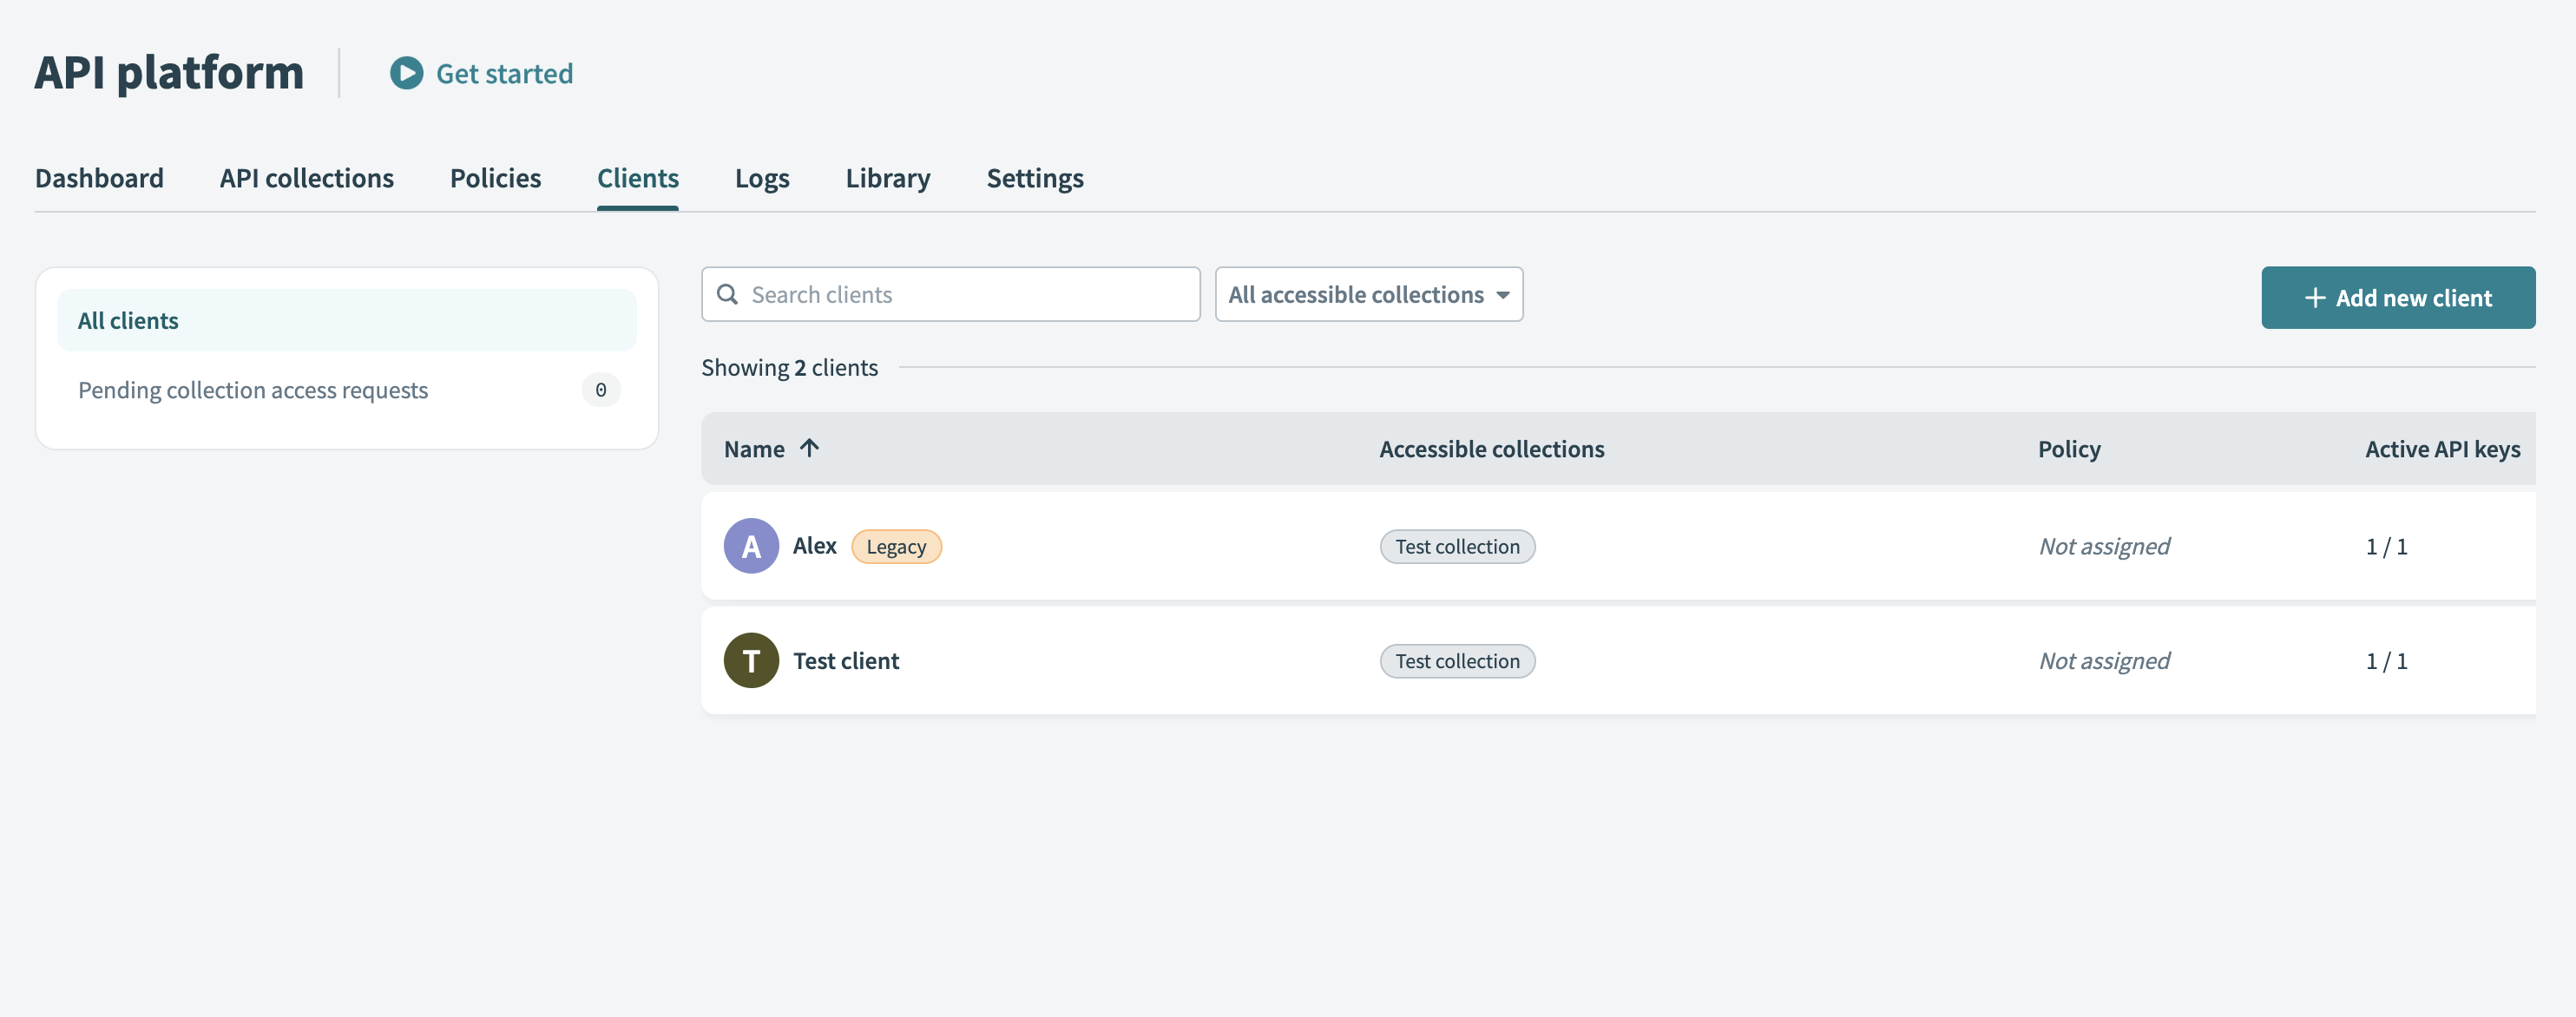 API platform client tab
Create a new API client
Complete the following steps to add and configure a new client:
Add an API client
Go to Platform > API Platform.
Select the Clients tab.
Click + Add new client.
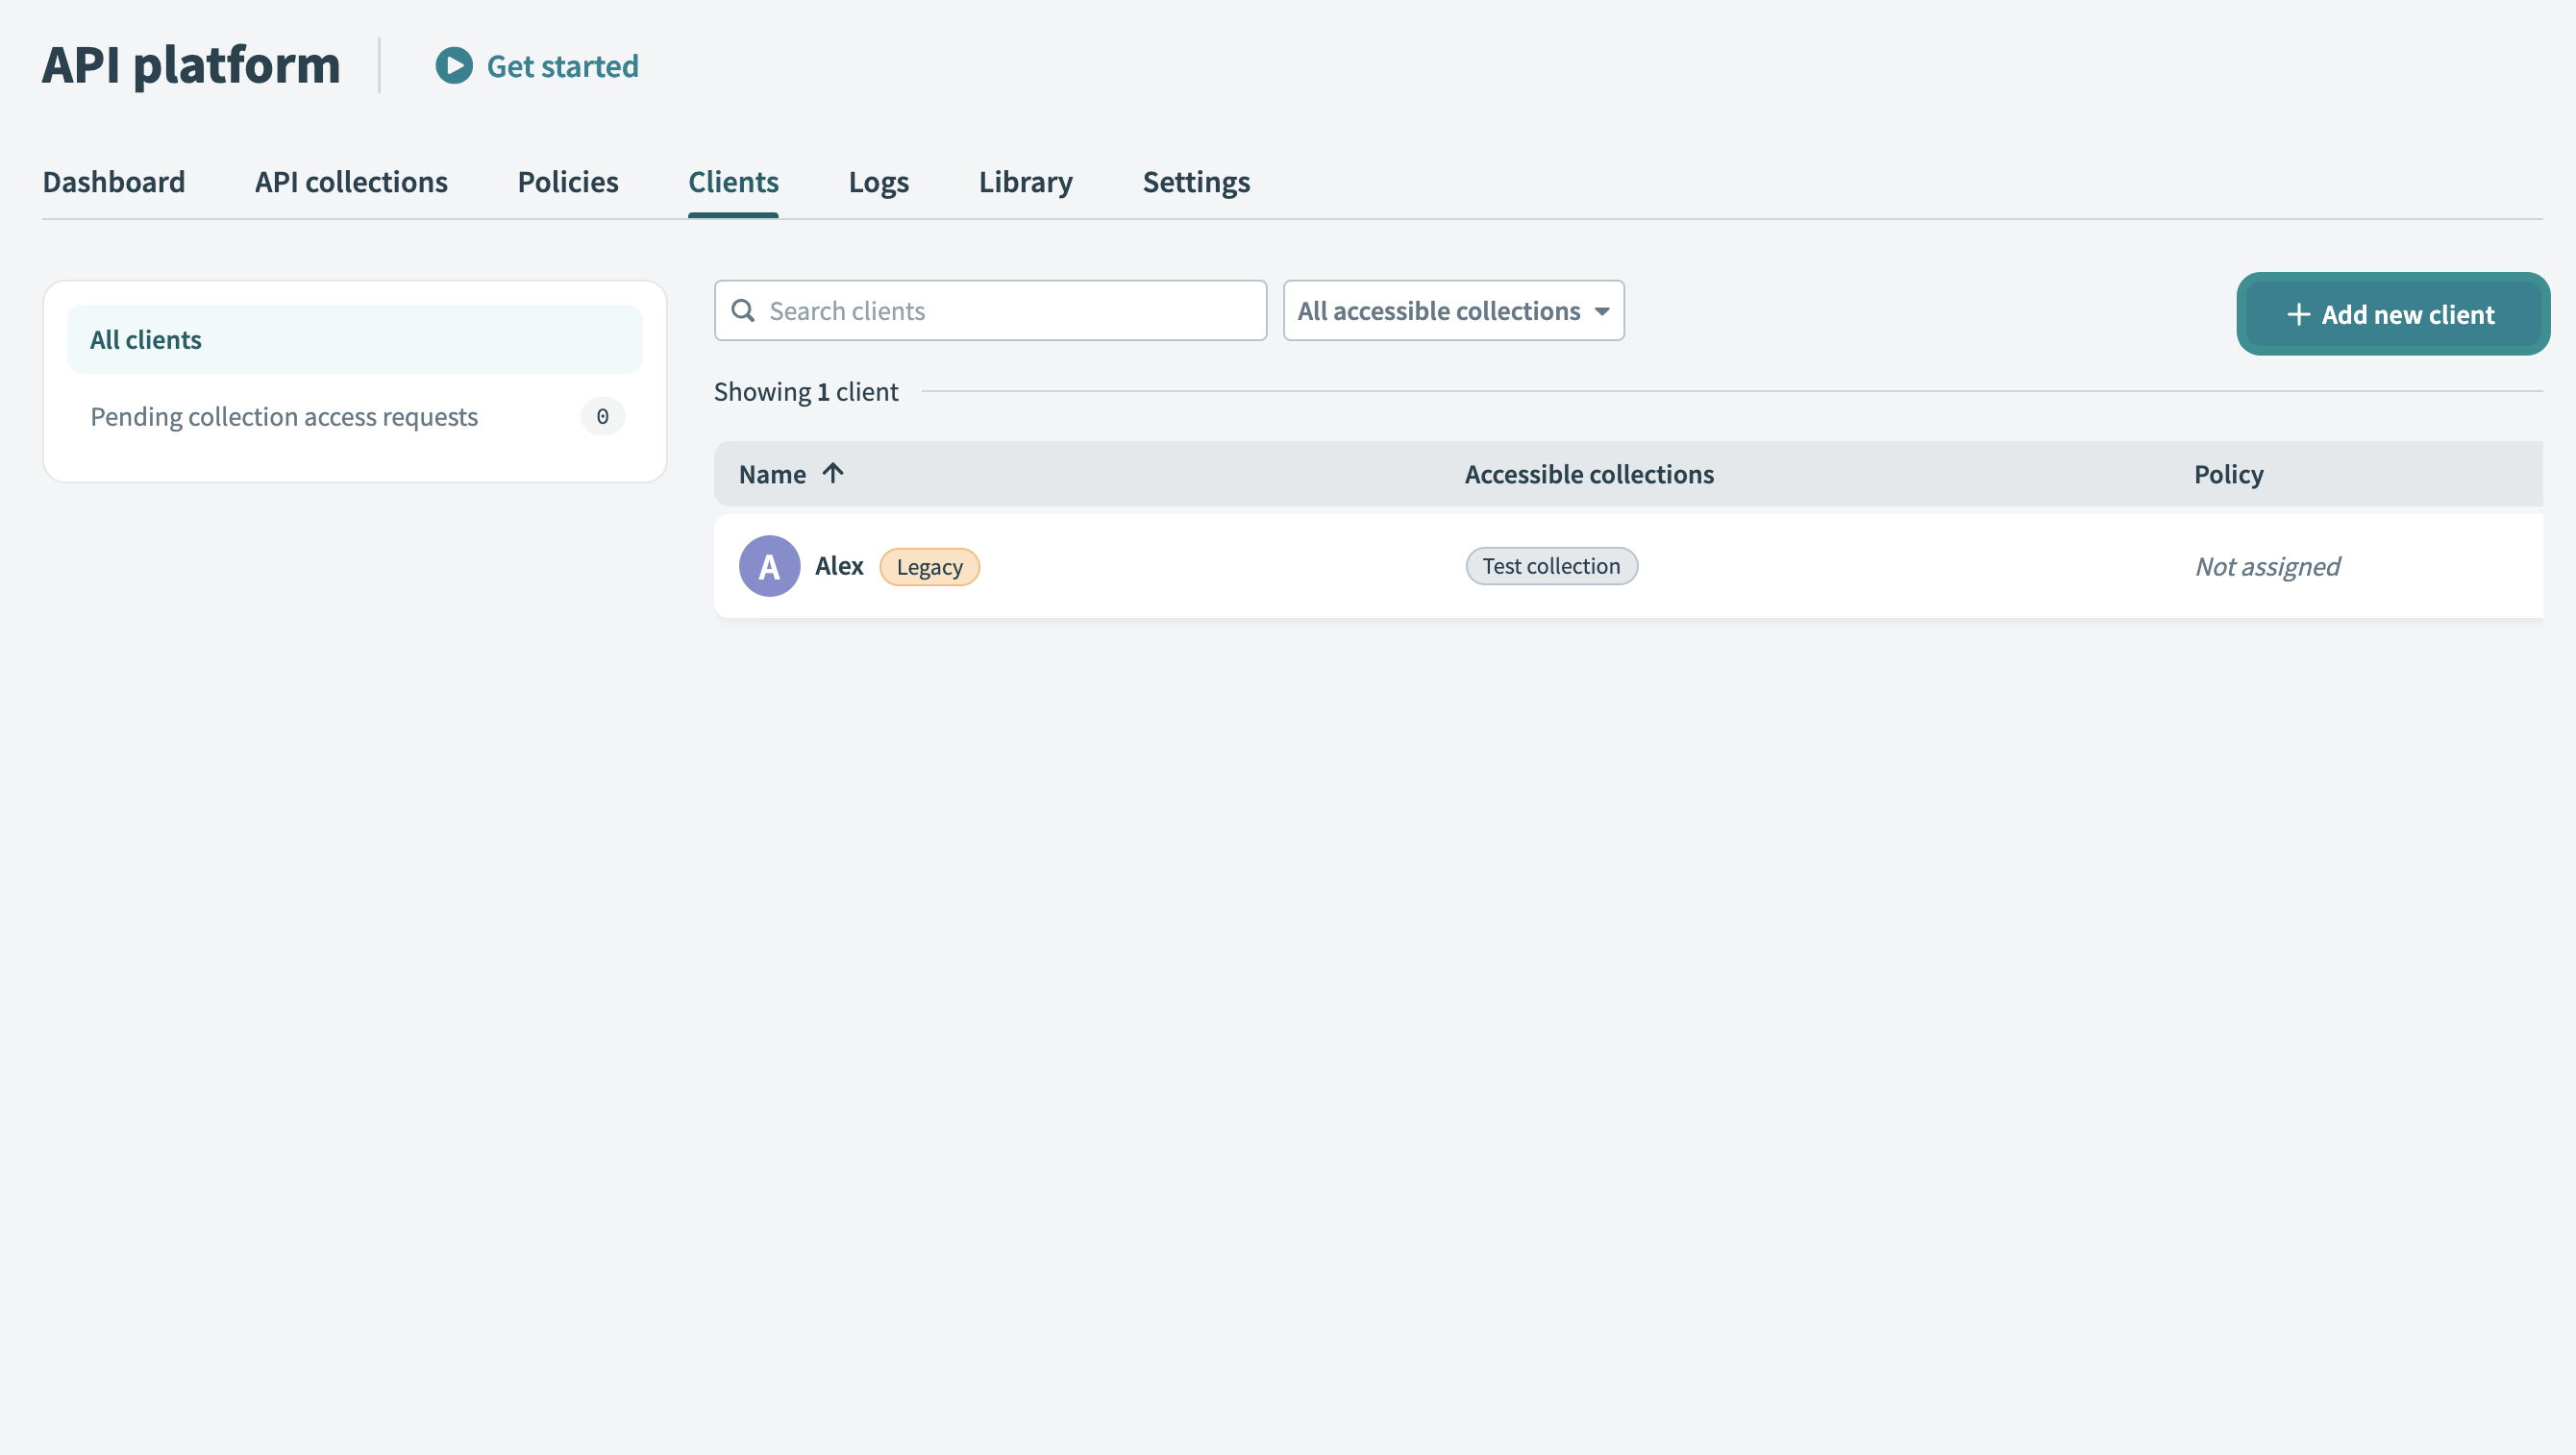 Add new client
Set up client details
Enter a Name for your client. Use a descriptive identifier, such as the client’s company or department name.
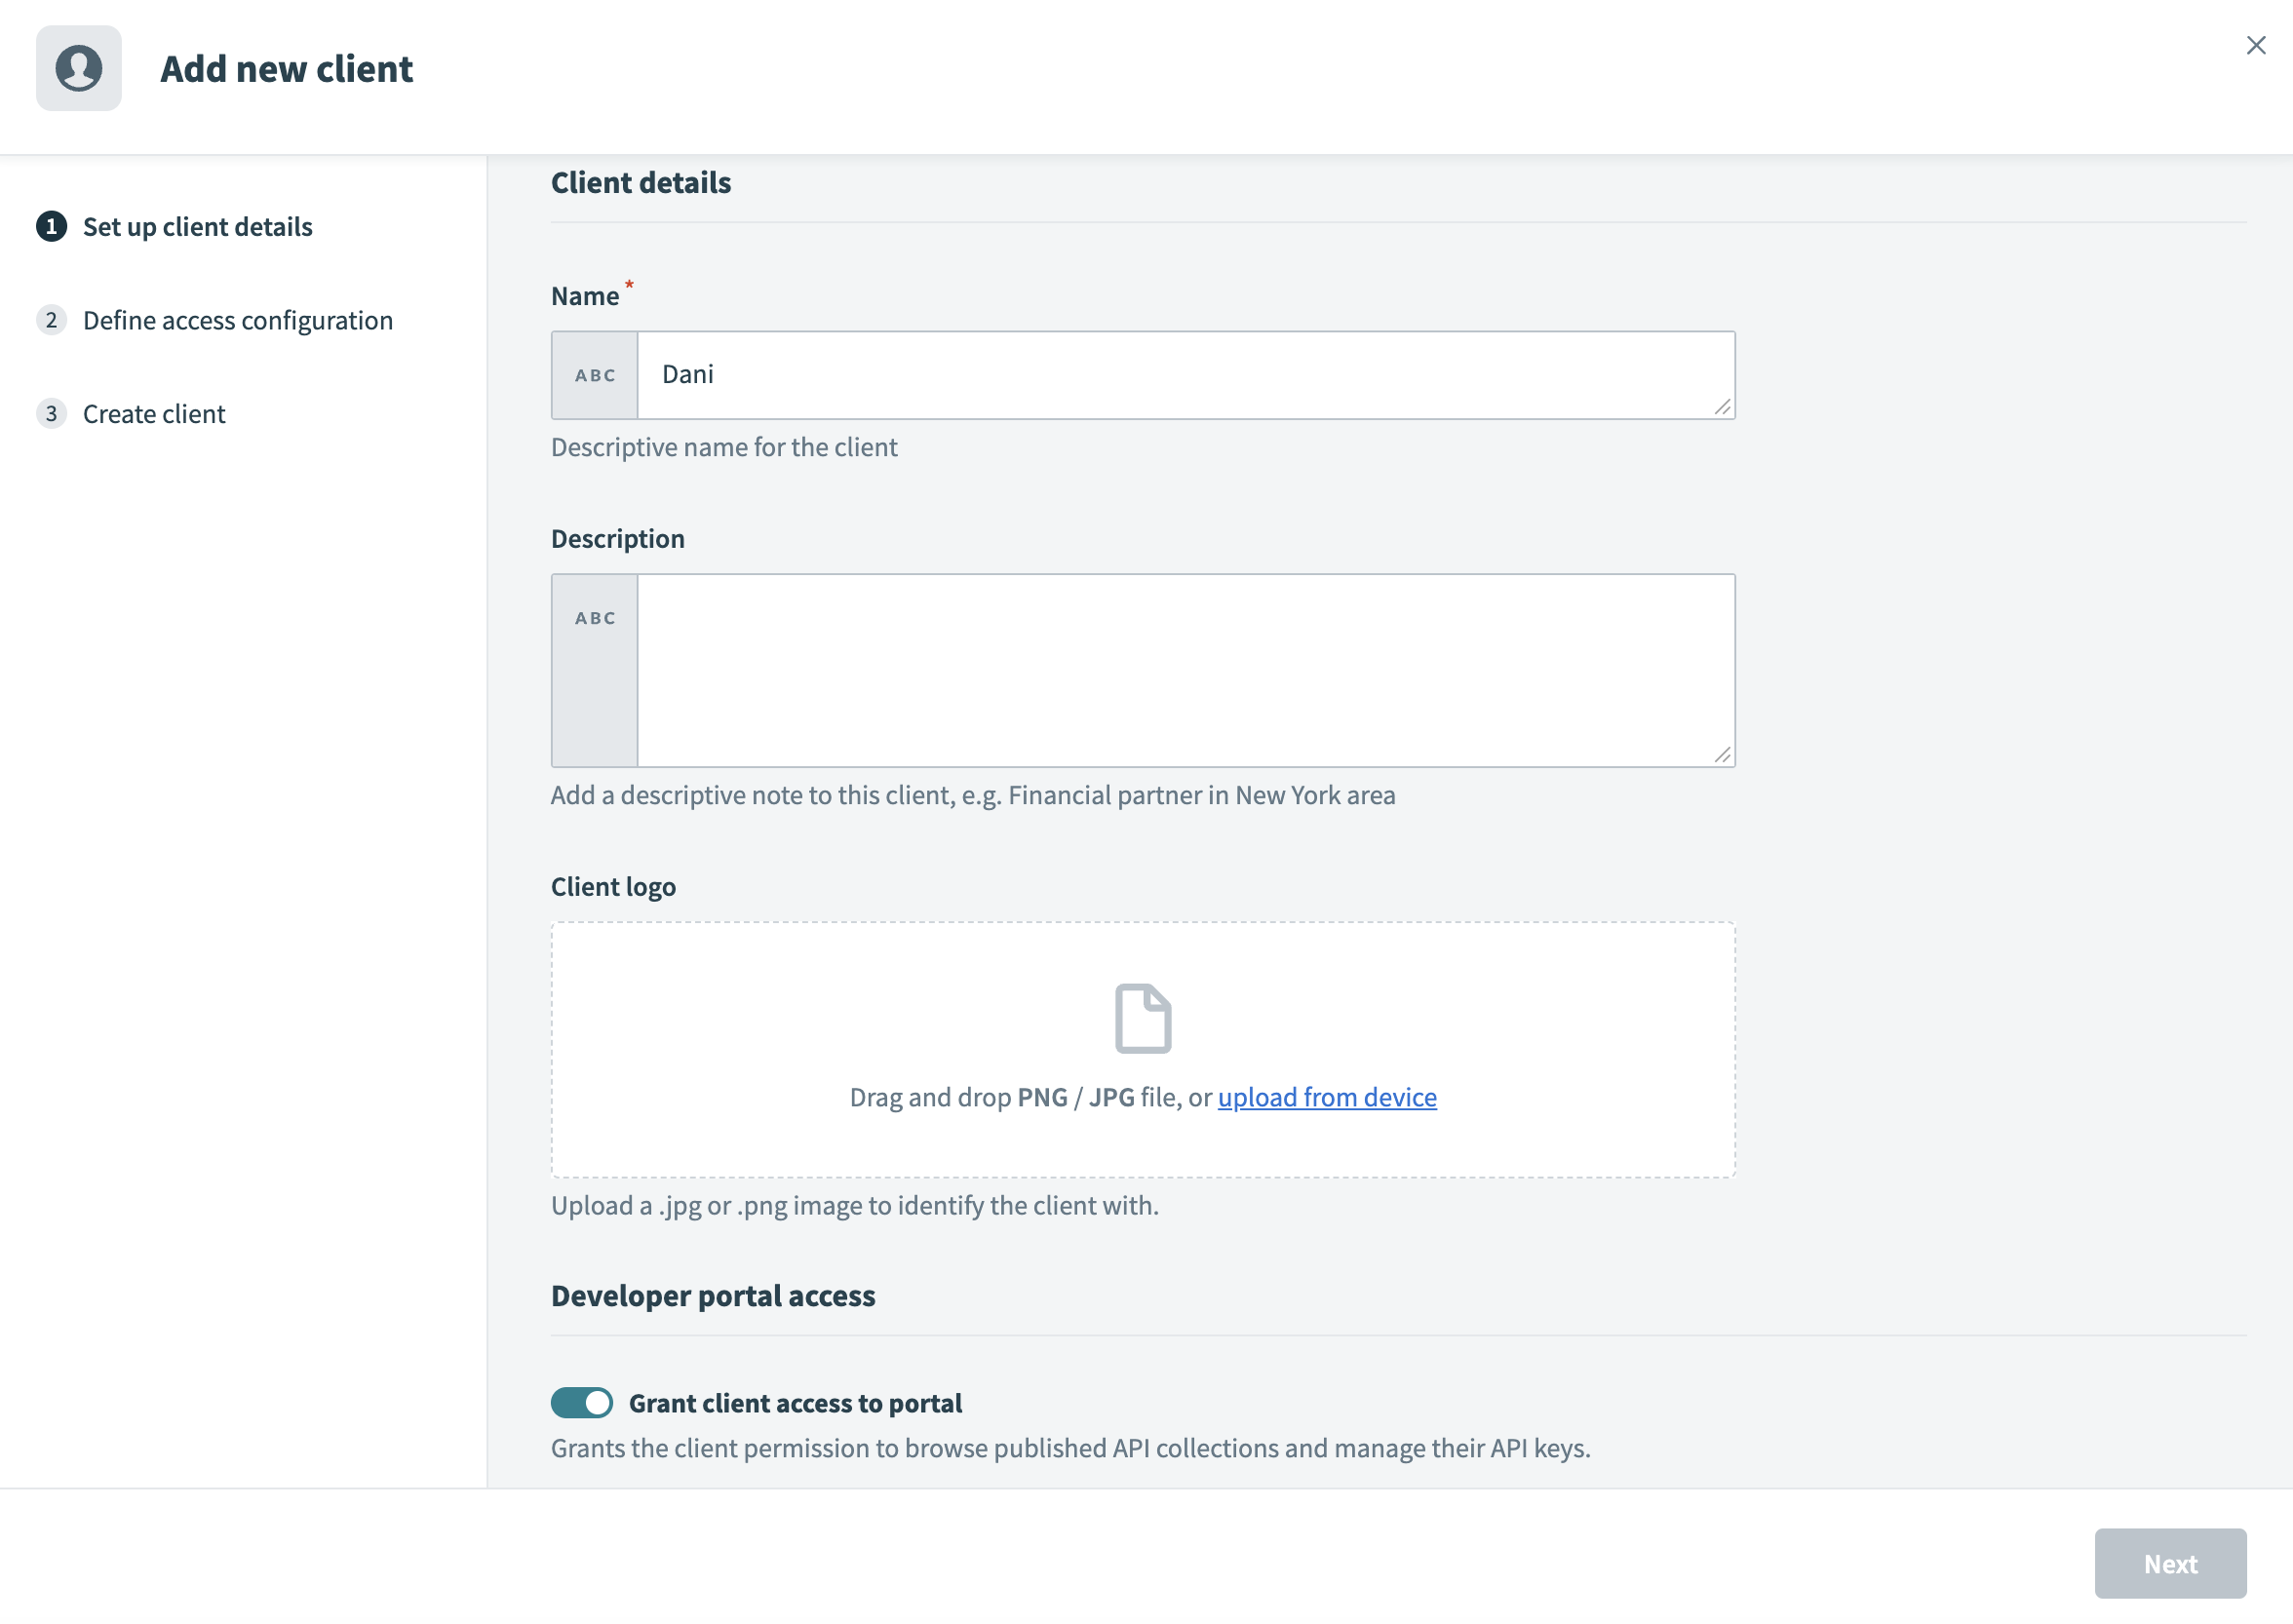 Set up client details
Enter a Description for the client.
Upload a Client logo. Drag and drop a JPG/PNG image or click Upload from device to select a file. This logo visually identifies your client in the portal.
Enable the Grant client access to portal toggle to enable portal access. This grants your client permission to browse published API collections and manage their API keys. If your client only requires API tokens for testing or internal purposes, you can leave the toggle disabled.
Enter the Email address of the client. The system sends an invitation to this email, allowing your client to log in and access the portal.
Click Next to proceed to the Define access configuration screen, where you can configure your client’s API access.
Define access configuration
Choose an Authentication method for the client. Refer to the available authentication methods for more information.
Optional. Toggle Enforce mutual TLS (mTLS) to require clients to present a valid certificate during the SSL handshake. This enforces two-way authentication. Refer to the mTLS authentication guide for more information.
Note: This setting appears only if you configure your workspace with a custom domain.
Use the API collections to include drop-down menu to select one or more API collections. This defines the APIs your client can access and invoke in the portal. You can also create a client without collections to allow discovery before you grant API access.
Optional. Assign a Policy to control your client’s API usage. Policies define rules such as rate limits or usage quotas.
Click Next.
If portal access is enabled, Workato sends an email invitation to the client's email address. Permissions, such as access to API collections and authentication methods, are configured at the client level.
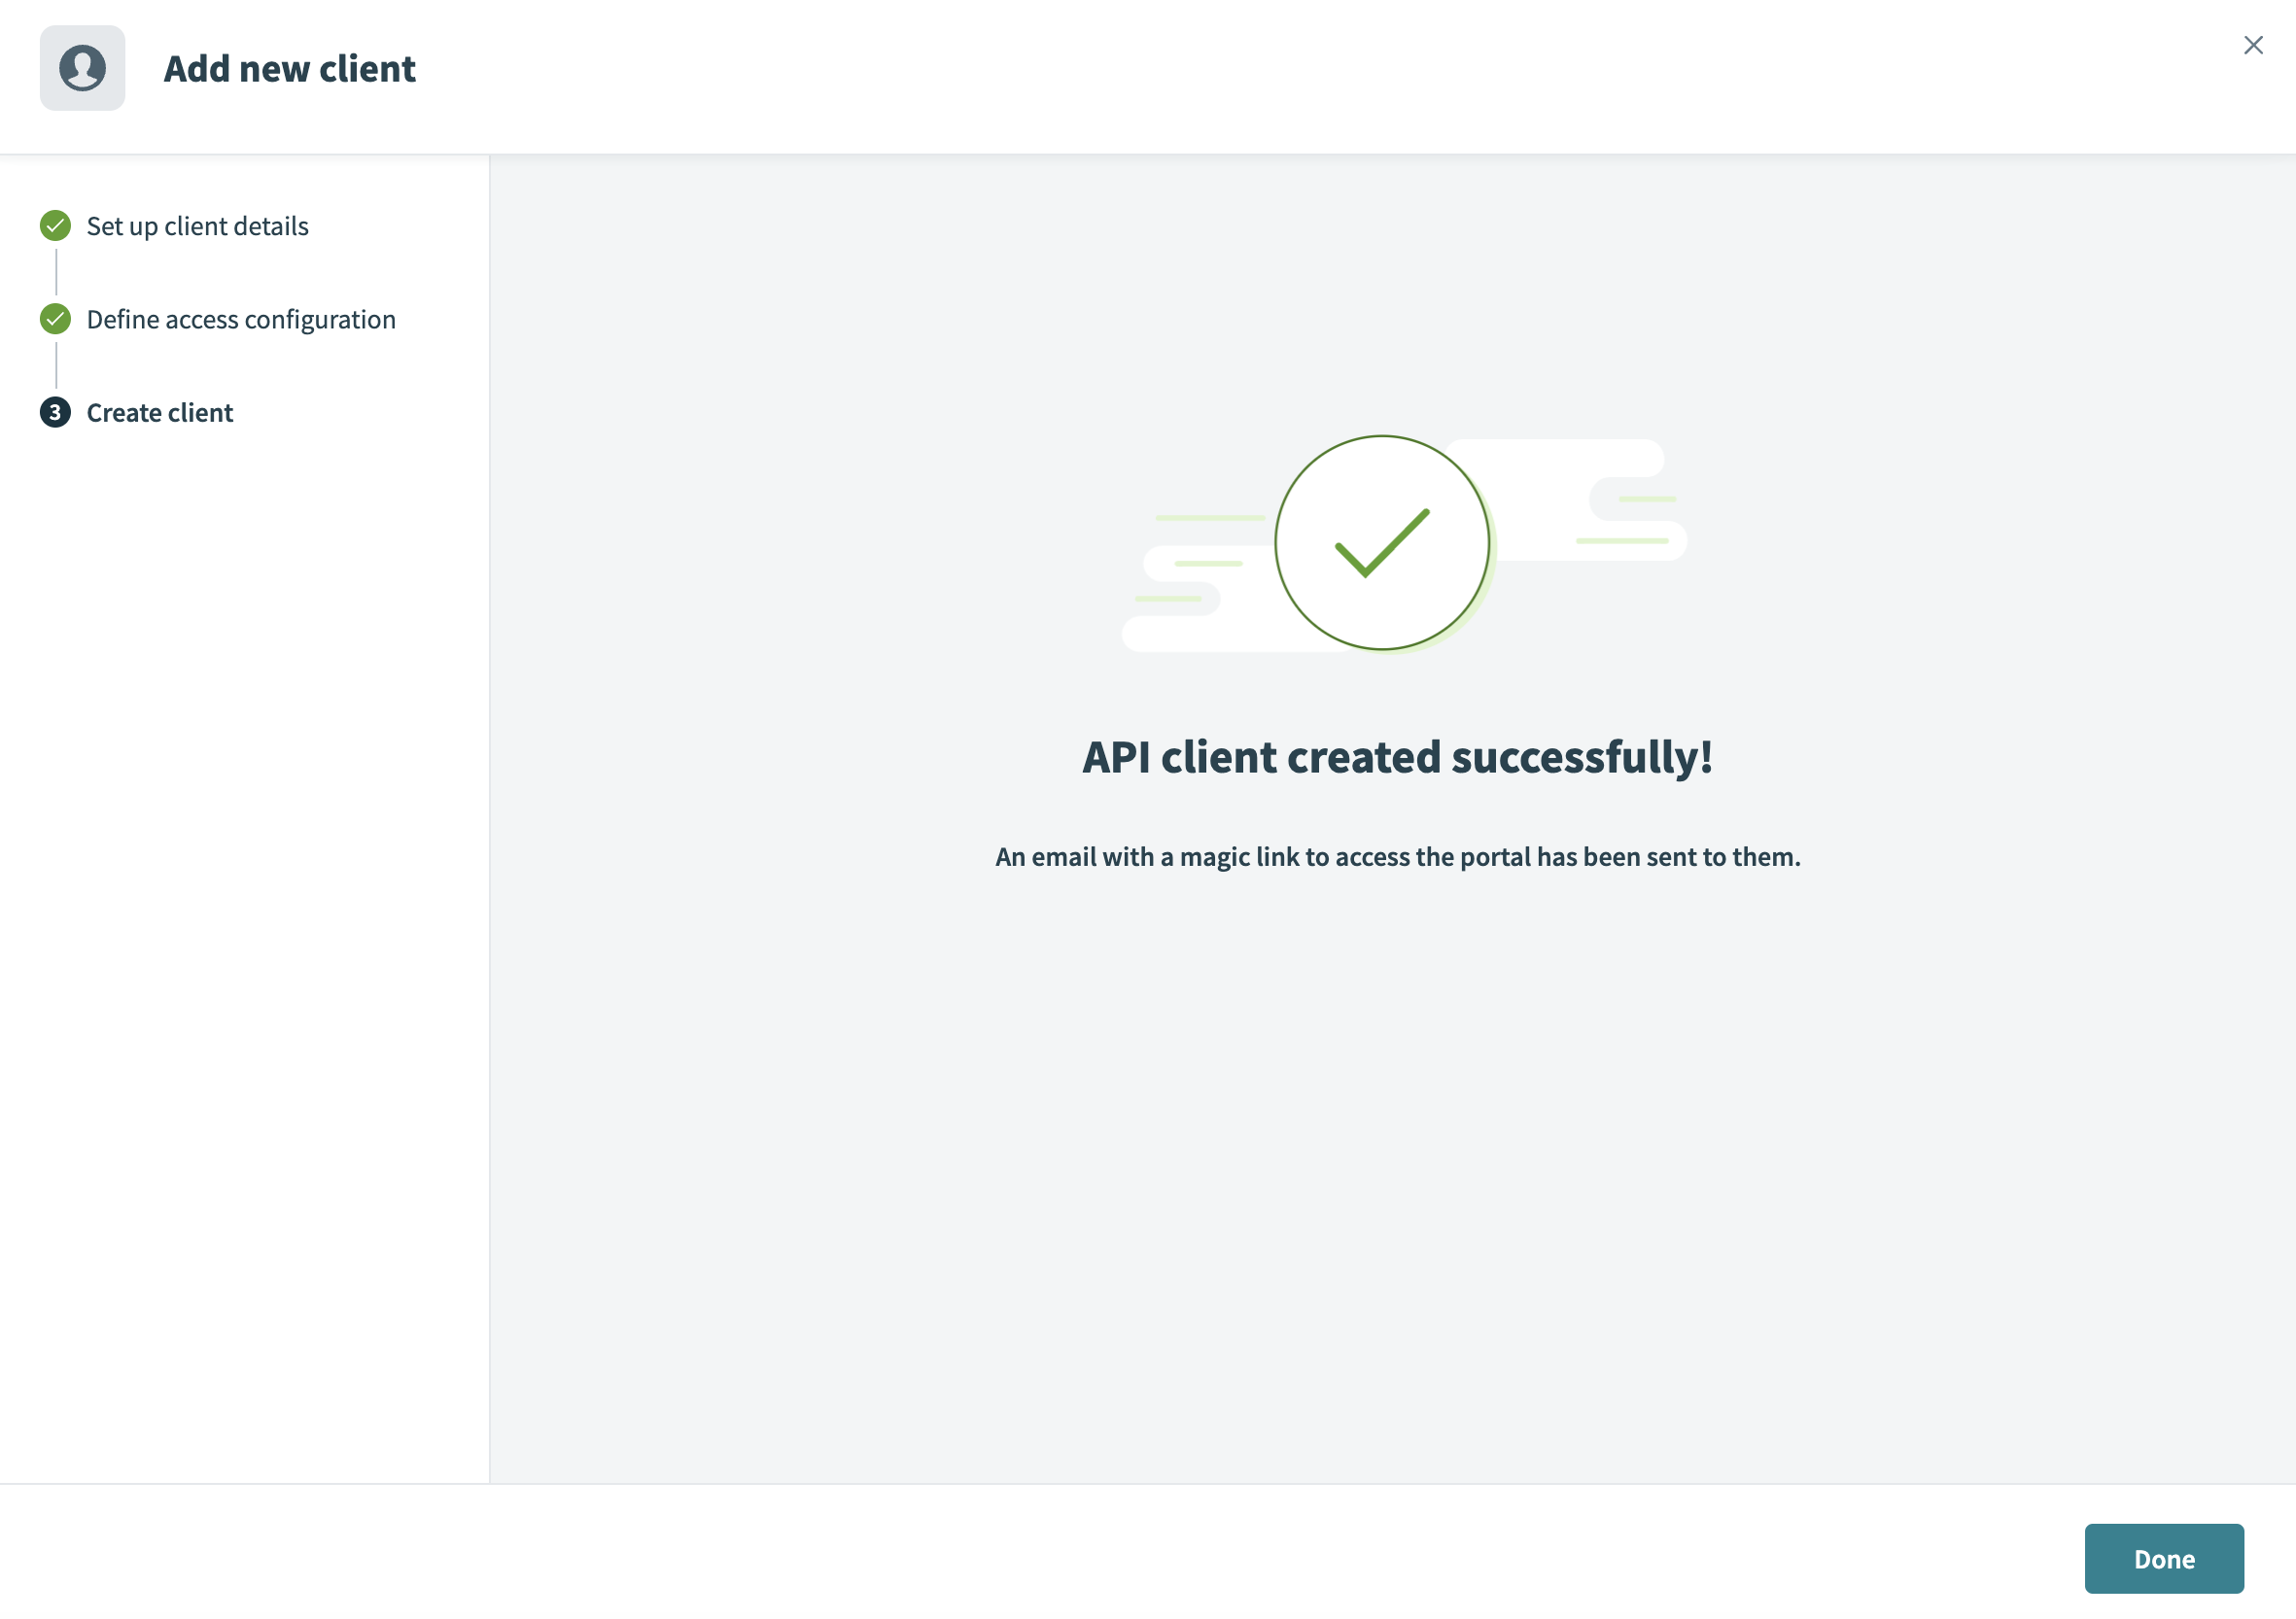 Create client
After you add the client, you or the client can create an API key to authenticate API requests and manage access to assigned collections.
API keys
The API keys tab enables you to create and manage access tokens. You can generate new keys with optional IP restrictions for enhanced security or manage existing keys, refresh them, or deactivate them when necessary.
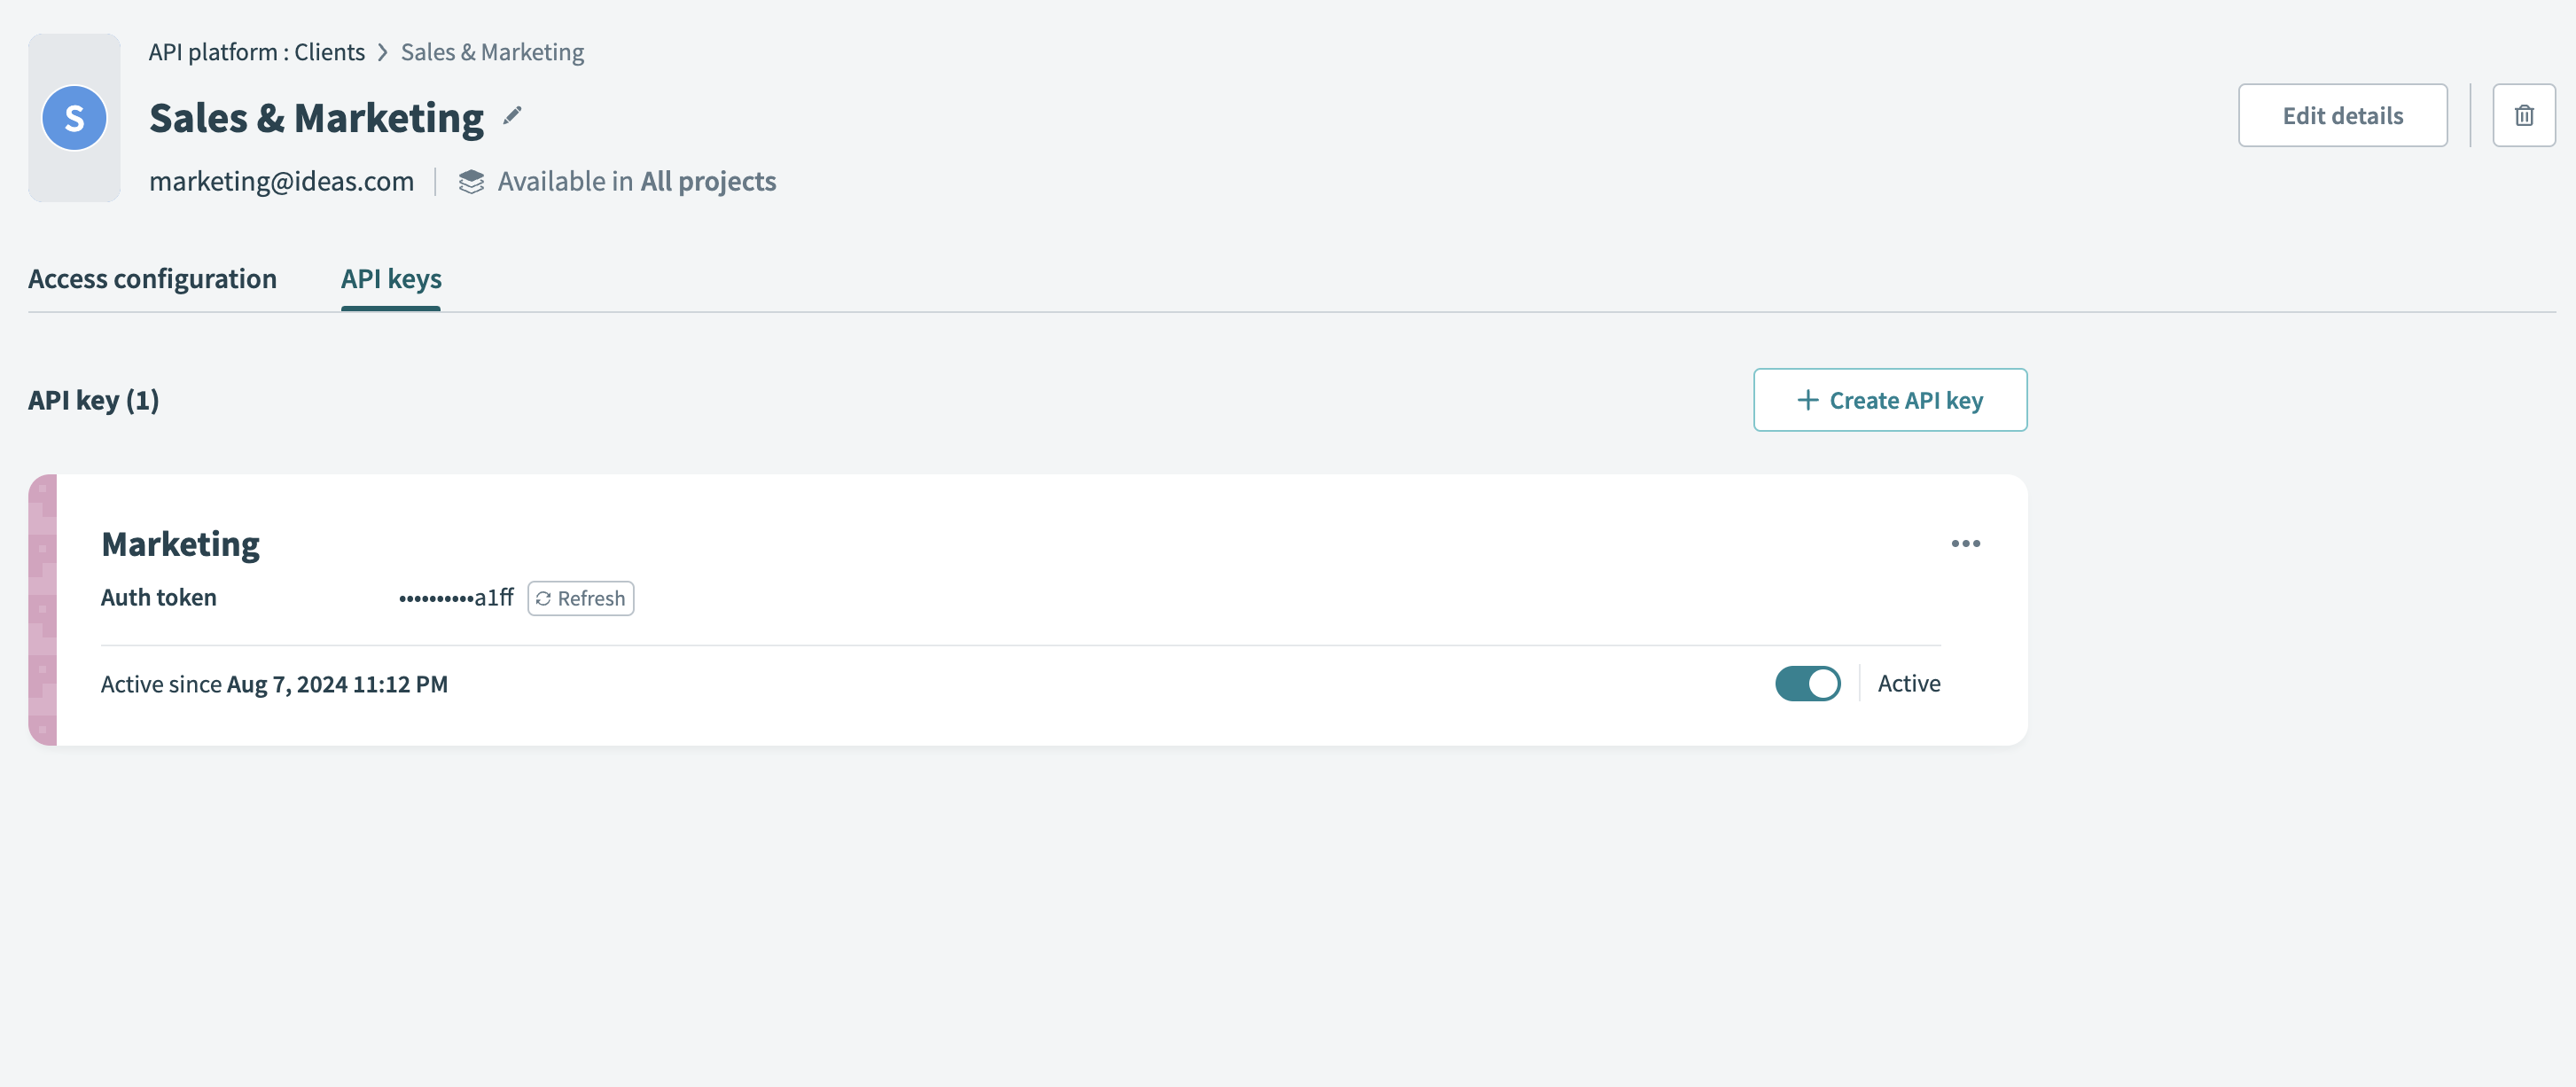 Manage API keys
API keys provide secure authentication. They allow your clients to access their assigned API collections while maintaining strict access controls.
API KEY LIMIT
Each client can have up to 20 API keys.
Create a new API key
Complete the following steps to create a new API key:
Go to API Platform > Clients, select the client, and go to the API keys tab.
Click + Create API key.
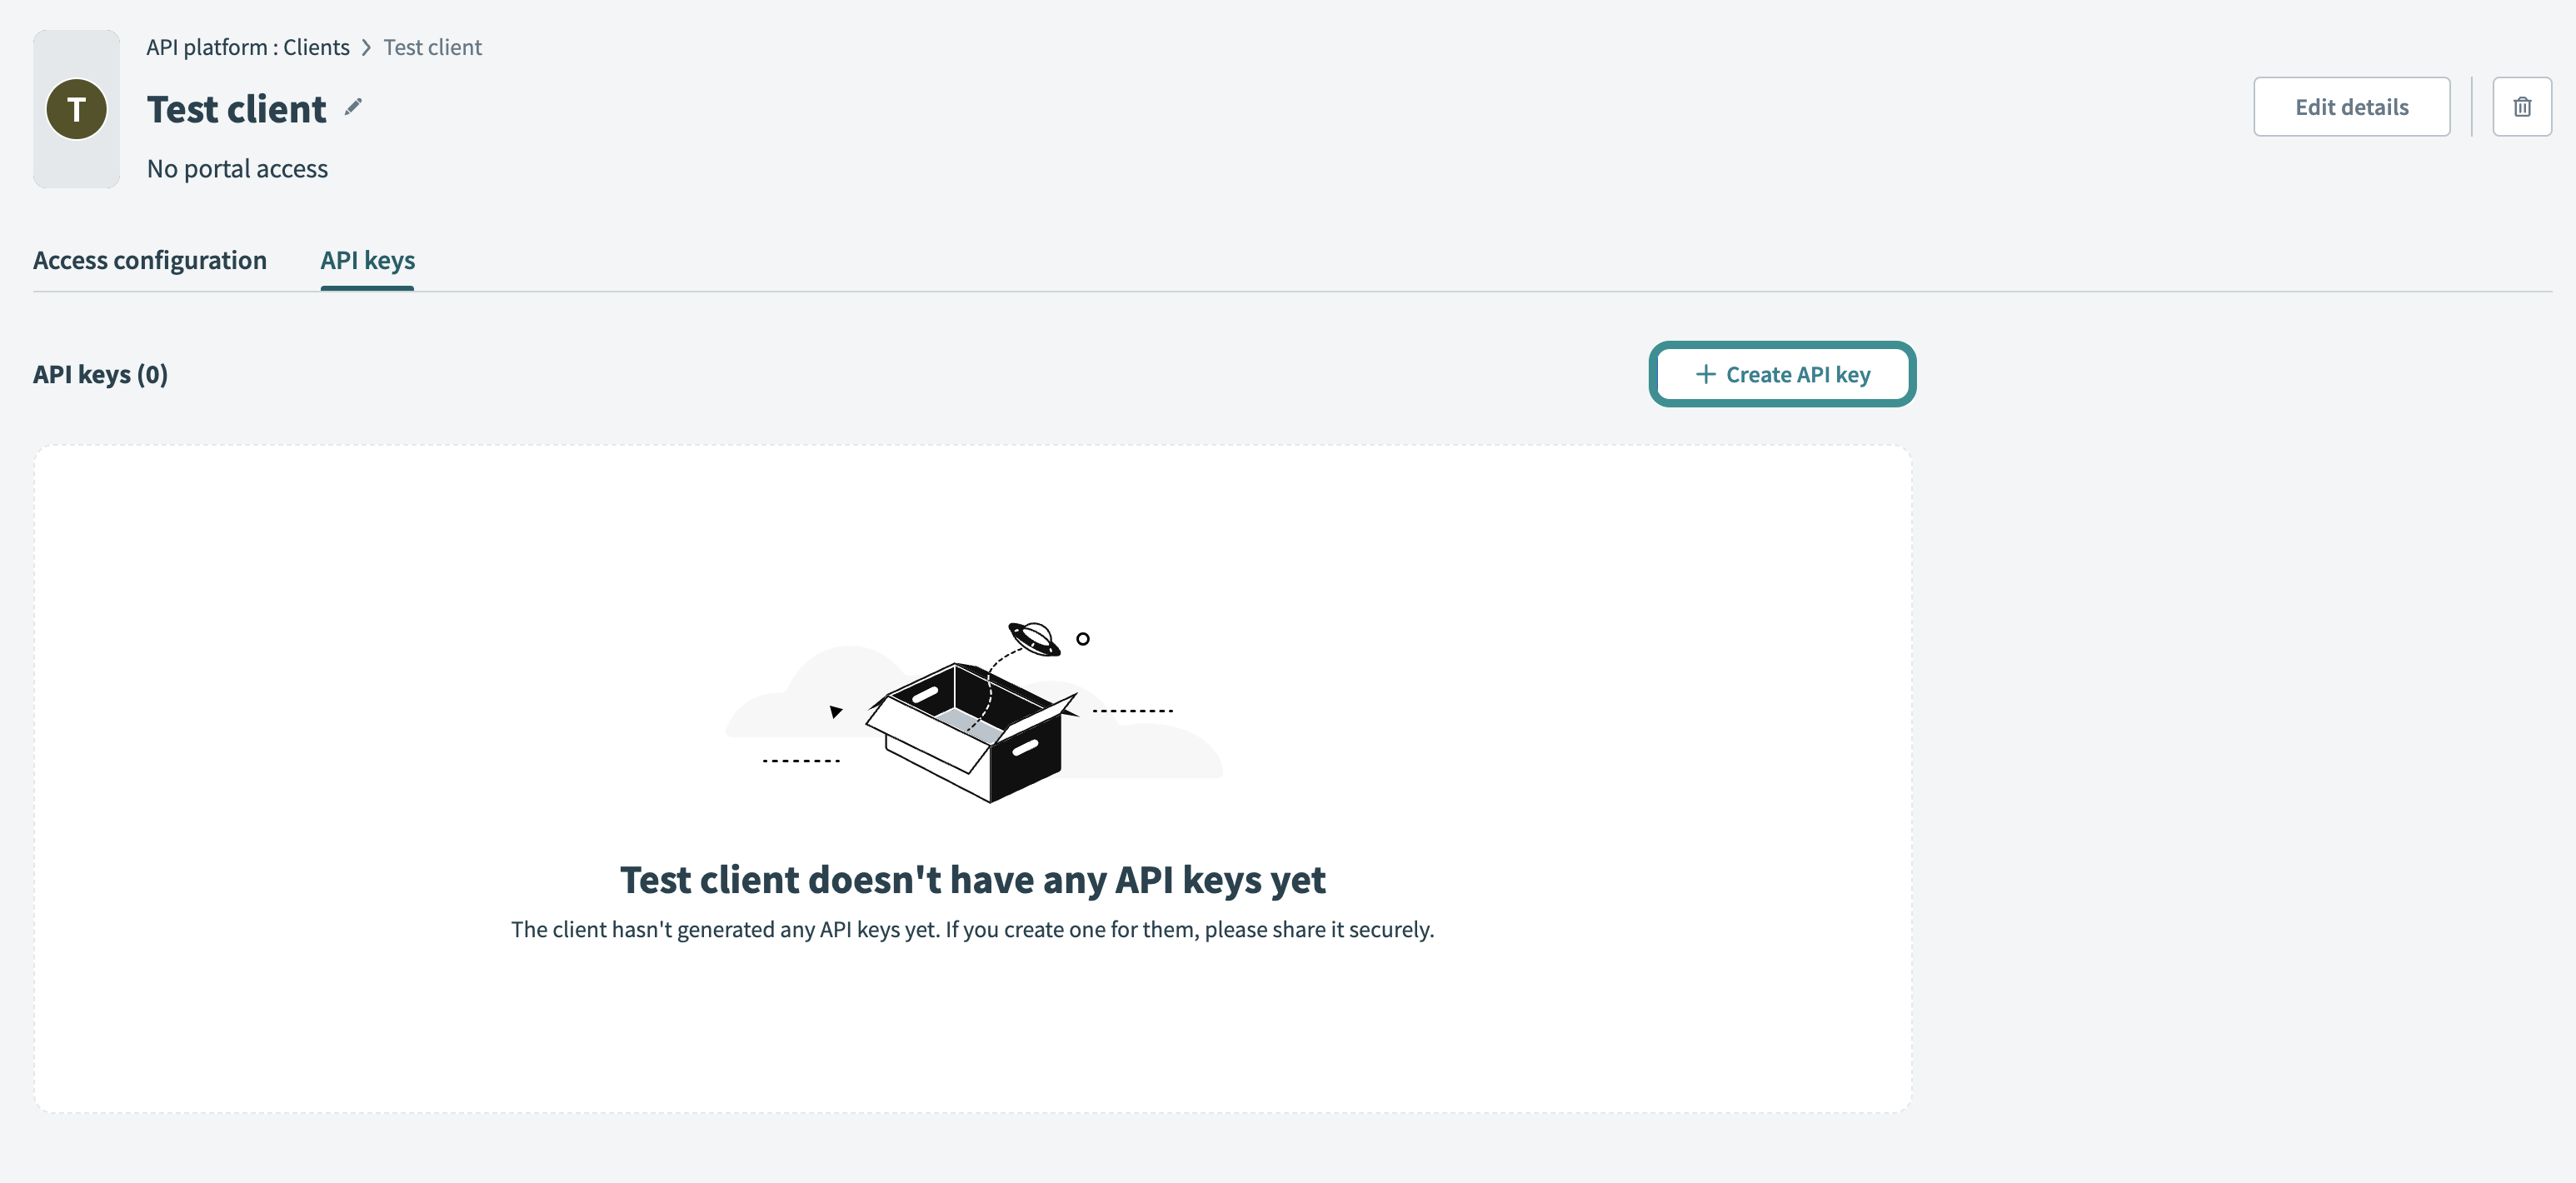 Create API key
Enter an API key name to identify the key.
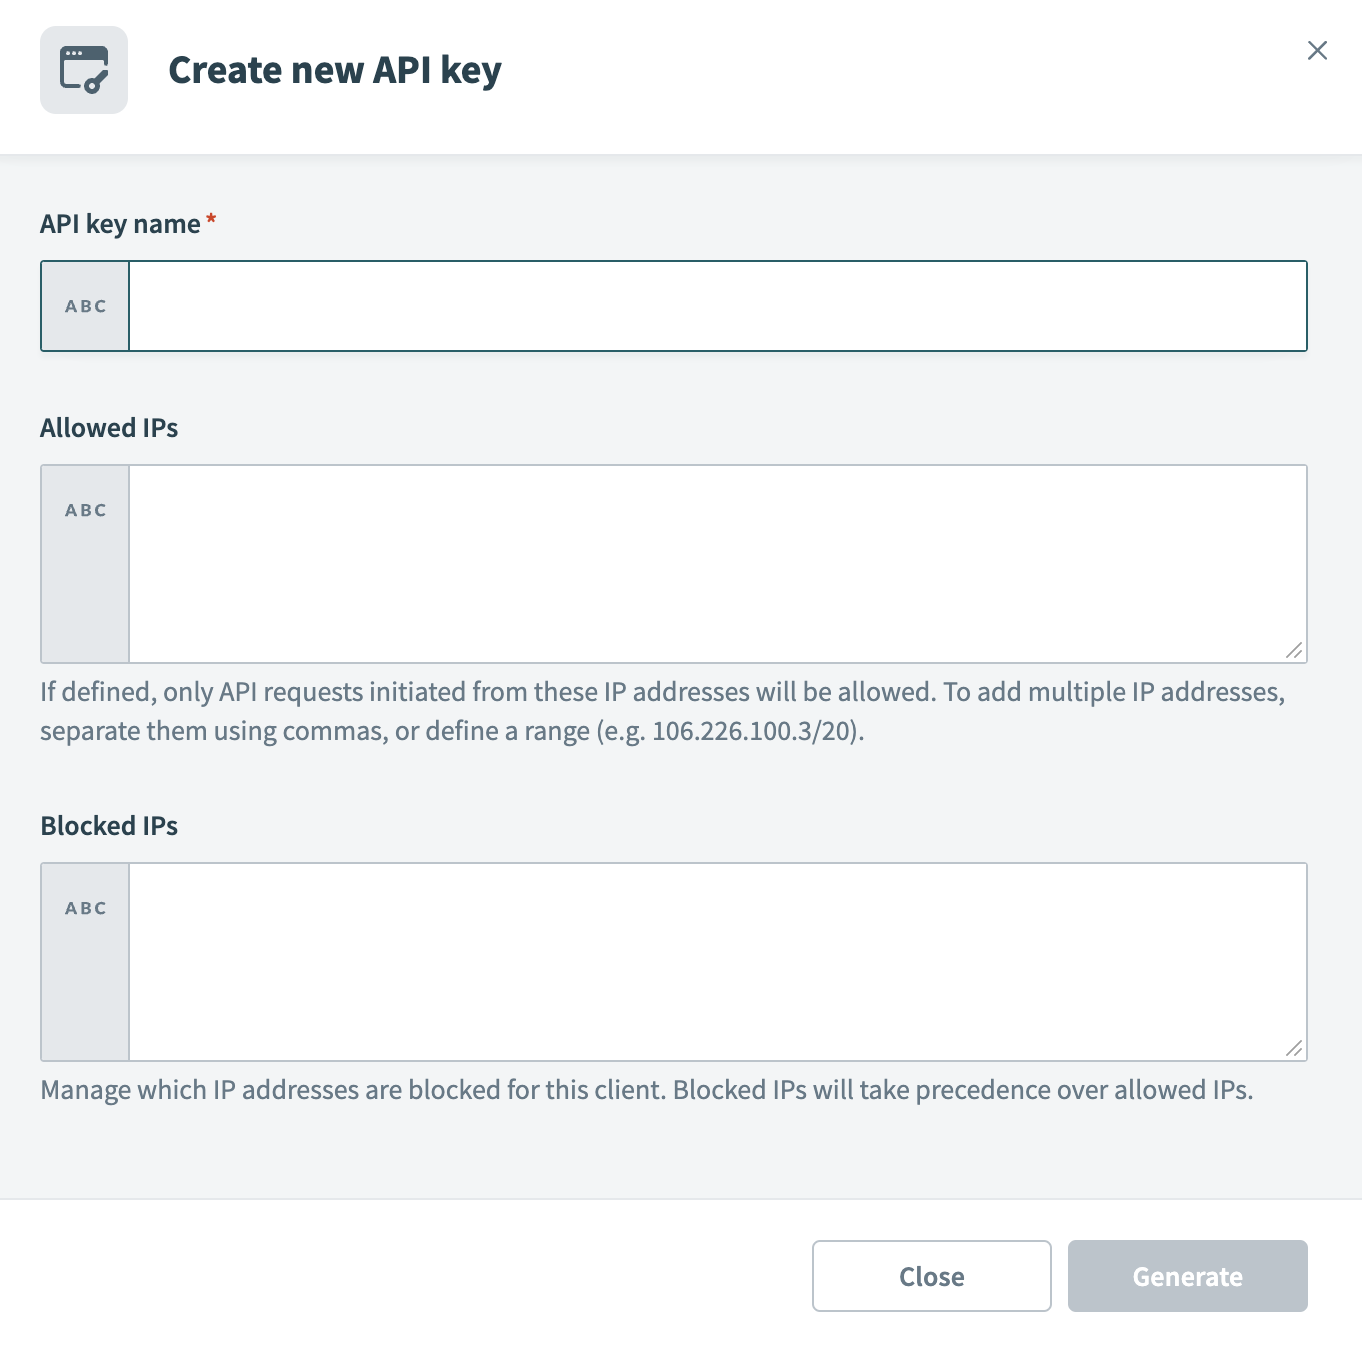 Configure new API key
Optional. Add Allowed IPs to restrict requests to specific IP addresses. To allow multiple IPs, separate them with commas or define a range.
Optional. Add Blocked IPs to prevent requests from specific IP addresses. Blocked IPs take precedence over allowed IPs. For example, if you add the IP address 123.456.123.456 to your allow list, but also block it, users who attempt to access the portal from this IP address are denied access.
Click Generate to create the API key. Workato displays the authentication token. Save this token securely, as it doesn’t display again. You must refresh or create a new API key if you lose it.
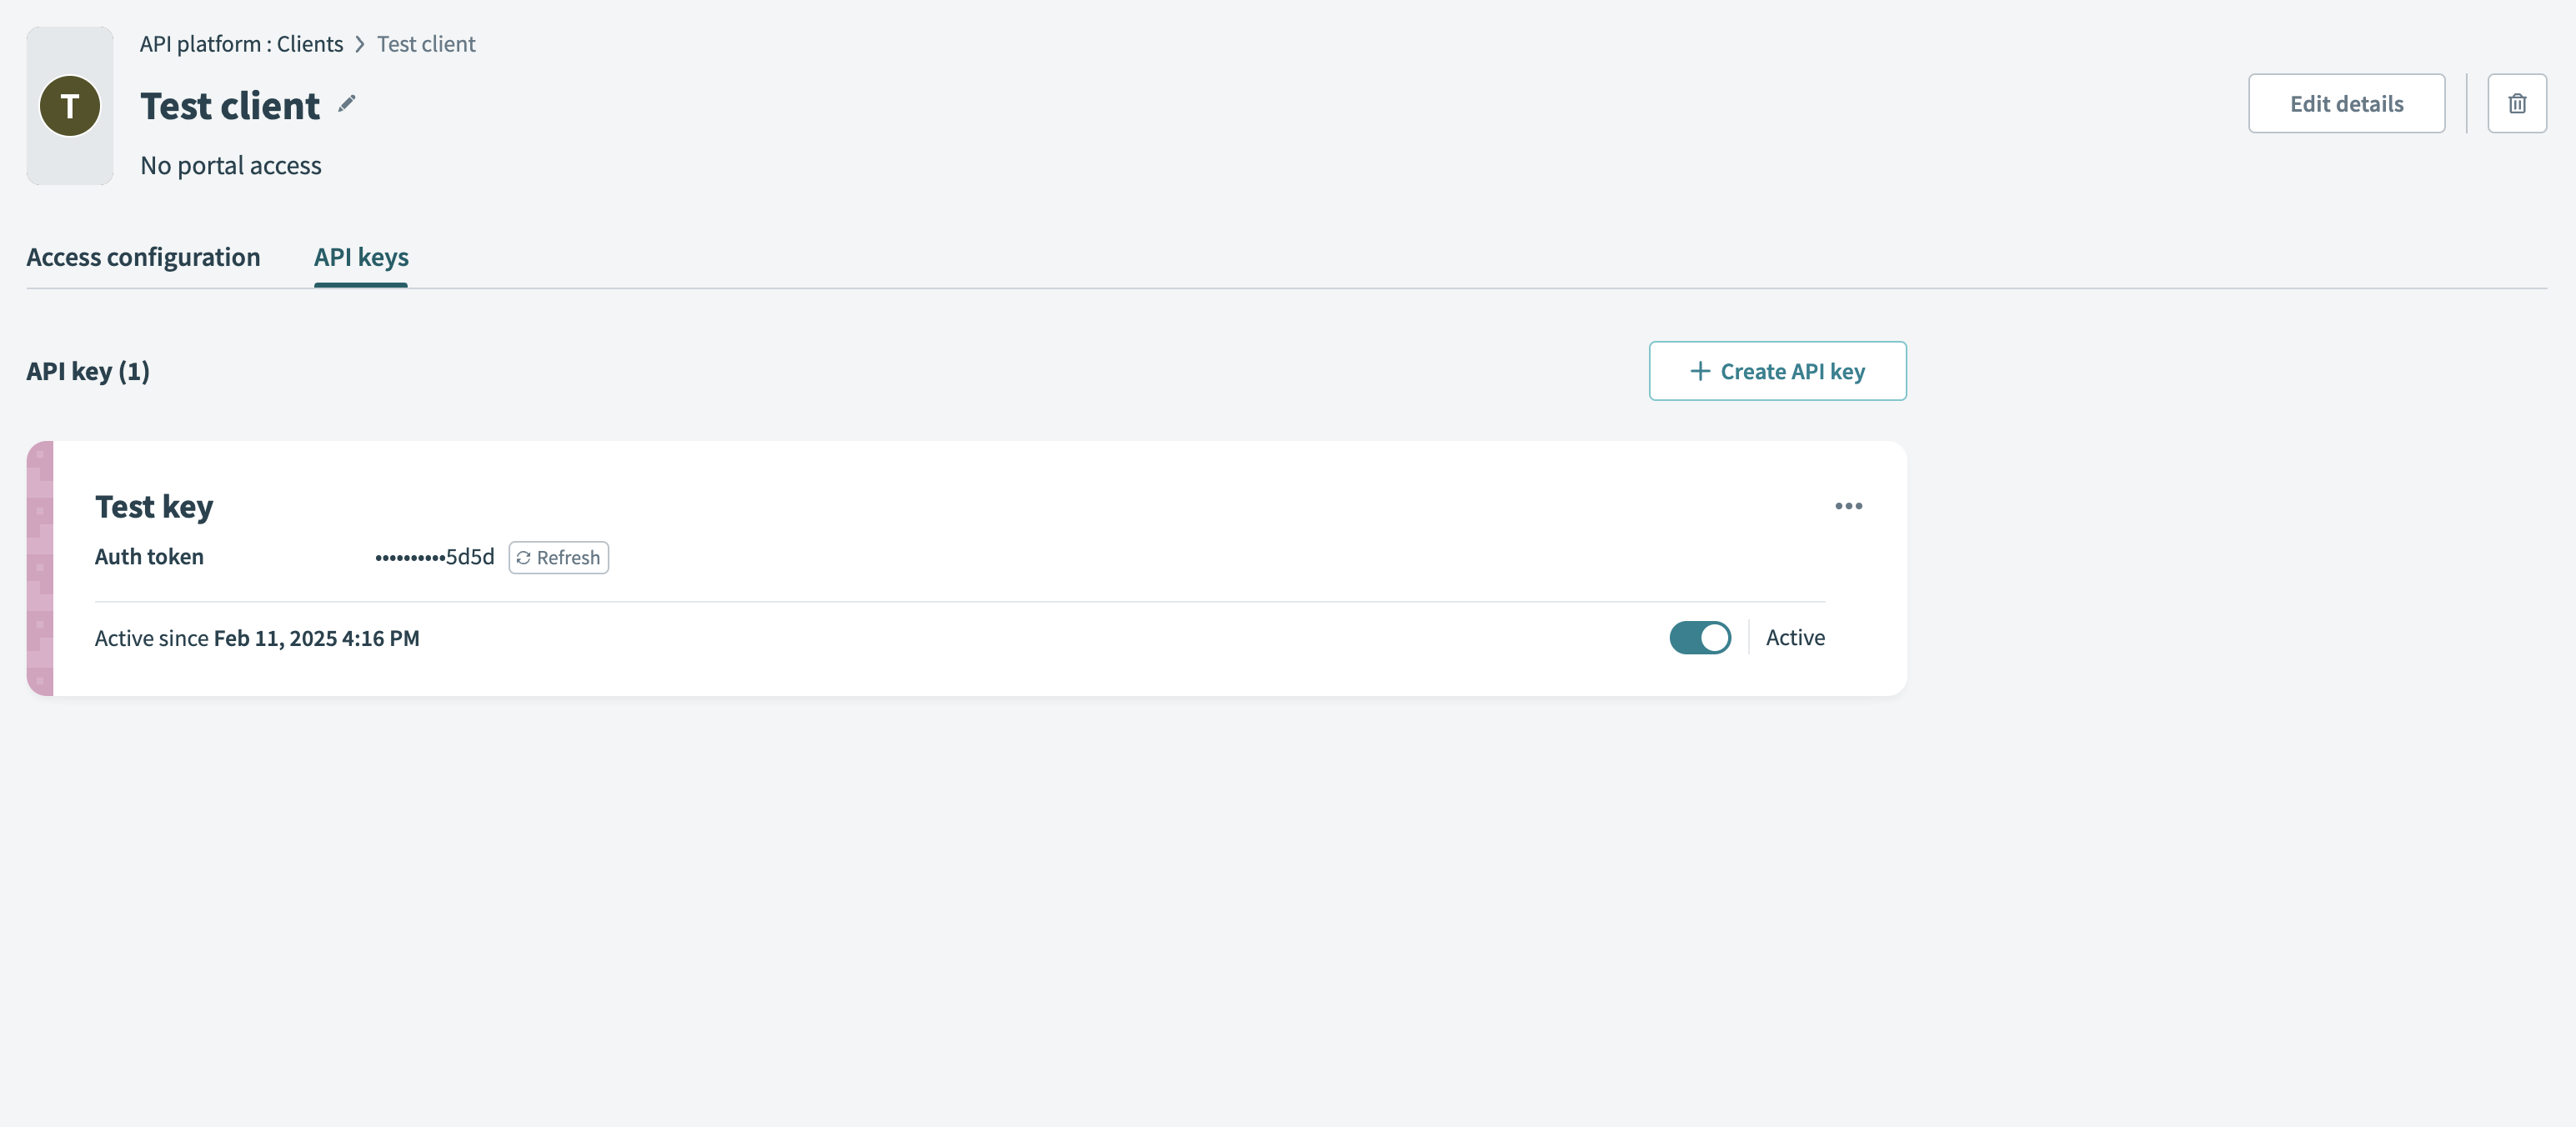 Generate API key
Access profiles
LEGACY ACCESS PROFILES
Access profiles are the legacy method for API access management. API keys have replaced access profiles, which offer streamlined control over API authentication and permissions.
After December 1, 2025, you can't modify existing access profiles or create new ones. This includes configurations such as authentication methods, collection access, policies, and allowed IP addresses. During this transition period, existing access tokens remain functional and can be refreshed as needed.
On July 1, 2026, Workato will fully deprecate legacy API clients and access profiles. After this date, access tokens associated with legacy access profiles will no longer be valid.
We recommend that you use API keys for new clients and integrations.
Every client has one or more access profiles that are associated with API collections. An access profile gives a client access to one or more API recipe collections and/or API proxy collections.
We recommend that API owners create a unique access profile for each API consumer. This allows you as the API owner to delegate access to specific API collections and impose access policies. Furthermore, it allows you to generate usage information about how API consumers are using your API endpoints.
API CONSUMERS
An API consumer can be a person, script, or automated program.
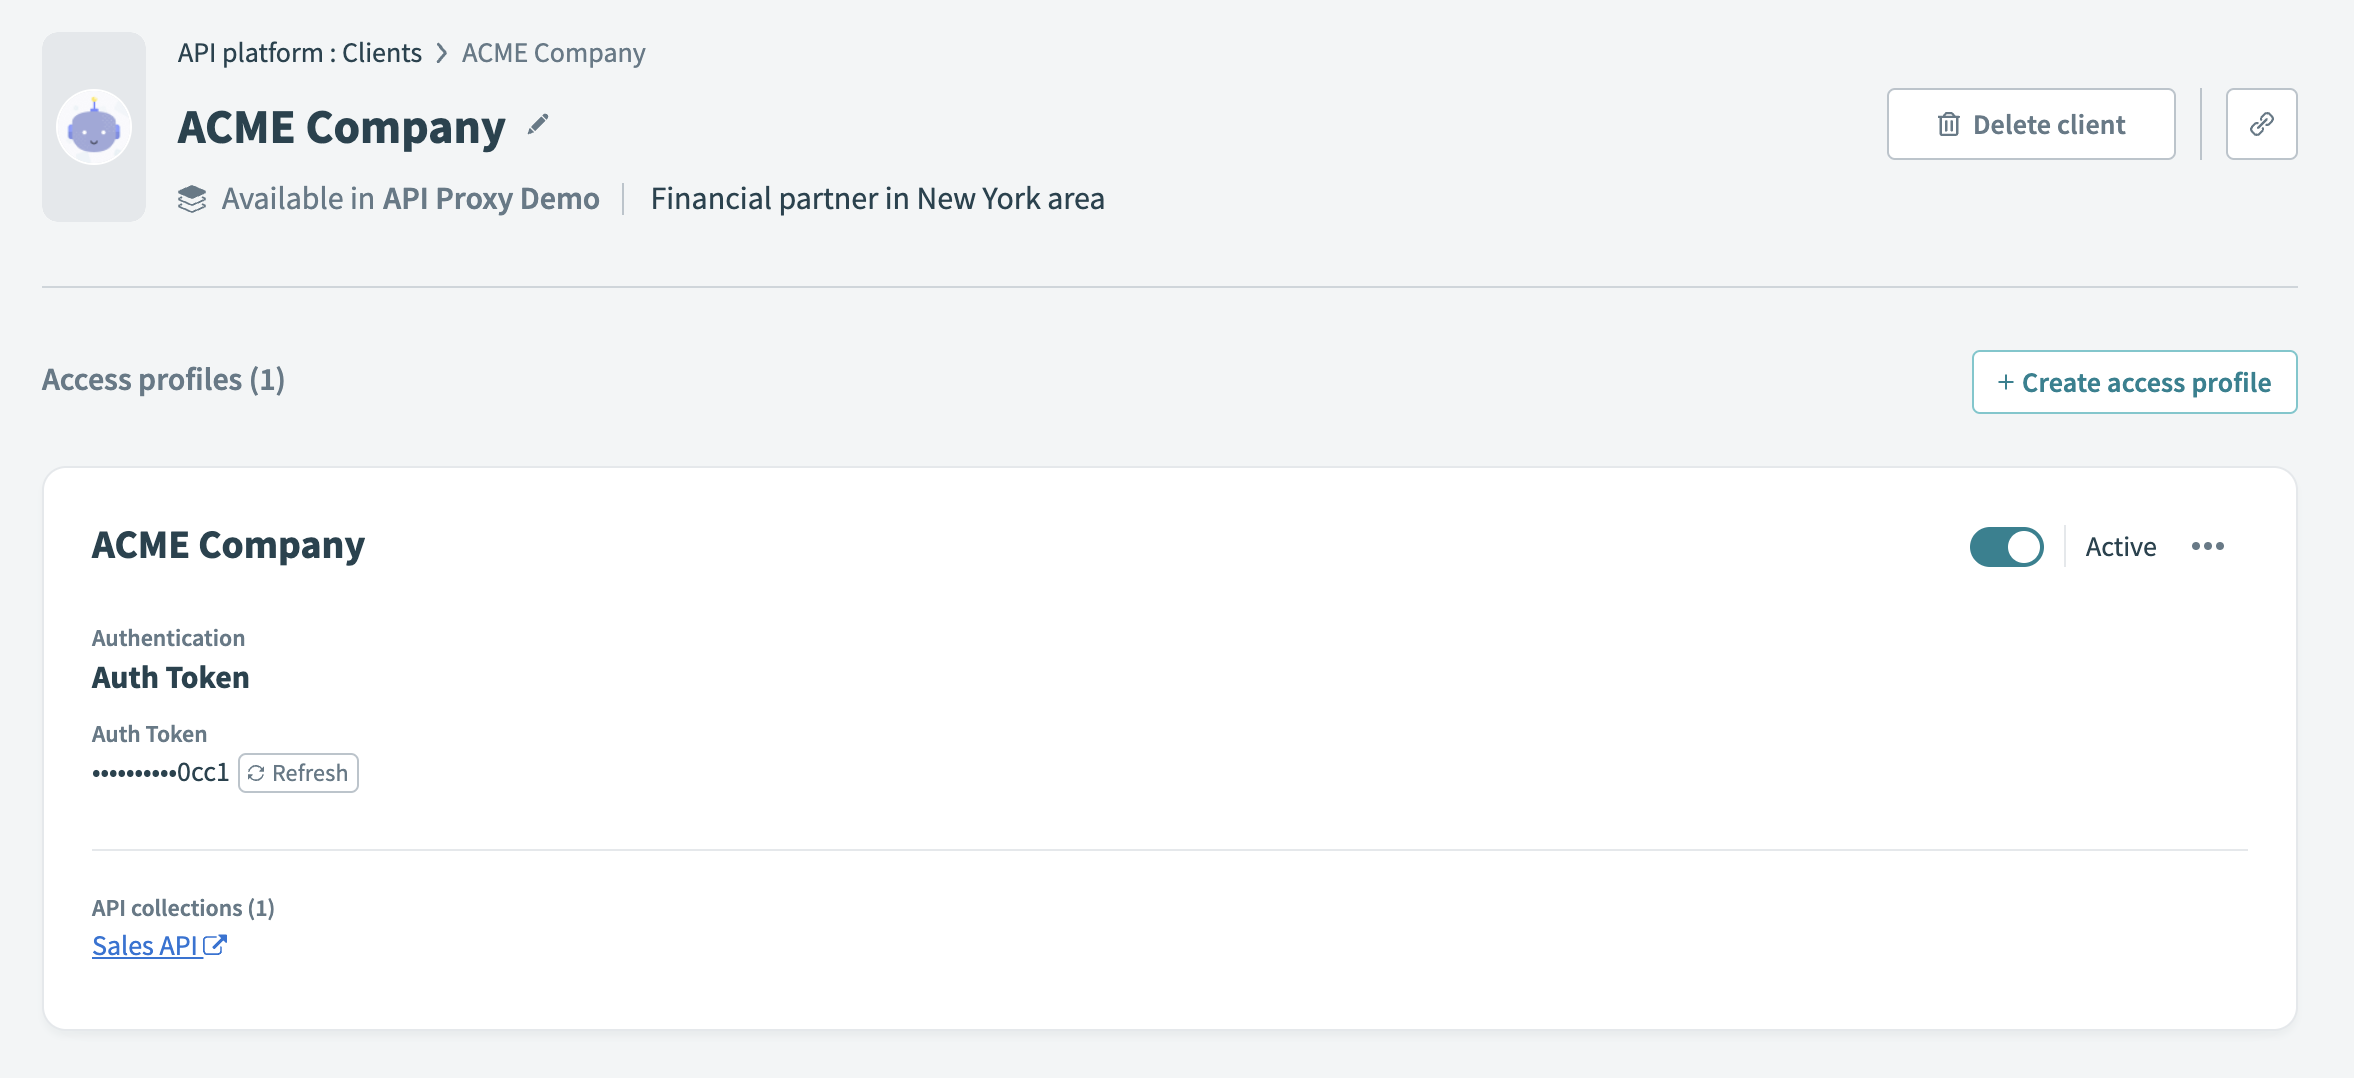
To view a client's access profiles and create new profiles, navigate to API platform > Clients and select a client. The following screenshot contains an example of a client (ACME Company) with one access profile (also called ACME Company).
 API client with access profile
Access profile fields
A unique API key is generated for each client in the Auth Token field. This token is a long string of characters. It must be supplied to the client so that the client can connect to the API. Treat this API key as confidential information; it should be known only to the API owner and the client.
An API key can be revoked, and a new one issued, by clicking the Refresh button next to the token.
A client can be Active or Inactive. An inactive client cannot call any APIs. Click the toggle to set the client's status to Active and enable the client to call APIs.
Create new access profile
Prerequisites:
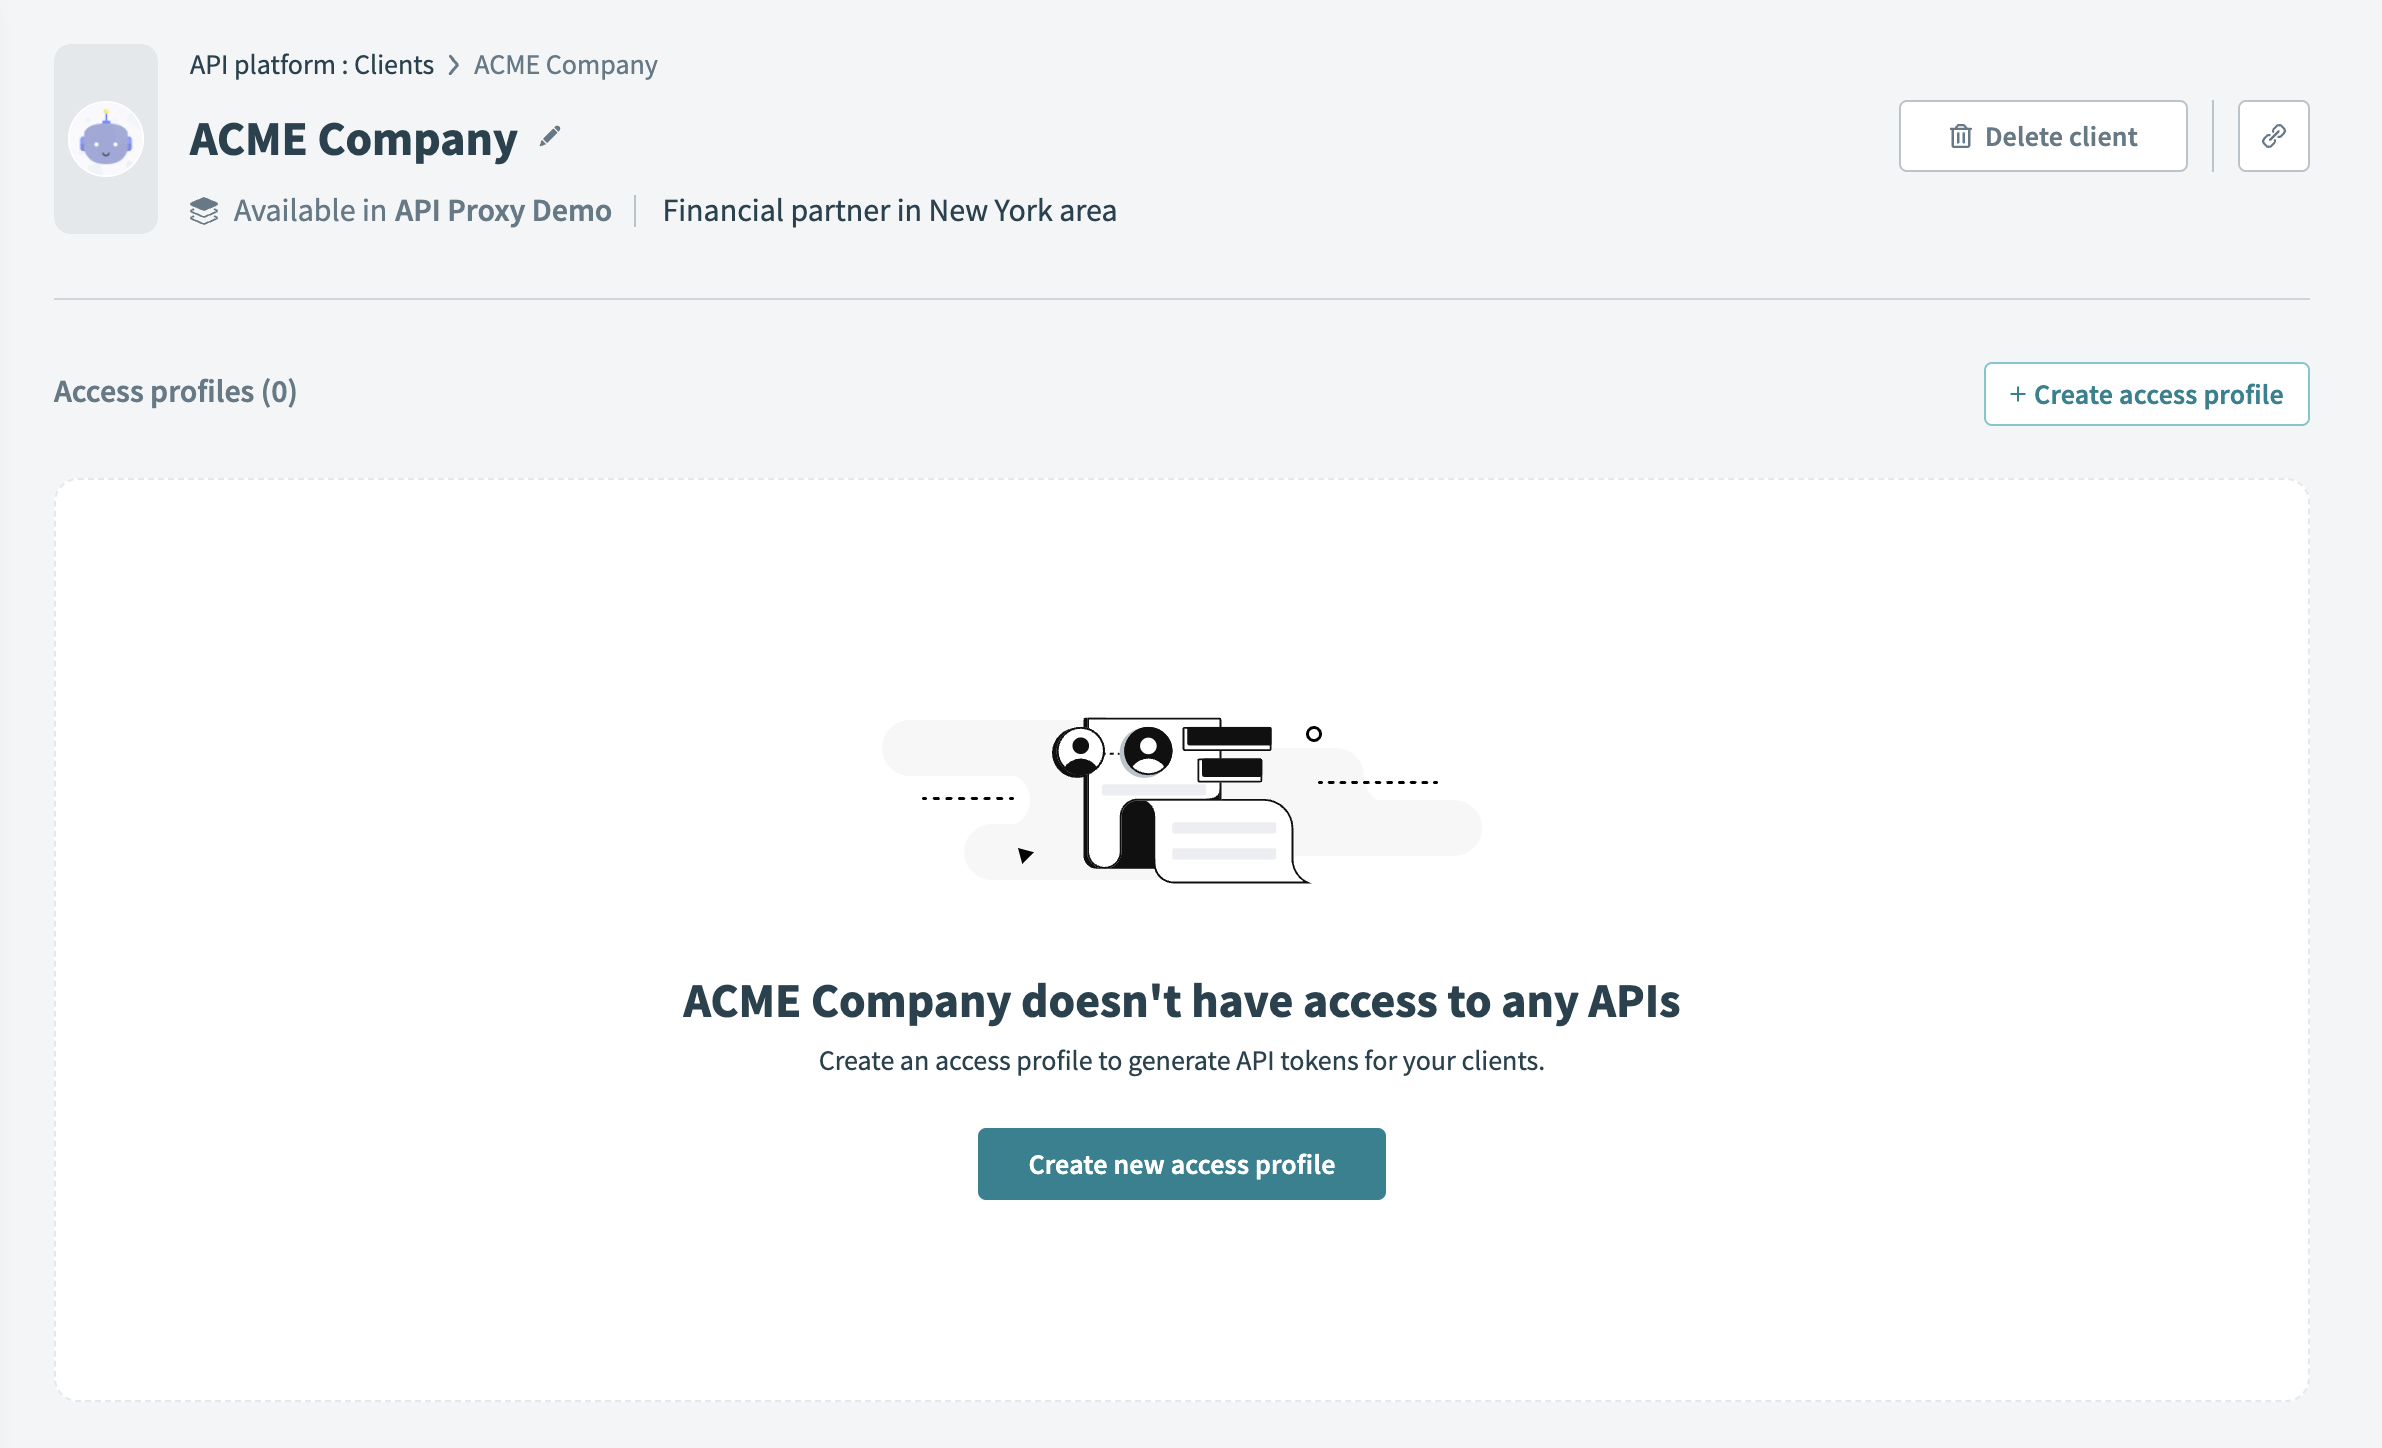
Go to Platform > API platform > Clients and select the new client.
Select Create new access profile.
 Create new access profile
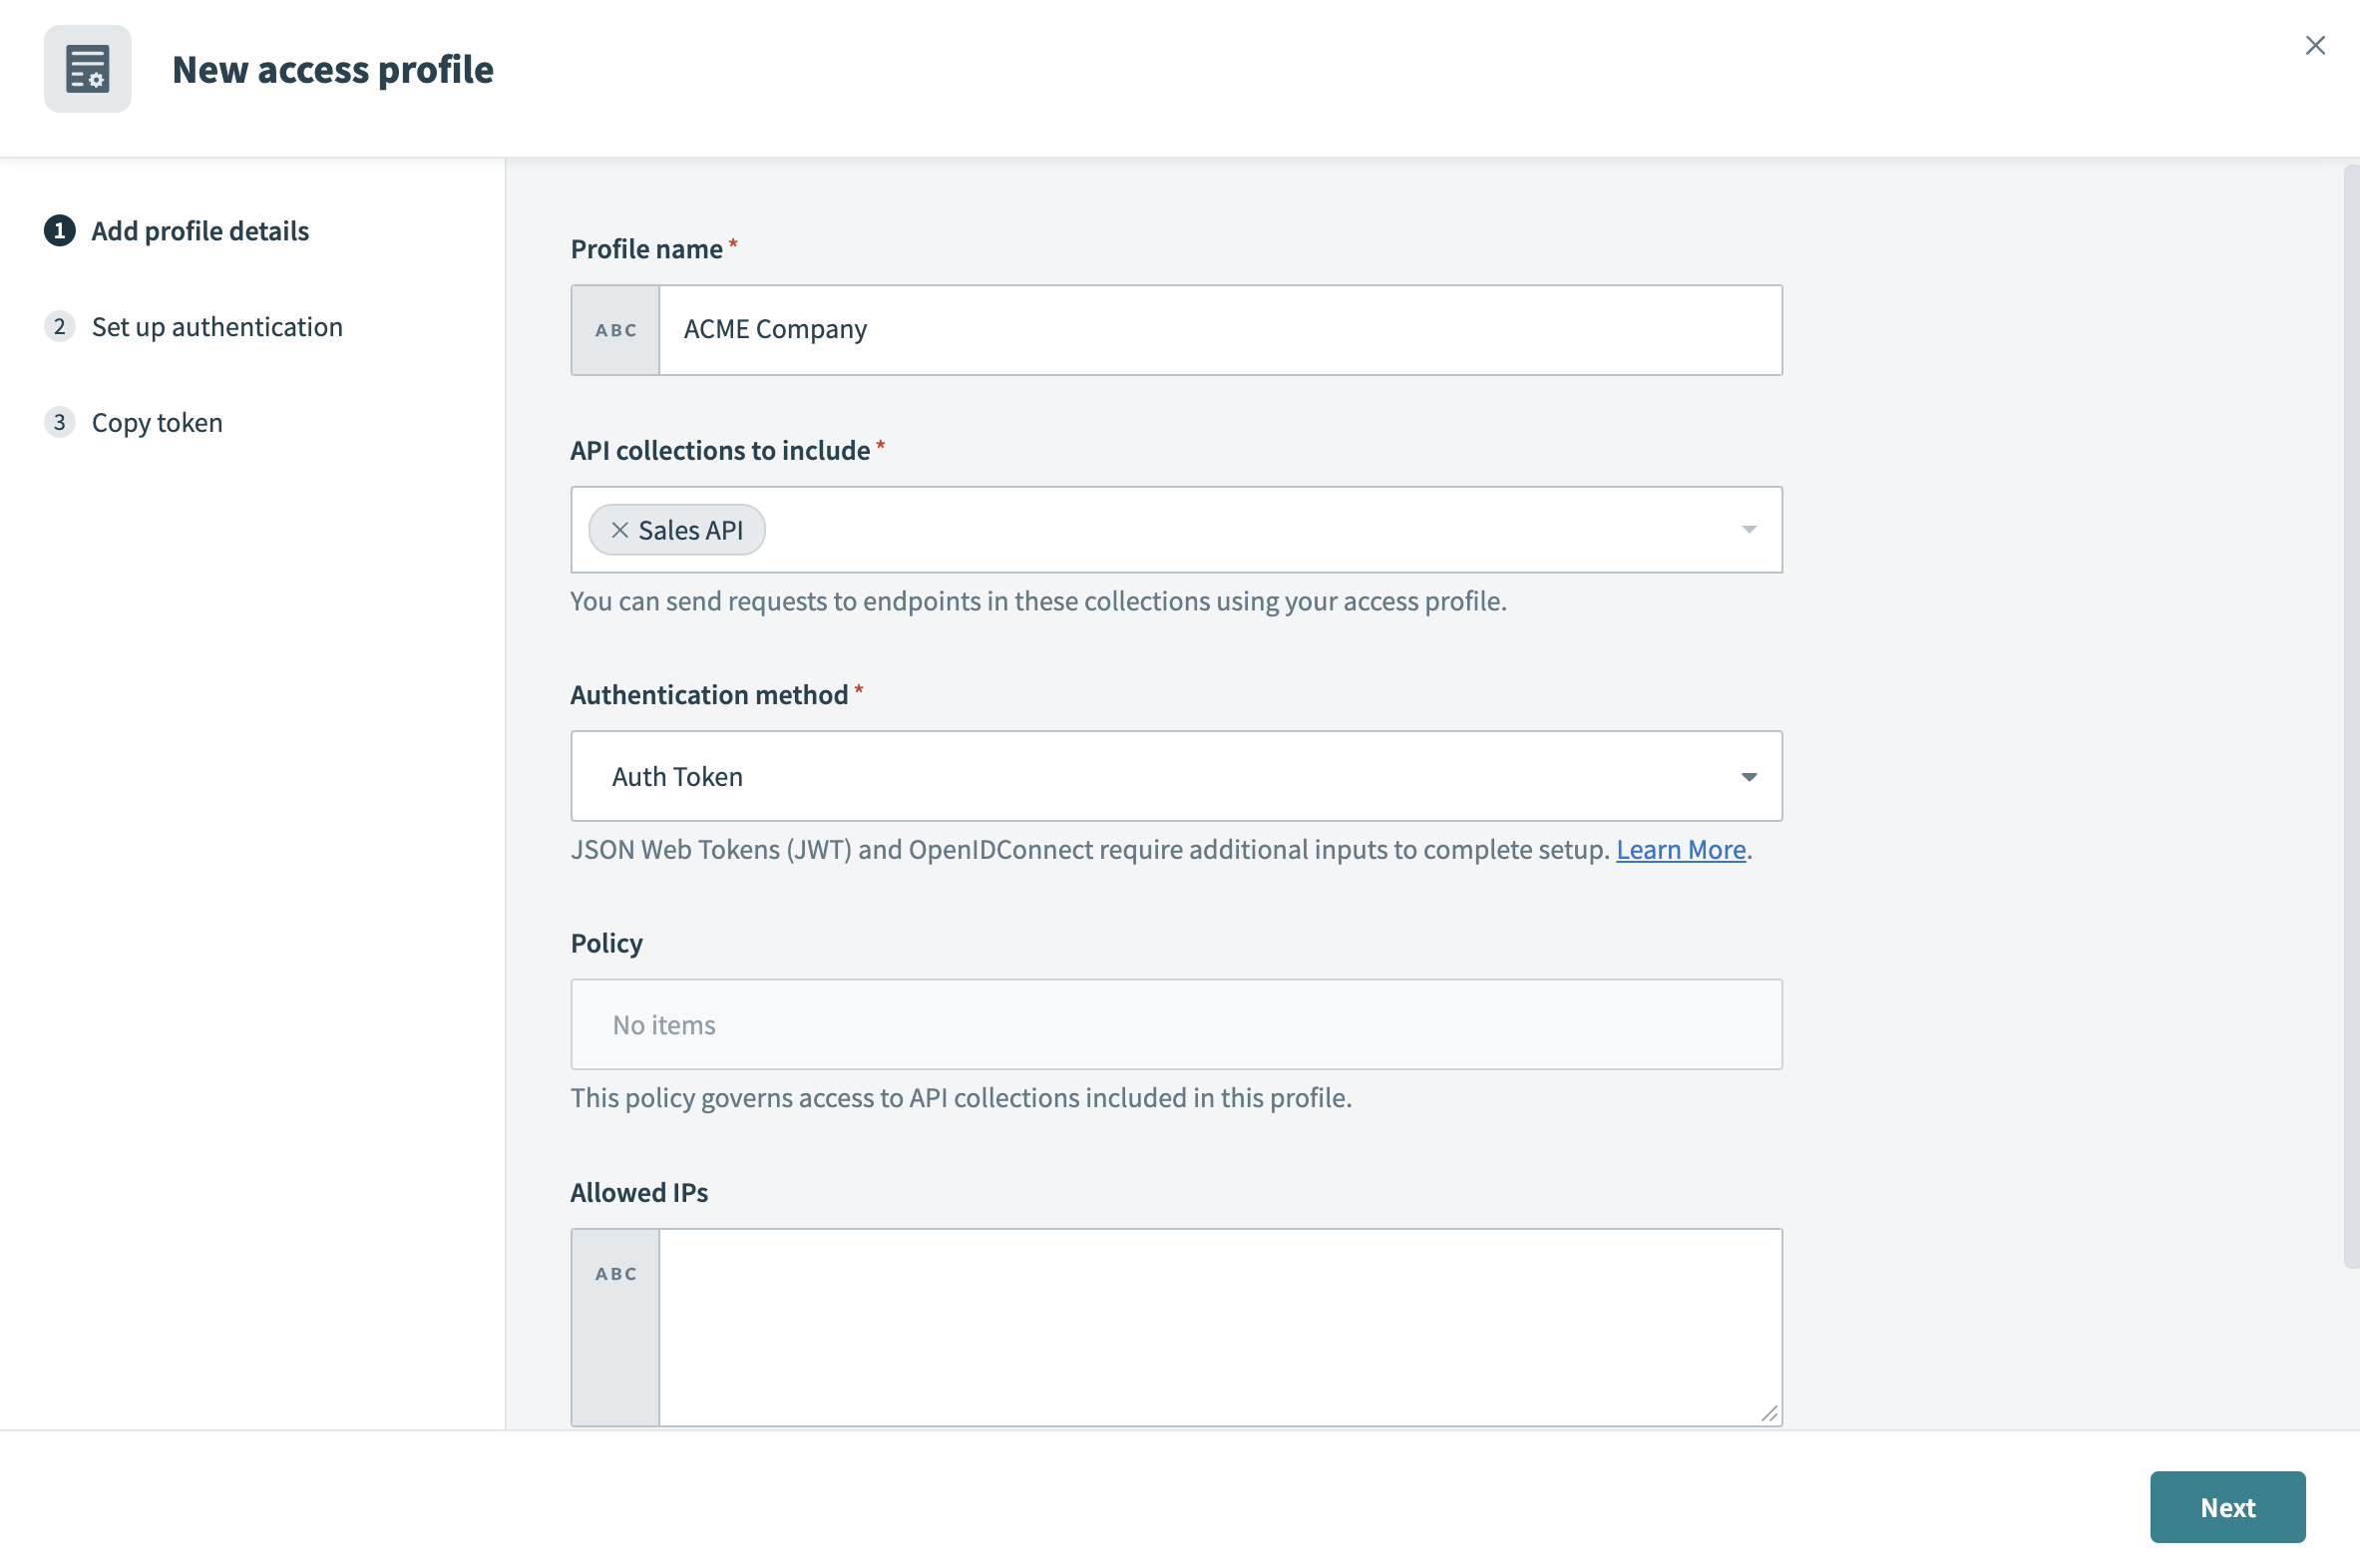
Fill in the following fields:
Profile name
Enter a descriptive name for the access profile.
API collections to include
Select one or more collections. You can send requests to endpoints in these collections using your access profile.
Authentication method
This can be an Auth token, an OAuth 2.0 access token, a JSON web token (JWT), or OpenID Connect.
Policy (optional)
Select a policy that will govern access to API collections included in this profile.
Allowed IPs
Specify which IP addresses can access this profile. To add multiple IP addresses, separate them using commas or define a range (
106.226.100.3/20). When this field is set, only requests initiated from these addresses are allowed.Blocked IPs
Specify which IP addresses cannot access this profile. Blocked IPs take precedence over allowed IPs. For example, if an IP appears in both the Allowed IPs and Blocked IPs lists, requests from that IP are blocked.
 Configure new access profile settings
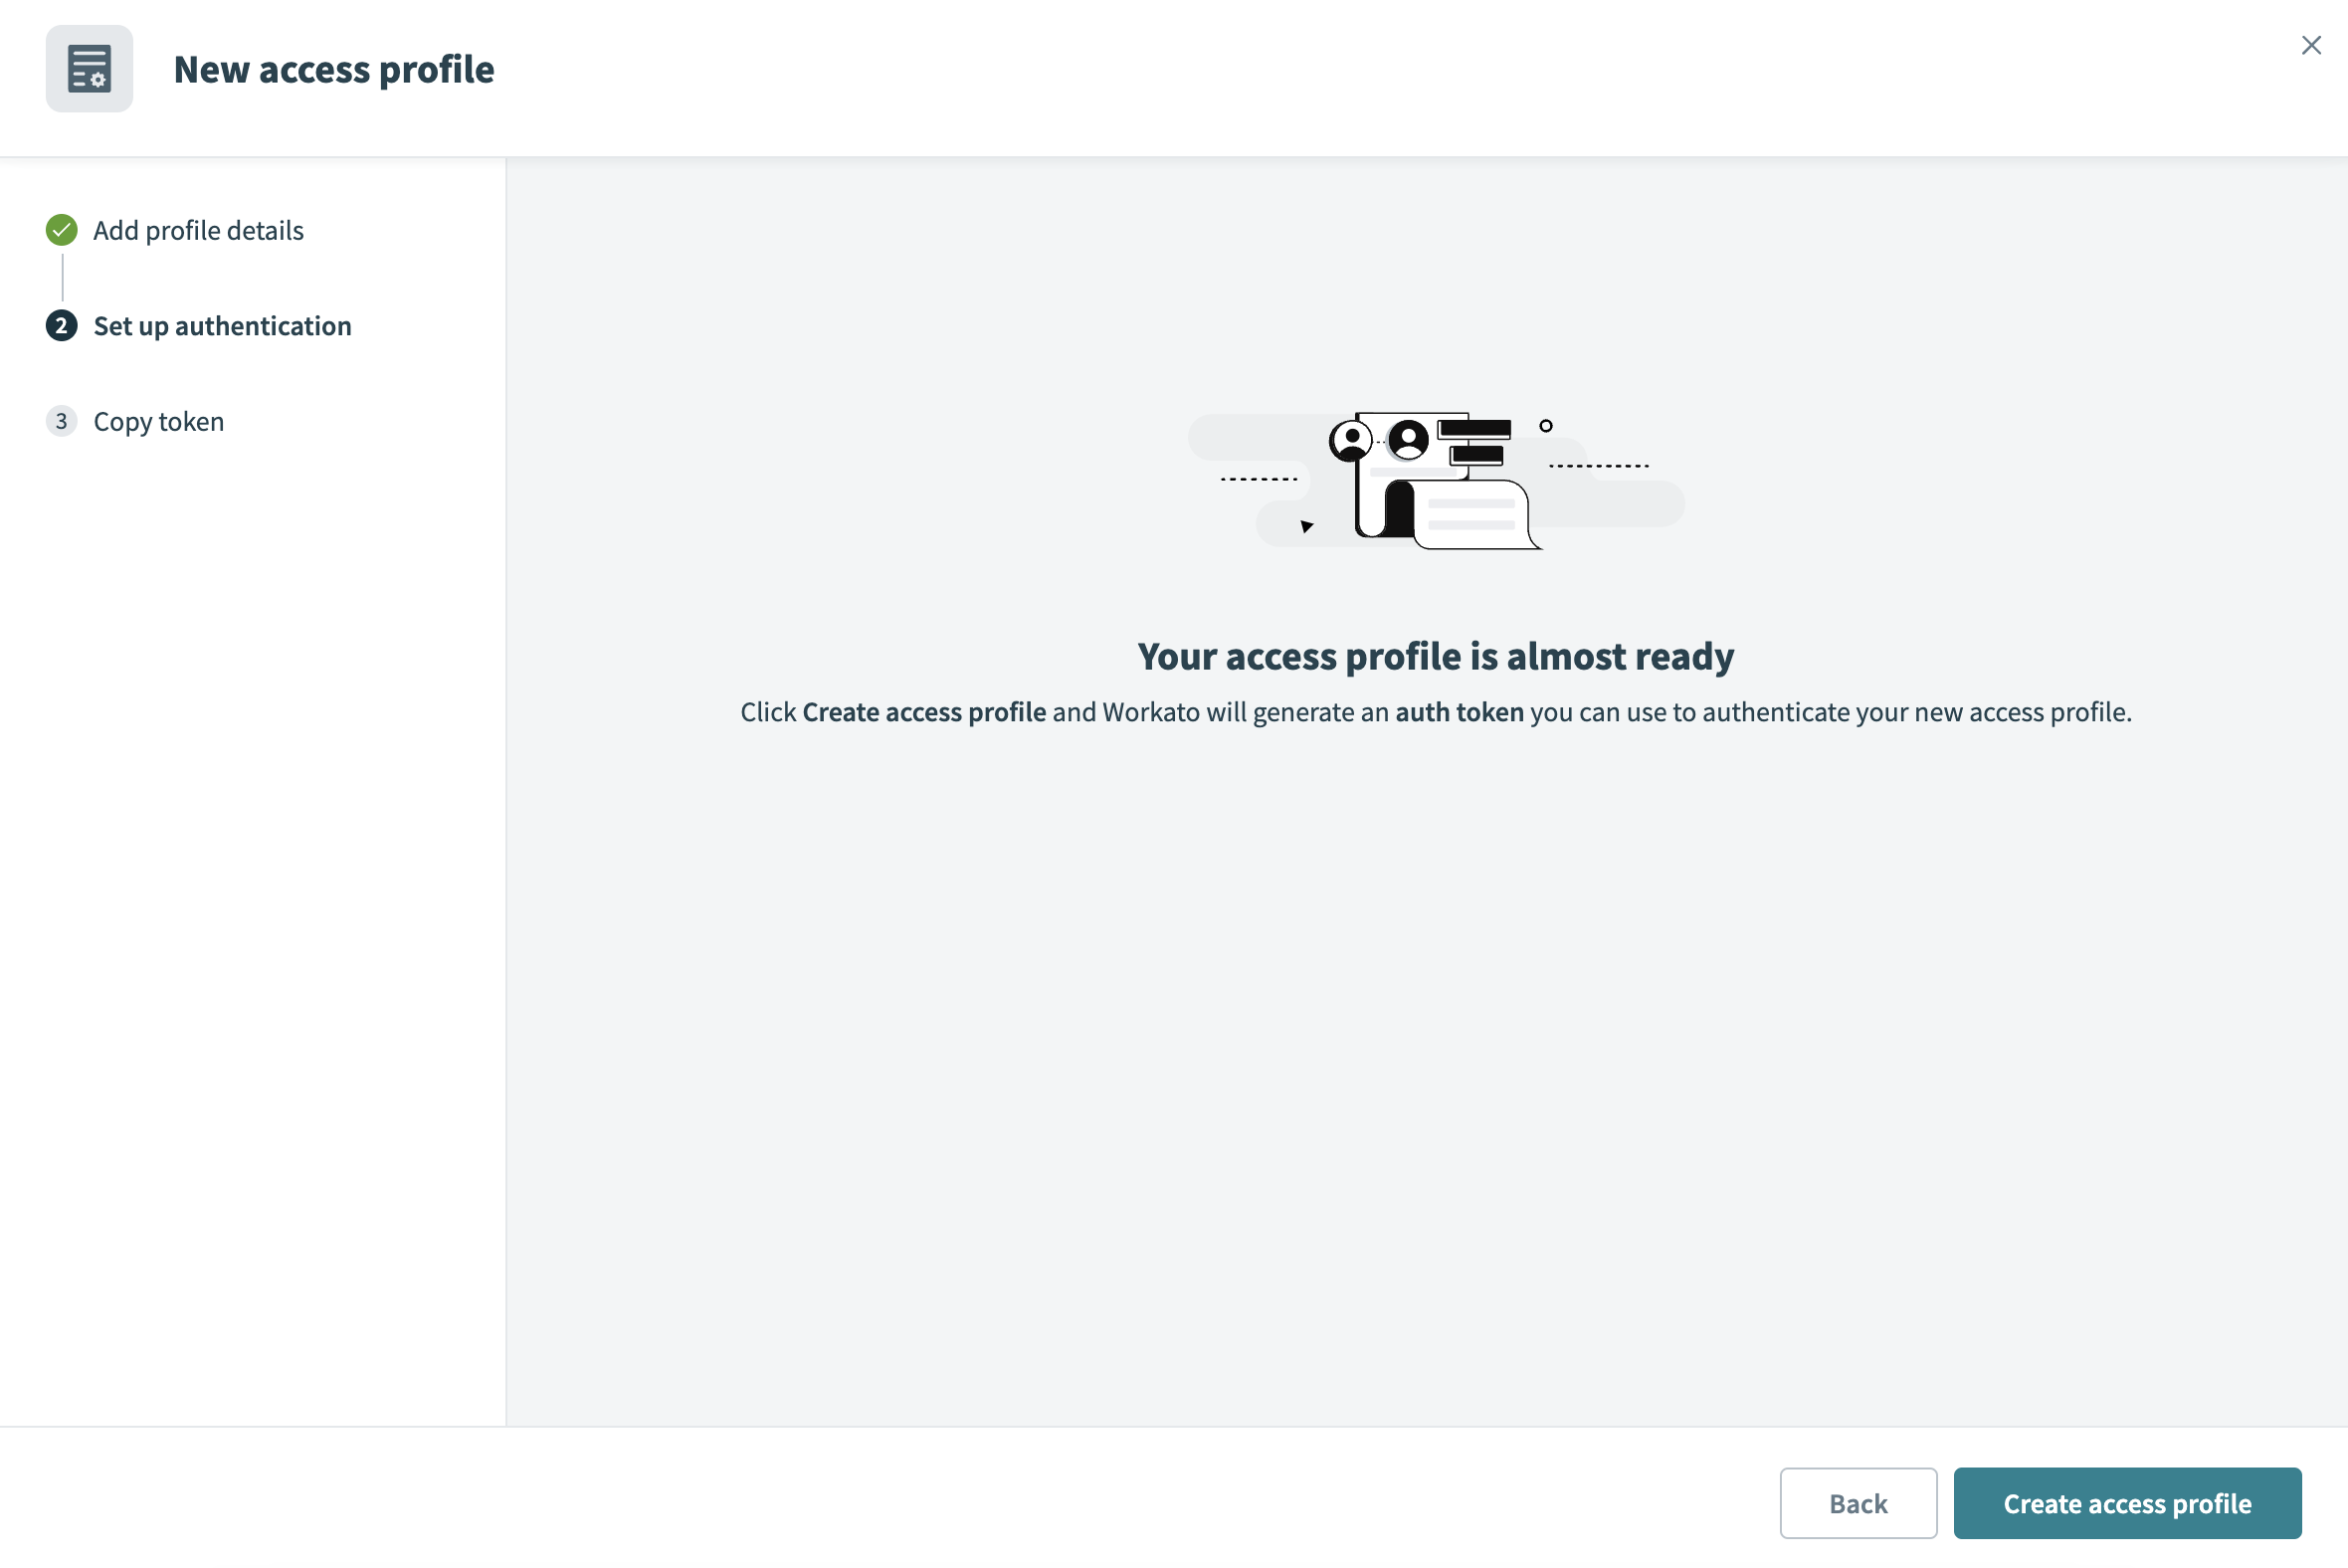
Select Next.
Select Create access profile.
 Confirm creating an access profile
Copy the auth token and save it in a secure place. This is the only time you can view the token. If you lose the token, you must create a new one.
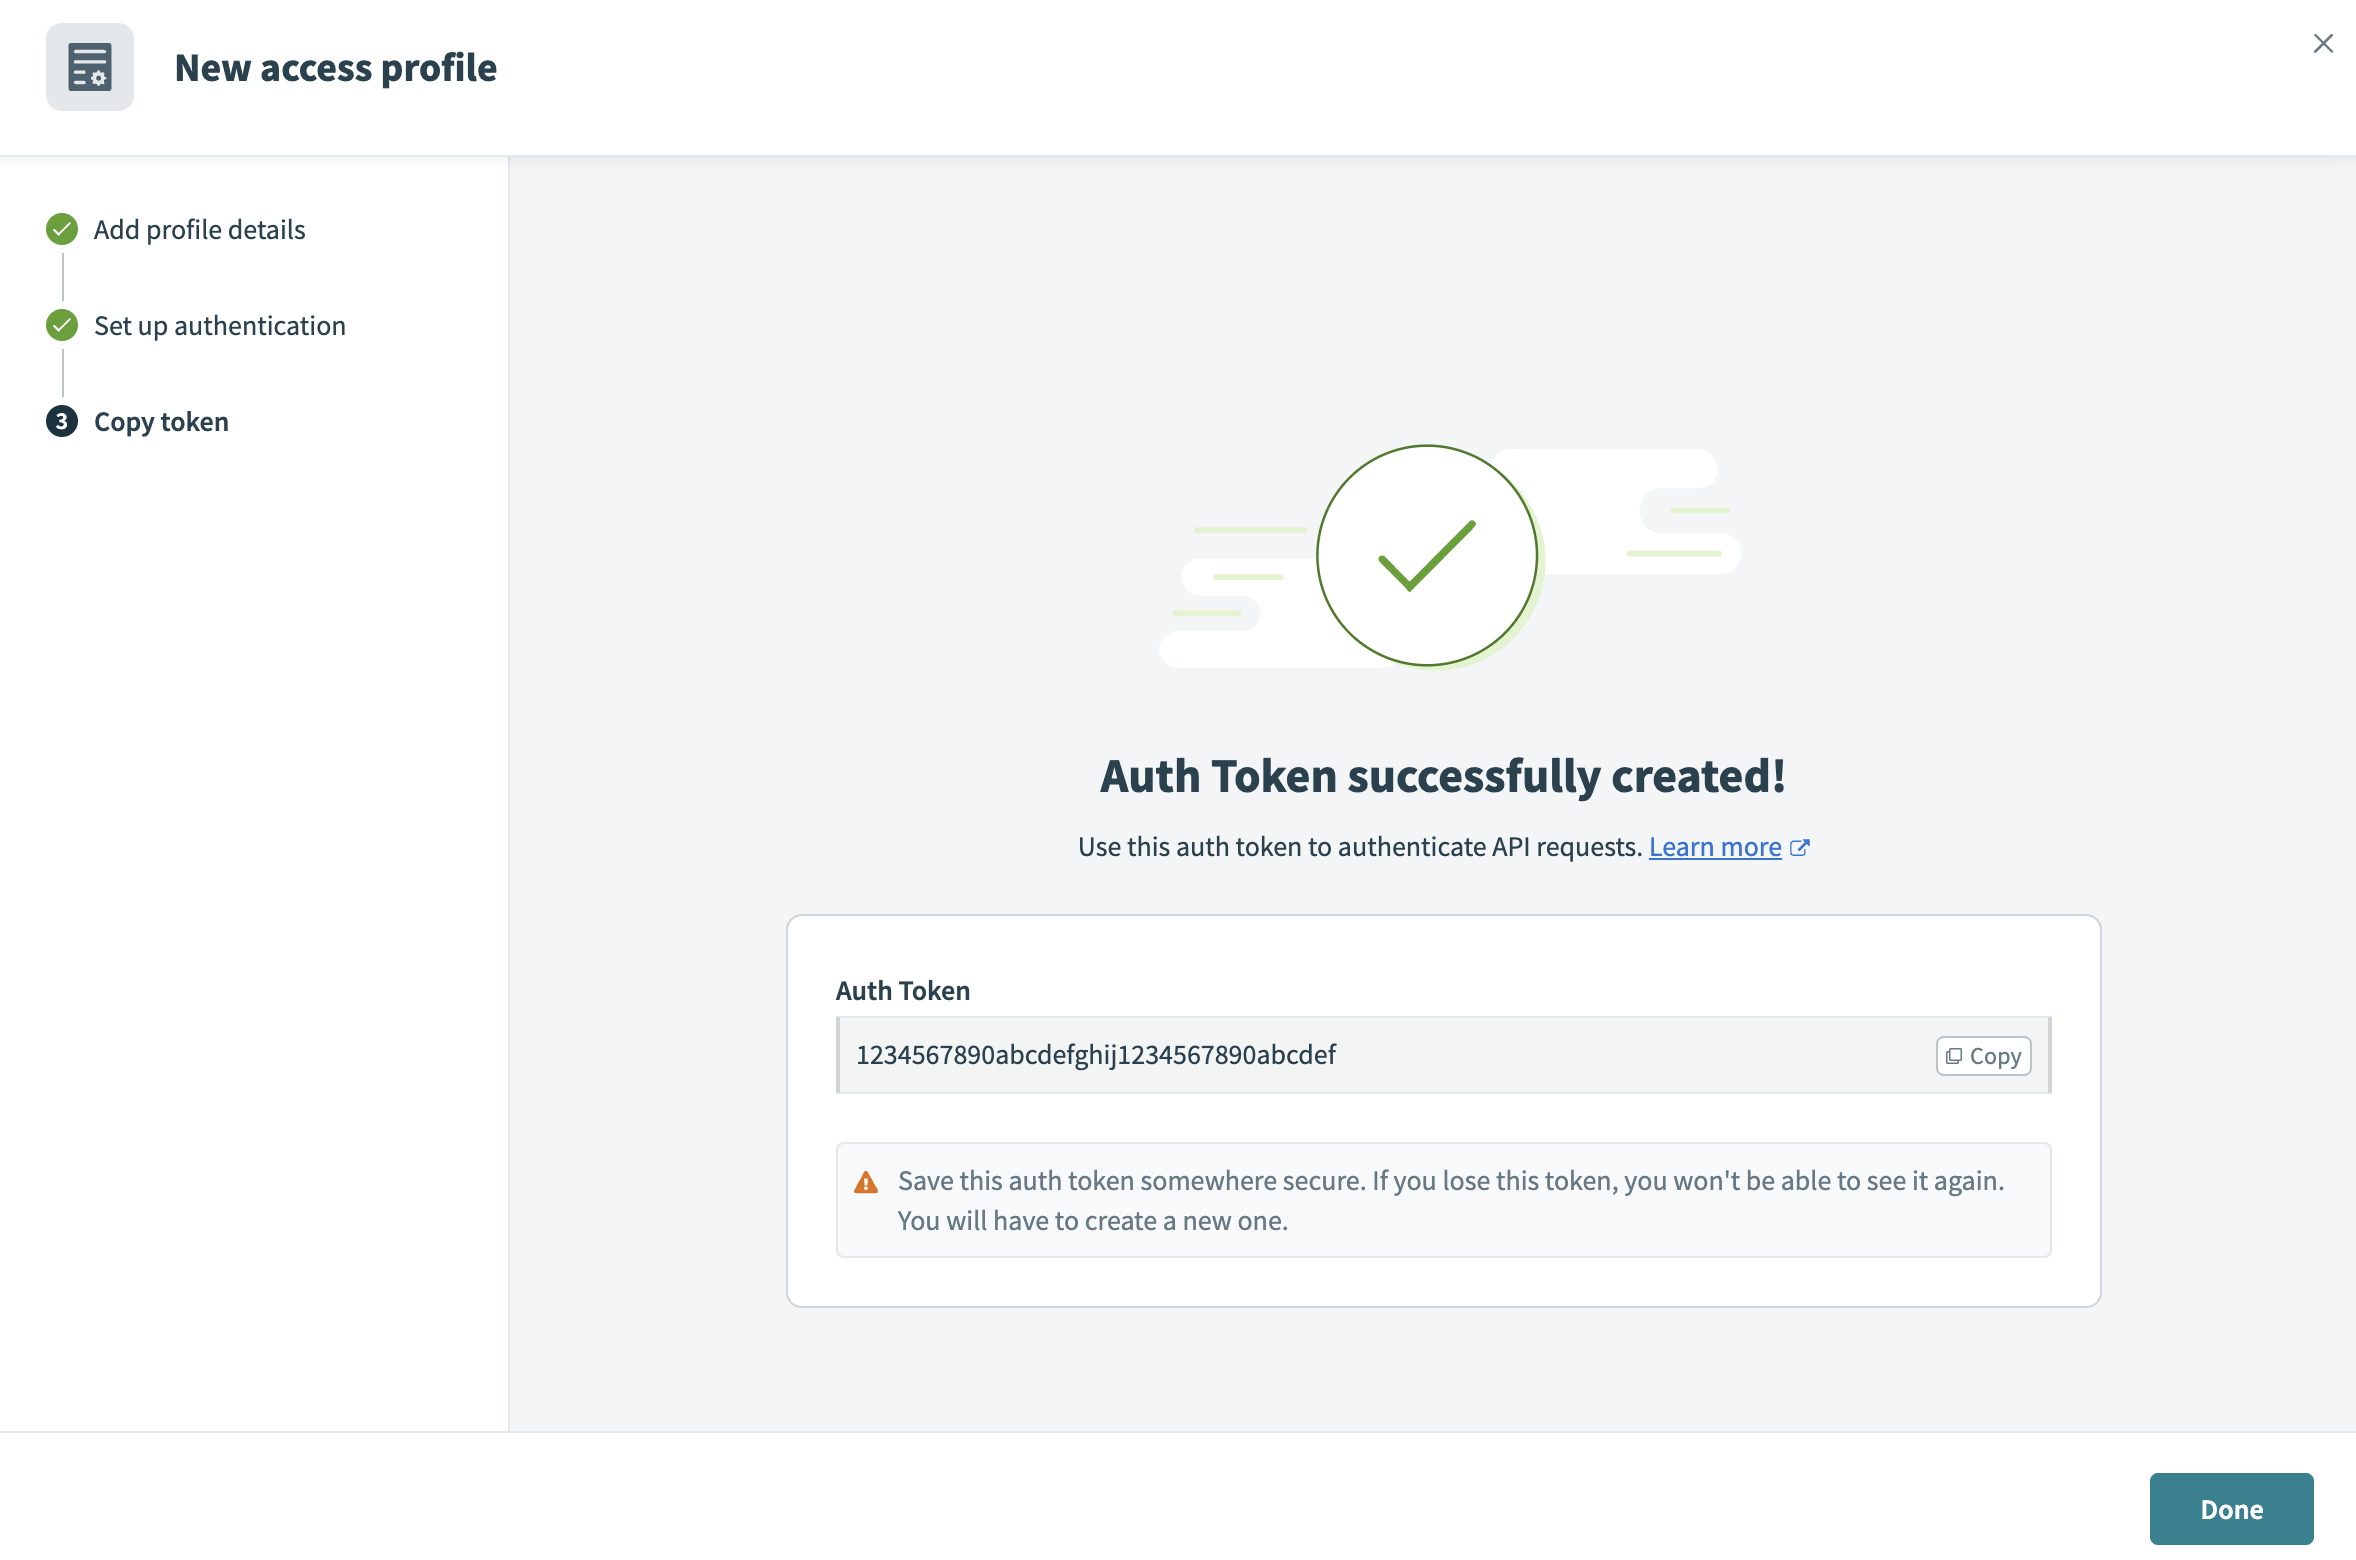 Example auth token
Select Done. The new access profile is visible on the client's page.
Last updated: