# Upload a connector to the community library
You can upload a connector to the community library if you plan to share it with other users.
REQUIRED PERMISSIONS
Uploading connectors to the community library requires full access to the Connector SDK. If you don't have the required permissions, contact your workspace admin to help you upload the connector to the community library.
Complete the following steps to share a connector to the community library:
Go to Tools > Connector SDK.
Select the connector you plan to share.
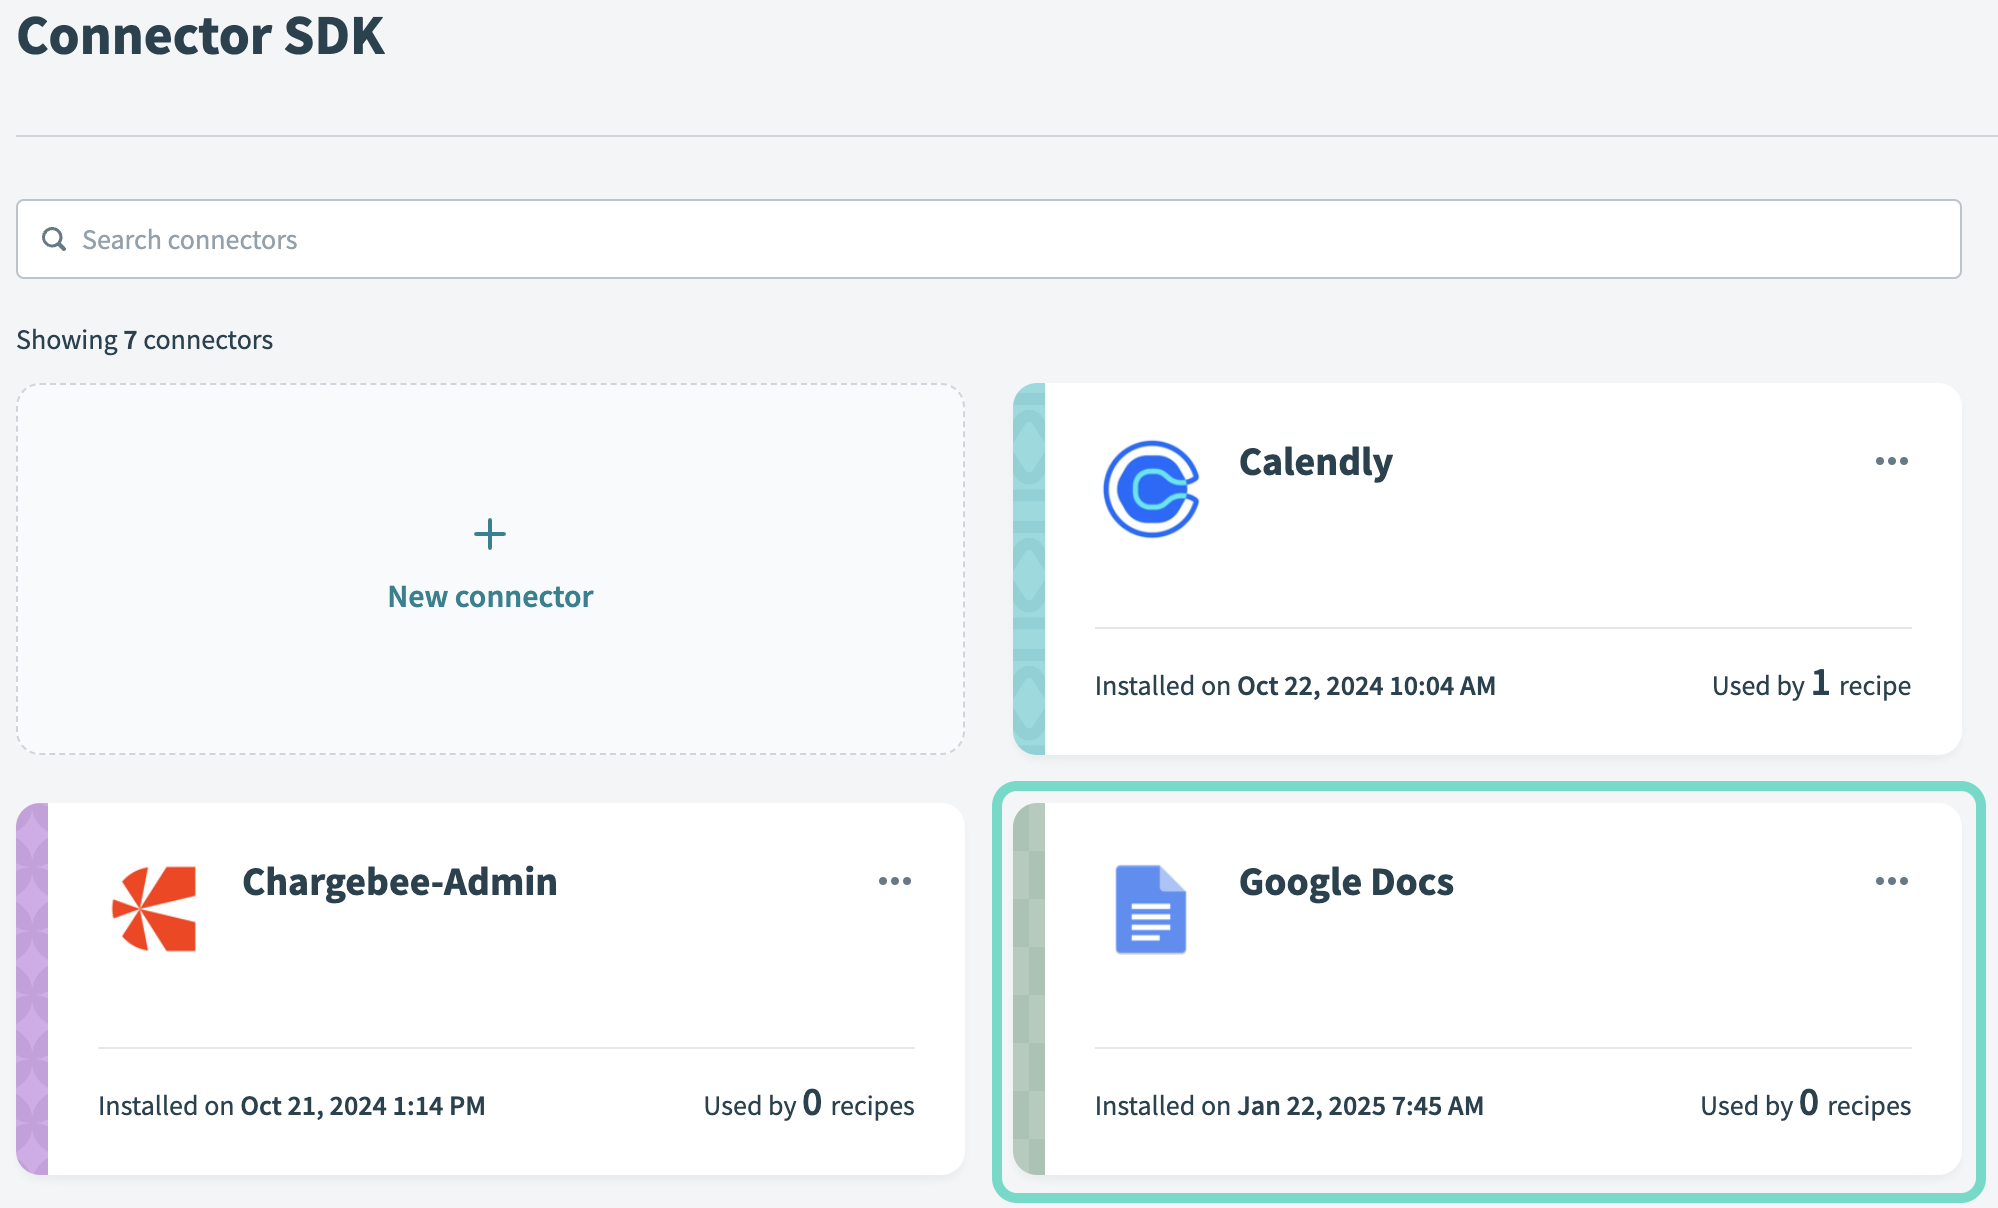 Click the connector you plan to upload
Go to the Share tab, then click Share version.
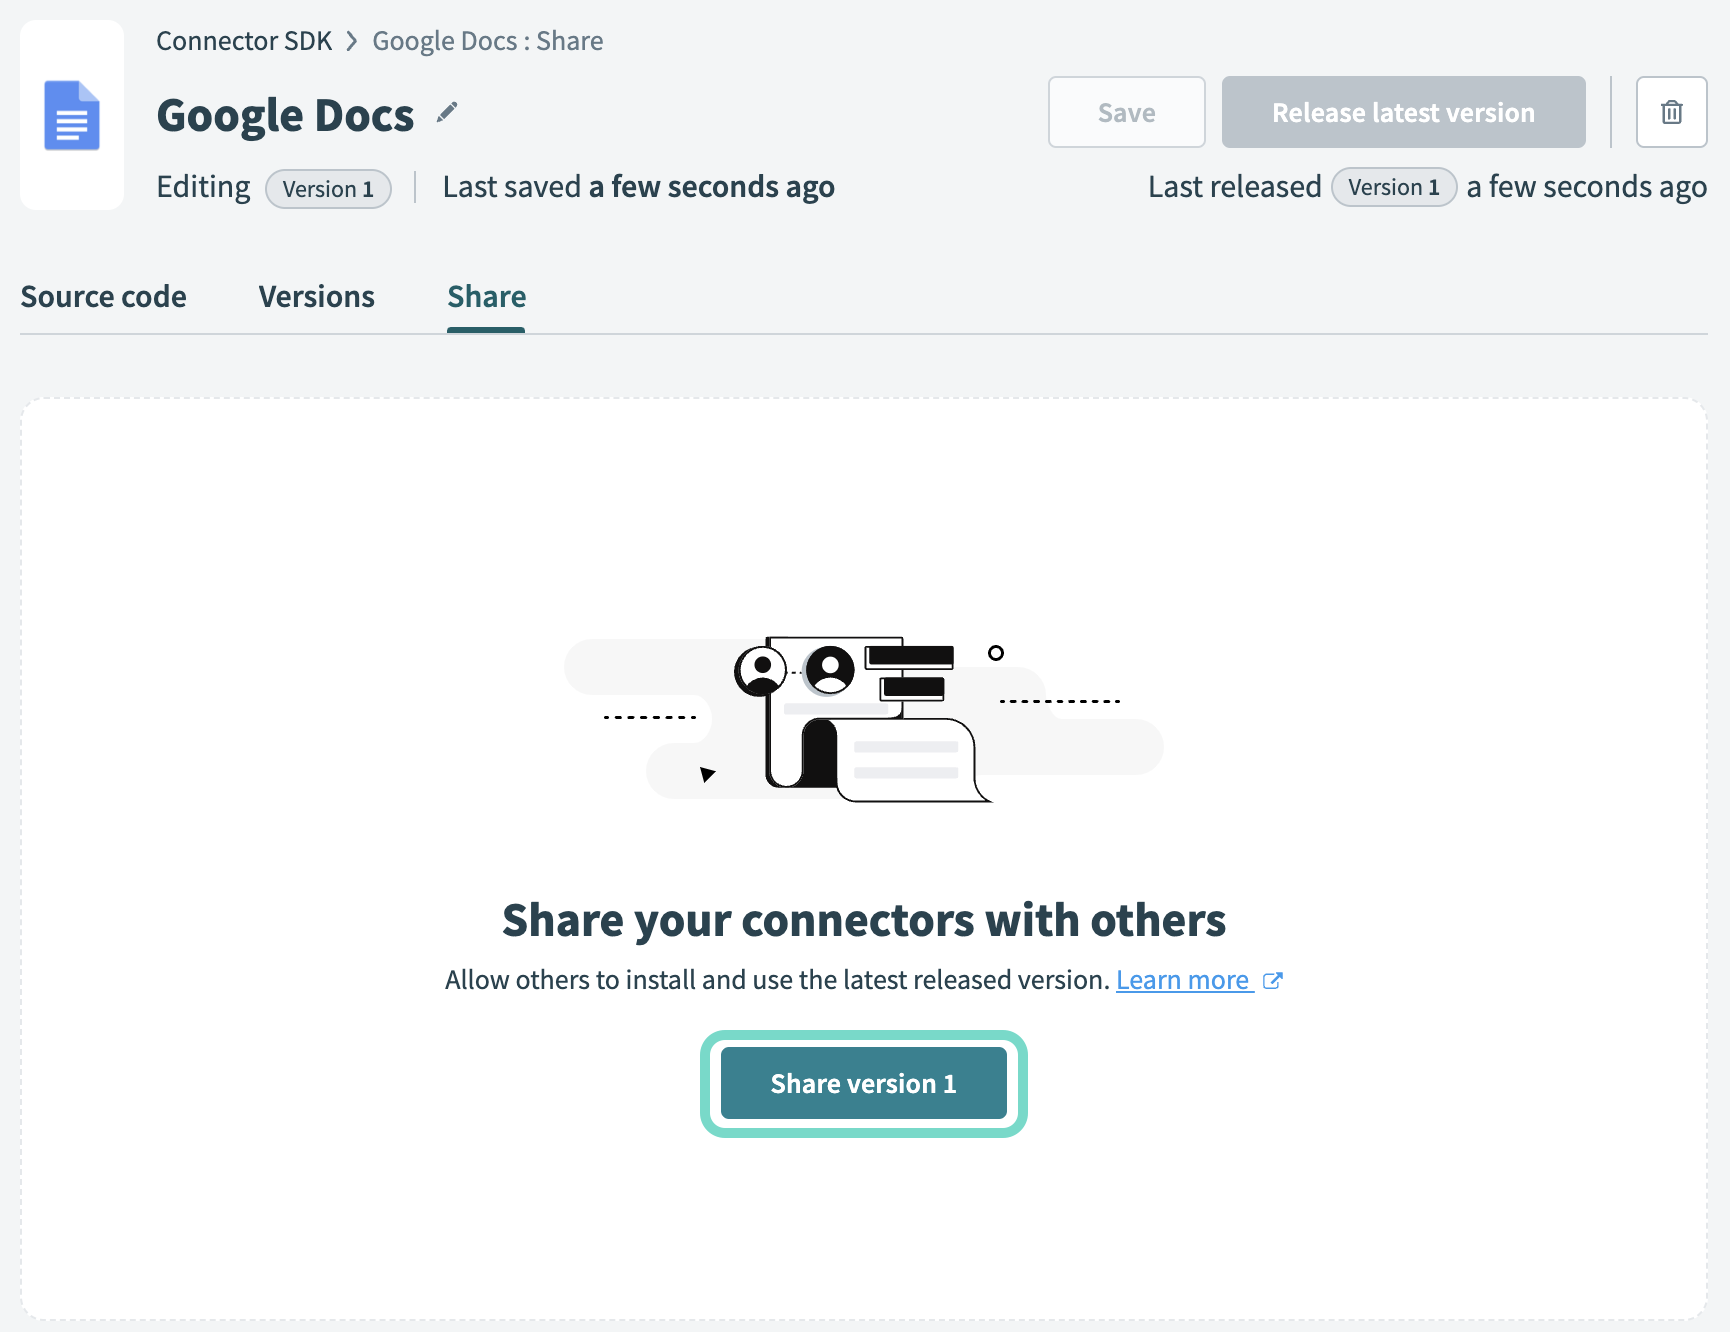 Click Share version
Optional. Click the Make source code hidden button if you plan to publish a closed-source connector. This ensures your connector code isn't visible or editable by others. You can't change this setting after publishing unless you unpublish the connector.
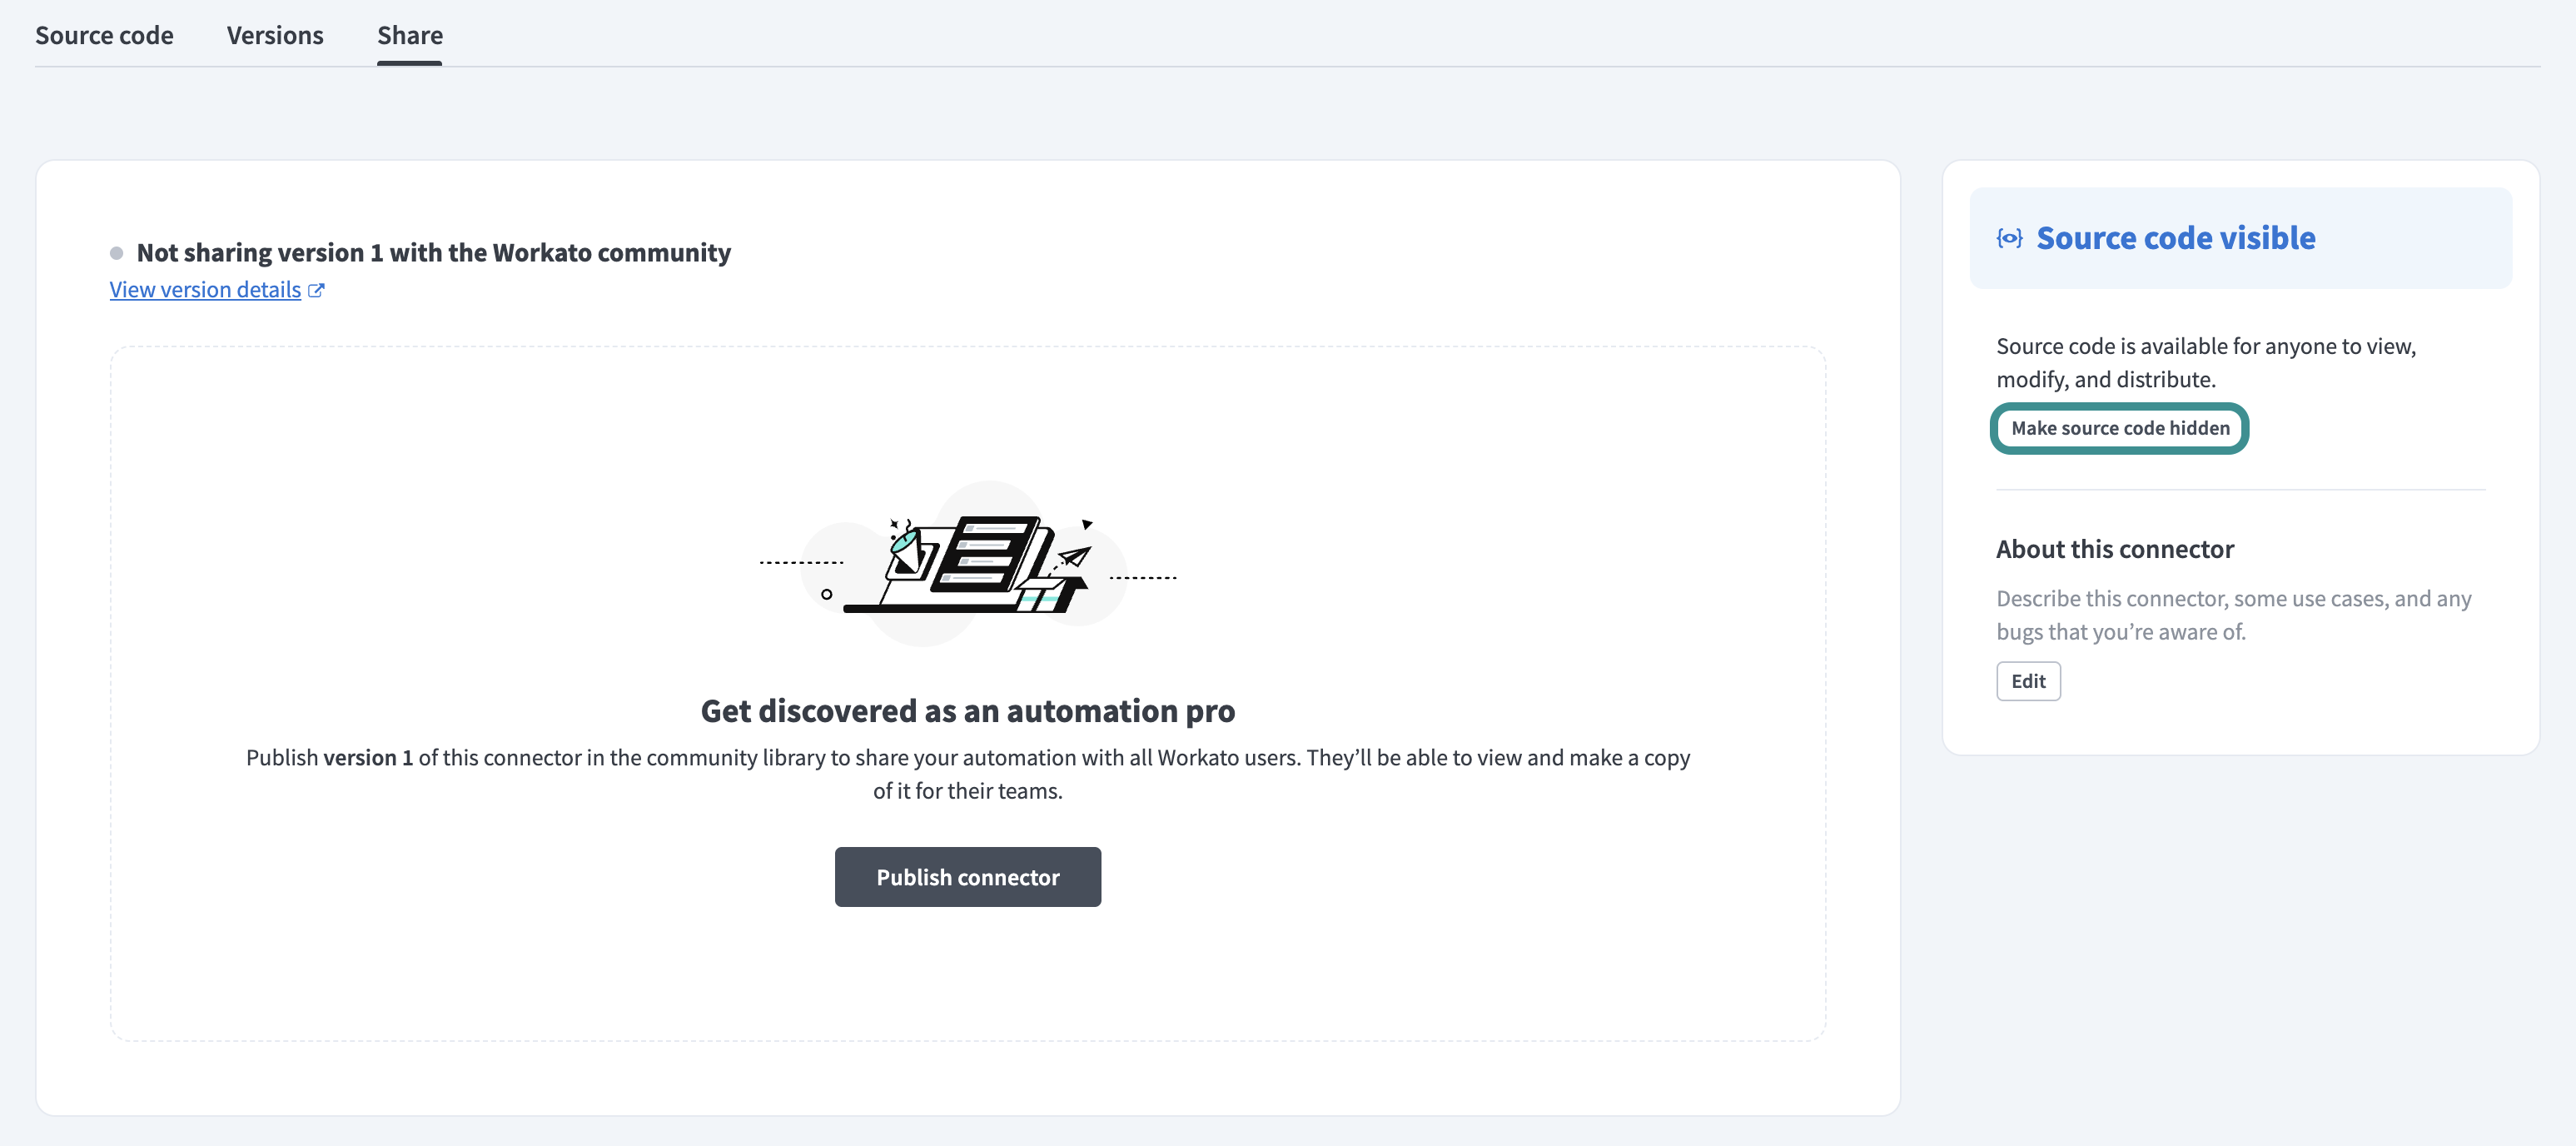 Choose to hide your source code
Click Edit in the connector description and ensure the description includes a clear way for users to contact support, such as a support email, documentation link, or help center. Submissions without support contact information may be rejected during review.
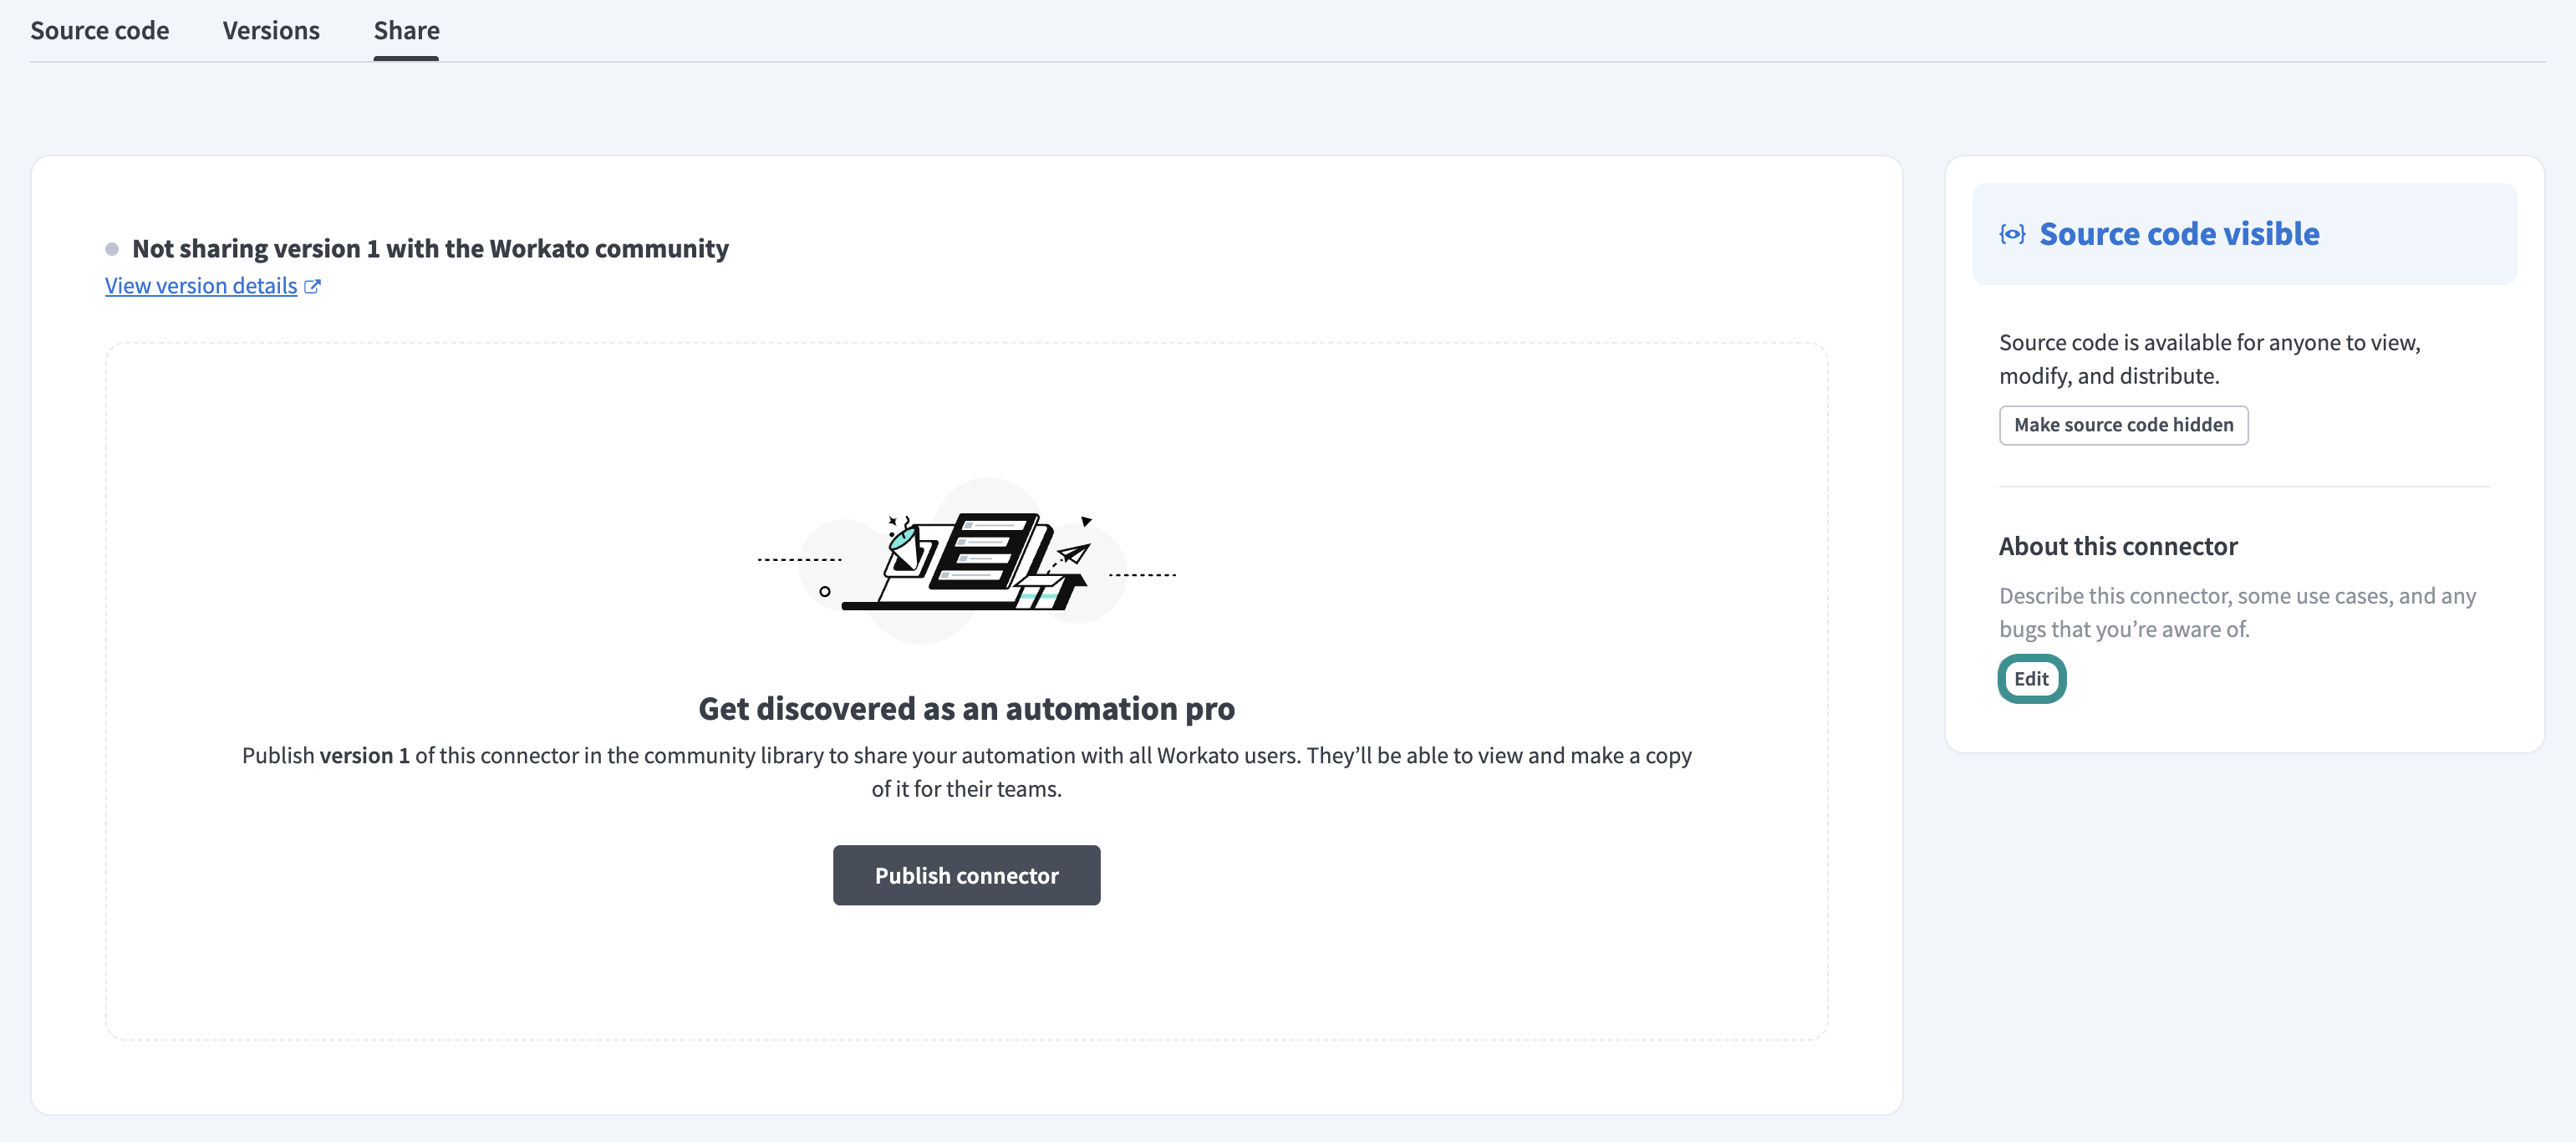 Edit connector description
Click Publish connector to open the List on community library dialog.
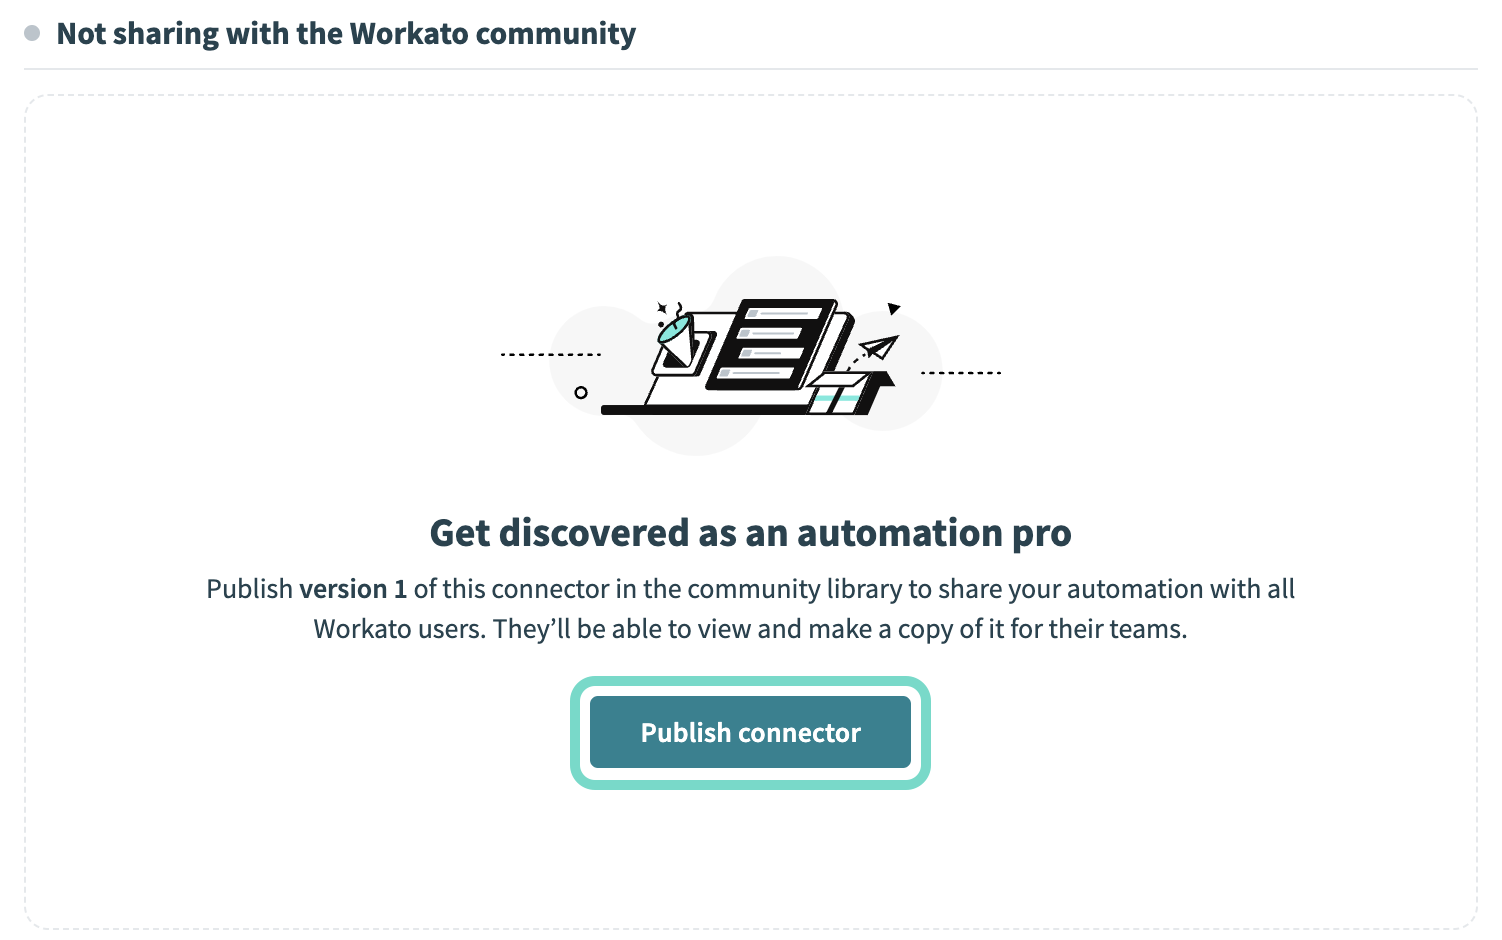 Click Publish connector
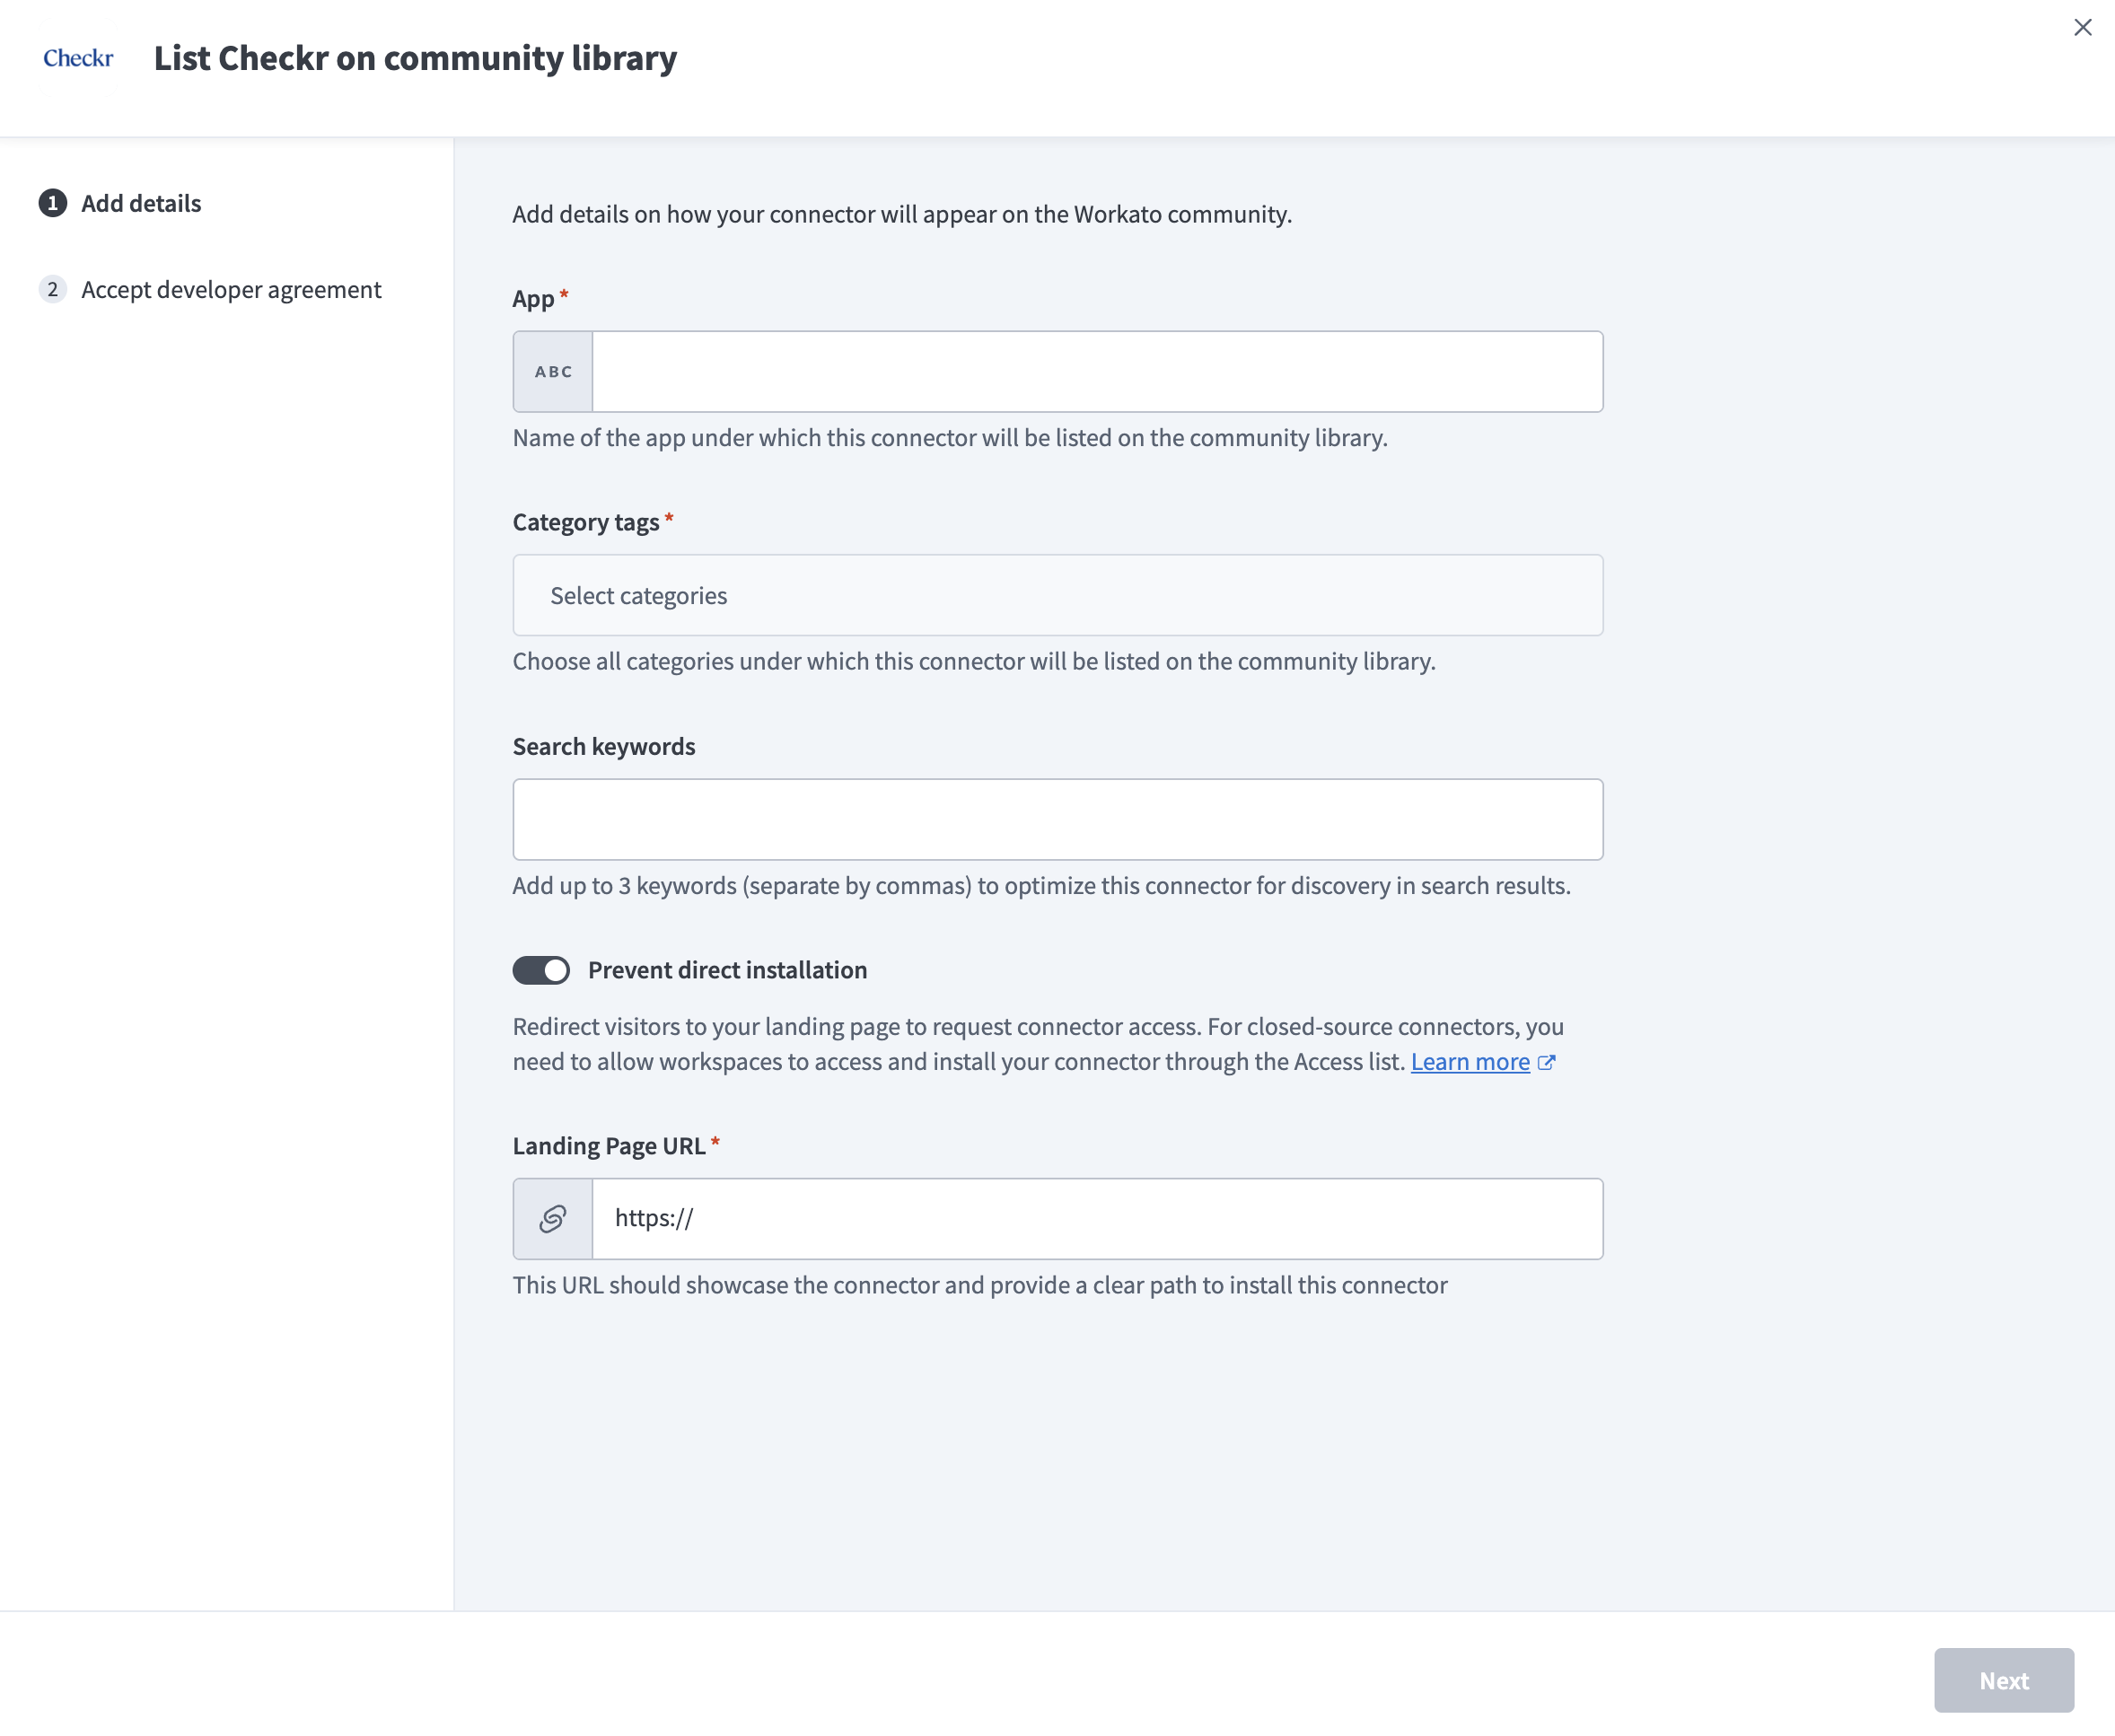
Enter the App name. This field is case-sensitive.
 The Add details section
Select any relevant tags in the Category tags drop-down menu.
Enter up to three Search keywords, separated by commas.
Optional. Click the Prevent direct installation toggle if you plan to redirect visitors to a landing page to request access.
The following occurs when this option is enabled:
- End users can't install the connector directly from the community listing.
- Users can install the connector only through your private sharing link. Go to the Sharing privately using a link section of your connector's Share tab to obtain the link. Refer to Share a connector with a link to learn how to grant access to users.
- You must provide a Landing Page URL and a clear path.
Any workspace can install the connector directly from the community listing if you don't enable this toggle. Closed-source connectors hide the source code but don't restrict installation.
Provide a Landing Page URL if you enabled Prevent direct installation. The page you link to should showcase the connector and provide a clear path on how to obtain the private sharing link of the connector.
Read the Workato developer agreement and click the checkbox to accept the terms and conditions.
 Read the Workato developer agreement
Click List connector to submit your connector for review.
Workato notifies you through your community profile's email when your connector has been reviewed.
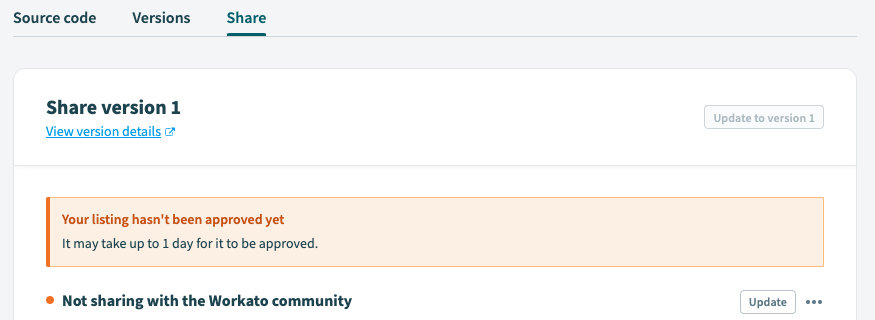 Monitor your connector's status
Last updated: 10/22/2025, 9:03:09 PM