Create Salesforce tasks and Snowflake rows from Marketo lead activity recipe
This use case guides you through connecting Marketo, Salesforce, and Snowflake to Workato to create a powerful automation.
What does this recipe do?
This recipe monitors Marketo for new lead activity. The recipe creates a new task in Salesforce and inserts a new row in Snowflake when new lead activity is detected in Marketo.
Create your recipe
Complete the following steps to create a recipe that monitors Marketo for new lead activity and then creates a new task in Salesforce and inserts a new row with the lead information in Snowflake when activity is detected:
USE CASES ARE INTENDED AS EXAMPLES ONLY
This use case serves as an example. Modifications to triggers, actions, or conditional logic may be necessary to adapt this recipe to your workflow.
Sign in to Workato.
Select the project where you plan to create the recipe.
Create connections for Marketo, Salesforce, and Snowflake:
Create a Marketo connection.
Create a Marketo connection
This step creates a connection between Workato and your Marketo account.
Click Create > Connection or press C twice.
Search for and select Marketo on the New connection page.
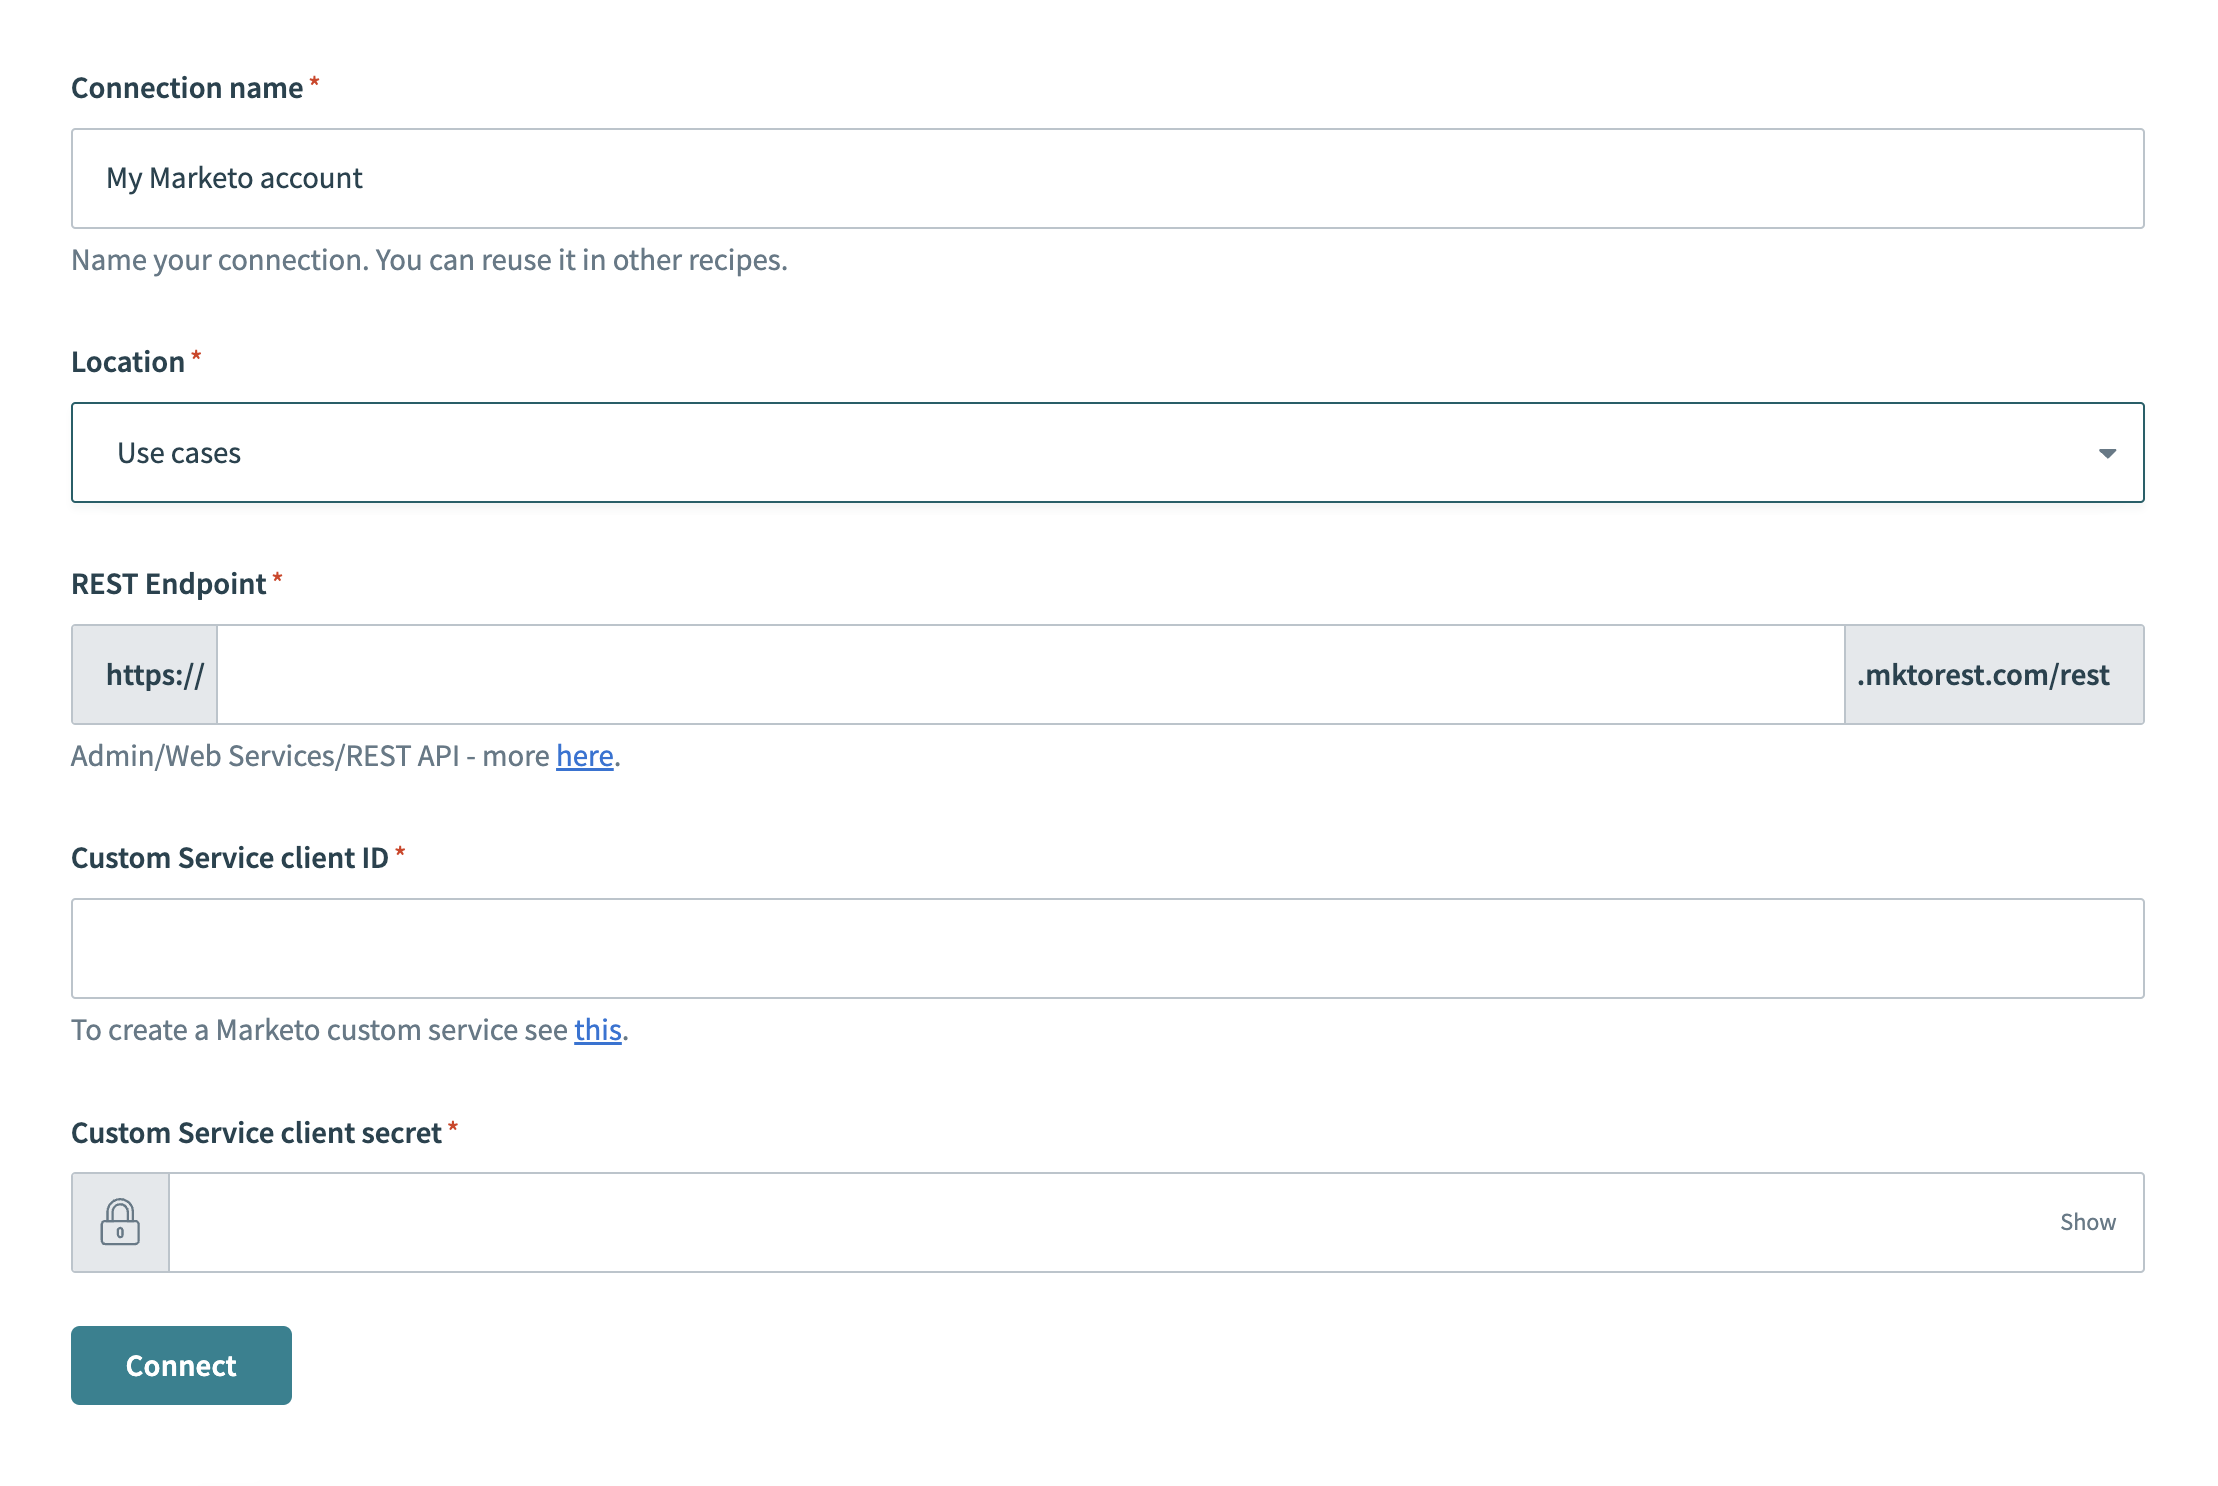
Provide a name for your connection in the Connection name field.
 Marketo connection setup
Use the Location drop-down menu to select the project where you plan to store the connection.
Enter the base URL of your Marketo instance in the REST Endpoint field. Refer to the Marketo Base URL documentation for information on how to find your base URL.
Enter the ID for the custom service client in the Custom service client ID field.
Enter the password for the custom service client in the Custom service client secret field.
Click Connect.
Create a Salesforce connection.
Create a Salesforce connection
This step creates a connection between Workato and your Salesforce account.
Click Create > Connection or press C twice.
Search for and select Salesforce on the New connection page.
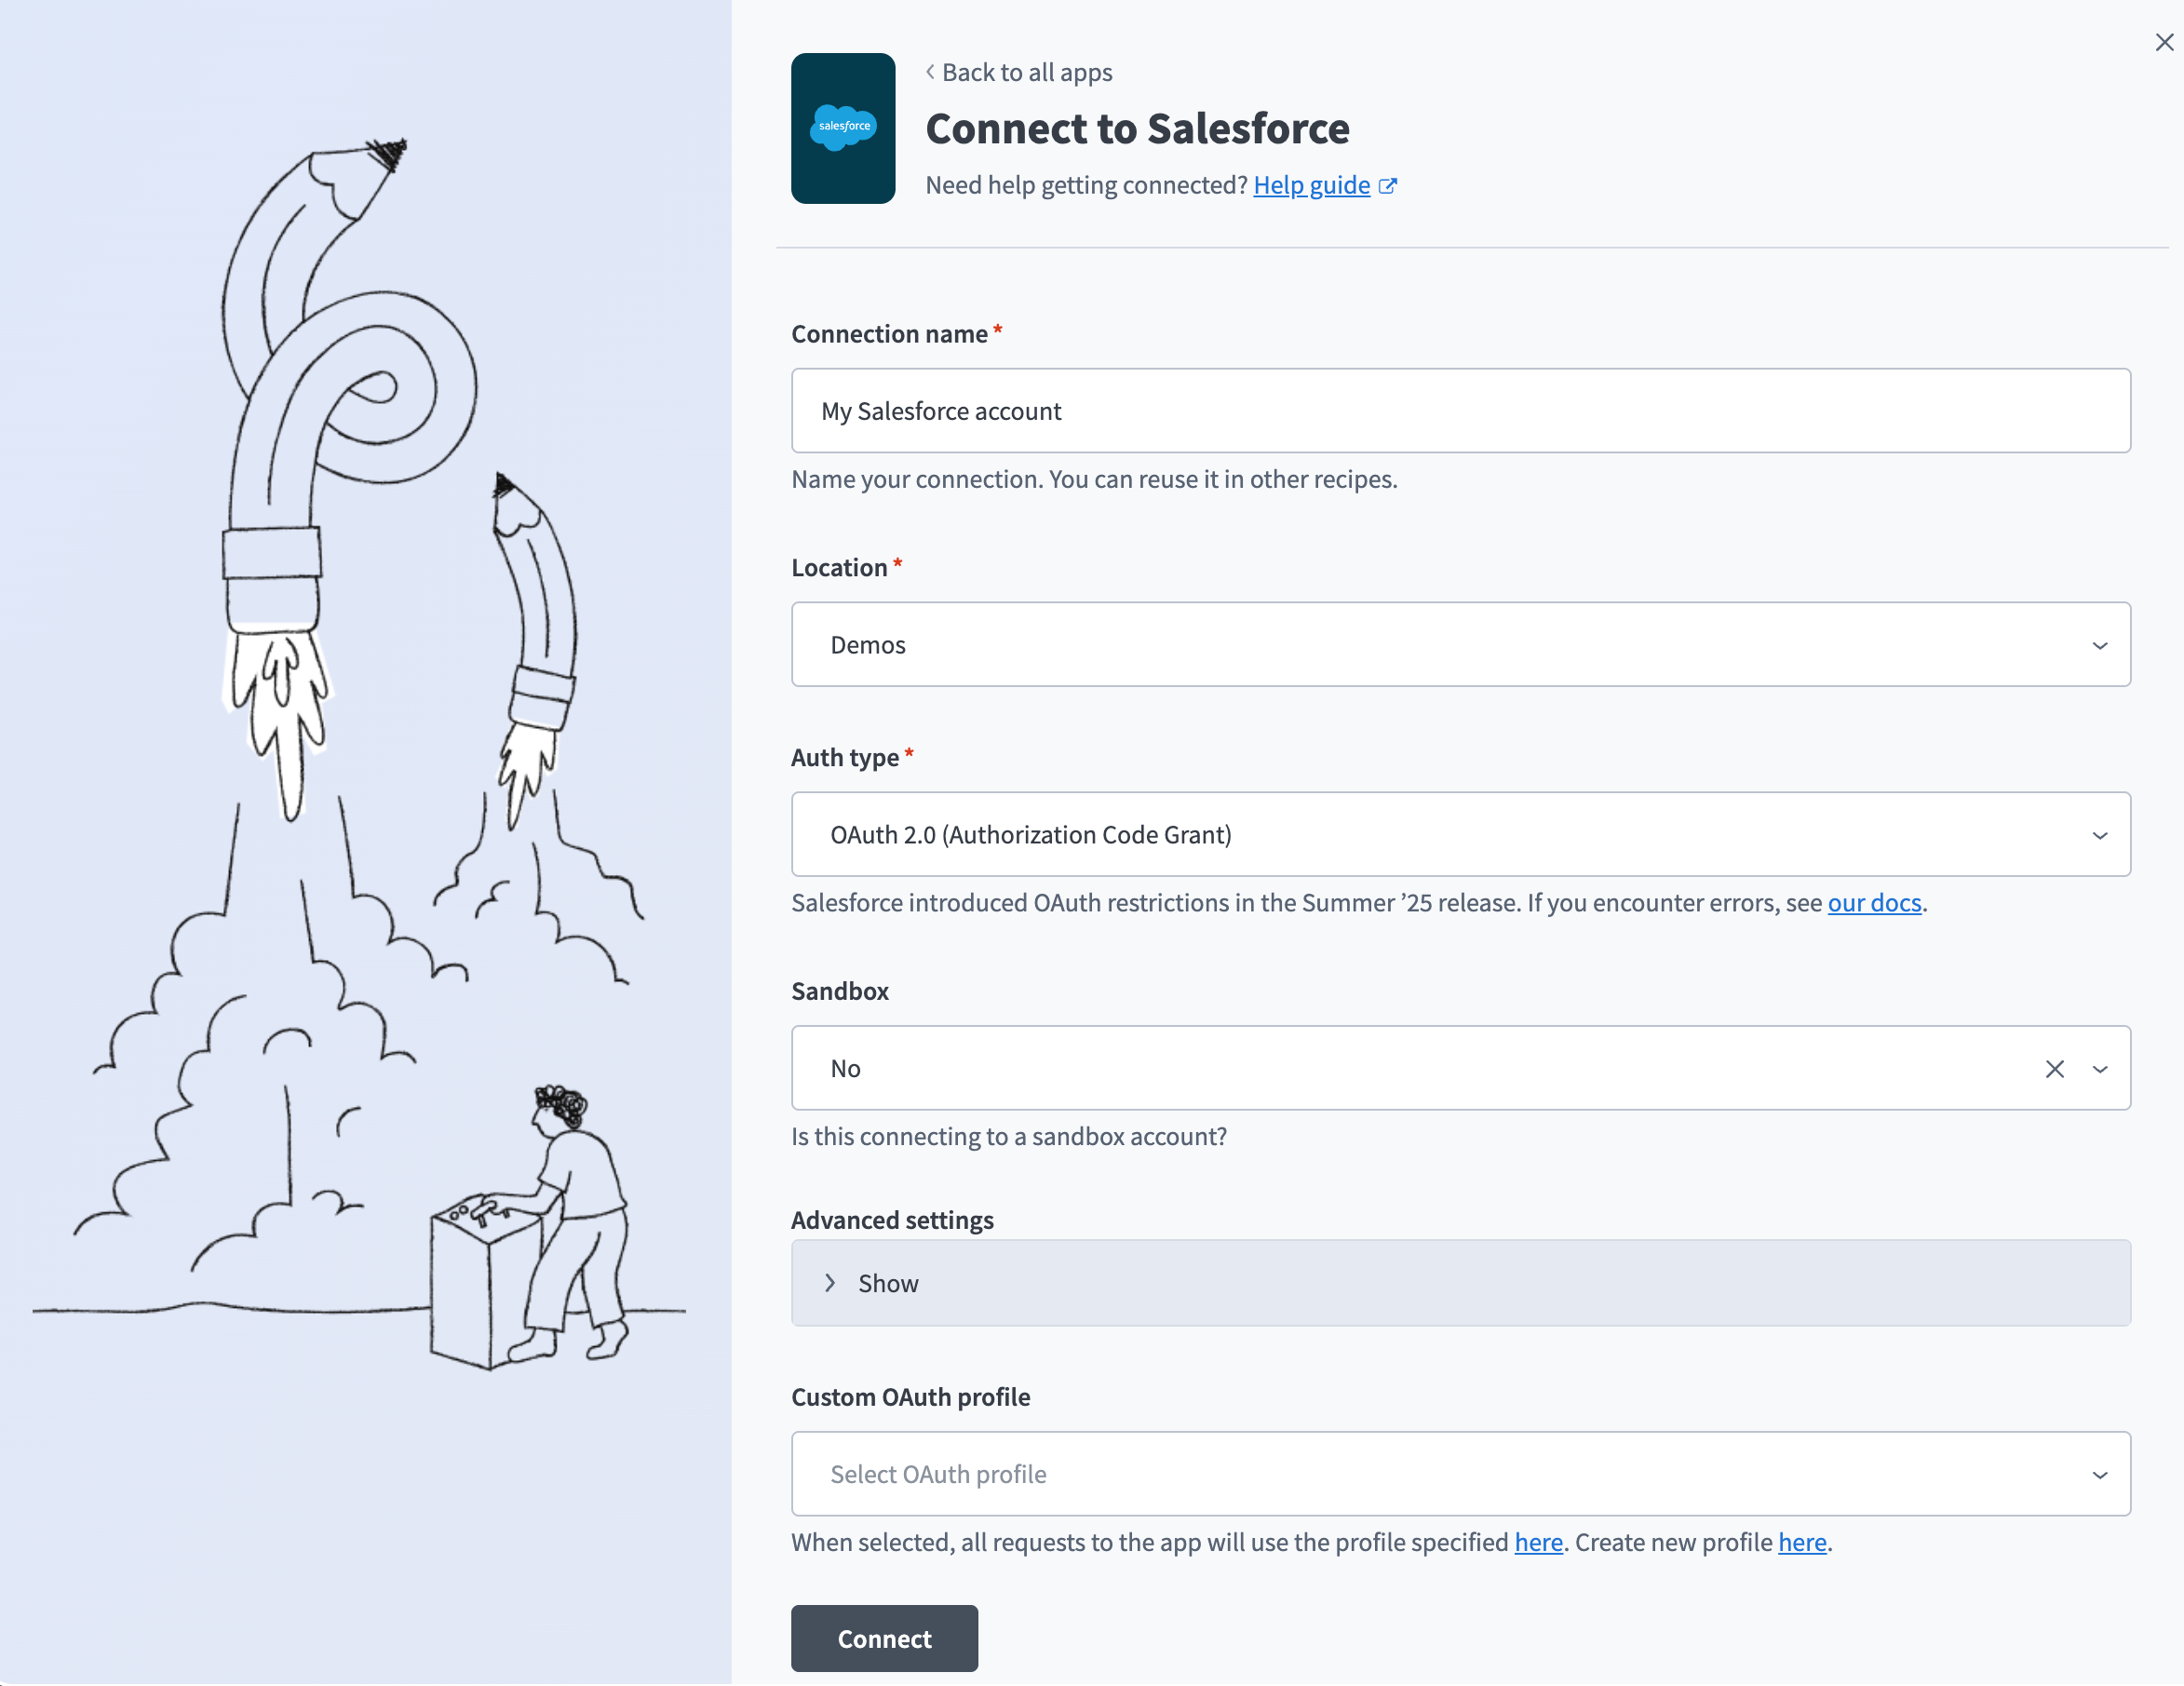
Provide a name for your connection in the Connection name field.
 Salesforce connection setup
Use the Location drop-down menu to select the project where you plan to store the connection.
Use the Auth type drop-down menu to select the authentication method. The default is OAuth 2.0.
Use the Sandbox drop-down menu to specify whether the Salesforce account is a sandbox account.
Optional. Expand Advanced settings to configure advanced connection options.
Optional. Use the Custom OAuth profile drop-down menu to select a custom OAuth profile for your connection.
- This custom OAuth profile ensures that the connection is restricted to the same set of scopes you selected for all users with the profile, and the authentication flow uses the client app linked to the custom profile.
Click Connect.
Enter your Salesforce account credentials and click Log In.
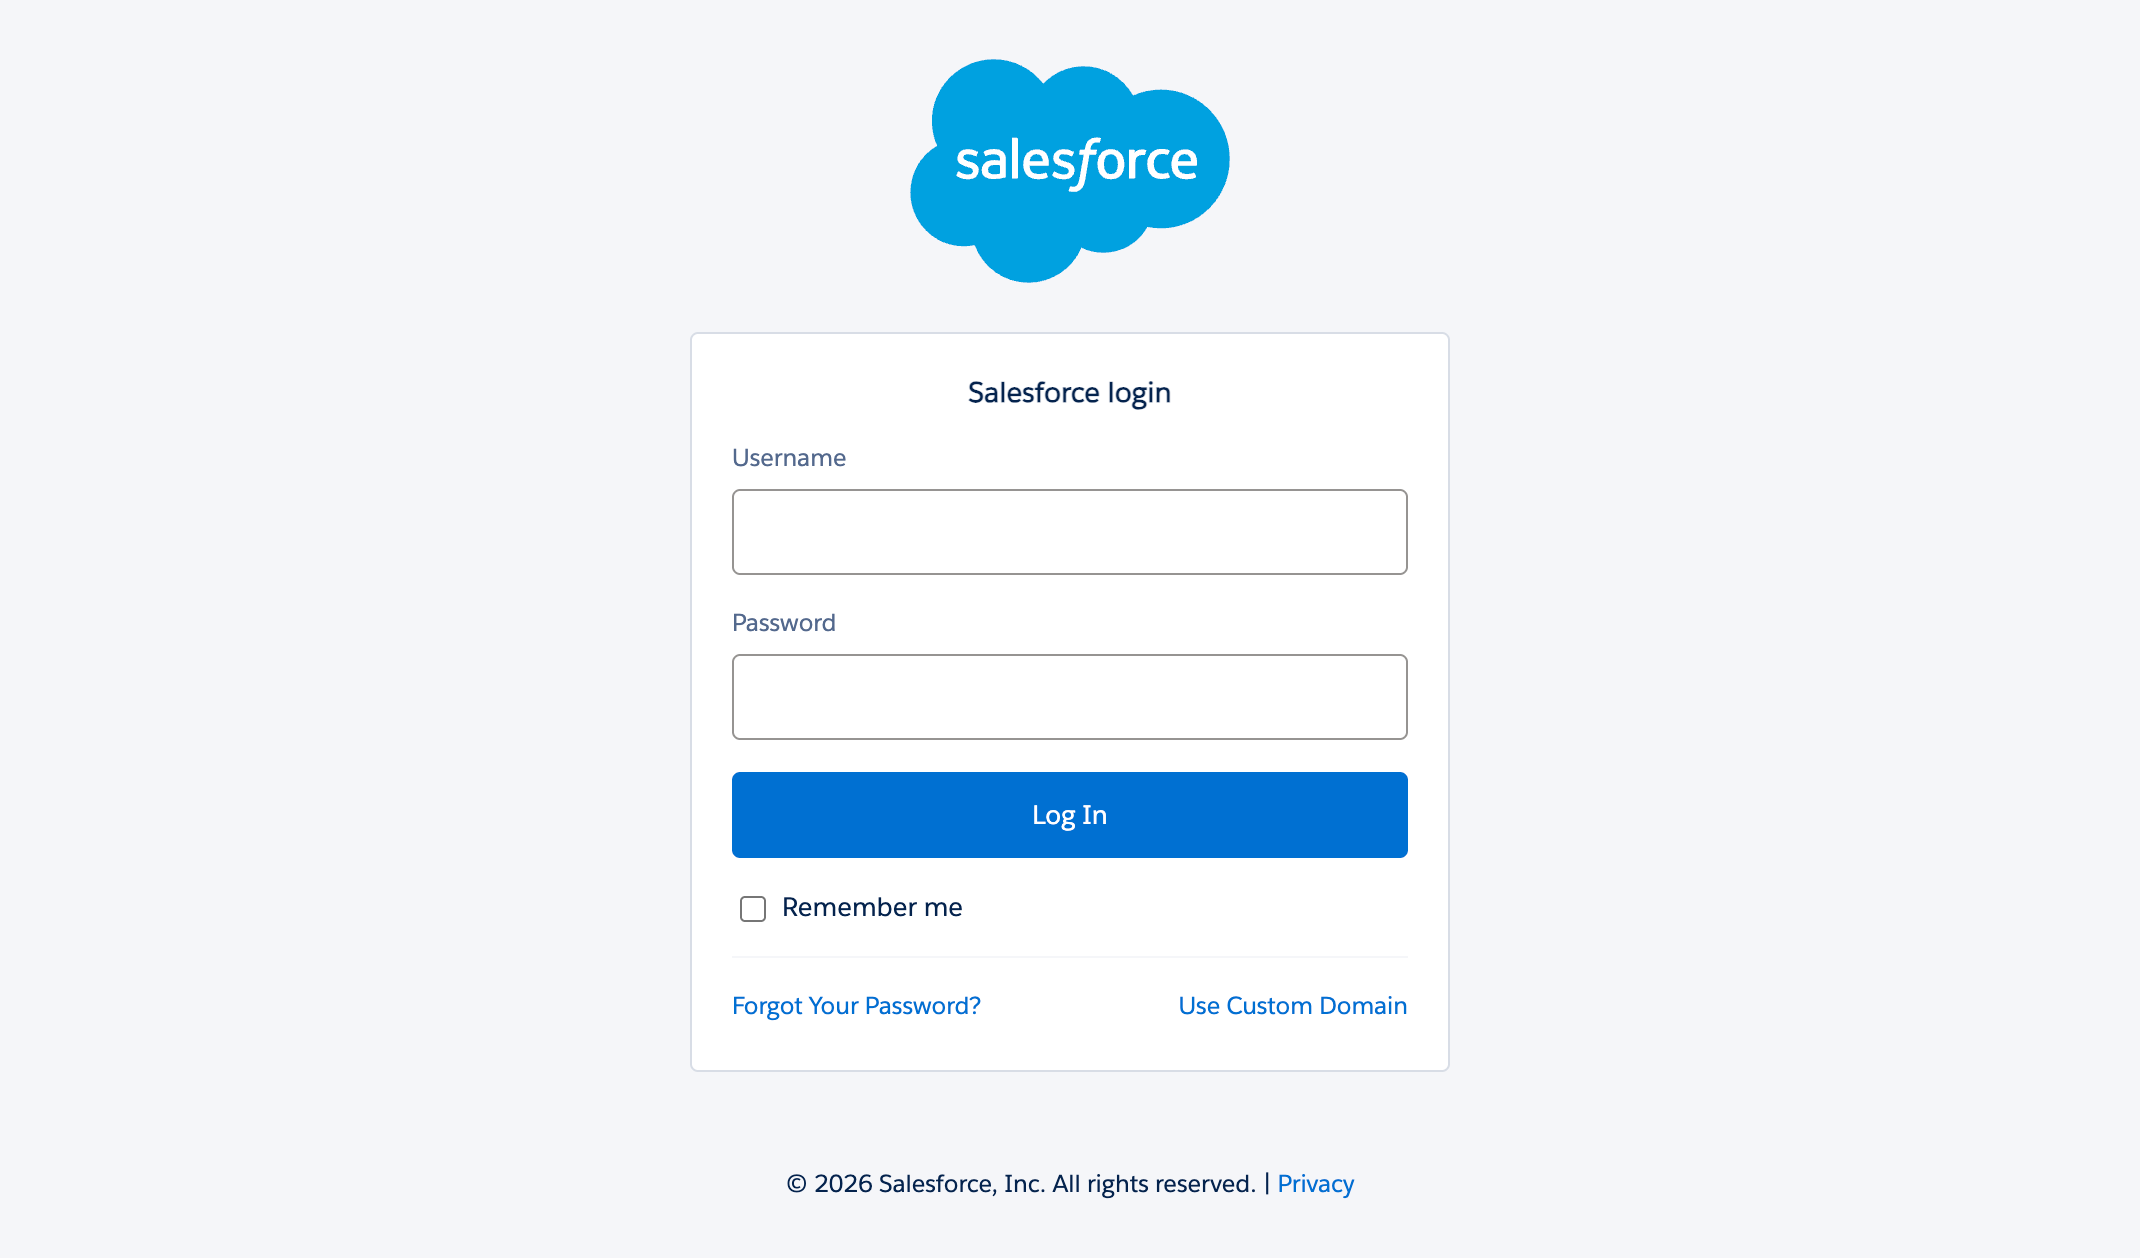 Log in to your Salesforce account
Create a Snowflake connection.
Create a Snowflake connection
This step creates a connection between Workato and your Snowflake account.
Click Create > Connection or press C twice.
Search for and select Snowflake on the New connection page.
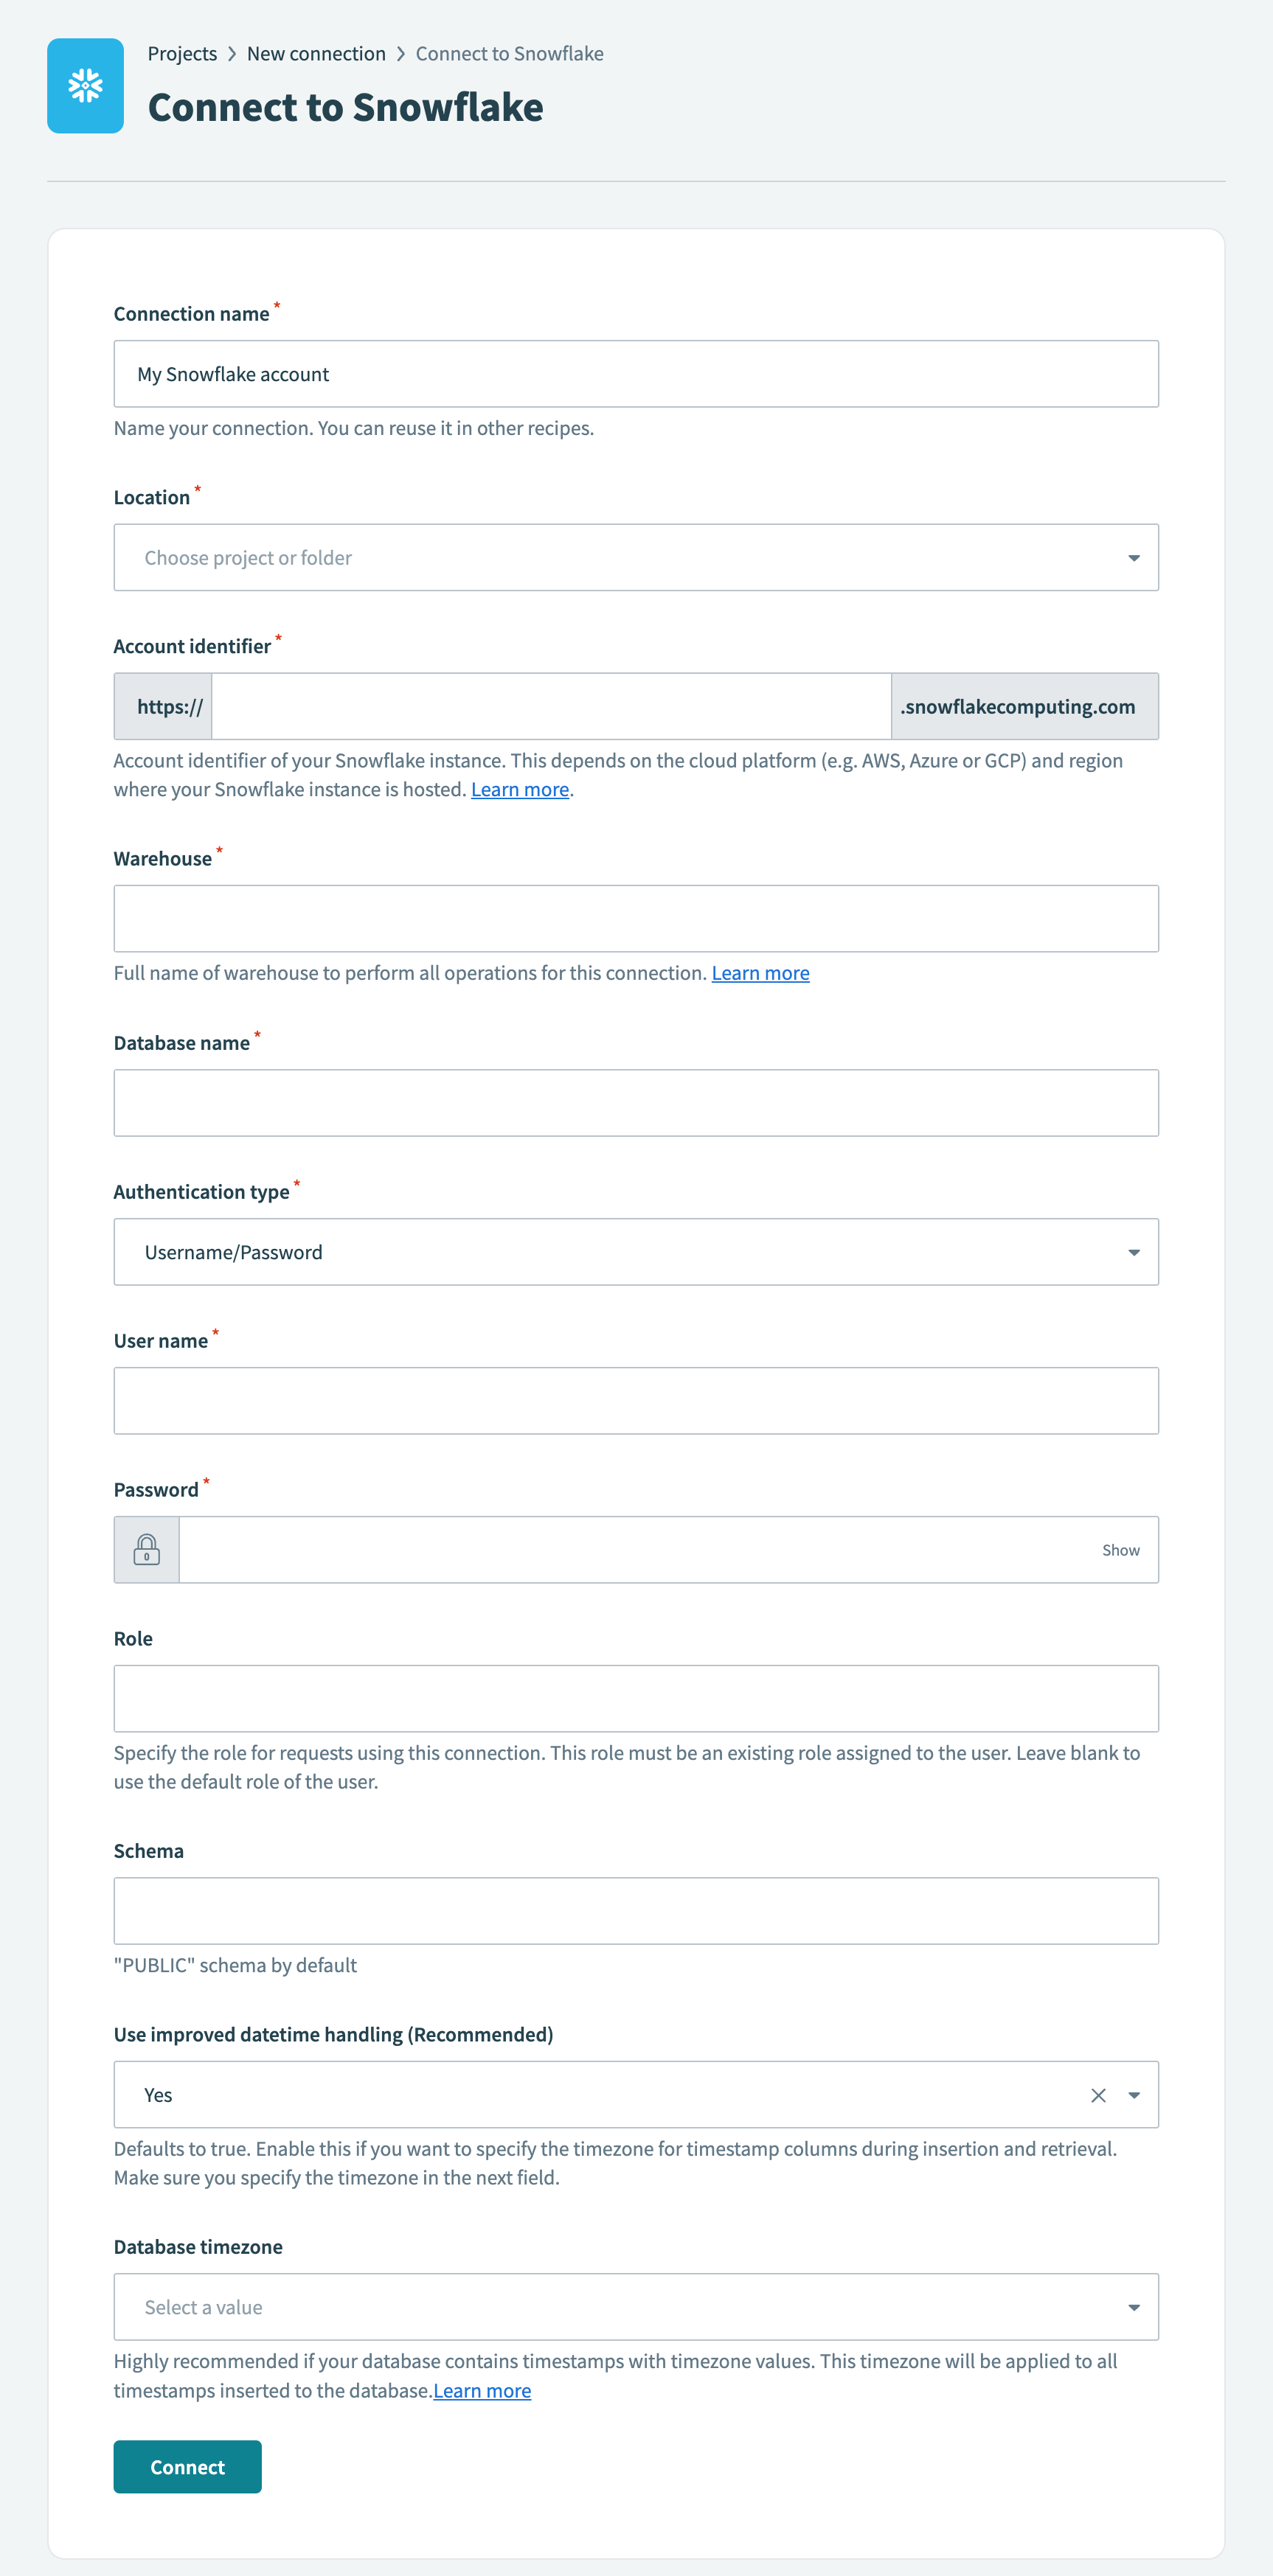
Provide a name for your connection in the Connection name field.
 Snowflake connection setup
Use the Location drop-down menu to select the project where you plan to store the connection.
Enter your account identifier in the Account identifier field. Snowflake has multiple methods of identifying an account. Workato supports all methods:
- Account name:
https://{org.name}-{account_name} - Connection name:
https://{org.name}-{connectionname} - Account locator:
https://{account.locator}.{region}.{cloud}
If you're using the account locator, note that {region} and {cloud} are only required for certain locations. For example:
- If your account is hosted in AWS US West (Oregon), use
your-account-locator. - If your account is hosted in AWS US East (Ohio), use
your-account-locator.us-east-2. - If your account is hosted in Azure West Europe, use
your-account-locator.west-europe.azure.
Enter the full name of the warehouse where you plan to perform all operations for this connection in the Warehouse field. For example, compute_wh.
Enter the database you plan to use in your recipe connection in the Database name field.
Use the Authentication type drop-down menu to select your authentication type.
- Username/Password: Enter your username and password if you select this option.
- OAuth 2.0: Enter your Client ID and Client Secret if you select this option.
Click Connect.
Go back to your project and click Create > Recipe or press C+R.
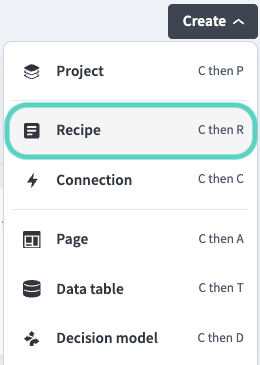 Create a new recipe
Enter a name for your recipe in the Name field.
Select the project where you plan to store the recipe from the Location drop-down menu.
Click Start building.
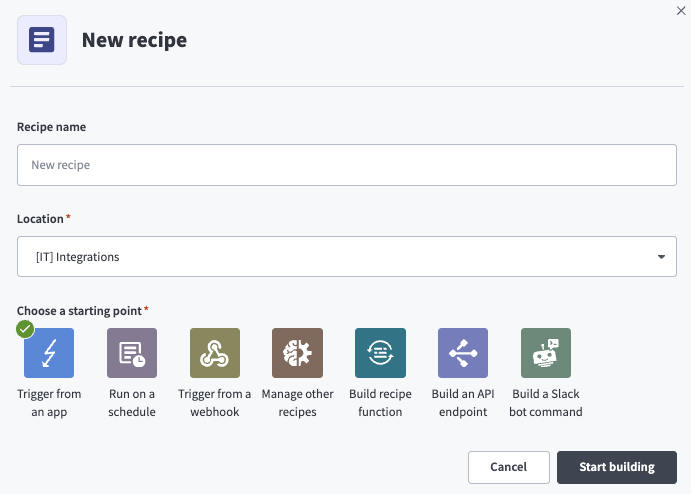 Start building your recipe
Click Pick a starting point, then select Trigger from an app.
Click Select an app and trigger event.
Set up your New lead activity in Marketo batch trigger.
Set up New lead activity in Marketo batch trigger
This trigger monitors Marketo for new lead activity.
Search for Marketo and select it as your app.
Select the New lead activity in Marketo batch trigger.
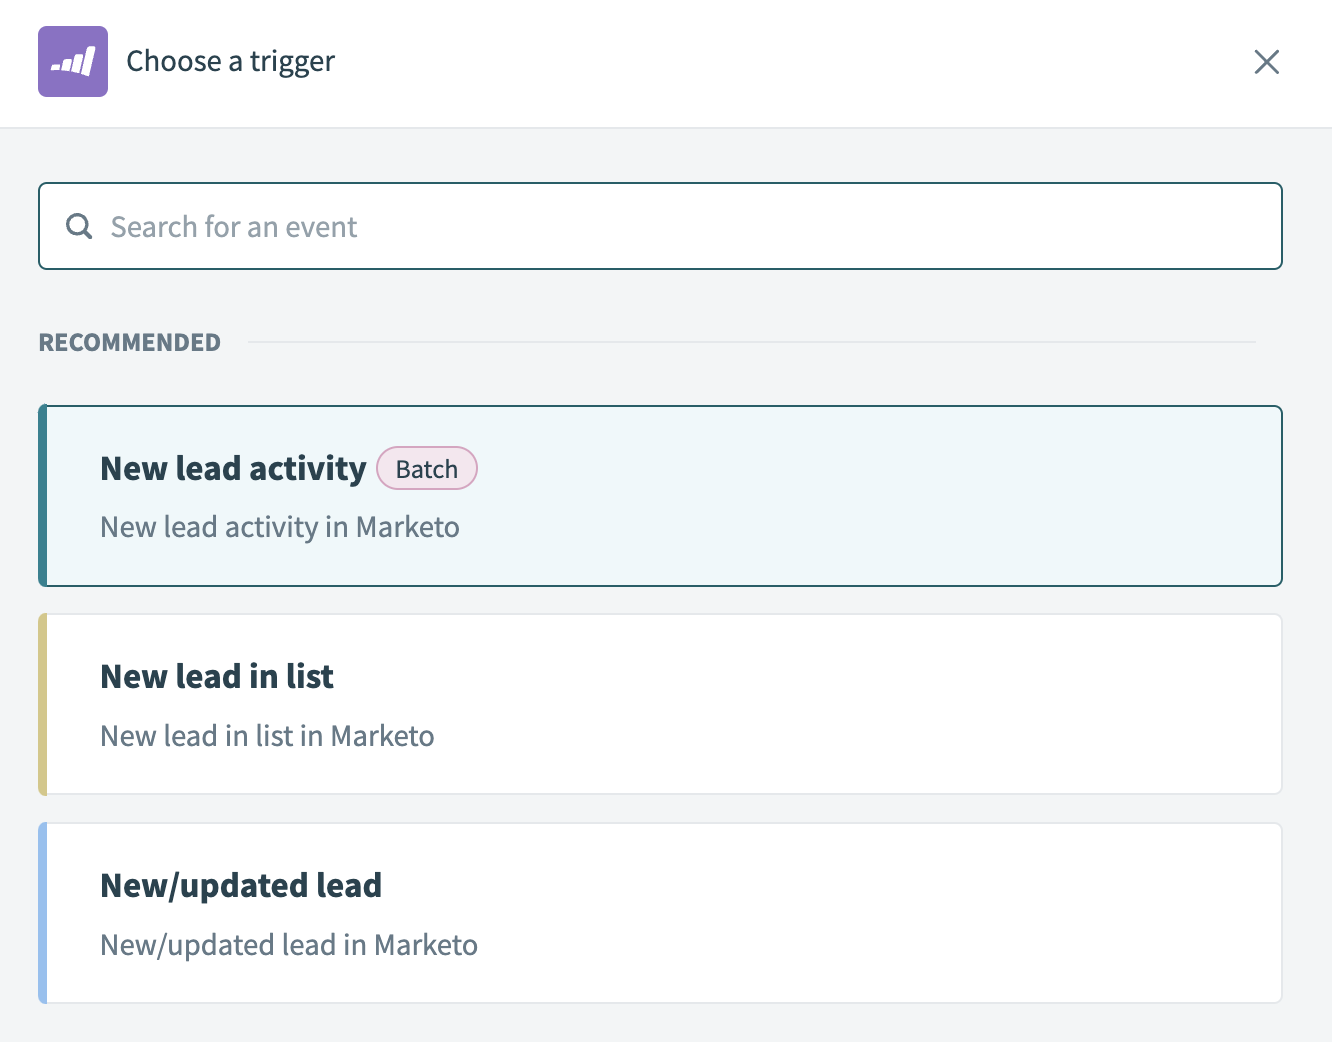 Select the New lead activity in Marketo batch trigger
Use the calendar modal to select the date from which your recipe should begin to monitor events in the When first started, this recipe should pick up events from field. Refer to Triggers to learn more about this input field.
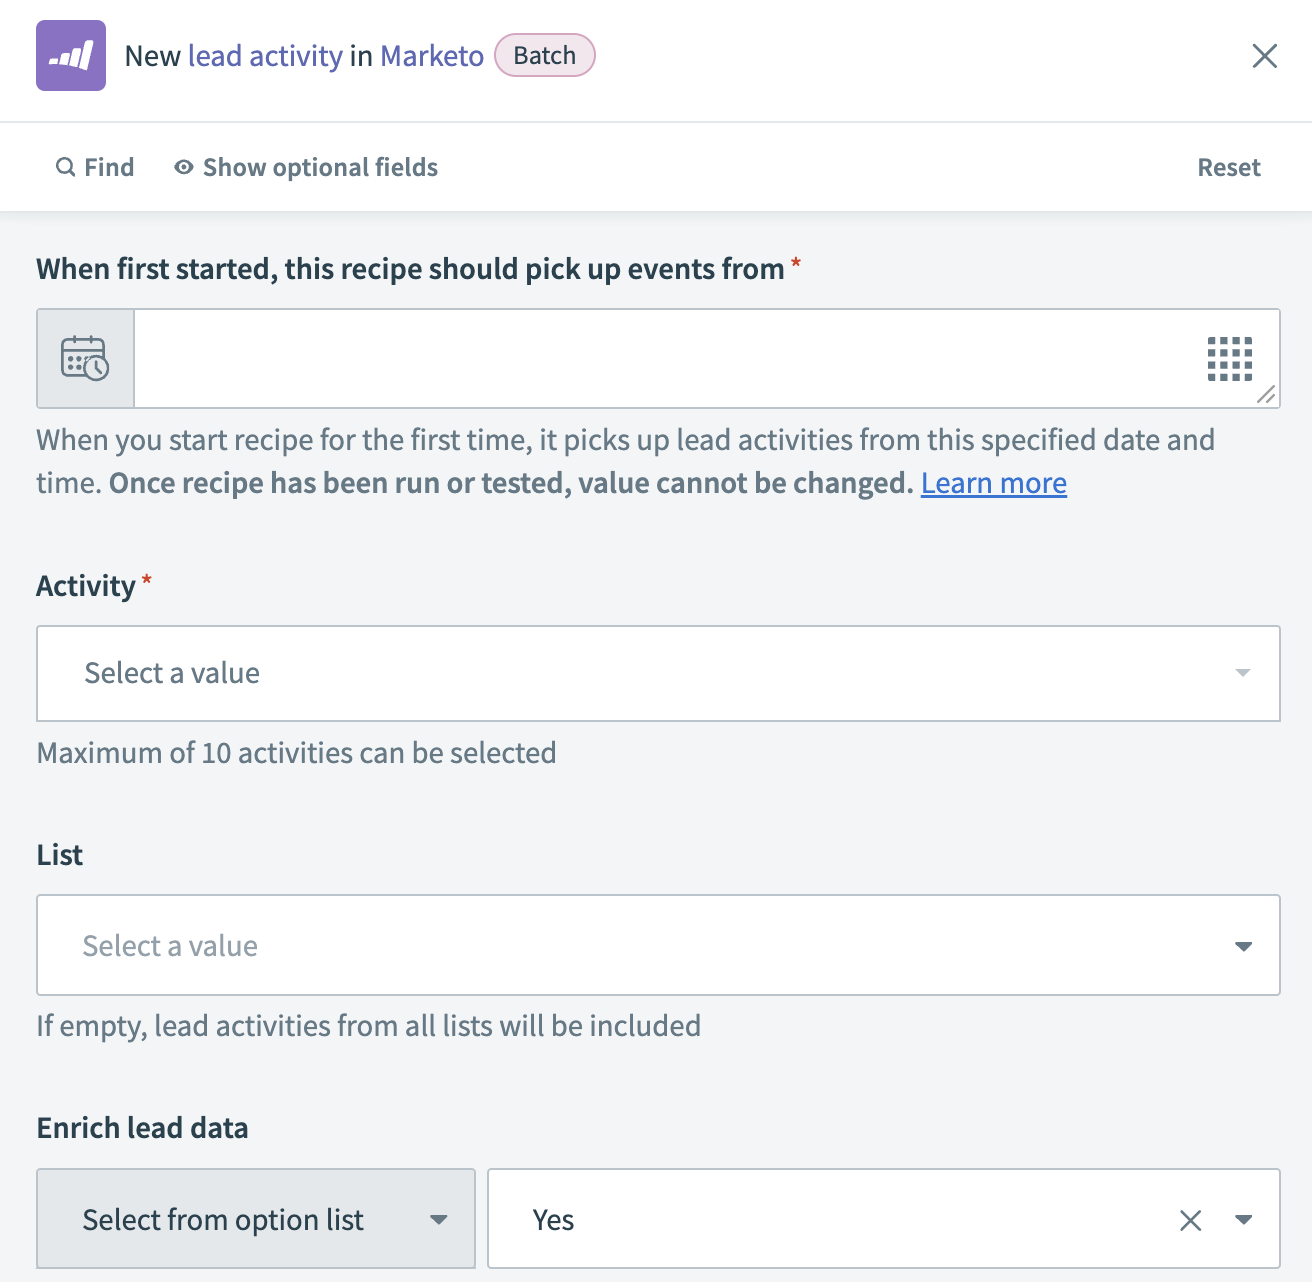 New lead activity batch trigger
Search for New Lead in the Activity field.
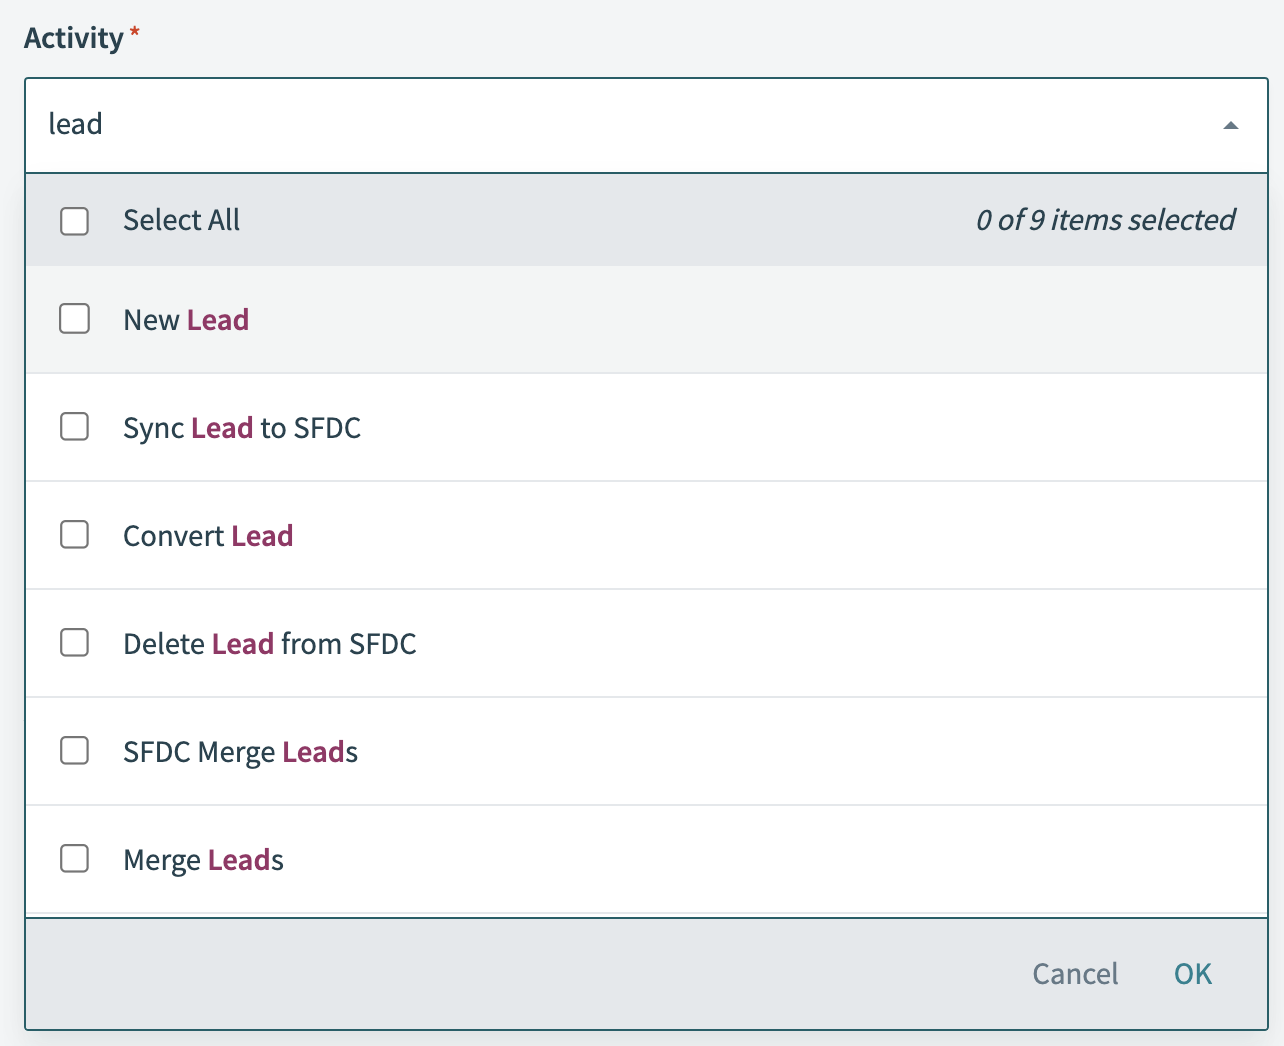 Select New lead as the activity
Use the List drop-down menu if you plan to limit lead activity monitoring to a specific list. Lead activities from all lists are included if this field is empty.
Select an option for Enrich lead data:
Yes: The trigger output performs additional requests to supplement each activity record with the associated lead data.
No: Excludes lead enrichment requests to reduce the number of API requests.
Click Save.
Click + Add step and select Action in app.
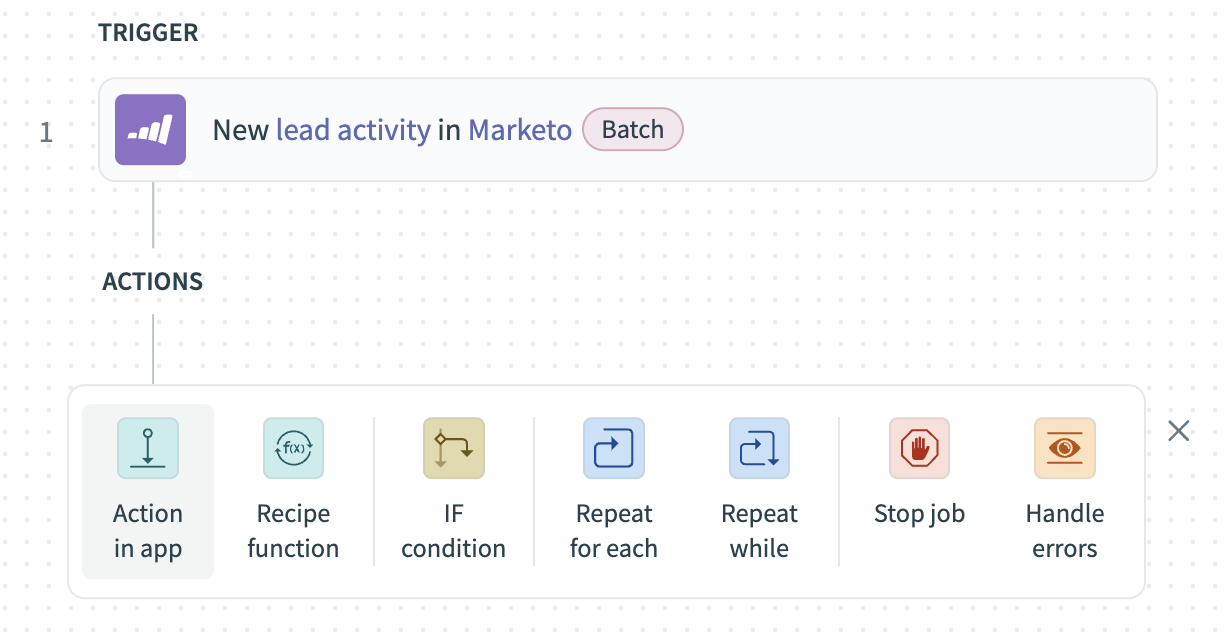 Select Action in app
Set up your Salesforce Create records in batches action.
Set up Salesforce Create records in batches action
This step creates records for new lead activity.
Search for Salesforce and select it as your app.
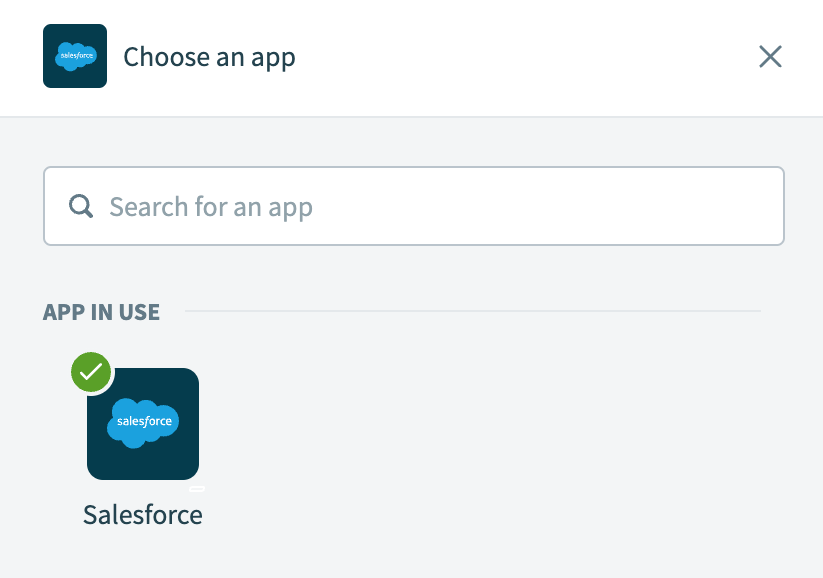 Choose Salesforce as your app
Select the Create records in batches action.
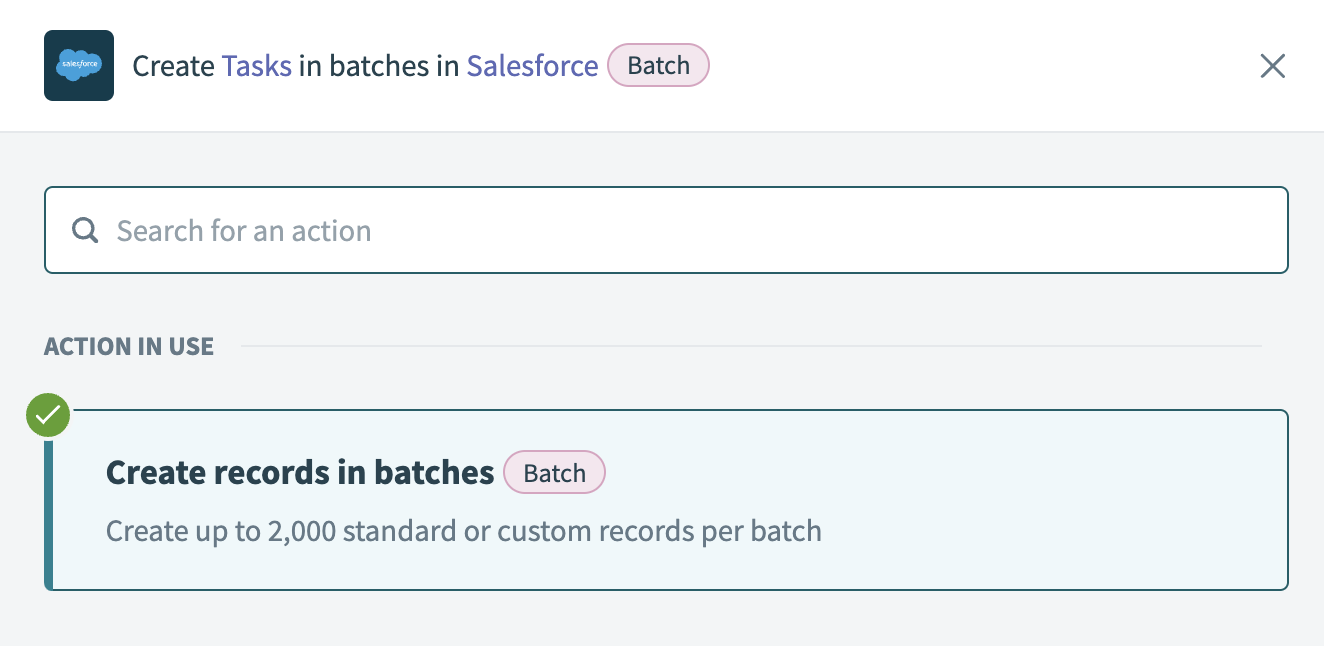 Select the Create records in batches action
Search for Task in the Object field.
Go to the Tasks section and map the Marketo ActivitiesStep 1 datapill into the Tasks source list field.
 Map the ActivitiesStep 1 datapill into the Tasks source list field
Click Save.
Click + Add step and select Repeat for each.
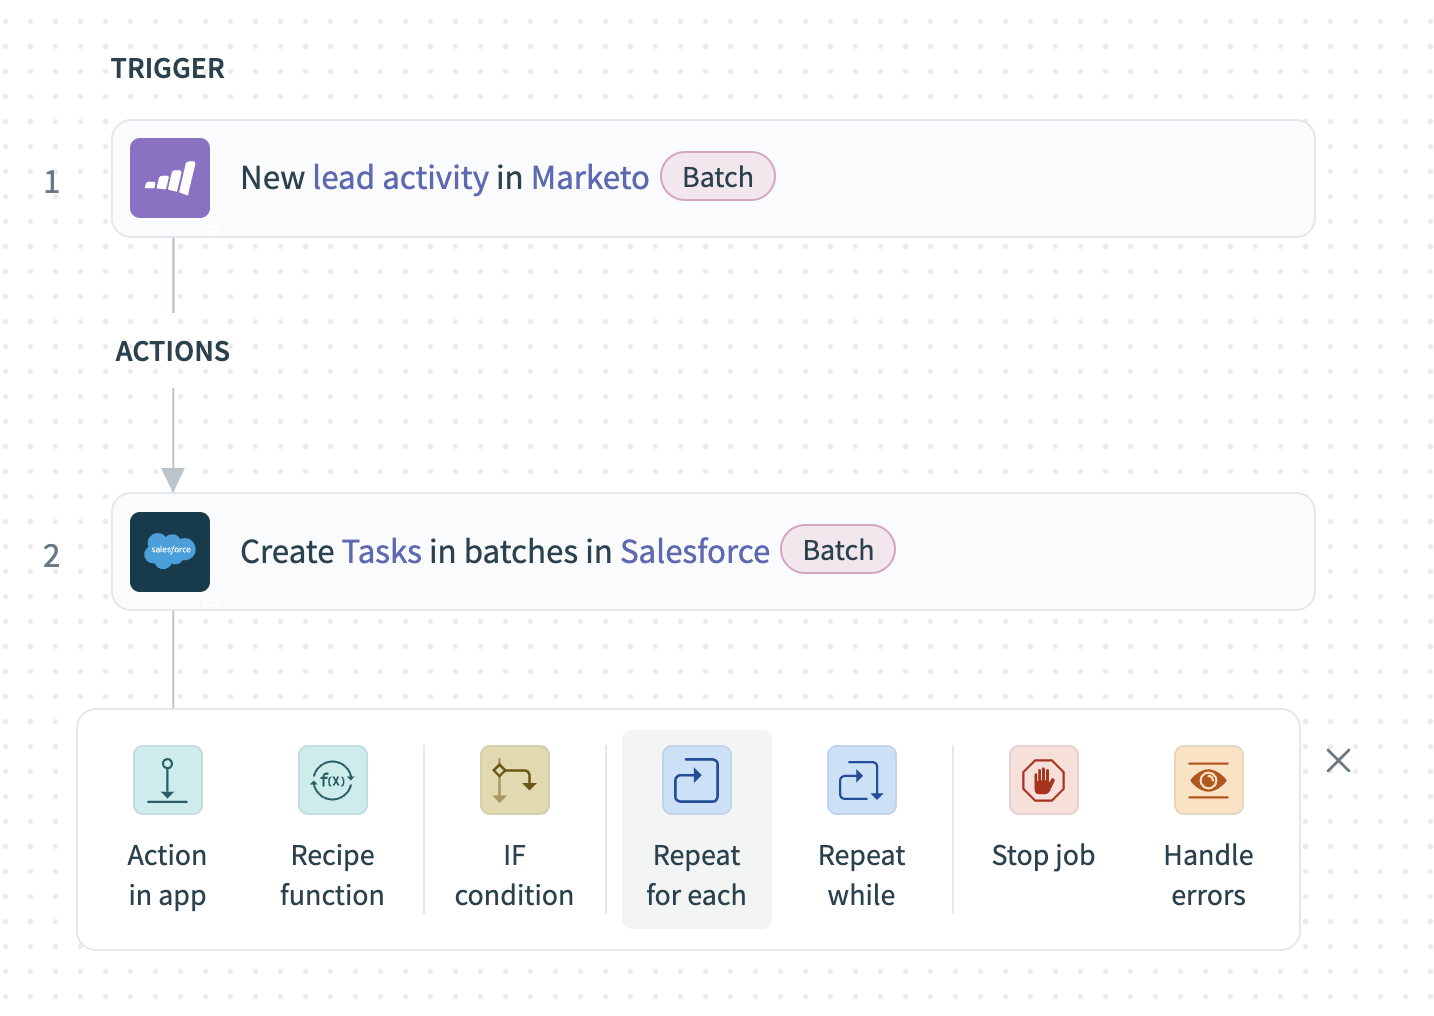 Select Repeat for each
How does the Repeat for each condition work?
Marketo and Snowflake Repeat for each condition example
A Repeat for each loop repeats one or more actions for each item in a list. The loop ends automatically when the entire list is processed.
Set up your Marketo activities Repeat for each loop.
Set up a Marketo activities Repeat for each loop
This step checks each item in the Activities input list.
Map the Marketo ActivitiesStep 1 datapill into the Input list field.
 Configure Repeat for each
Set up your Snowflake Insert row action.
Set up Snowflake Insert row action
This step creates a new row for the new lead activity information in the table you specify.
The Snowflake action is nested within the Repeat for each condition in this use case.
Click Select an app and action under the For each condition.
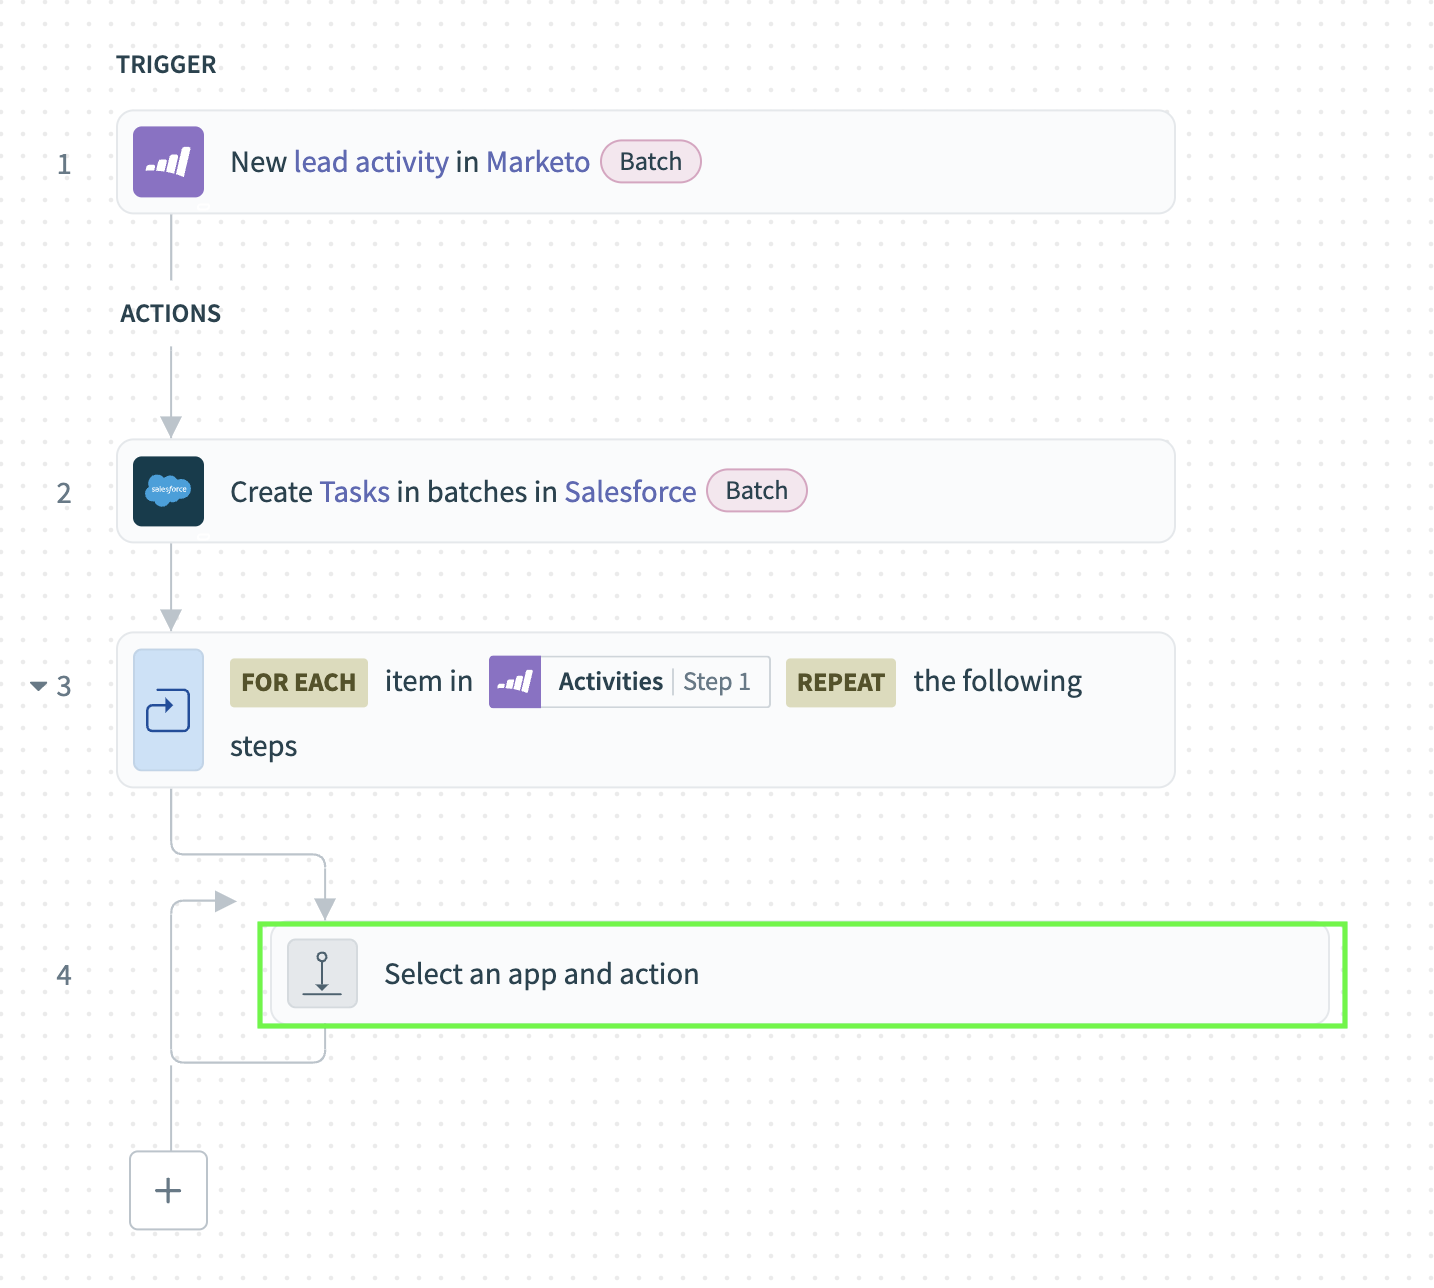 Click Select an app and action
Search for Snowflake and select it as your app.
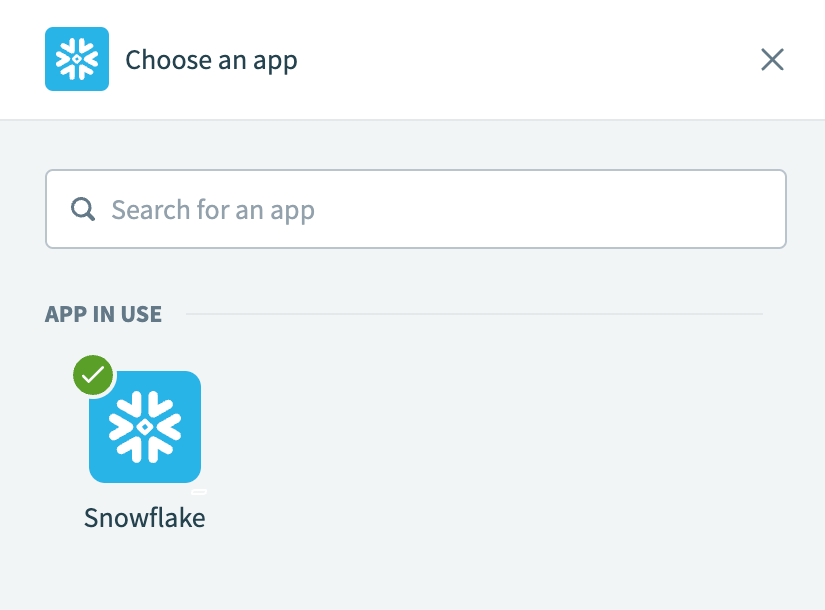 Search for Snowflake
Select Insert row for your action.
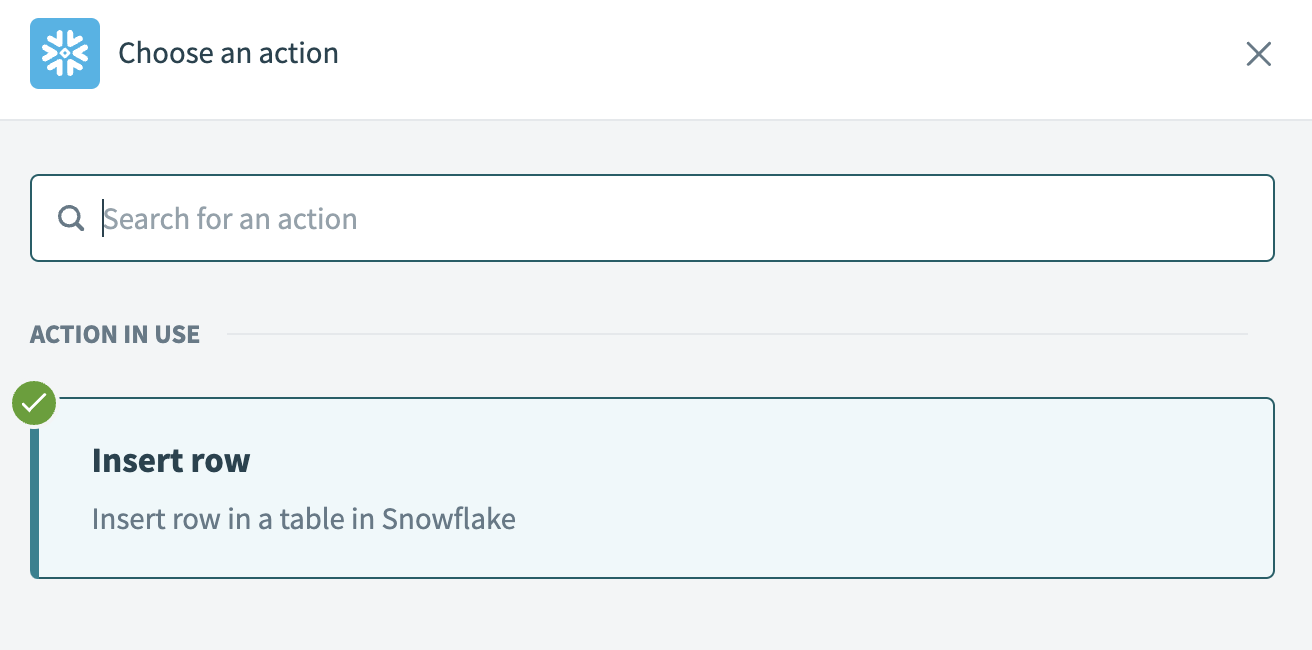 Select Insert row
Use the Table drop-down menu to select the name of the Snowflake table in which you plan to insert rows.
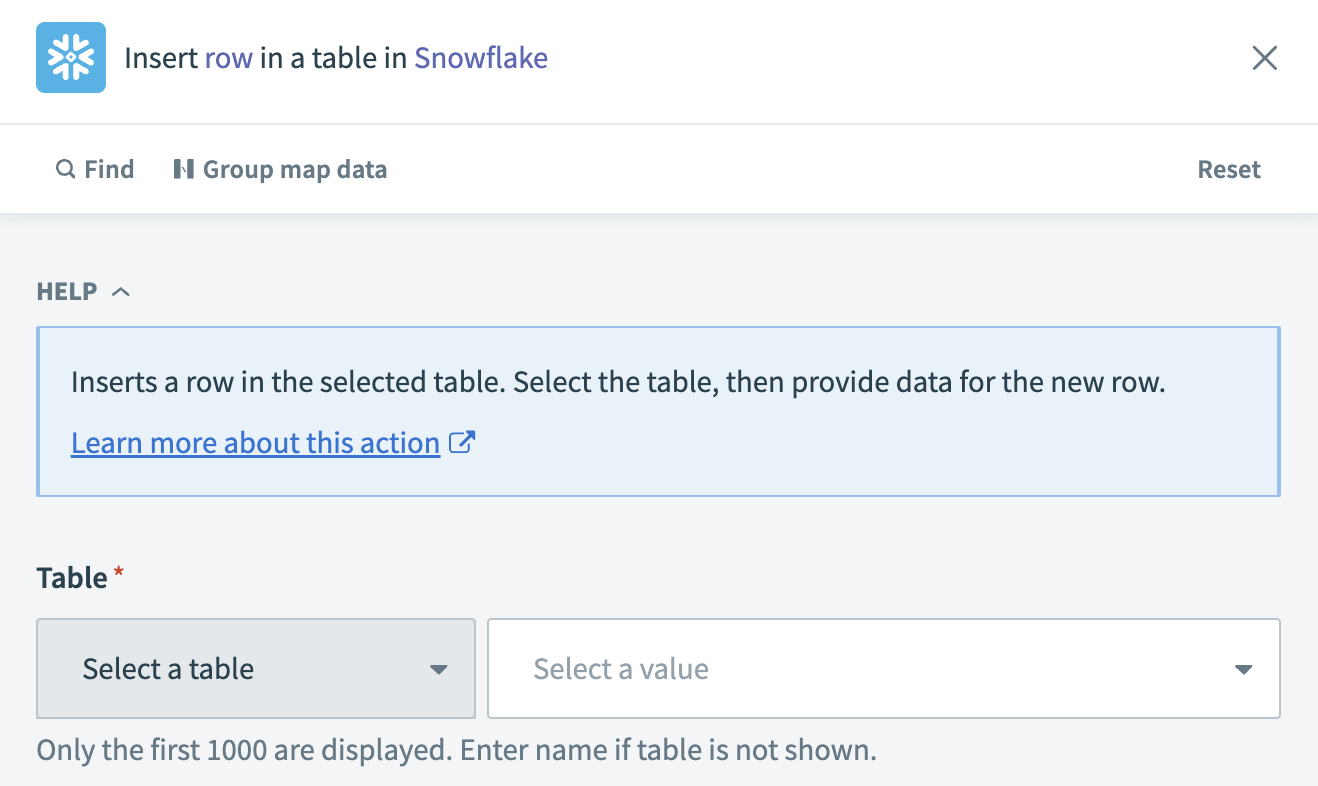 Select your Snowflake table
Click Save.
Your Create Salesforce tasks and Snowflake rows from Marketo lead activity recipe is ready to test and implement.
Last updated: