# Create or update Jira issues from new PagerDuty incidents recipe
This use case guides you through connecting PagerDuty and Jira to create a powerful automation.
# What does this recipe do?
This recipe synchronizes new incidents from PagerDuty to Jira. If a matching issue exists in Jira, the recipe adds a comment with details from the PagerDuty incident. If no corresponding Jira issue is found, the recipe creates a new one.
# Create your recipe
Complete the following steps to create a recipe that synchronizes new incidents from PagerDuty to Jira:
USE CASES ARE INTENDED AS EXAMPLES ONLY
This use case serves as an example. Modifications to triggers, actions, or conditional logic may be necessary to adapt this recipe to your workflow.
Sign in to Workato.
Select the project where you plan to create the recipe.
Create connections for PagerDuty and Jira:
Create a PagerDuty connection.
# Create a PagerDuty connection
This step creates a connection between Workato and your PagerDuty account.
Click Create > Connection.
Search for and select PagerDuty on the New connection page.
Provide a name for your connection in the Connection name field.
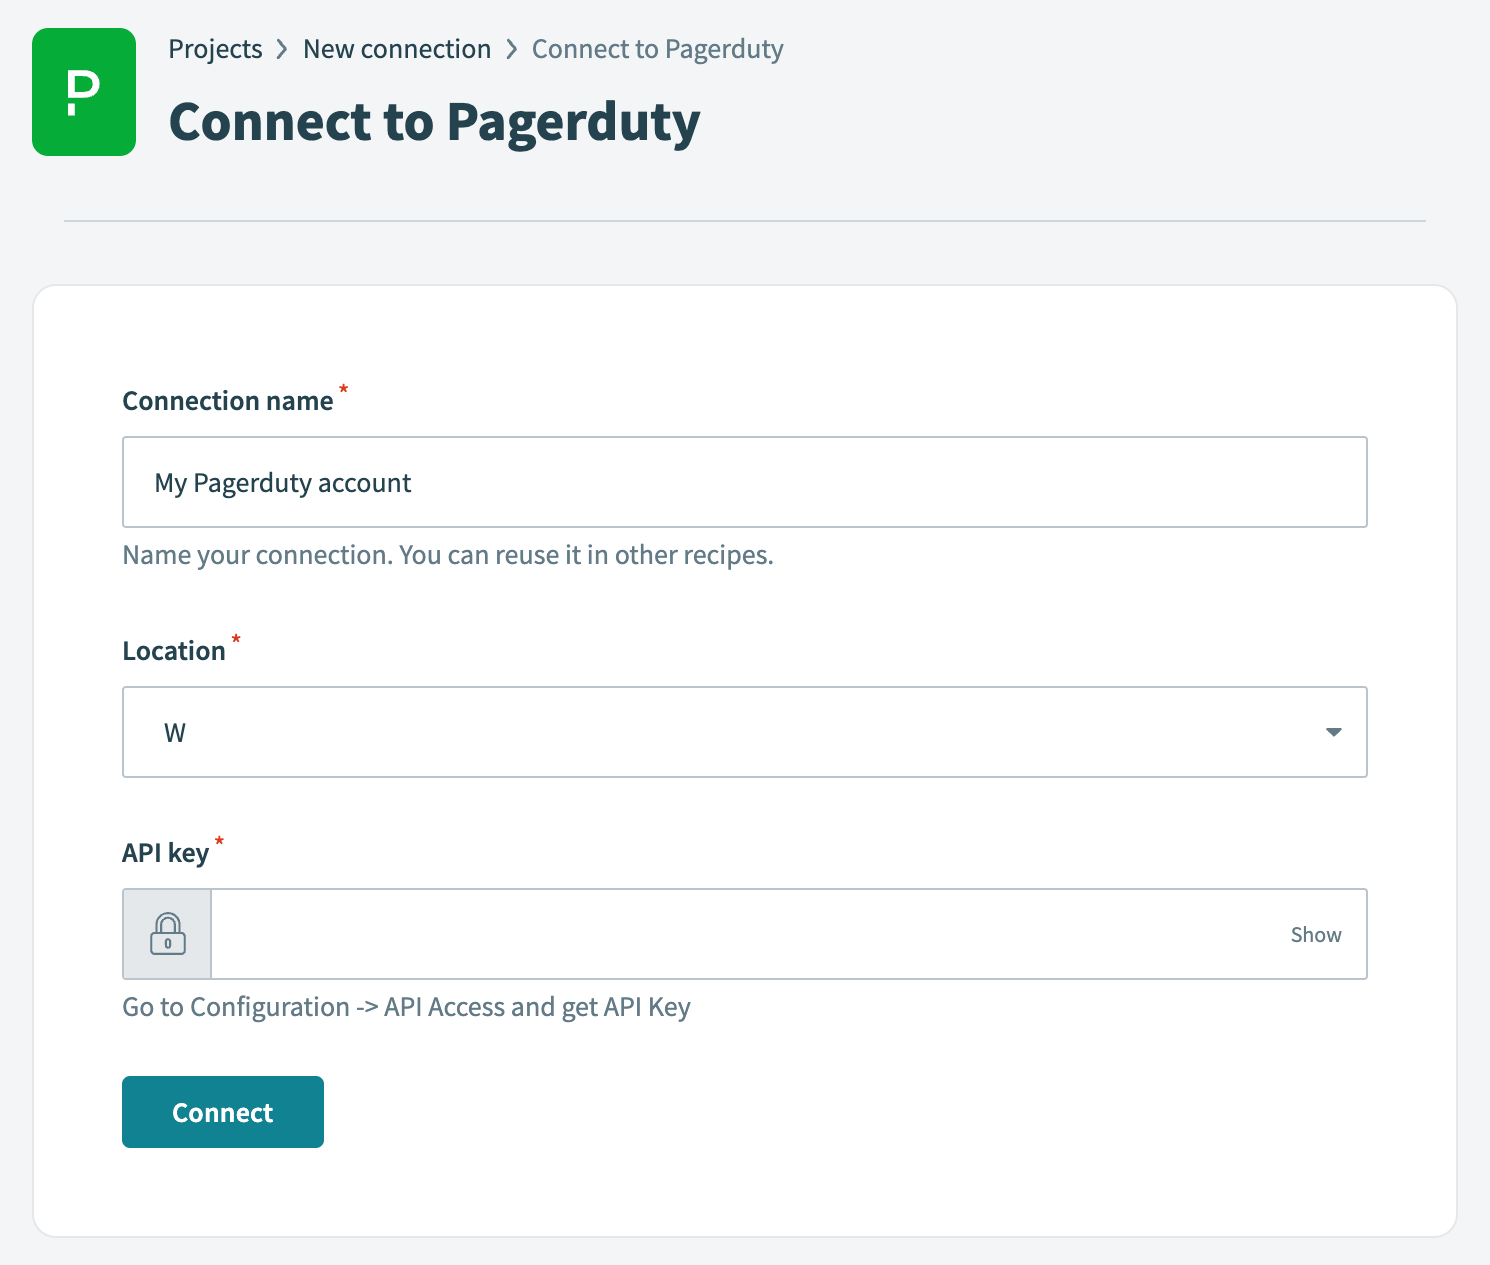 PagerDuty connection setup
Use the Location drop-down menu to select the project where you plan to store the connection.
Enter your API key in the API key field.
To create a new API key in PagerDuty, go to Integrations > API Access Keys and click + Create New API Key. Don't select the Read-only API Key checkbox because this connector requires both read and write permissions.
Alternatively, to create an API user token that provides the same permissions as your user account, go to My Profile > User Settings and click Create API User Token.
Click Connect.
Create a Jira connection.
# Create a Jira connection
This step creates a connection between Workato and your Jira account.
Click Create > Connection.
Search for and select Jira on the New connection page.
Enter a name for your Jira connection in the Connection name field.
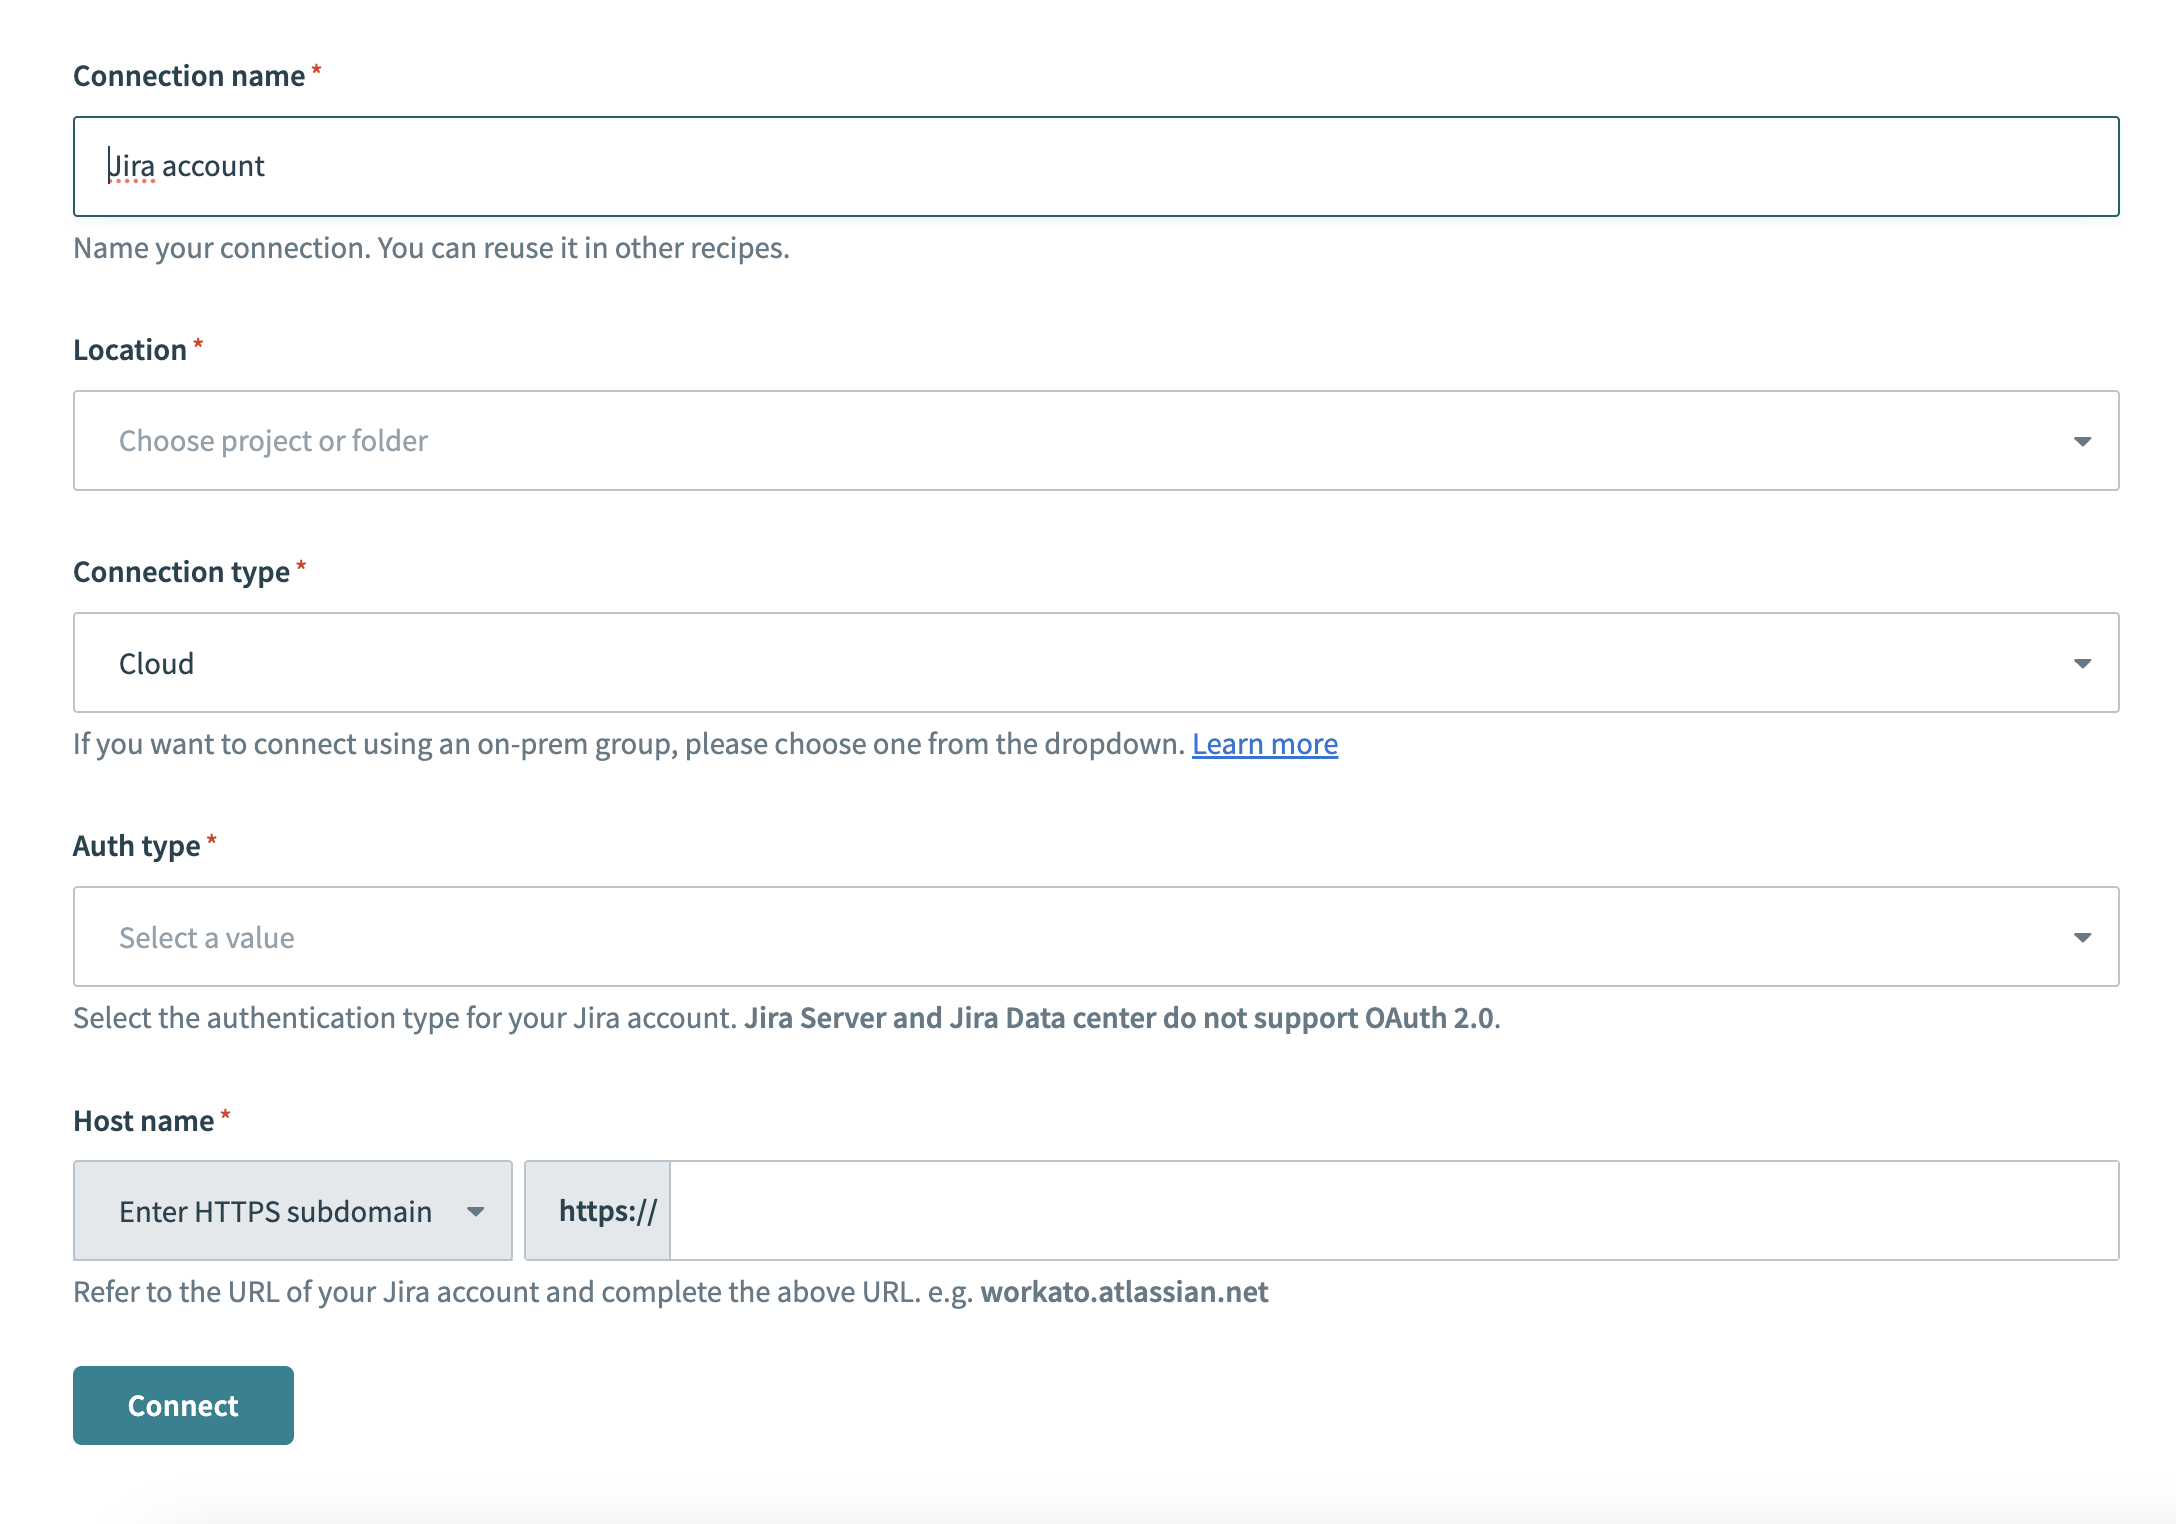 Jira connection setup
Use the Location drop-down menu to select the project where you plan to store the connection.
Select your Connection type.
Use the Auth type drop-down menu to select your authentication method. Supported options include Basic, API token, OAuth 2.0, and Personal access token.
Provide your Host name. For example, if your Jira URL is https://acme.atlassian.net, your host name is acme.atlassian.net.
Click Connect.
Go back to your project and click Create > Recipe.
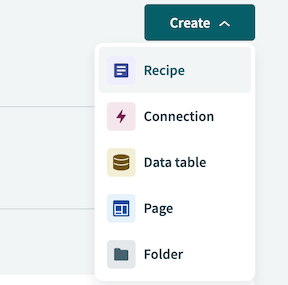 Create a new recipe
Enter a name for your recipe in the Name field.
Select the project where you plan to store the recipe from the Location drop-down menu.
Click Start building.
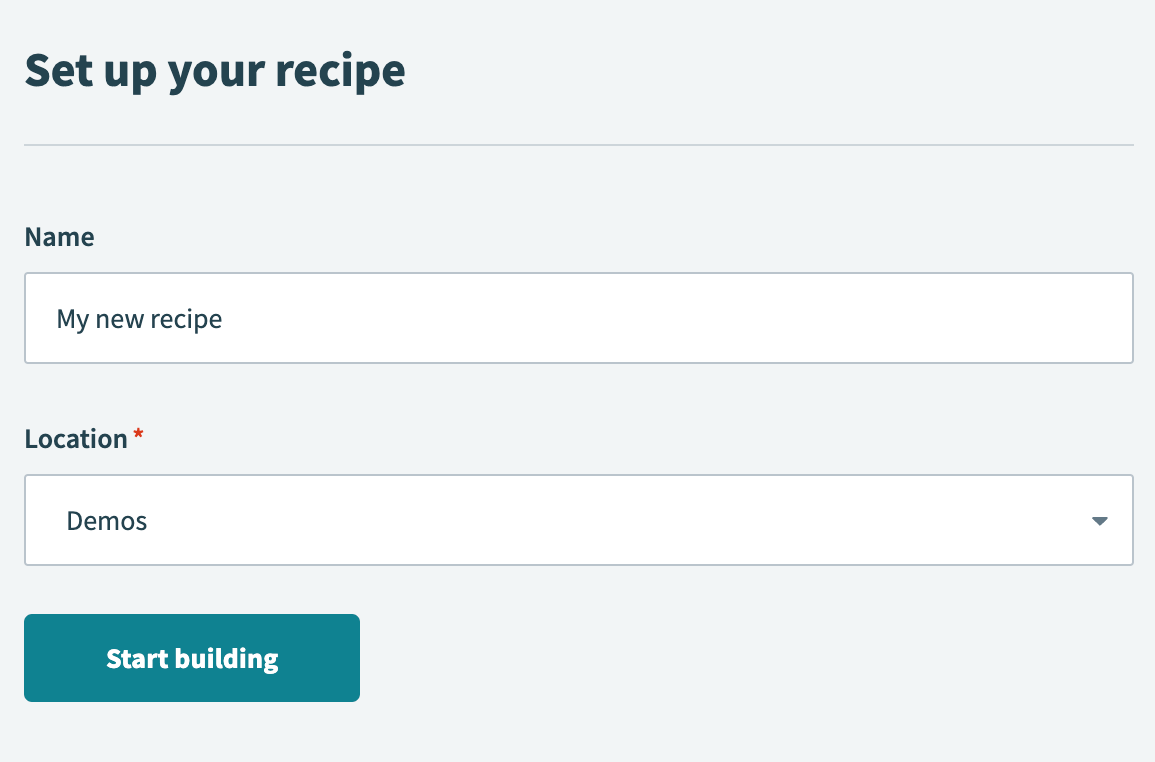 Start building your recipe
Click Pick a starting point, then select Trigger from an app.
Click Select an app and trigger event.
Set up your PagerDuty New incident trigger.
# Set up PagerDuty New incident trigger
This trigger monitors PagerDuty for new incidents. The trigger checks for new incidents at a set interval and retrieves incidents created since the recipe started or from a specified time.
Search for PagerDuty and select it as your app.
 Choose PagerDuty
Select the New incident trigger.
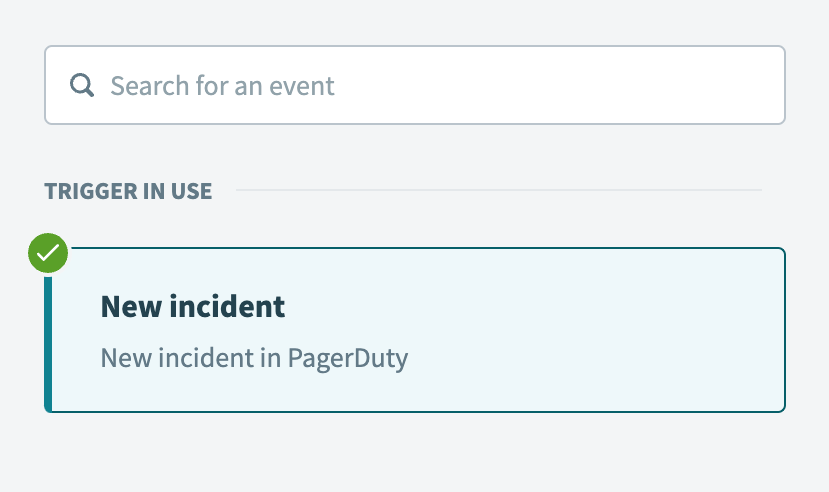 Select the New incident trigger
Select the PagerDuty connection you created in the preceding steps.
Optional. Specify how frequently the recipe should check for new events in the Trigger poll interval field. This field defaults to five minutes if left blank.
Optional. Use the When first started, this recipe should pick up events from field to specify the date and time from which the recipe should retrieve incidents. Leave this field blank to retrieve incidents created after the recipe starts. After you run or test this recipe, you can't change this value. Learn more about this input field.
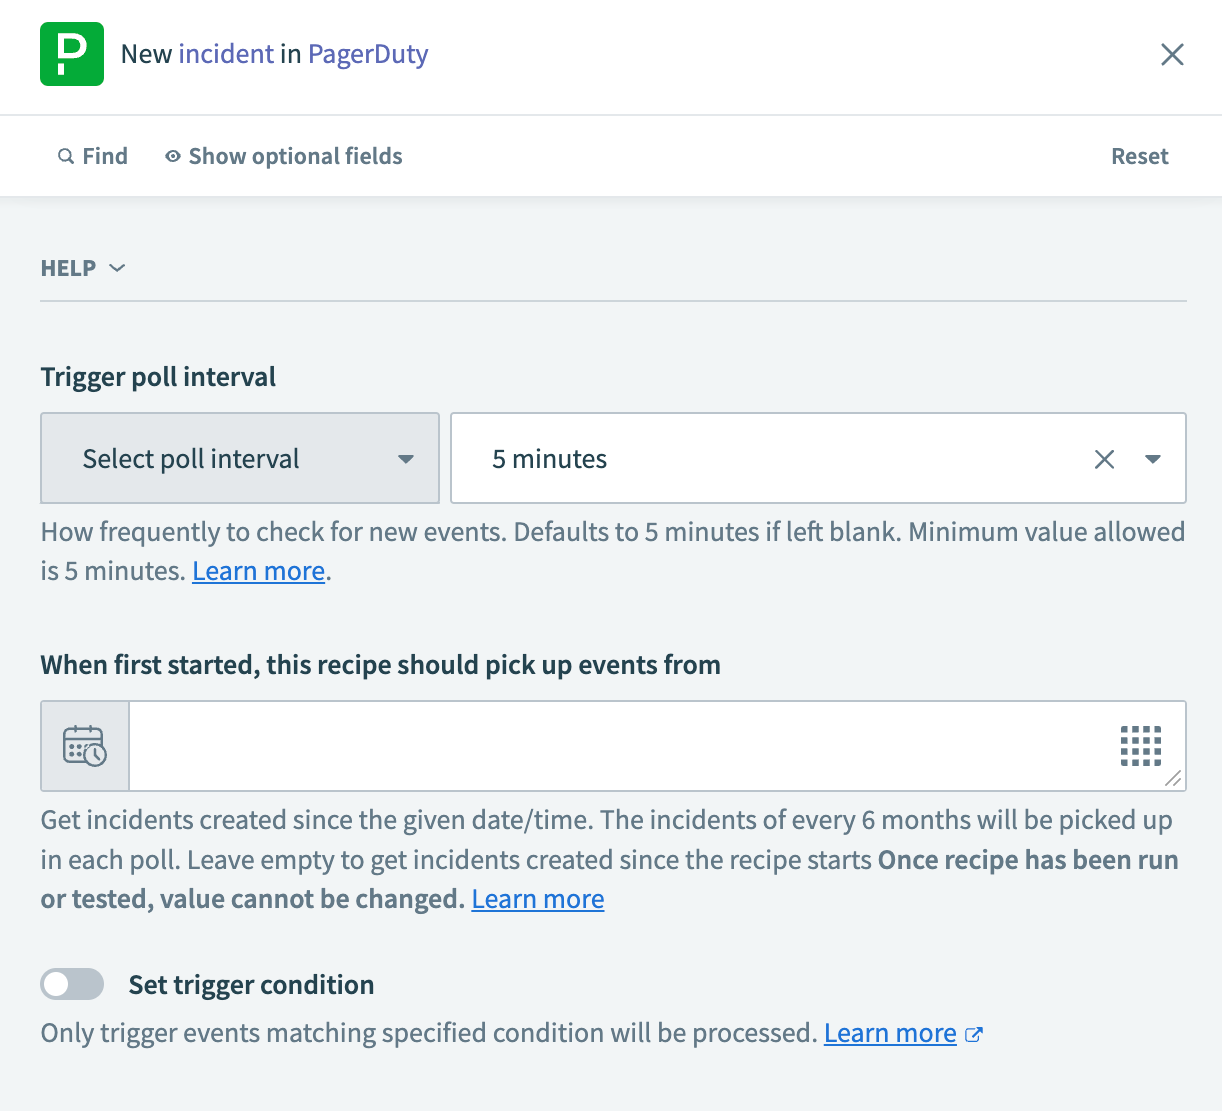 Configure the New incident trigger
Click Save.
Click + Add step and select Action in app.
 Click Add step > Add action in app
Set up your Jira Search issues batch action.
# Set up Jira Search issues batch action
This step searches for a Jira issue with a summary that matches the PagerDuty incident's summary.
Search for Jira and select it as your app.
 Choose Jira
Select the Search issues action.
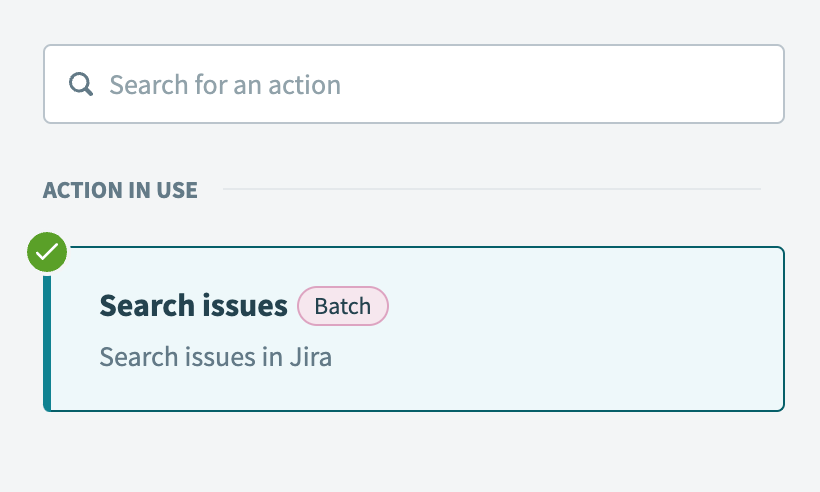 Select the Search issues batch action
Map the PagerDuty Summary Step 1 datapill to the Summary field.
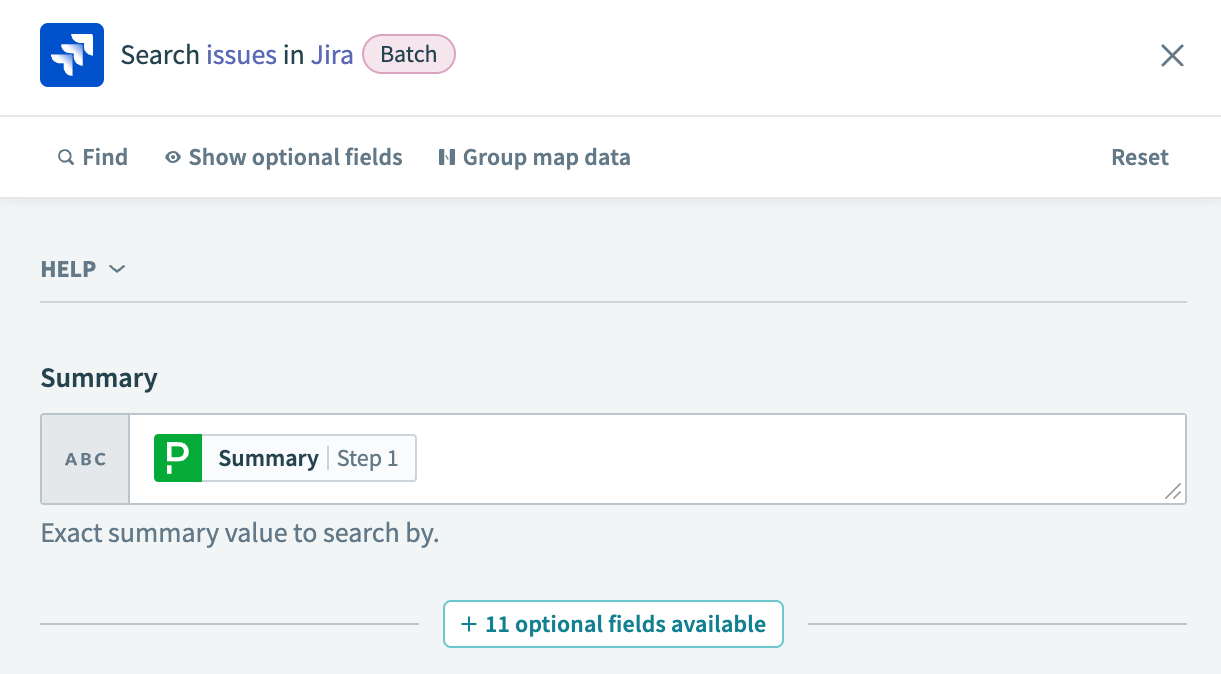 Map the Summary Step 1 datapill
Click Save.
Click + Add step and select IF condition.
 Click Add step > IF condition
How do IF conditions work?
# PagerDuty and Jira IF condition example
An IF condition enables you to make decisions based on specific conditions. You can control your recipe workflow by executing different actions depending on whether a condition you specify is present or not present (true or false).
Set up your Jira and PagerDuty IF condition.
# Set up a Jira and PagerDuty IF condition
This step checks whether the Search issues action found a Jira issue with a summary matching the new PagerDuty incident.
Map the Jira Key Step 2 datapill to Data field.
Select is present in the Condition field.
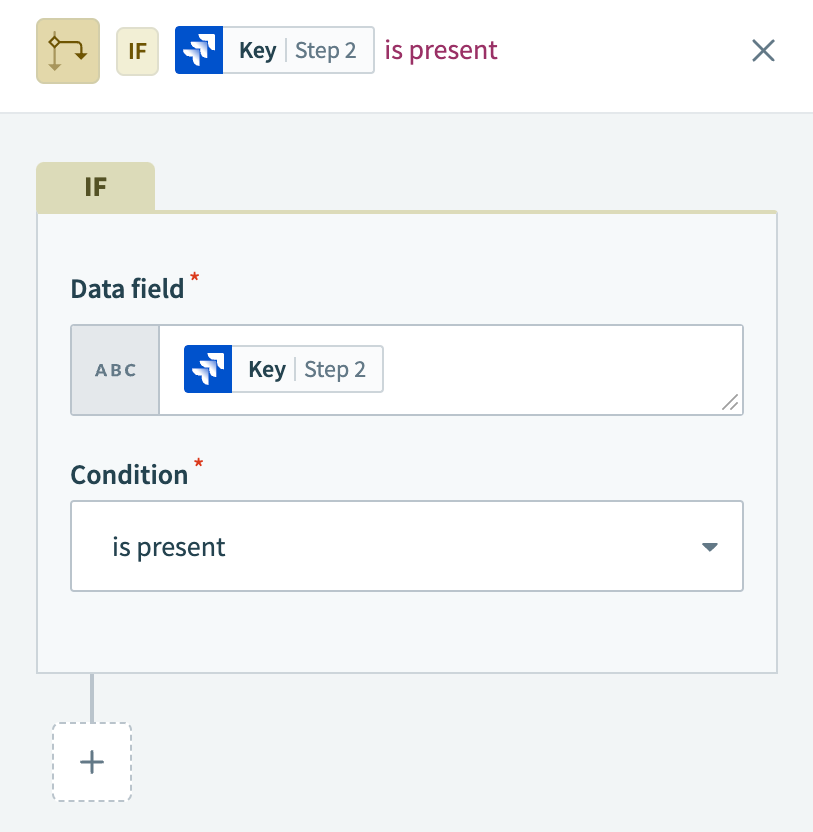 Configure your IF condition
Click Save.
Click Select an app and action.
Set up your Jira Create comment action.
# Set up Jira Create comment action
This step adds a comment to the matched Jira issue with the relevant details from PagerDuty.
Search for Jira and select it as your app.
 Choose Jira
Select the Create comment action.
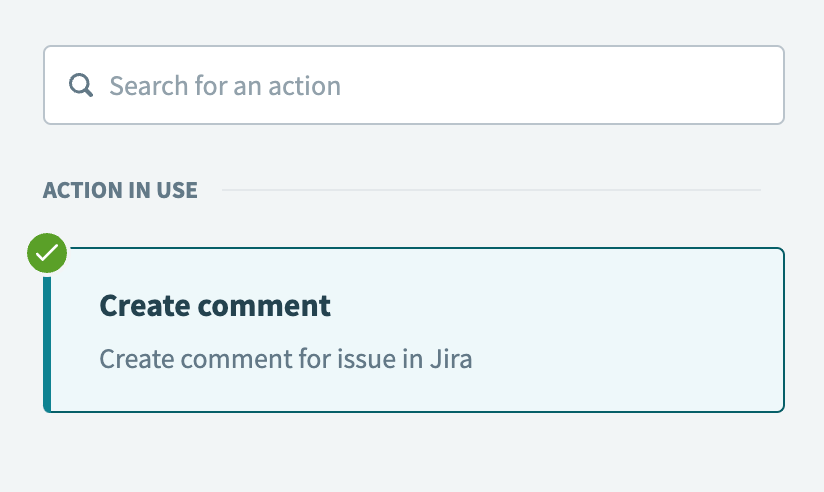 Select the Create comment action
Map the Jira Key Step 2 datapill to the Issue ID or key field.
 Map the Key Step 2 datapill
Add the following text to the Comment text field:
New incident triggered in PagerDuty for this issue

Summary:
Incident number:
Service:
Status:
Urgency:
Link to PagerDuty:
Map the relevant PagerDuty datapills to each line in the Comment text field:
- Summary Step 1
- Incident number Step 1
- Summary Step 1 (nested under the Service object)
- Status Step 1
- Urgency Step 1
- Html URL Step 1
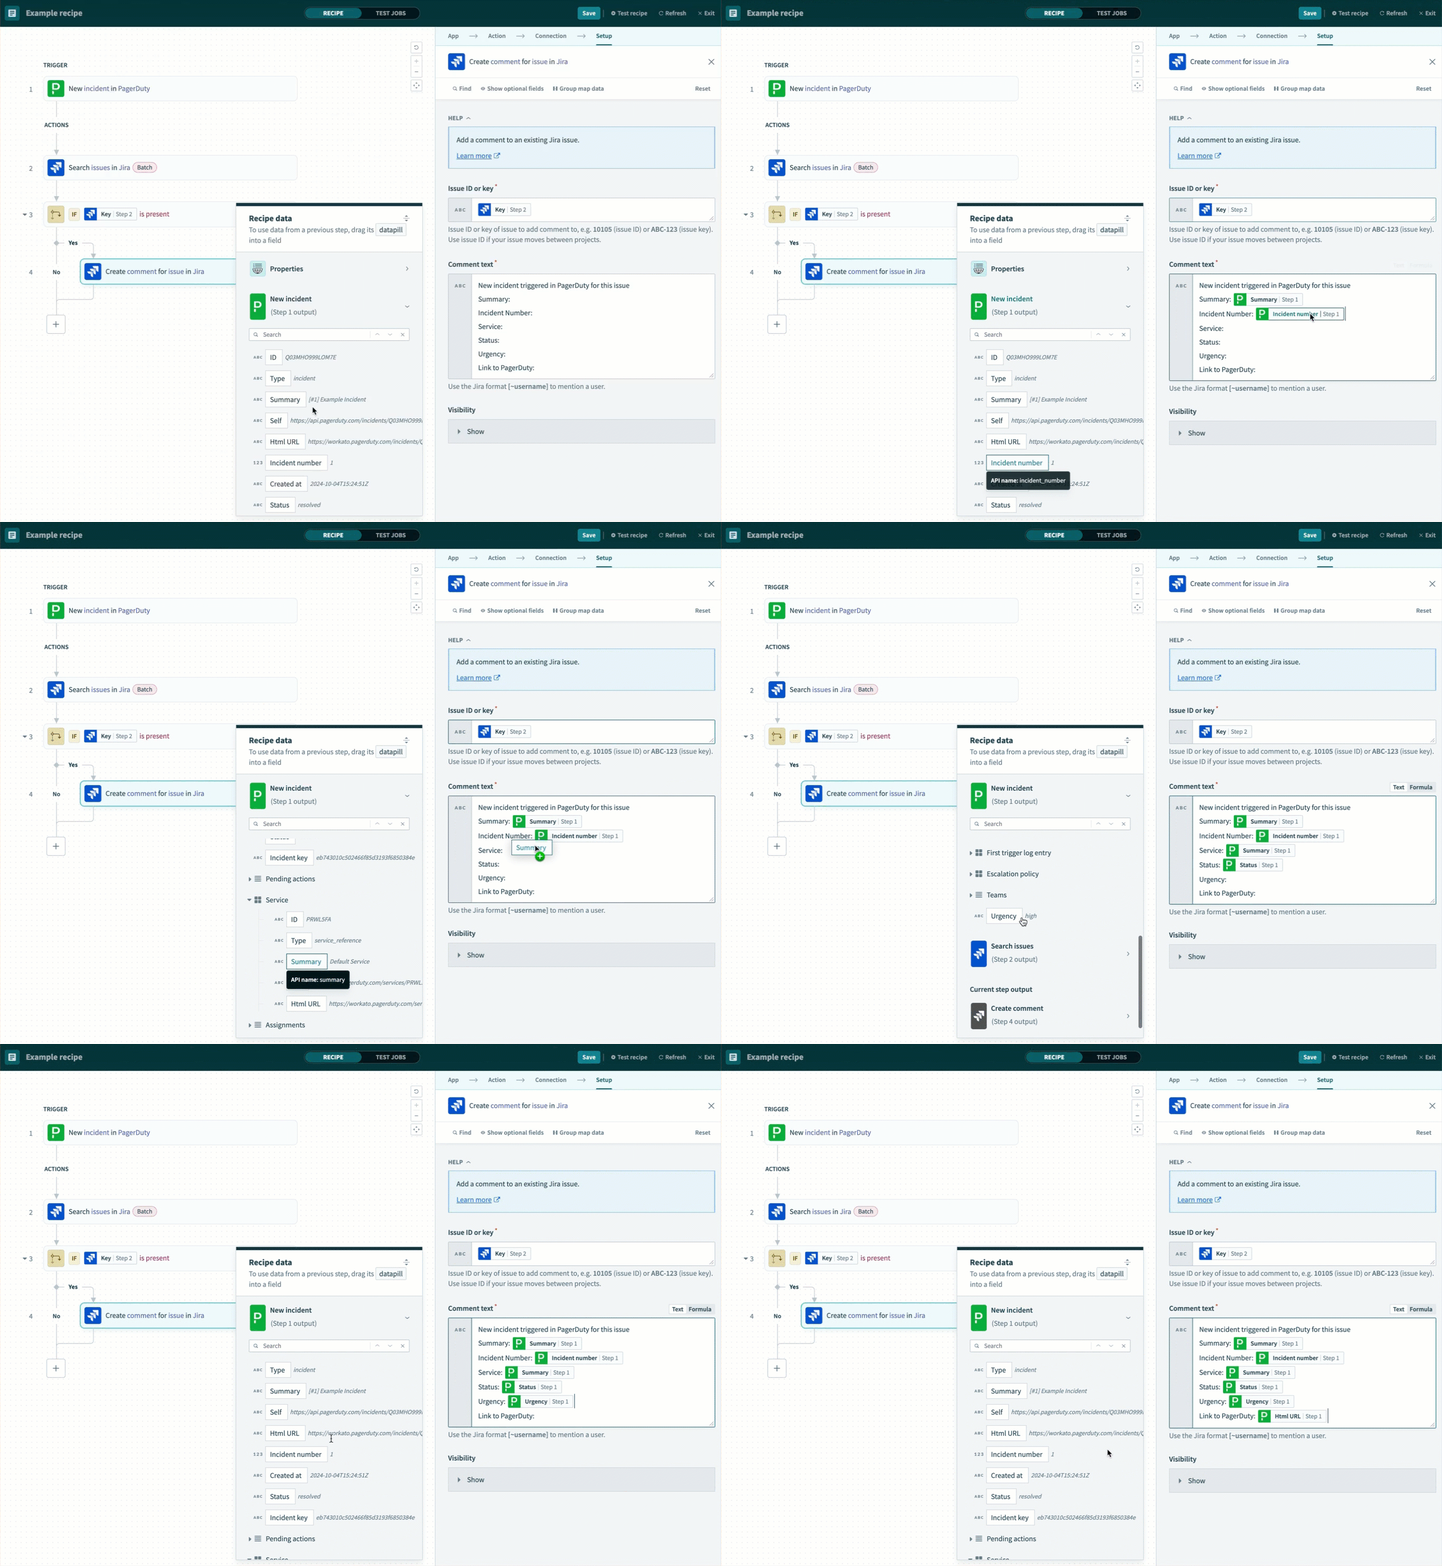 Map datapills to the Comment text field
Click Save.
Click + Add step and select Action in app.
Set up your Jira Update issue action.
# Set up Jira Update issue action
This final step in the IF condition updates the Jira issue's priority to match the PagerDuty incident. You can configure additional fields in this action to further update the issue.
Search for Jira and select it as your app.
 Choose Jira
Select the Update issue action.
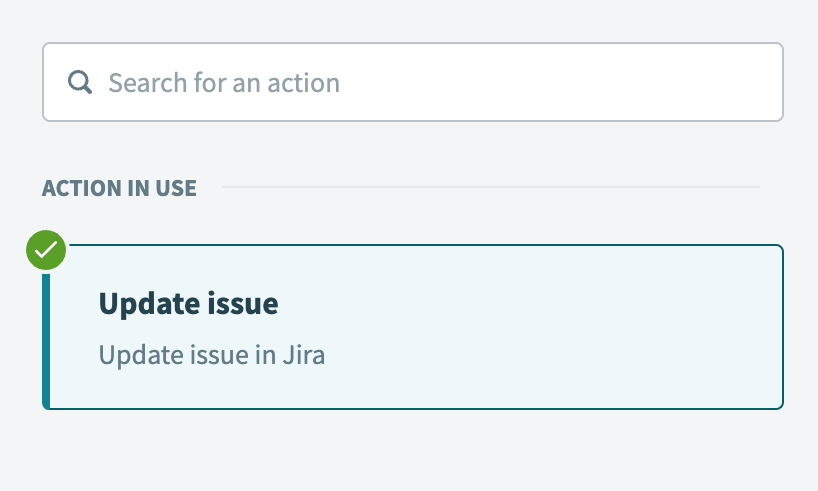 Select the Update issue action
Map the Jira Key Step 2 datapill to the Issue ID or key field.
 Map the Key Step 2 datapill
Use the Sample project issue type drop-down menu to select the issue type in your Jira project that you plan to update. This field retrieves custom fields specific to your project and issue type.
For example, in a Jira project named Incident Management, select the Incident issue type.
 Select a sample project issue type
Switch the Priority name field to formula mode and perform the following actions:
Map the PagerDuty Urgency Step 1 datapill.
Append the .capitalize formula.
 Configure the Priority name field
Click Save.
Click + Add step and select ELSE IF condition.
 Click Add step > ELSE IF condition
Set up your Jira and PagerDuty ELSE IF condition.
# Set up a Jira and PagerDuty ELSE IF condition
This step sets up an ELSE IF condition to check if there is no matching Jira issue for the PagerDuty incident and if the incident isn't resolved. The AND condition ensures that the recipe doesn't sync resolved PagerDuty incidents to Jira as new active issues.
Map the Jira Key Step 2 datapill to Data field.
Select is not present in the Condition field.
Click + (plus) and select AND to add a second condition.
Map the PagerDuty Status Step 1 datapill to Data field.
Select does not equal in the Condition field.
Type resolved in the Value field.
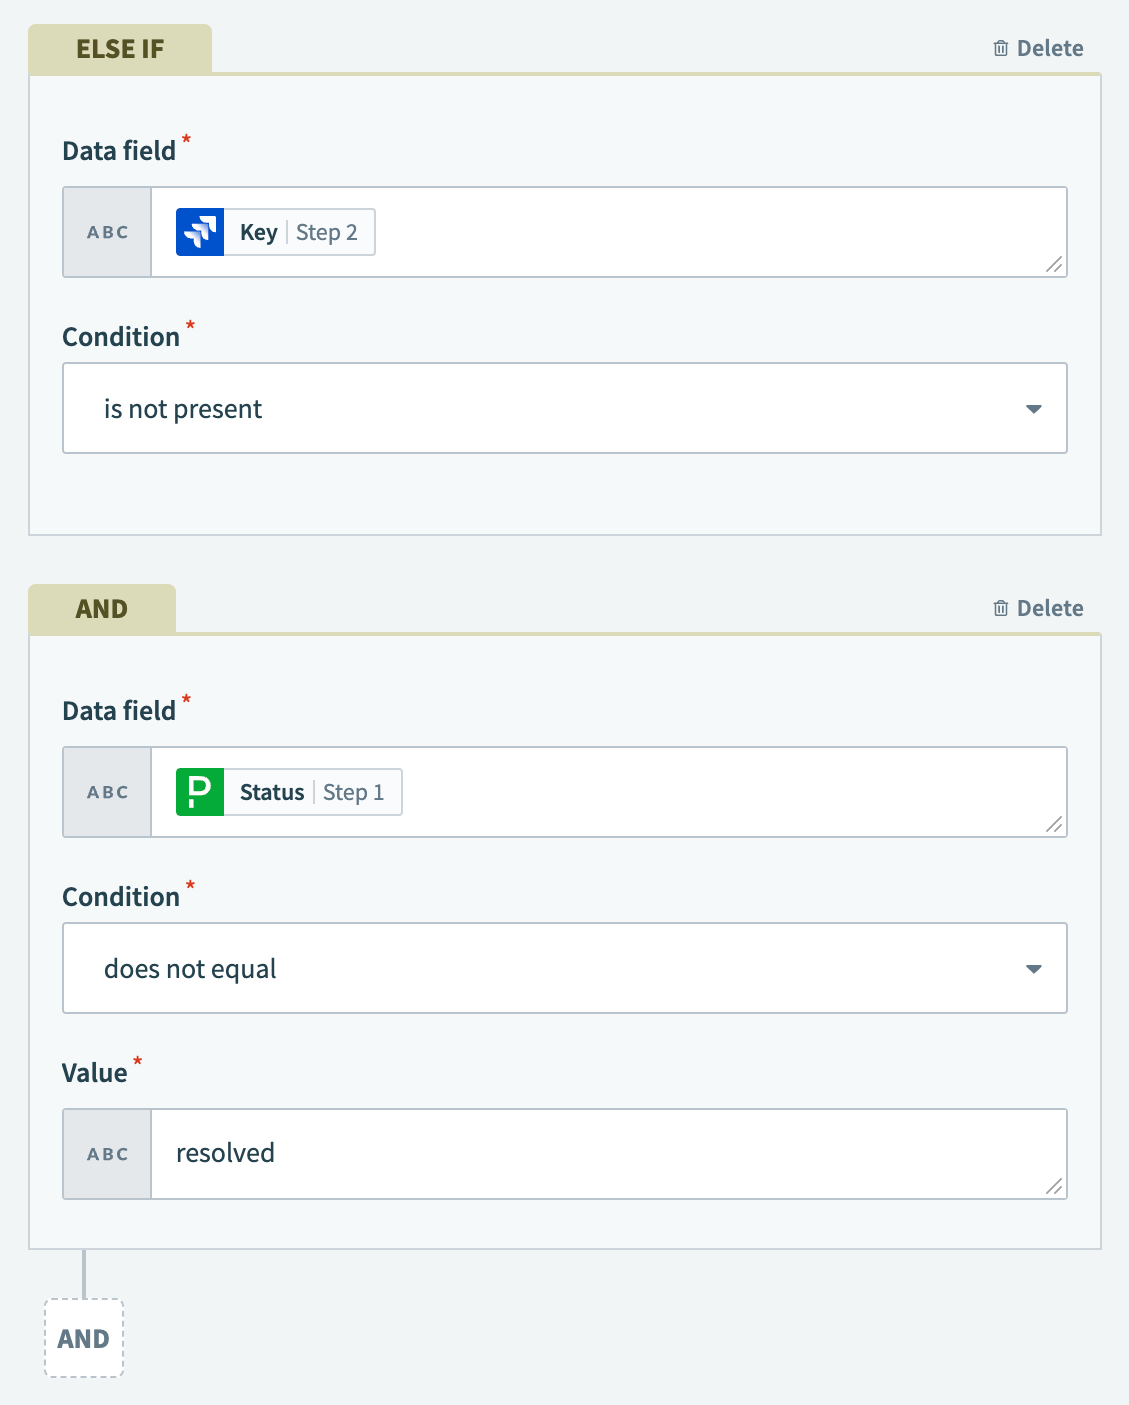 Configure your ELSE IF condition
Click Save.
Click Select an app and action.
Set up your Jira Create issue action.
# Set up Jira Create issue action
This step creates a new Jira issue with the incident issue type and syncs details from PagerDuty if no matching Jira issue exists for the PagerDuty incident and the incident isn't resolved.
Search for Jira and select it as your app.
 Choose Jira
Select the Create issue action.
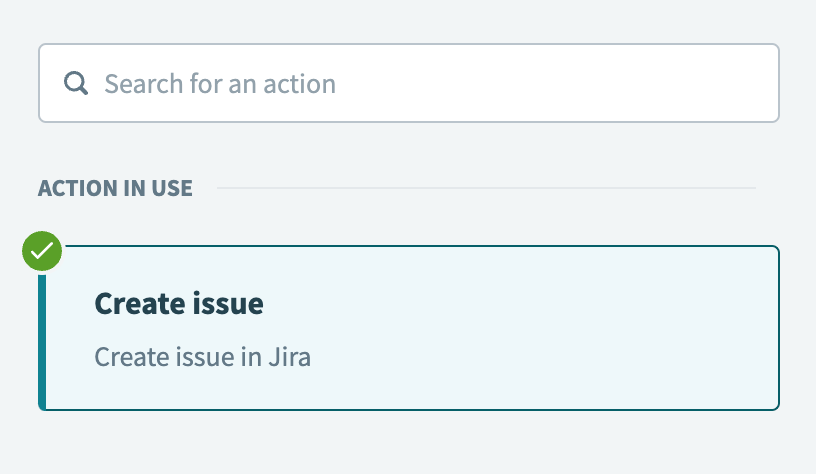 Select the Create issue action
Use the Project issue type drop-down menu to select the project and issue type.
For example, in a Jira project named Incident Management, select the Incident issue type.
Map the PagerDuty Summary Step 1 datapill to the Summary field.
Add the following text to the Description field:
Incident type:
Status:
Urgency:
Last status change at:
Map the relevant PagerDuty datapills to each line in the Description field:
- Type Step 1
- Status Step 1
- Urgency Step 1
- Last status change at Step 1
Switch the Priority name field to formula mode and perform the following actions:
Map the PagerDuty Urgency Step 1 datapill.
Append the .capitalize formula.
 Configure the Priority name field
Click Save.
Click + Add step and select Action in app.
Set up your Jira Create comment action.
# Set up Jira Create comment action
This final step in the recipe adds a comment to the new Jira issue with the relevant details from PagerDuty.
Search for Jira and select it as your app.
 Choose Jira
Select the Create comment action.
 Select the Create comment action
Map the Jira Key Step 7 datapill to the Issue ID or key field. This field identifies the Jira issue where the new comment should be added.
Add the following text to the Comment text field:
New incident triggered in PagerDuty for this issue

Summary:
Incident number:
Service:
Status:
Urgency:
Link to PagerDuty:
Map the relevant PagerDuty datapills to each line in the Comment text field:
- Summary Step 1
- Incident number Step 1
- Summary Step 1 (nested under the Service object)
- Status Step 1
- Urgency Step 1
- Html URL Step 1
Click Save.
Your Create or update Jira issues from new PagerDuty incidents recipe is ready to test and implement.
Example recipe configuration.
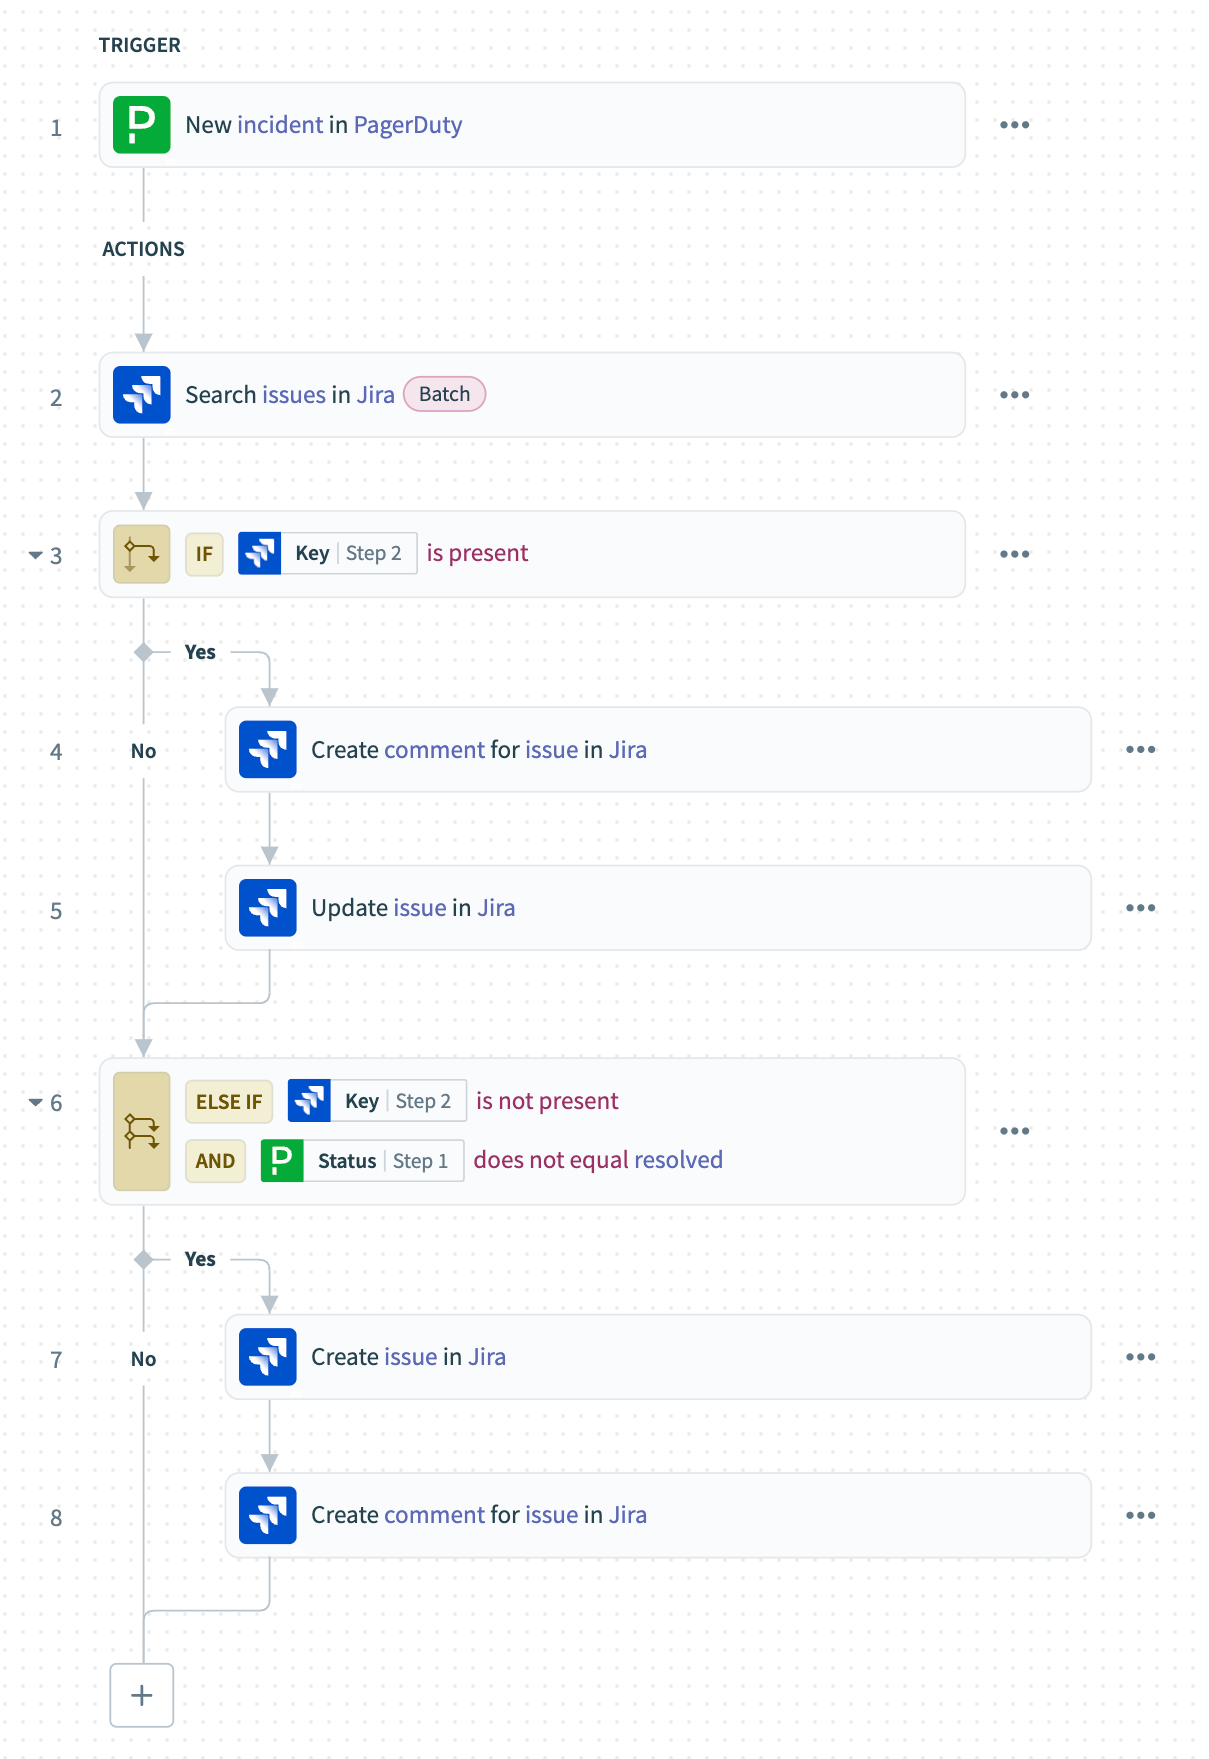 Create or update Jira issues from new PagerDuty incidents recipe
Last updated: 12/22/2025, 5:25:59 PM