# Sync PlanGrid safety reports to Microsoft SharePoint recipe
This use case guides you through connecting PlanGrid and Microsoft SharePoint to create a powerful automation.
# What does this recipe do?
This recipe synchronizes new and updated safety inspection field reports from PlanGrid to Microsoft SharePoint.
# Create your recipe
Complete the following steps to create a recipe that synchronizes new and updated safety inspection field reports from PlanGrid to Microsoft SharePoint:
USE CASES ARE INTENDED AS EXAMPLES ONLY
This use case serves as an example. Modifications to triggers, actions, or conditional logic may be necessary to adapt this recipe to your workflow.
Sign in to Workato.
Select the project where you plan to create the recipe.
Create connections for PlanGrid and Microsoft SharePoint:
Create a PlanGrid connection.
# Create a PlanGrid connection
This step creates a connection between Workato and your PlanGrid account.
Click Create > Connection.
Search for and select PlanGrid on the New connection page.
Provide a name for your connection in the Connection name field.
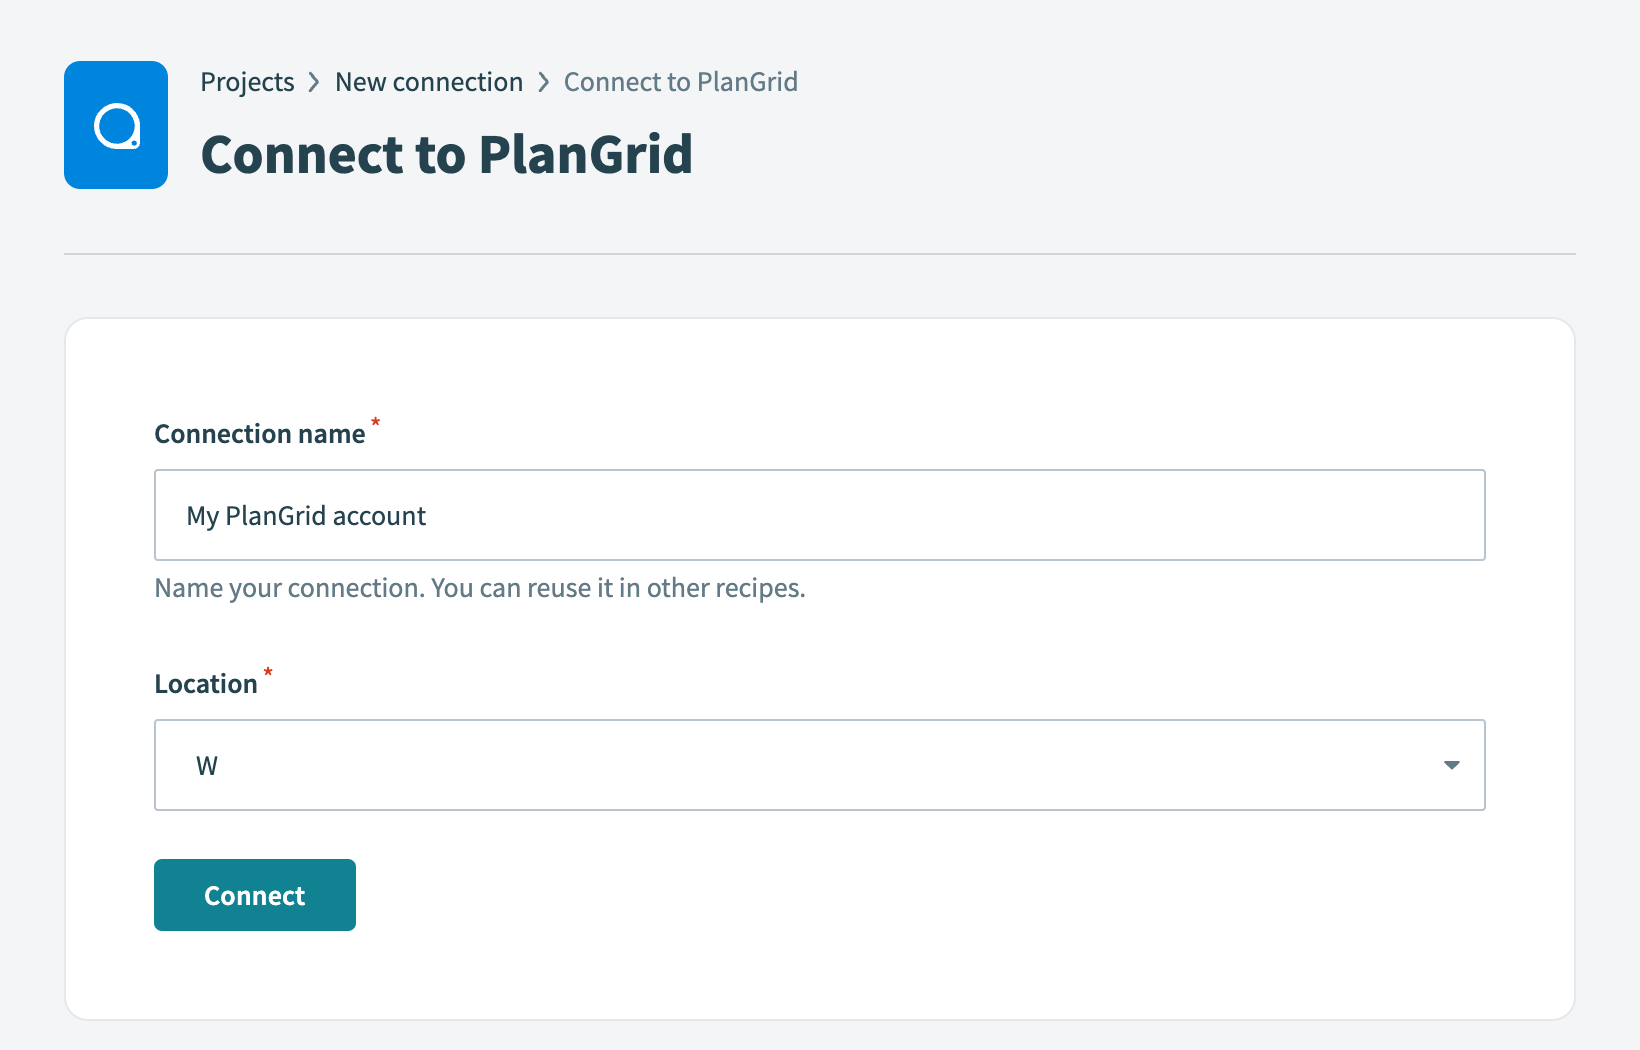 PlanGrid connection setup
Use the Location drop-down menu to select the project where you plan to store the connection.
Click Connect. A PlanGrid OAuth dialog appears.
Click Give Permission to authorize Workato to establish the connection.
Create a Microsoft SharePoint connection.
# Create a Microsoft SharePoint connection
This step creates a connection between Workato and your Microsoft SharePoint account.
You must have an Azure account to connect Microsoft SharePoint to Workato. Workato supports the following authentication methods:
# Authorization code grant connection
This method requires the following fields:
- Subdomain
- Client ID (optional)
- Client Secret (optional)
# Step 1: Register the Workato app in Microsoft SharePoint and generate a client ID and secret
Complete the following steps to register the Workato app and generate a client ID and secret for authorization code grant connections:
Sign in to your Azure Portal (opens new window).
Go to Microsoft Entra ID > Manage > App registrations and click New registration.
Enter a name for the application in the Name field.
Specify who can use this application in the Supported account type field.
Use the Select a platform drop-down menu to select Web.
Enter https://www.workato.com/oauth/callback in the Redirect URI field.
Click Register.
Go to Manage > API permissions and click Add a permission.
Select SharePoint as your API.
Select the Delegated permissions option.
Expand AllSites within the Select permissions field and select the AllSites.Read (Delegated) checkbox.
Go to Manage > Certificates & secrets and click New client secret.
Enter a description for the client secret in the Description field.
Use the Expires drop-down menu to set the expiration date for the client secret.
Click Add to create the client secret.
Click Copy to clipboard next to the Value after you create the secret. This is your Client Secret. Save this value in a secrets vault.
Go to Overview and copy the Application (client) ID value. This is your Client ID.
You can now configure your Microsoft SharePoint connection in Workato using the API permissions you set up in the Azure Portal.
# Step 2: Complete setup in Workato
Click Create > Connection.
Search for and select Microsoft Sharepoint on the New connection page.
Provide a name for your connection in the Connection name field.
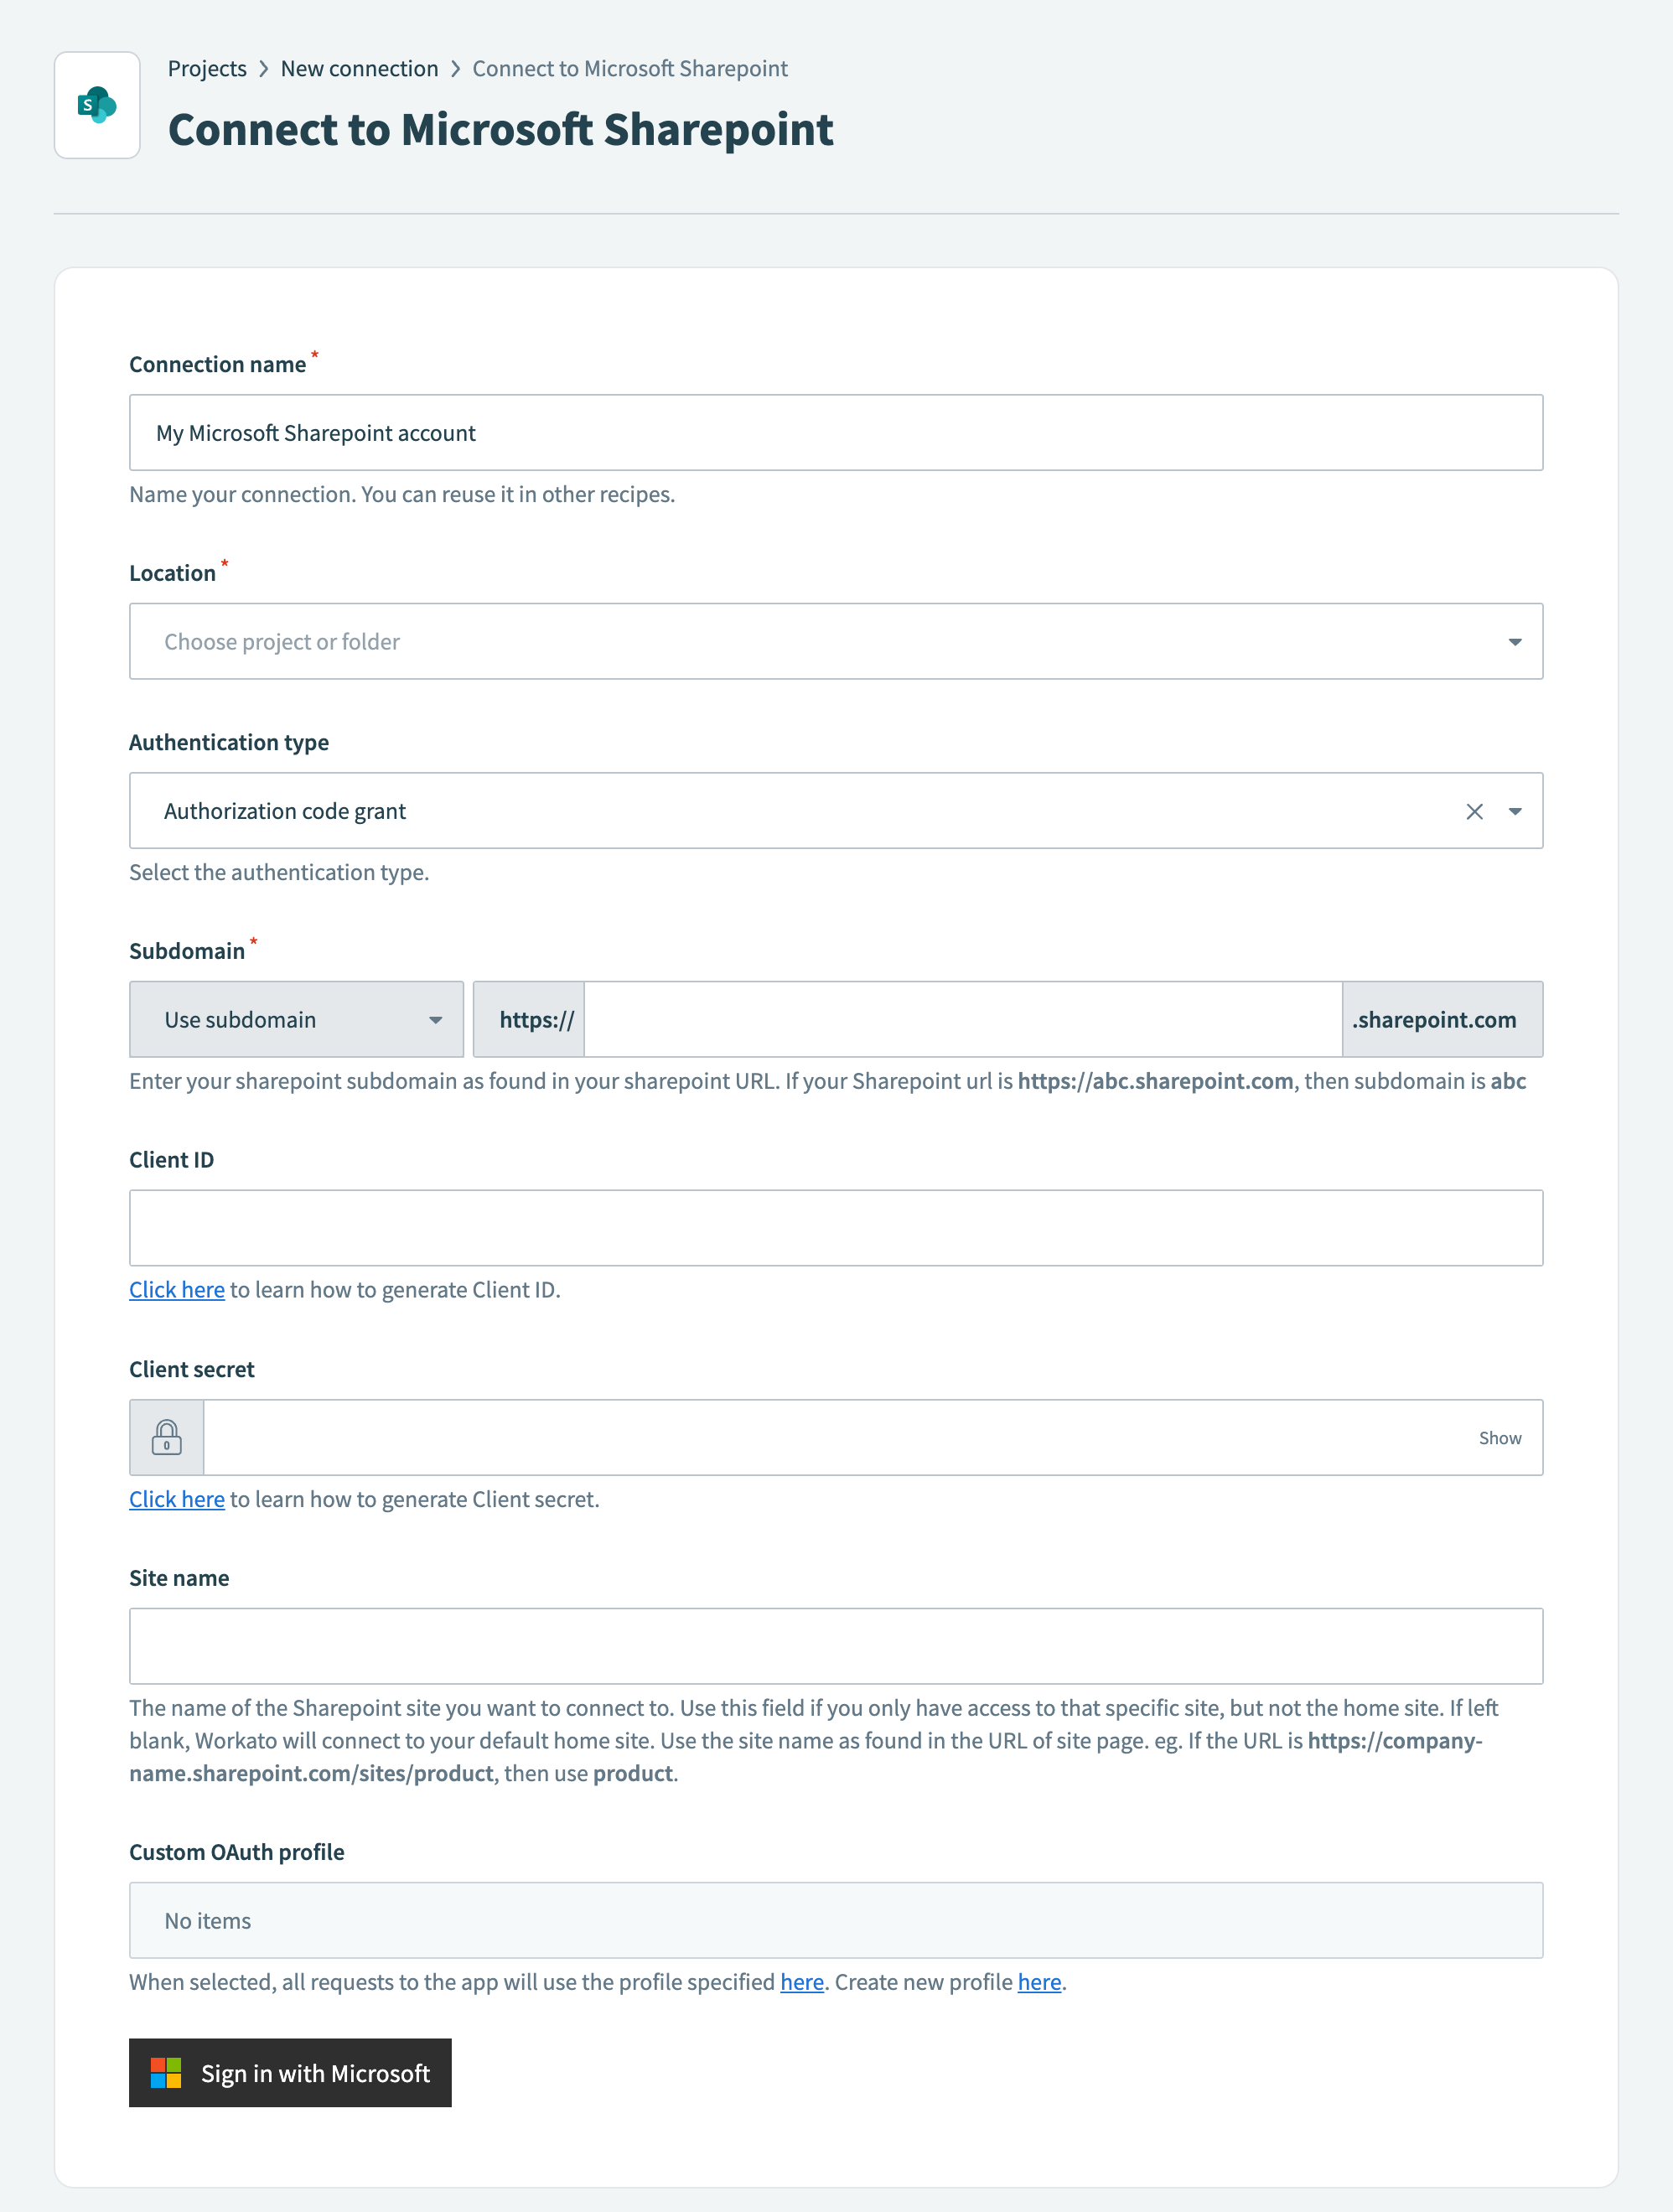 Microsoft SharePoint connection setup
Use the Authentication type drop-down menu to select Authorization code grant.
Enter your SharePoint subdomain as found in your SharePoint URL in the Subdomain field. For example, if your SharePoint URL is https://abc.sharepoint.com, the subdomain is abc.
Enter the client ID generated in SharePoint in the Client ID field.
Enter the client secret generated in SharePoint in the Client secret field.
Enter the name of the SharePoint site you plan to connect to in the Site name field. If left blank, Workato connects to your default home site. Use the site name as found in the URL of the site page. For example, if the URL is https://company-name.sharepoint.com/sites/product, the site name is product.
Click Sign in with Microsoft.
Enter your credentials to sign in.
Click Accept to authorize the app you created in your Azure Portal.
# Client credentials grant connection
This method requires the following values:
- Subdomain
- Tenant ID
- Client ID
- Certificate
- Private Key
# Step 1: Register the Workato application in Microsoft SharePoint
Complete the following steps to register the Workato app and obtain a client ID, secret, and private key for client credentials grant connections.
Sign in to your Azure Portal (opens new window).
Go to Microsoft Entra ID > Manage > App registrations and click New registration.
Enter a name for the application in the Name field.
Specify who can use this application in the Supported account type field.
Use the Select a platform drop-down menu to select Web.
Enter https://www.workato.com/oauth/callback in the Redirect URI field.
Click Register.
Go to Manage > API permissions and click Add a permission.
Select SharePoint as your API.
Select the Application permissions option.
Expand Sites in the Select permissions section and select the Sites.Read.All (Application) checkbox. Ensure that admin consent is granted in the Status column.
Go to Manage > Certificates & secrets > Certificates and click Upload certificate.
Upload a certificate if you already have one. If not, you can generate the certificate locally using tools such as OpenSSL or PowerShell.
Go to Overview and copy the Application (client) ID value. This is your Client ID.
Copy the Directory (tenant) ID value. This is your Tenant ID.
You can now configure your Microsoft SharePoint connection in Workato using these required values.
# Step 2: Configure your Microsoft SharePoint connection in Workato
Click Create > Connection.
Search for and select Microsoft Sharepoint on the New connection page.
Provide a name for your connection in the Connection name field.
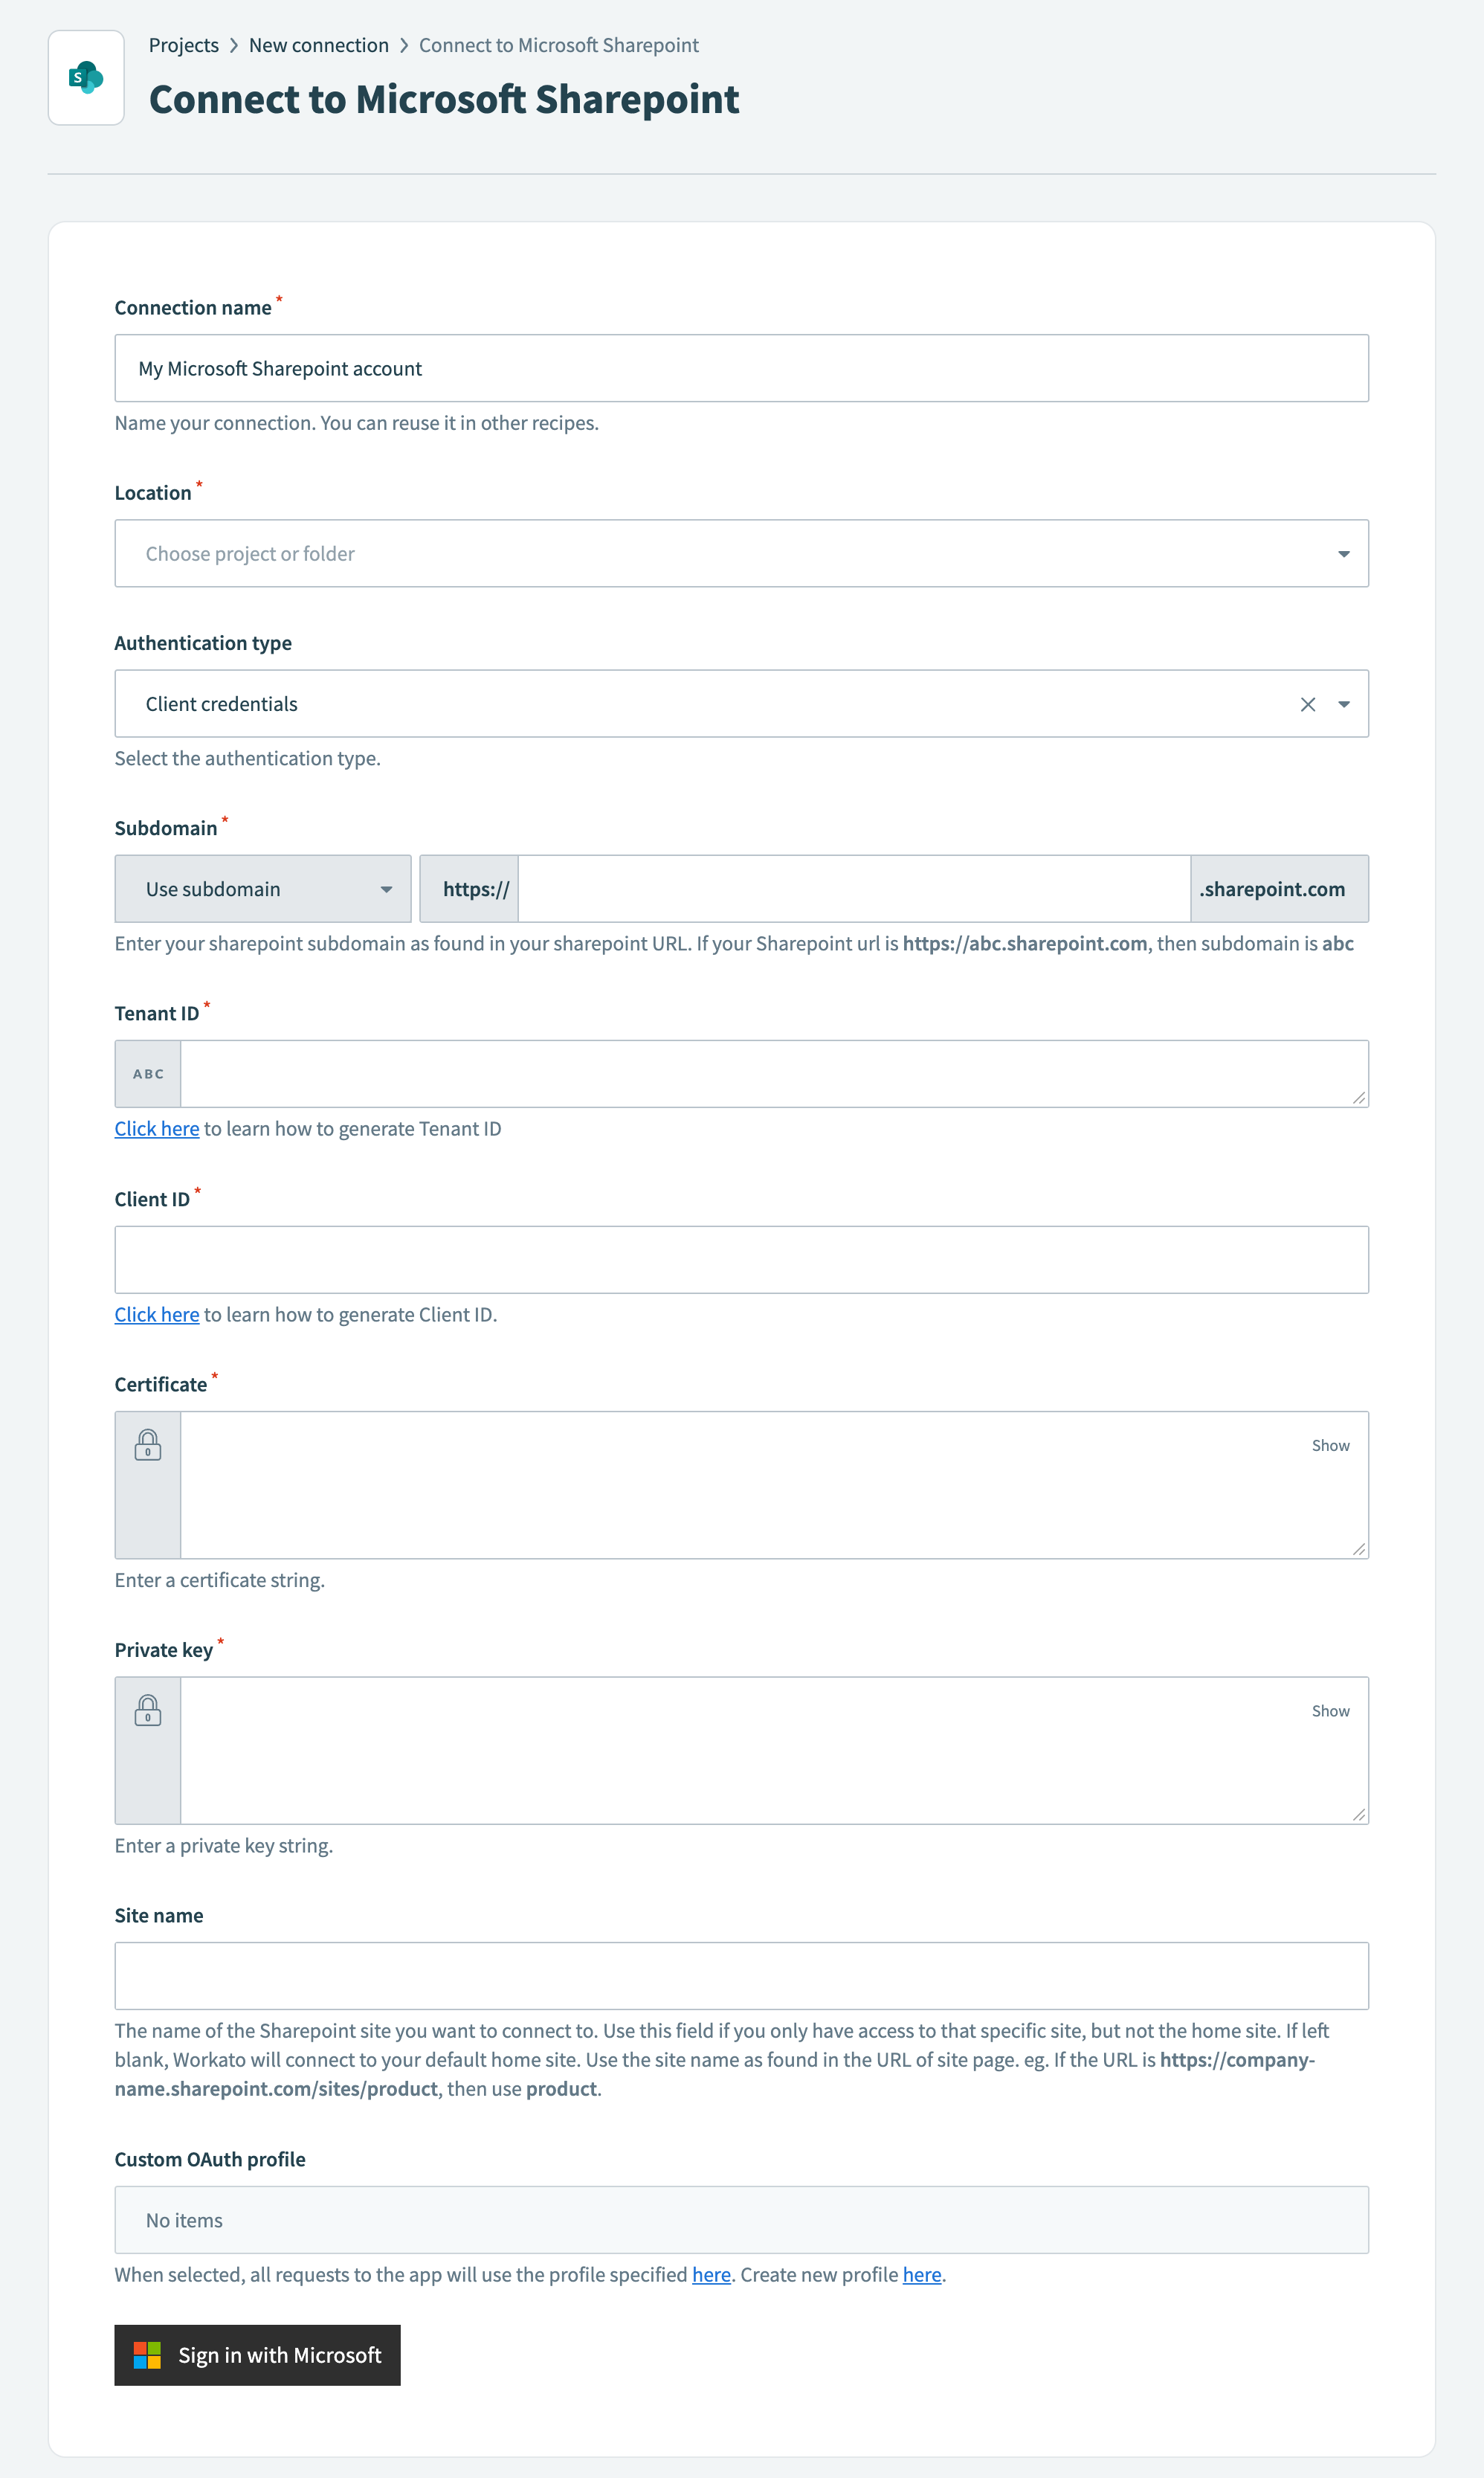 Microsoft SharePoint connection setup
Use the Authentication type drop-down menu to select Client credentials.
Enter your SharePoint subdomain as found in your SharePoint URL in the Subdomain field. For example, if your SharePoint URL is https://abc.sharepoint.com, the subdomain is abc.
Provide the tenant ID generated in SharePoint in the Tenant ID field.
Provide the client ID generated in SharePoint in the Client ID field.
Provide the certificate generated in SharePoint in the Certificate field.
Provide the private key string generated in SharePoint in the Private key field.
Enter the name of the SharePoint site you plan to connect to in the Site name field. If left blank, Workato connects to your default home site. Use the site name as found in the URL of the site page. For example, if the URL is https://company-name.sharepoint.com/sites/product, the site name is product.
Click Sign in with Microsoft.
Go back to your project and click Create > Recipe.
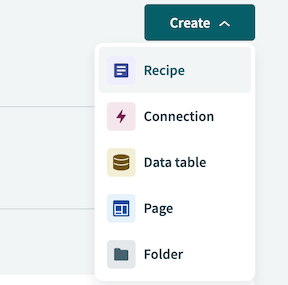 Create a new recipe
Enter a name for your recipe in the Name field.
Select the project where you plan to store the recipe from the Location drop-down menu.
Click Start building.
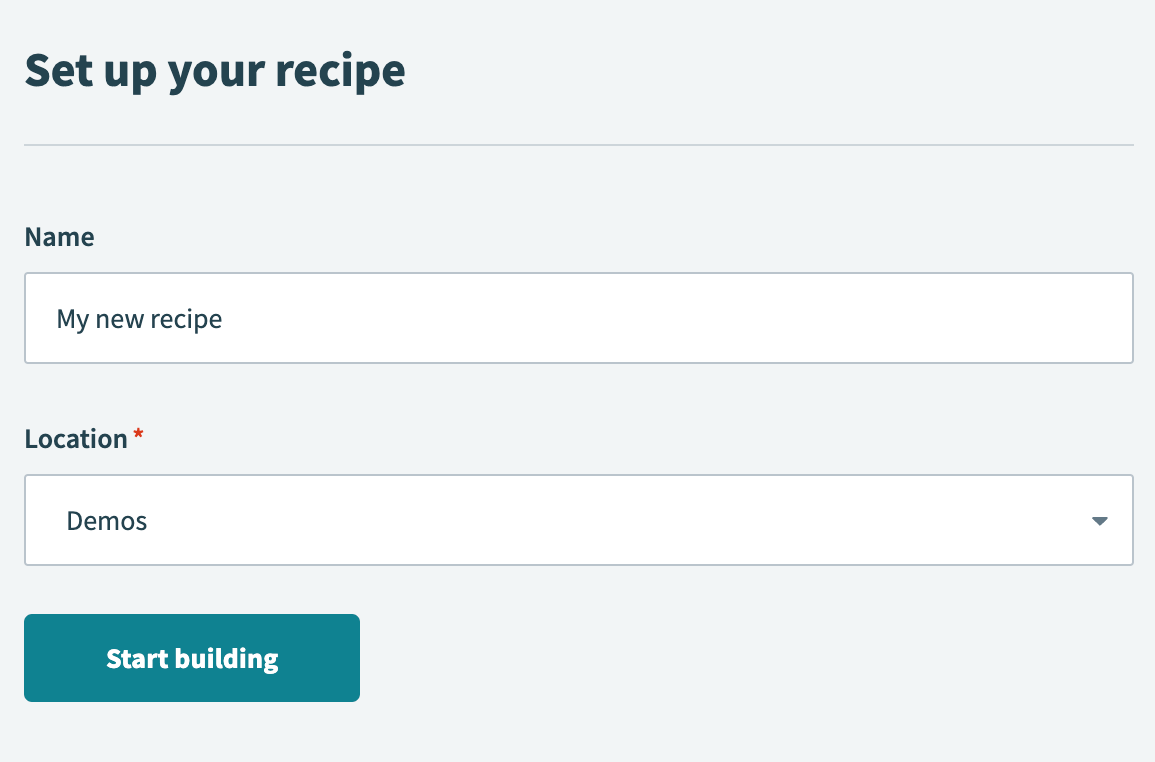 Start building your recipe
Click Pick a starting point, then select Trigger from an app.
Click Select an app and trigger event.
Set up your PlanGrid New or updated object trigger.
# Set up PlanGrid New or updated object trigger
This trigger monitors your PlanGrid project for new or updated field reports that include the word Safety in the file name.
Search for PlanGrid and select it as your app.
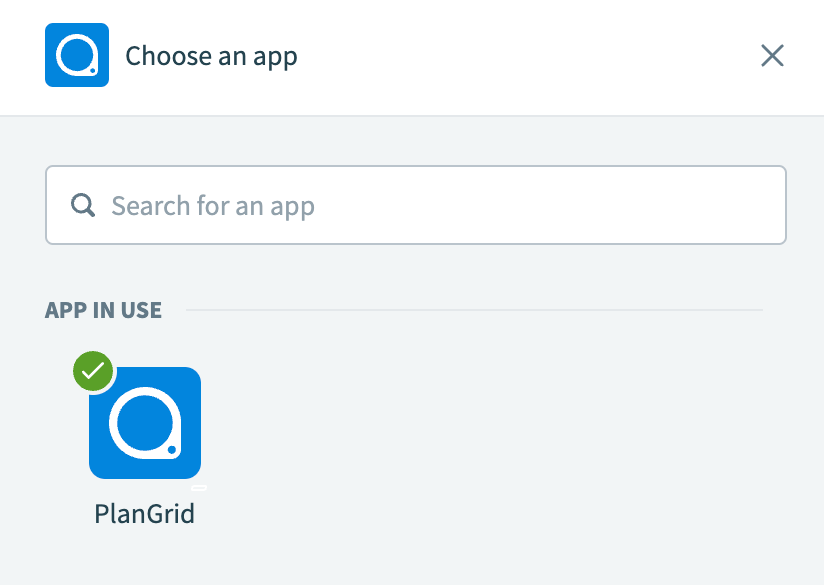 Choose PlanGrid
Select the New or updated object in PlanGrid trigger.
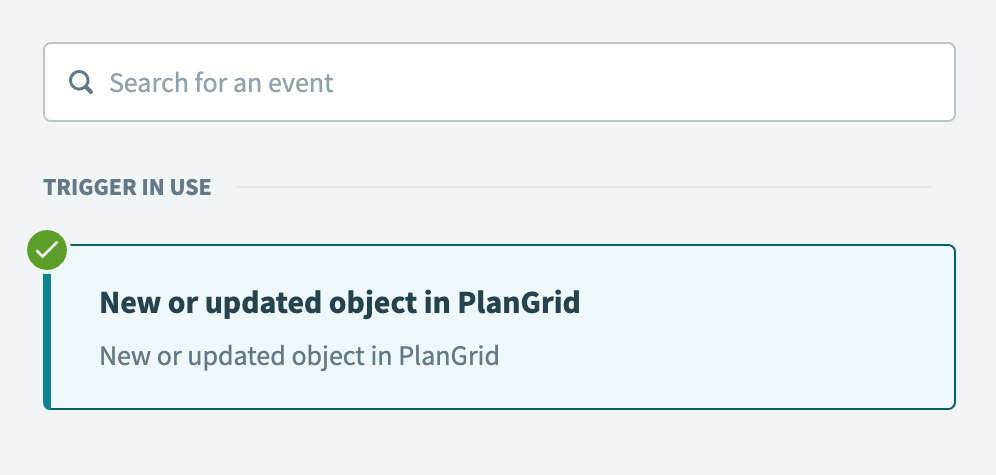 Select the New or updated object in PlanGrid trigger
Use the Object drop-down menu to select Field Report.
Use the Project drop-down menu to select your project.
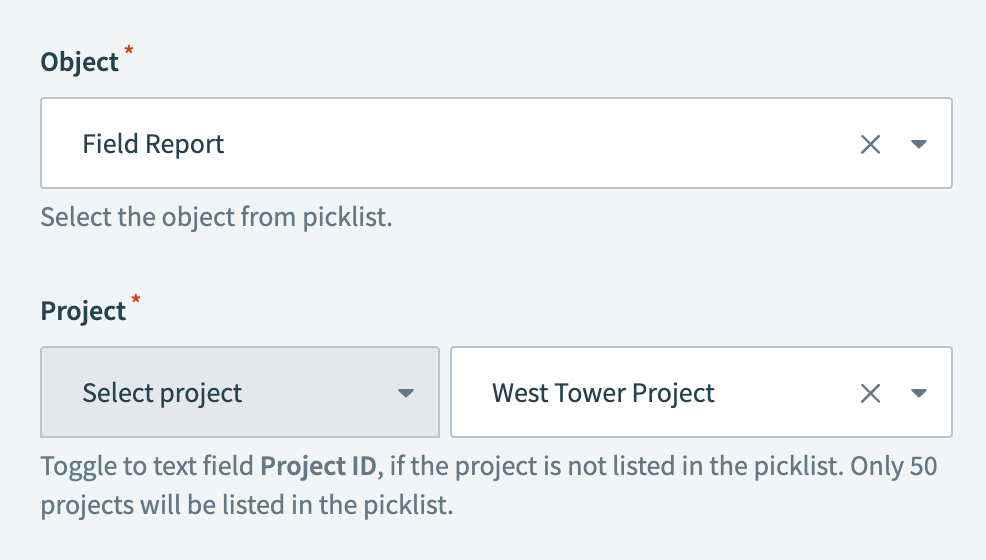 Configure the trigger
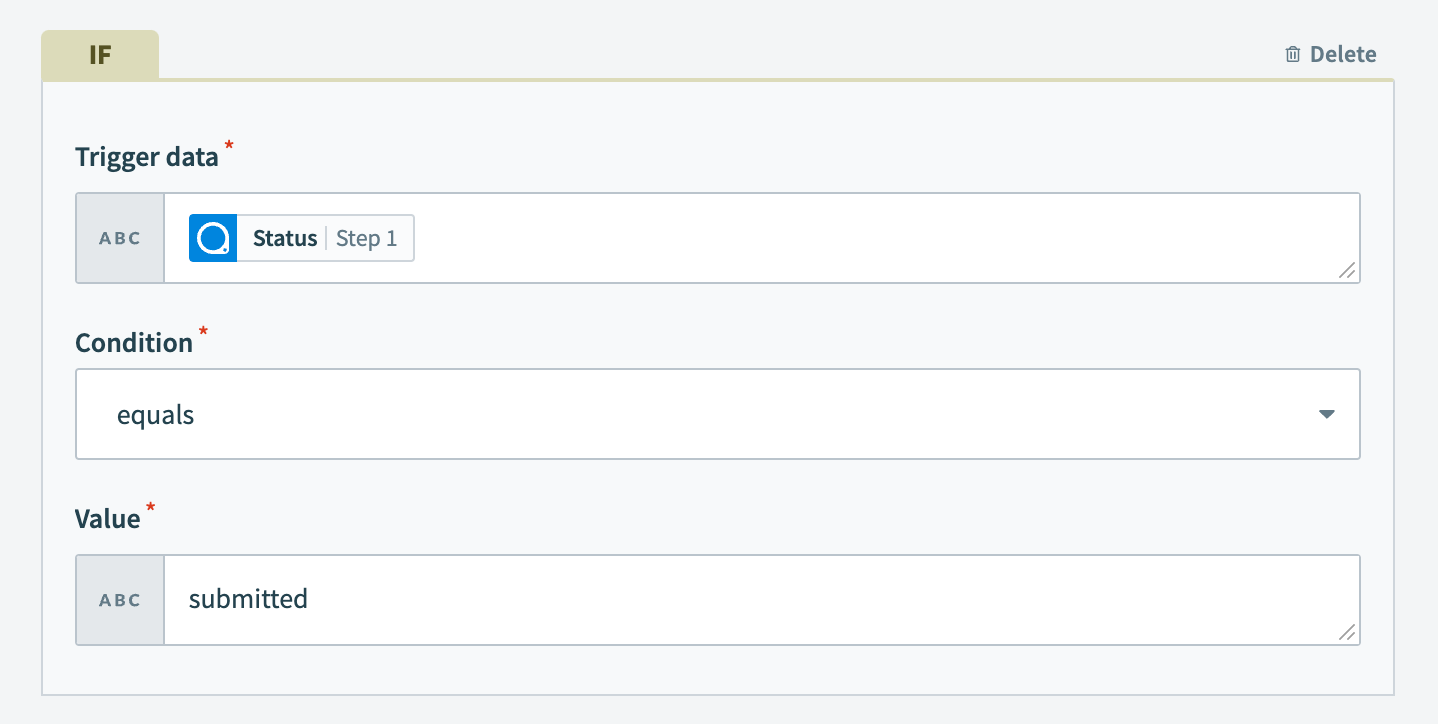
Click the Set trigger condition toggle.
 Set trigger condition
Map the PlanGrid Status Step 1 datapill to the Trigger data field.
Use the Condition drop-down menu to select equals.
Type submitted in the Value field.
 Set trigger condition
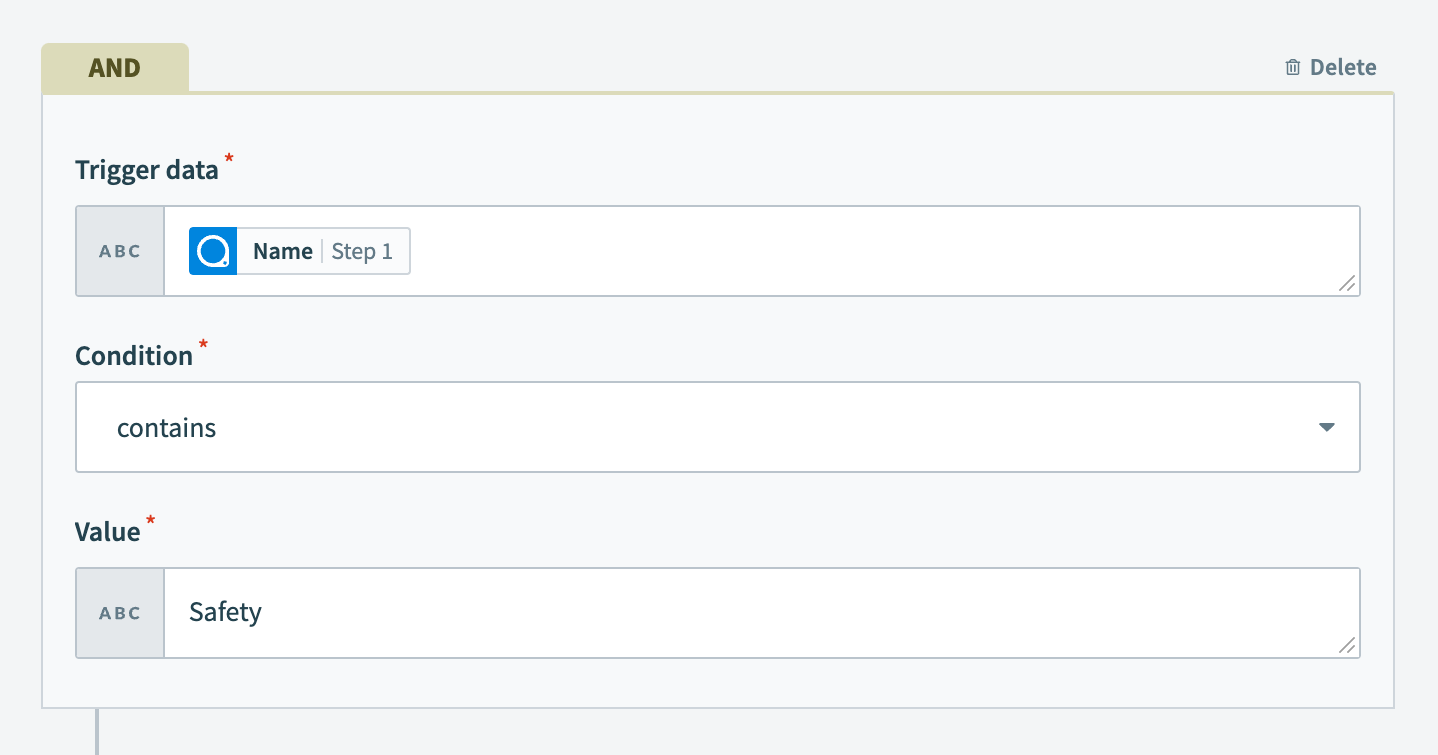
Click + (plus) and select AND to add a second condition.
Map the PlanGrid Name Step 1 datapill to the Trigger data field.
Use the Condition drop-down menu to select contains.
Type Safety in the Value field.
 Set trigger condition
Click Save.
Click + Add step and select IF condition.
 Click Add step > IF condition
How do IF conditions work?
# PlanGrid and Microsoft SharePoint IF condition example
An IF condition enables you to make decisions based on specific conditions. You can control your recipe workflow by executing different actions depending on whether a condition you specify is true or false.
Set up your PlanGrid IF condition.
# Set up a PlanGrid IF condition
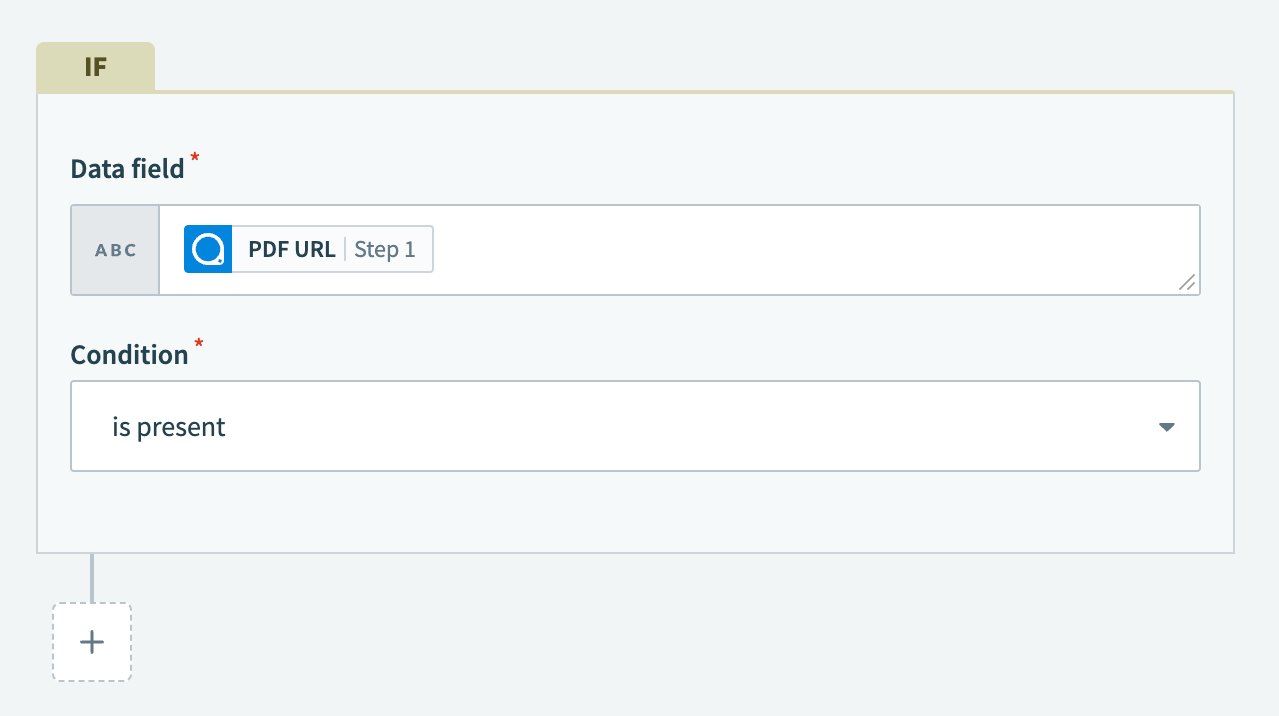
This step checks if a PDF URL is present in the trigger output.
Map the PlanGrid PDF URL Step 1 datapill to Data field.
Use the Condition drop-down menu to select is present.
 Configure your IF condition
Click Save.
Click + Add step and select Action in app.
 Click Add step > Add action in app
Set up your File tools by Workato Get file from URL action.
# Set up File tools by Workato Get file from URL action
This step retrieves the file contents from the PDF URL.
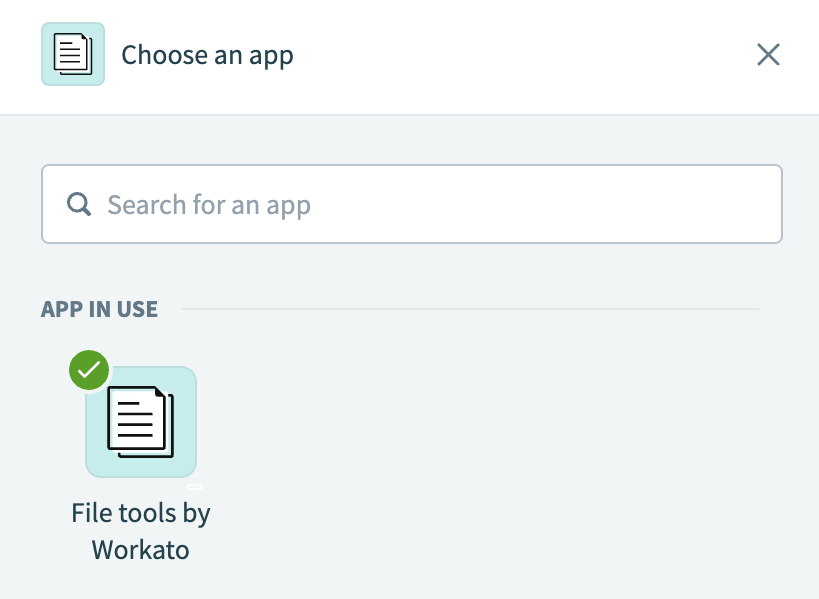
Search for File tools by Workato and select it as your app.
 Choose File tools by Workato
Select the Get file from URL action.
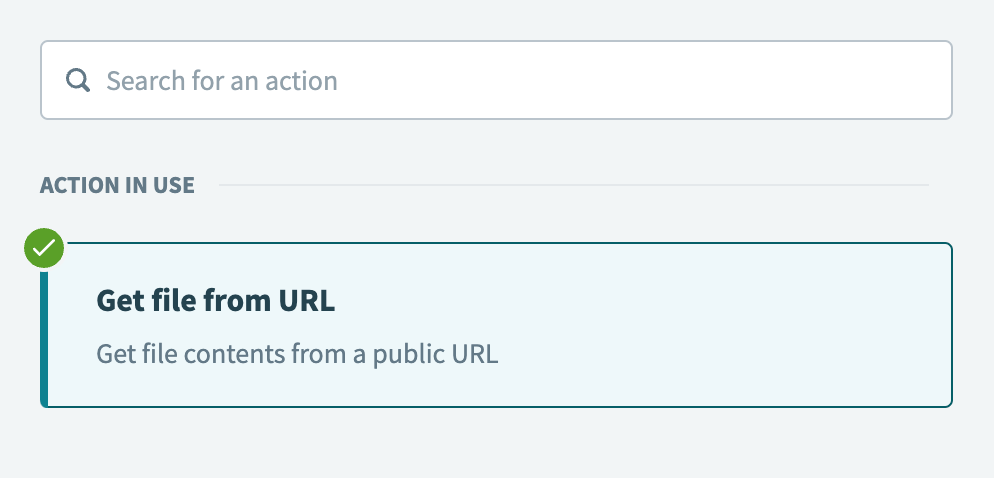 Select the Get file from URL action
Map the PlanGrid PDF URL Step 1 datapill to the URL field.
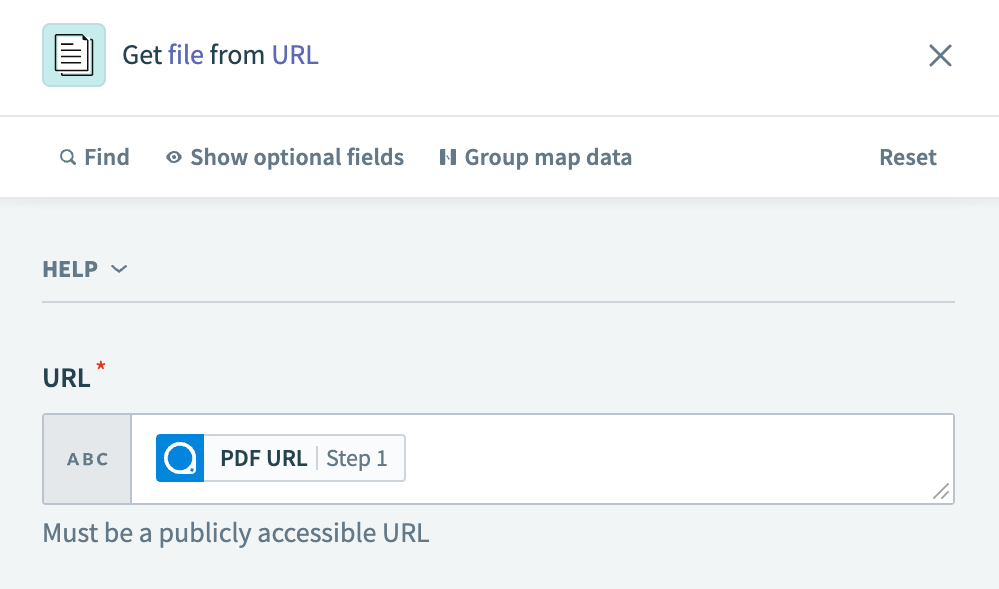 Map the PDF URL Step 1 datapill
Click Save.
Click + Add step and select Action in app.
Set up your Microsoft SharePoint Upload file in library action.
# Set up Microsoft SharePoint Upload file in library action
This step uploads the PlanGrid field report PDF file to a folder you specify in Microsoft SharePoint.
Search for Microsoft SharePoint and select it as your app.
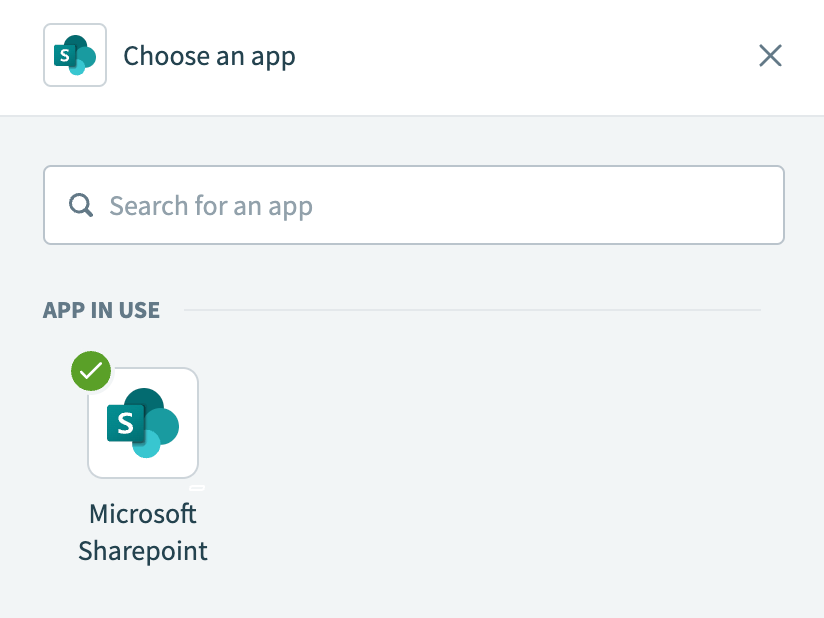 Choose Microsoft SharePoint
Select the Upload file in library action.
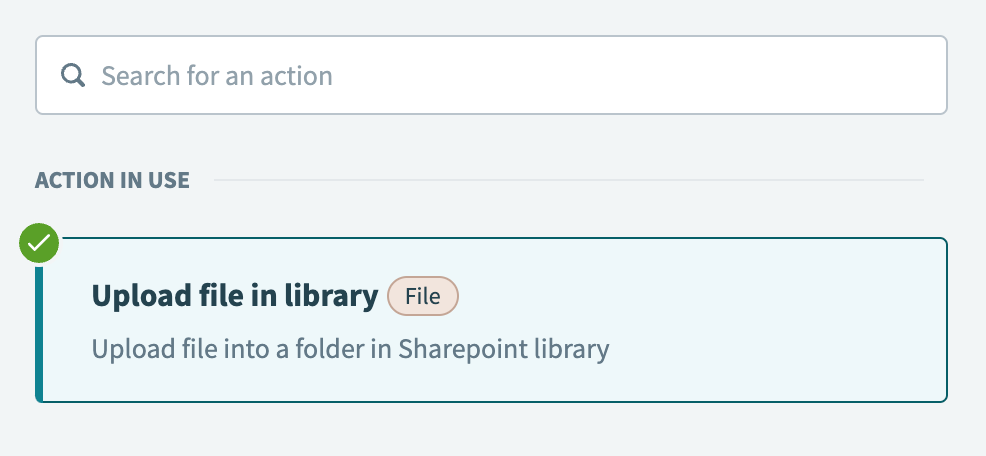 Select the Upload file in library action
Enter the name of the Microsoft SharePoint site you plan to connect to in the Site name field. If left blank, Workato connects to the site name specified when you configured your connection.
Select the folder where you plan to upload the field report in the Folder field.
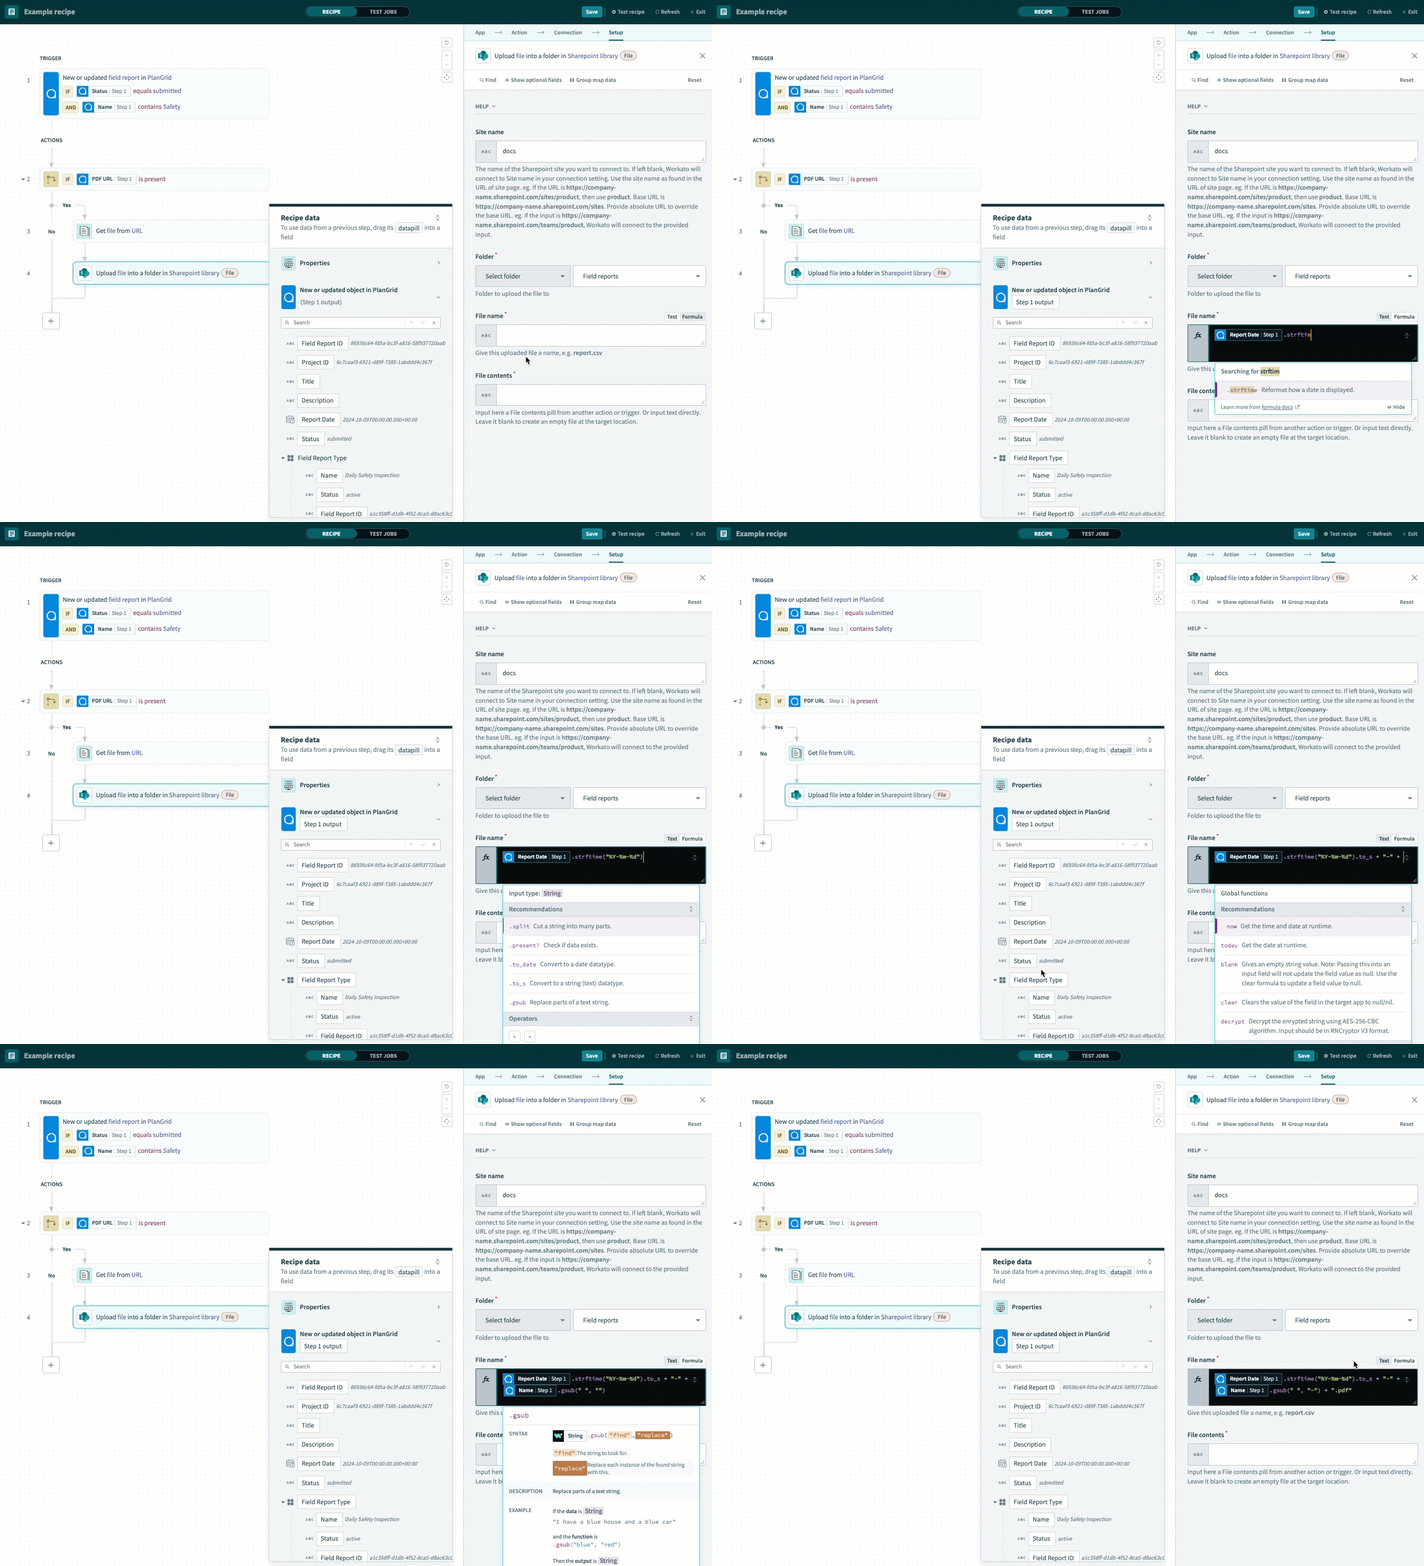
Enter a name in the File name field.
Complete the following steps to configure this field dynamically:
 Configure the file name
Switch the File name field to formula mode.
Map the PlanGrid Report Date Step 1 datapill.
Append the .strftime formula to format the Report Date Step 1 datapill. Enter "%Y-%m-%d" as the value in the .strftime formula.
Append the .to_s formula to convert the Report Date Step 1 datapill into a string.
Type + "-" + to insert a hyphen between the date and document title.
Map the PlanGrid Name Step 1 datapill.
Append the .gsub formula to replace spaces with hyphens in the document name. Enter " ", "-" as the value in the .gsub formula.
Type + ".pdf" to complete the file name with the .pdf extension.
 File name configuration
This configuration applies the following naming convention:
YYYY-MM-DD-YOUR-SAFETY-FIELD-REPORT-TITLE.pdf
For example:
2024-10-09-Daily-Safety-Inspection.pdf
Map the File tools by Workato File contents Step 3 datapill to the File contents field.
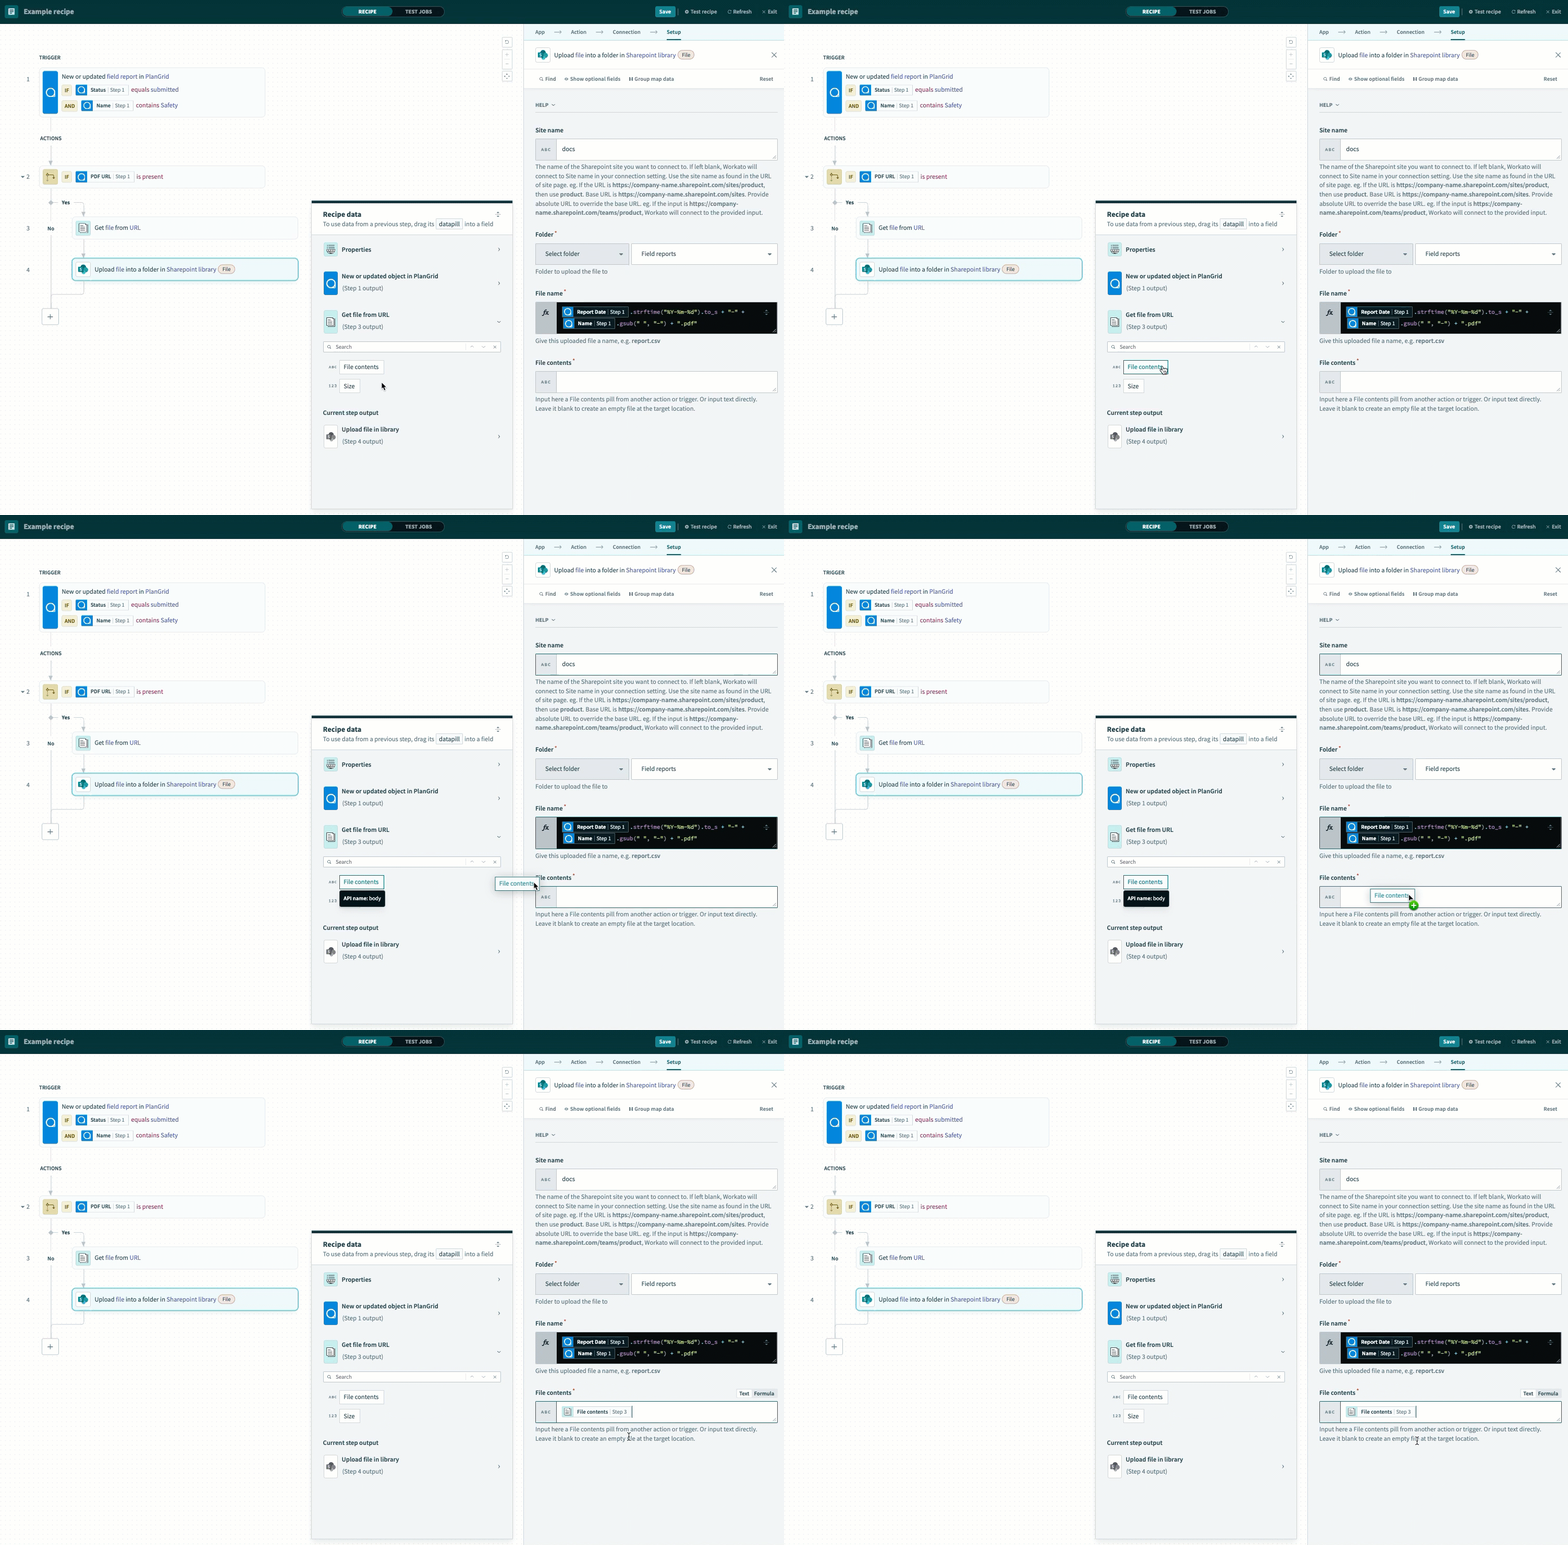 Map the File contents Step 3 datapill
Click Save.
Your Sync PlanGrid safety reports to Microsoft SharePoint recipe is ready to test and implement.
Example recipe configuration.
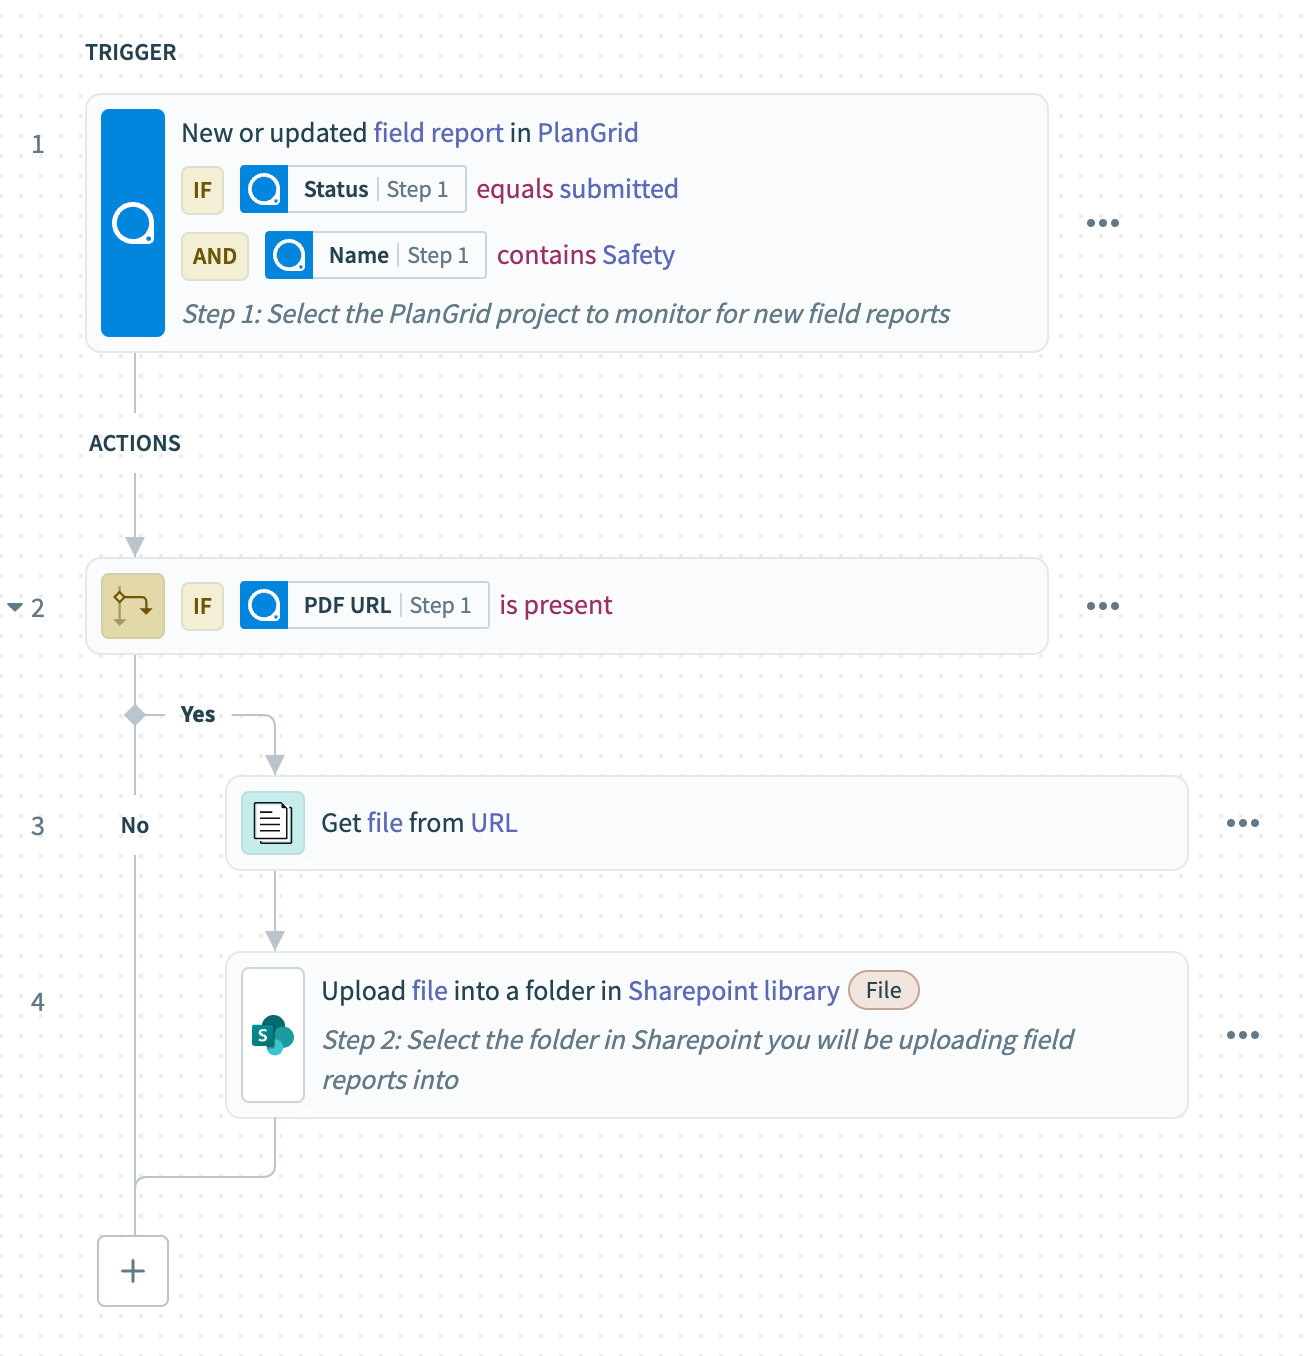 Sync PlanGrid safety reports to Microsoft SharePoint recipe
Last updated: 12/22/2025, 5:25:59 PM