Run an on-prem agent
This guide explains how to start an existing on-prem agent (OPA). Refer to the Add an agent guide to install and activate an agent.
ALLOW TRAFFIC TO WORKATO FROM YOUR SERVER
Ensure traffic to Workato is allowed from your server to use OPA. Refer to security allowlists to add Workato to your allowlist.
Run an agent on Windows
Complete the following steps to start an agent as a Windows service or using a command, depending on your setup:
Run an agent on Linux
Complete the following steps to start an agent on Linux:
Use the following command to start the agent service in the background:
sudo systemctl start workato-agent.serviceOptional. Use the following command to enable the agent to start automatically:
sudo systemctl enable workato-agent.serviceRun an agent on Mac
Use the following command to run the on-prem agent, replacing <YOUR_DIRECTORY> with the directory name:
sh <YOUR_DIRECTORY>/bin/run.shSSH SCRIPT CONFIGURATION
You can access the server through SSH to allow the agent to run in the background independent of your shell session if you add the nohup command (&) at the end of the script. You can also include a > file_name command to ensure that the outputs are logged.
sh <YOUR_DIRECTORY>/bin/run.sh > opa_output.txt &Run an agent using Docker
Use the following command to run the agent as a Docker container, replacing <YOUR_DIRECTORY> with the directory name and <VERSION> with the agent version:
docker run -d -v /<YOUR_DIRECTORY>/conf:/var/lib/workato-agent/conf daa34553.workato.com/semi-public/amd64/workato-agent:<VERSION>Reconnect an agent to Workato
Agents lose their connection to Workato when they stop. Complete the following steps to reconnect an agent to Workato:
API INTEGRATION
Alternatively, use the Developer API or Embedded API to update the agent's enabled status to true.
Refer to one of the following sections to start the agent on the host machine:
Go to Tools > On-prem groups and select the on-prem group that contains the agent you plan to reconnect.
Go to the agent's Version column, click ... (ellipsis), and then select Enable agent.
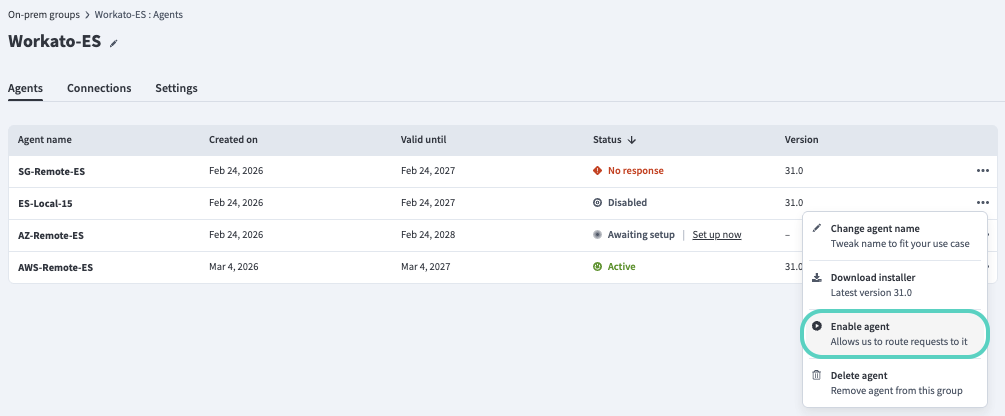
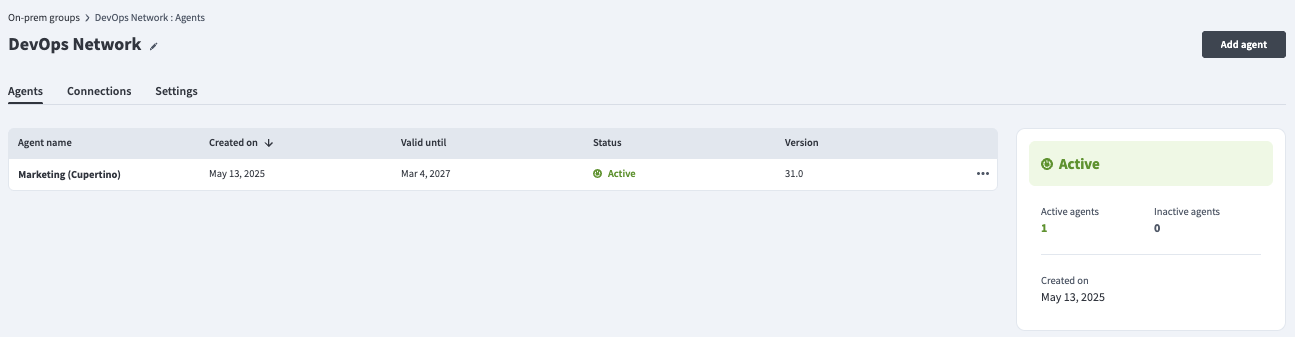
Workato sends a request to your on-prem agent to establish a connection. A successful connection request returns an Active status.
Last updated: