Upgrade an agent
We recommend upgrading your on-prem agent to a new version on a regular basis. With every release, we add new features along with improved performance, stability, and security. Refer to the release notes for more information about all the changes.
If you encounter issues during or after the upgrade, refer to the On-prem upgrade & configuration issues section for troubleshooting guidance.
HOW TO UPGRADE
There are several ways to upgrade an existing on-prem agent:
PRIVATE KEY
Workato doesn't have access to your private key file (cert.key) in the OPA conf folder. Ensure you protect this file from unauthorized access.
ALLOW TRAFFIC TO WORKATO FROM YOUR SERVER
Ensure traffic to Workato is allowed from your server to use OPA. Refer to security allowlists to add Workato to your allowlist.
Upgrade an existing agent with zero downtime
When you are running your agent in the production environment and don't want interruptions, you can upgrade by adding a new agent to your on-prem group and then removing the old one. Complete the following recommended steps to upgrade your OPA:
Sign in to Workato.
Go to Tools > On-prem groups and select the on-prem group that contains the agent you plan to upgrade.
Ensure your on-prem group has more than one active agent. Add and start another agent if you only have one.
CONFIGURING A NEW AGENT
If you use a config.yml file to set up your connections, copy it from your old agent to your new one. This allows agents to connect to the same resources. Additionally, if you use password encryption, you must encrypt your passwords again for the new agent since the encryption is based on agent-specific keys.
Check the logs of the new agent to ensure it is working properly.
Go to the old agent's Version column, click ... (ellipsis), and then select Disable agent. Alternatively, for agents installed on Windows machines, you can stop the old agent by terminating the Workato Agent Windows service or the console-based agent. The other agents continue processing incoming jobs.
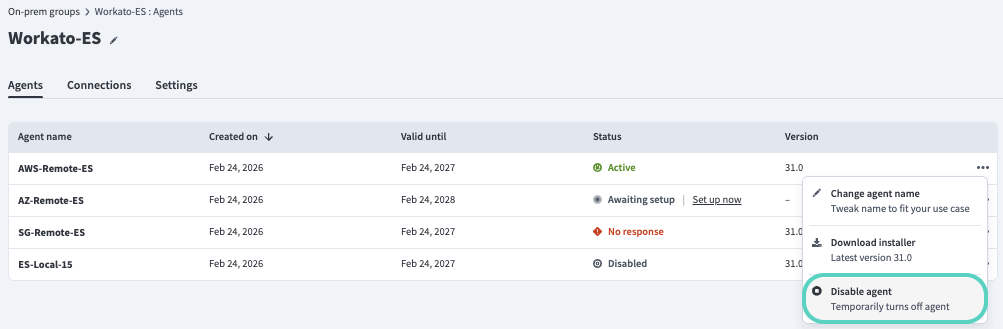 Disable the old agent in Workato.
Confirm that the new agent is working properly and there are no errors in your running recipes.
Go to the old agent's Version column, click ... (ellipsis), and then select Delete agent. Alternatively, you can leave it disabled so that if you encounter any issues, you can disable the new agent and restart the old one.
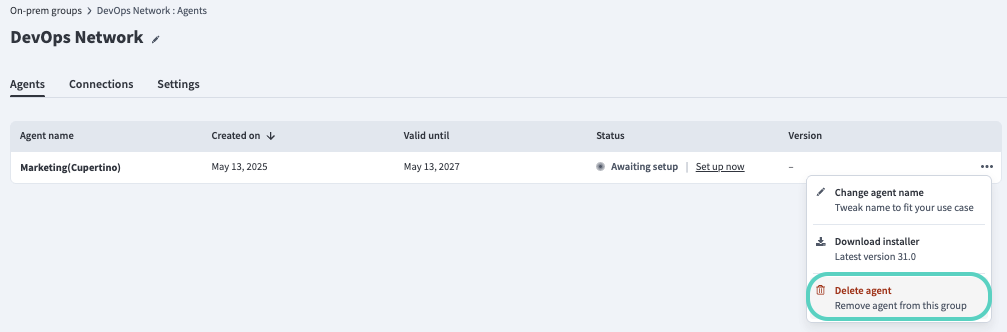 Delete the old agent.
Upgrade an existing agent by replacing the old one
You can upgrade an existing agent by stopping it and replacing it with the latest version.
The steps to replace an existing agent vary based on your operating system:
Windows
Sign in to Workato.
Go to Tools > On-prem groups and select the on-prem group that contains the agent you plan to upgrade.
Go to the Version column and click Update to open the upgrade wizard.
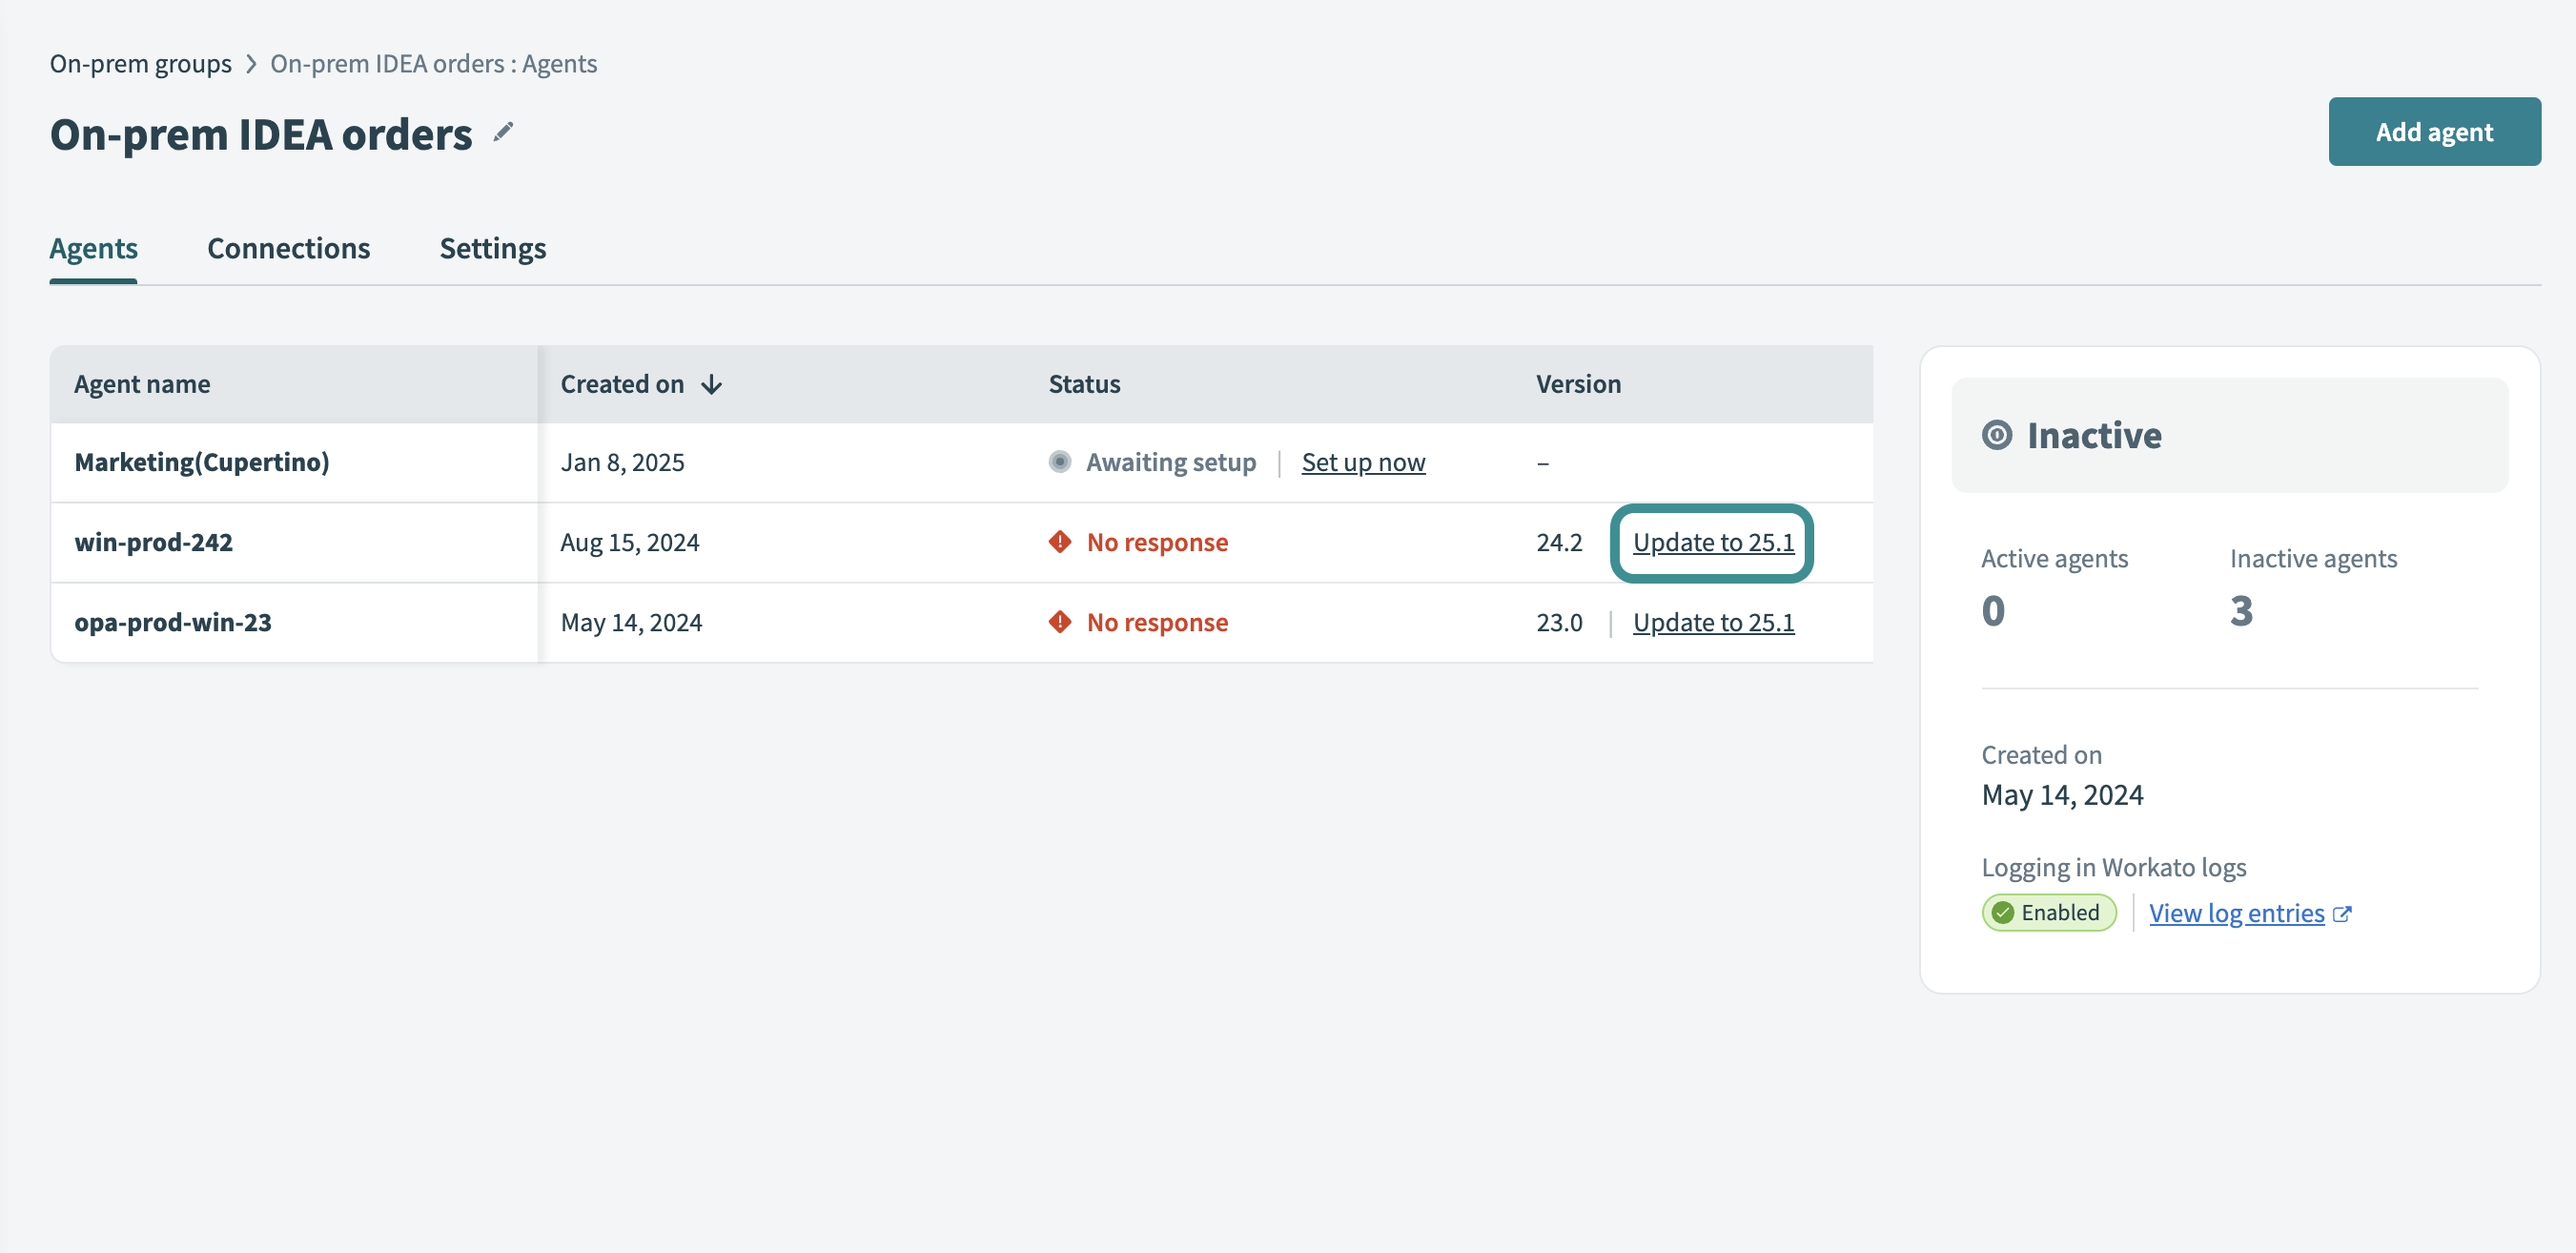 Update on-prem agent to the latest version
Read the release notes and then click Next.
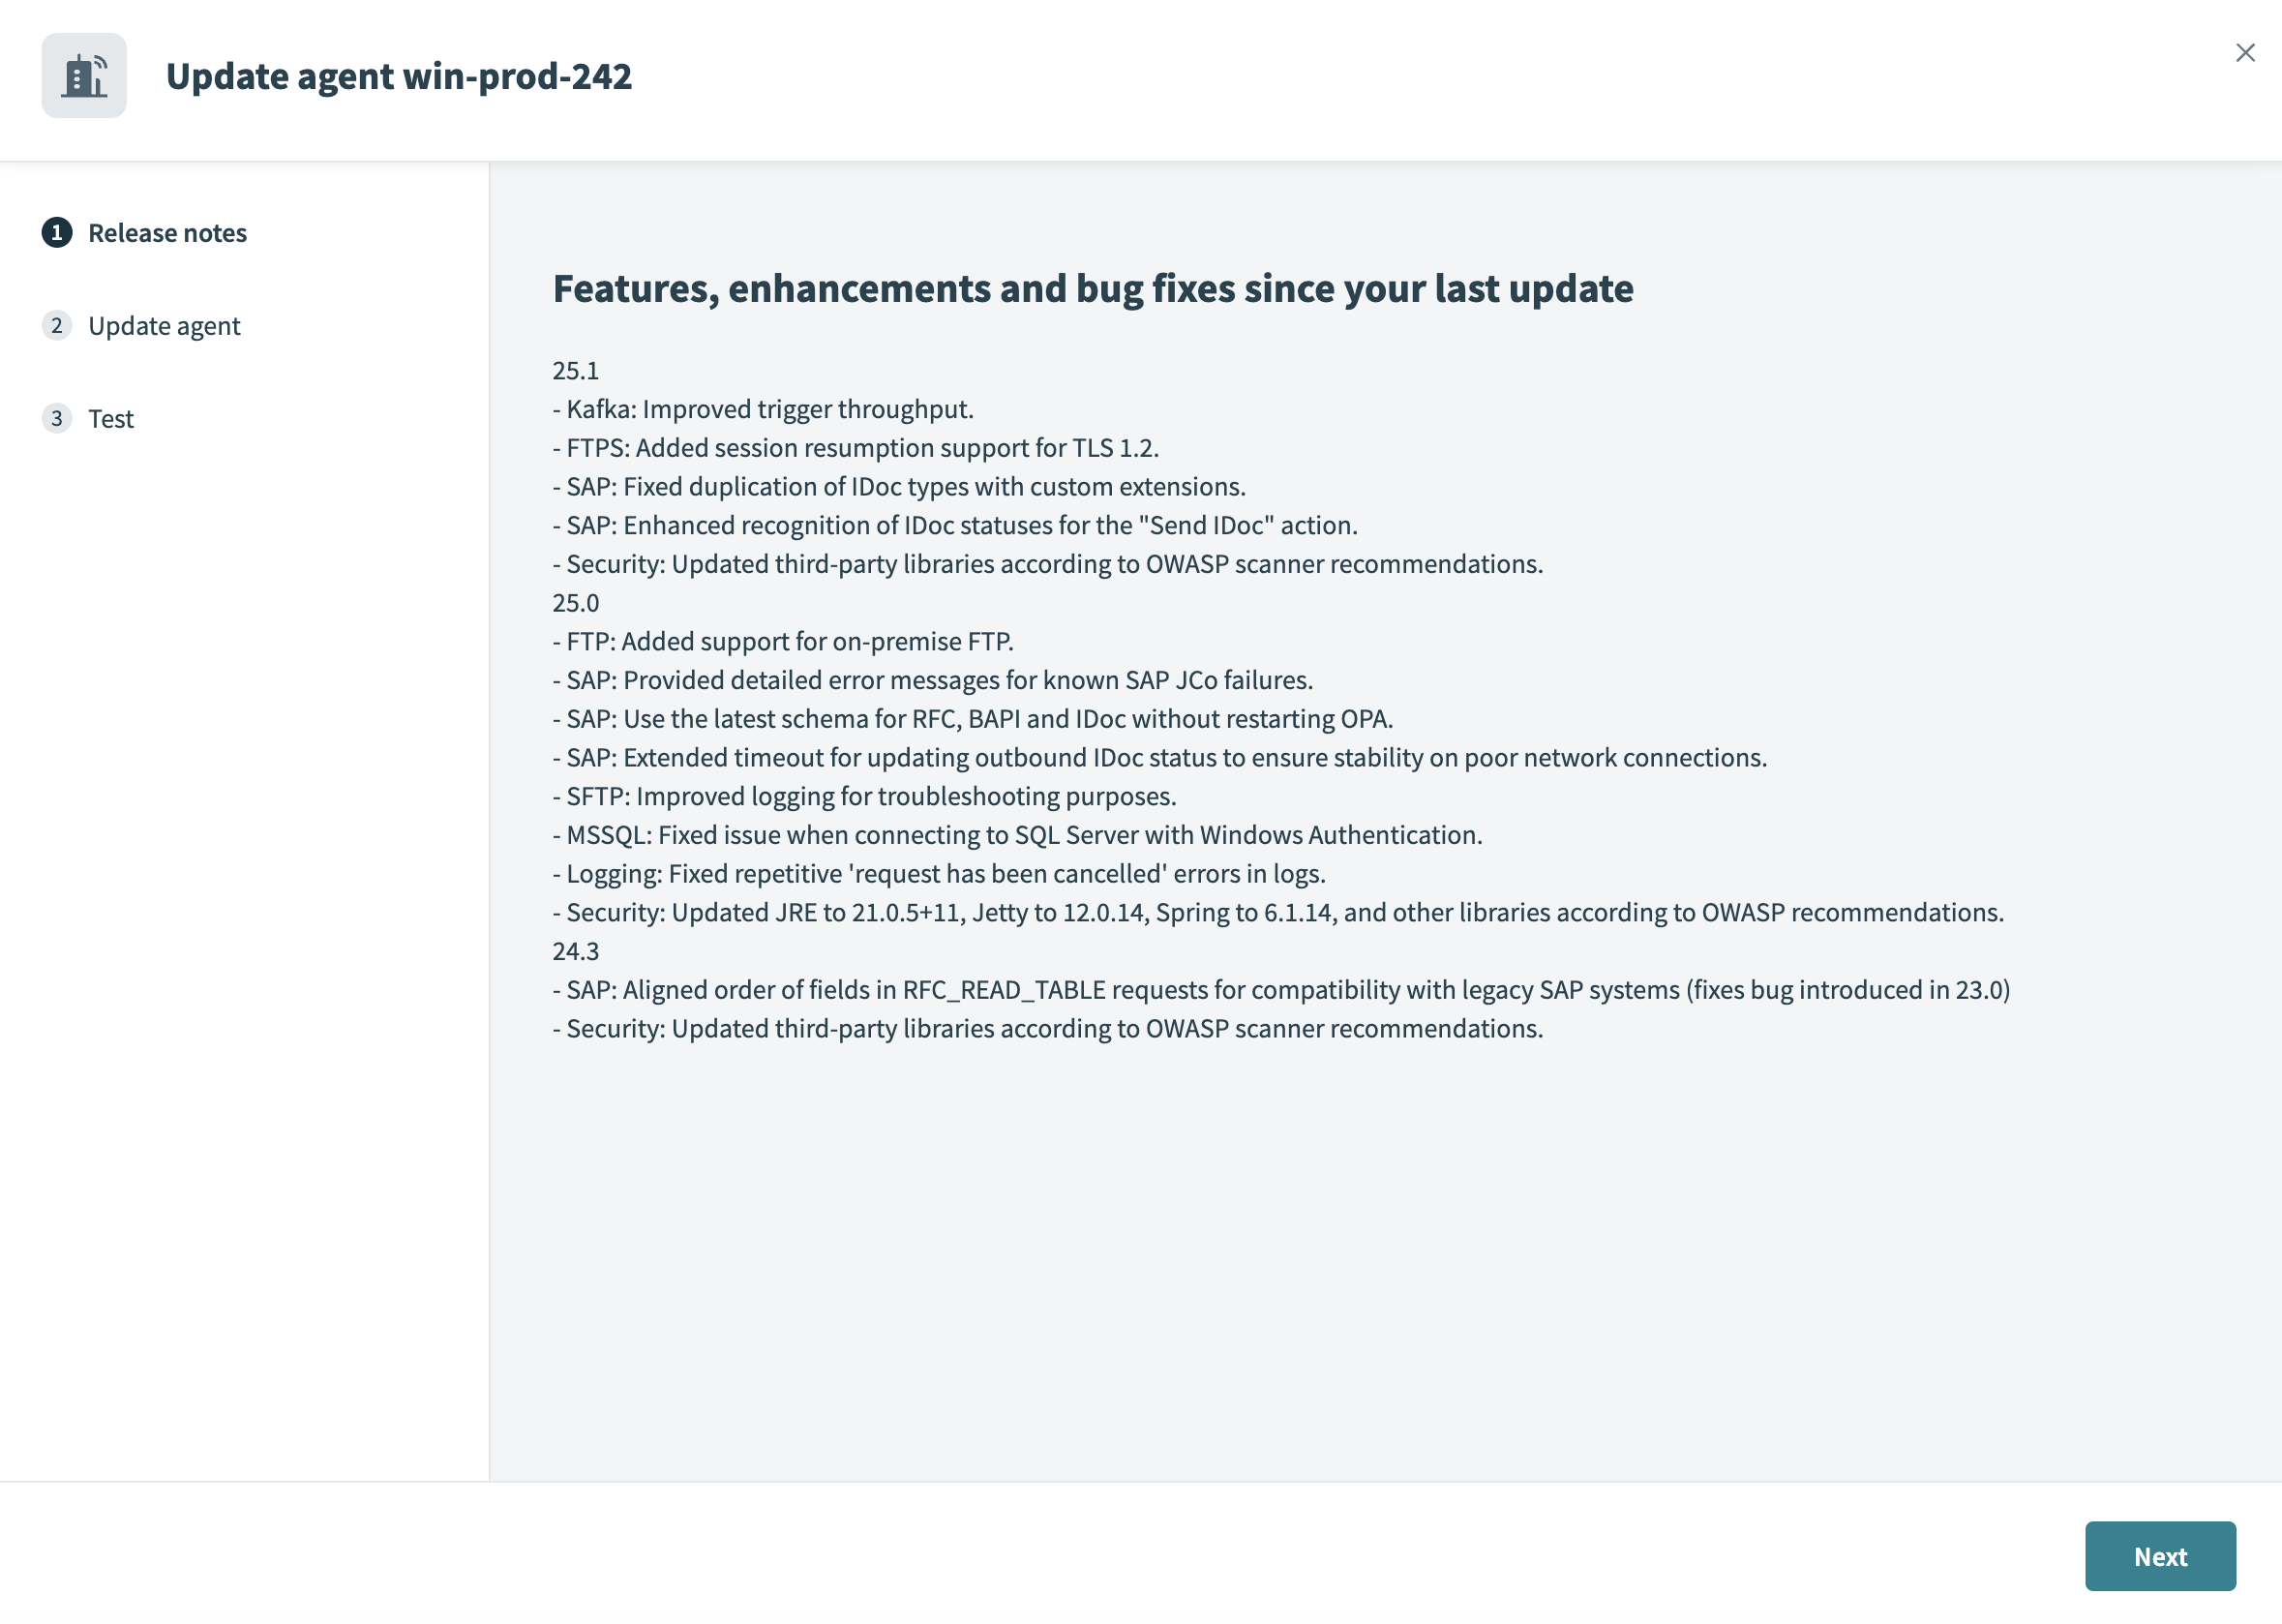 On-prem agent upgrade wizard
Stop the existing agent by terminating the Workato on-prem agent Windows service or the console-based agent.
Uninstall the old agent (for example, go to Start Menu > Workato > Uninstall).
REMAINING FILES AFTER UNINSTALL
Some files, such as config.yml and the certificate files (cert.key, cert.pem), may remain in the OPA directory after uninstalling the agent. Remove these files manually to avoid potential issues. Retain the conf and lib_ext folders if you plan to upgrade the agent.
Run the installer. The installer stores the agent in C:\Program Files\Workato Agent, creates a Workato group in the Start menu, and installs a Windows service called Workato on-prem agent by default.
OPA WINDOWS SERVICE USER ACCOUNTS
From OPA version 2.18.0 onwards, the Workato OPA Windows service user account is set to Local Service instead of Local System, which was used in previous versions.
Complete the following steps to access the settings of an OPA Windows service user account:
Press Win + R, type services.msc, and press Enter.
Go to the Services window and locate the agent.
Right-click the agent and select Properties
CONFIGURING A NEW AGENT
If you use a config.yml file to set up your connections, copy it from your old agent to your new one. This allows agents to connect to the same resources. Additionally, if you use password encryption, you must encrypt your passwords again for the new agent since the encryption is based on agent-specific keys.
Copy and paste the Activation command from Workato when prompted. The code is valid for one hour. Click Regenerate code in the setup wizard to generate a new code if it expires.
Alternatively, you can select Activate agent manually and activate the OPA after installation using the activation script.
Activate an agent after installation
Complete the following steps to activate the agent using a command script:
Go to the bin folder inside your OPA installation folder. C:\Program Files\Workato Agent is the default path for Windows.
Run the activate.cmd script. Refer to the Set up proxy access for your on-prem agent page to configure the activate.cmd script for use with a proxy.
You can run the activate.cmd script with the --help parameter to display the full list of accepted input properties.
Provide the Activation command from Workato's OPA setup wizard when prompted. The code is valid for one hour. Click Regenerate code in the setup wizard to generate a new code if it expires.
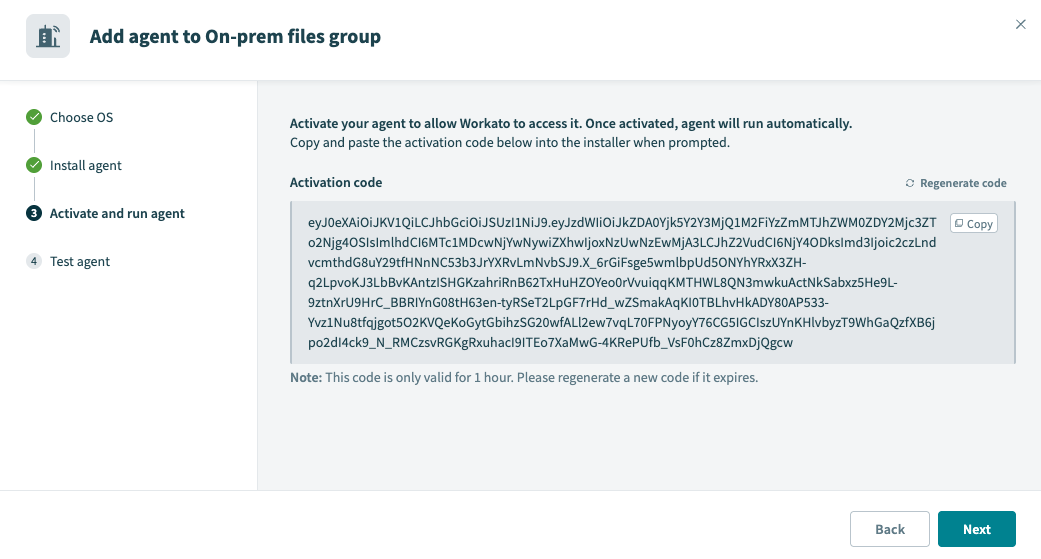 Copy and paste the Activation code
Go Tools > On-prem groups in Workato, select your on-prem group, and verify the new agent is active and has the correct Version number.
Linux
The command to upgrade your agent varies based on your package format:
The service should automatically stop, upgrade and restart for systemd-based distributions. If the service doesn't start, you must start it manually.
NON-US DATA CENTERS
Workato no longer publishes data center-specific OPA versions. Packages with the suffixes -eu, -sg, -jp, and -au still function but are no longer supported.
To upgrade a data center-specific agent, uninstall the old package and install the latest version of the single package distribution. You can retain the conf and lib_ext folders.
Upgrade an existing agent older than 2.15.0 and configure connections directly in Workato
Beginning with on-prem agent version 2.15.0, Workato introduced cloud profiles, which allow you to configure connections directly in Workato instead of through the config.yml file.
Complete the following steps to upgrade an agent older than version 2.15.0 to a new version that uses cloud profiles:
Open the new on-prem group and install a new agent on the same machine as your existing agent.
Set up the required connections directly in Workato. Ensure you can successfully connect using the new on-prem agent.
Clone or edit your recipes and switch them to the new cloud profile agent. Ensure all recipe connections are updated.
Go to the old agent's Version column, click ... (ellipsis), and then select Disable agent. Alternatively, for agents installed on Windows machines, you can stop the old agent by terminating the Workato Agent Windows service or the console-based agent. The new agent continues processing incoming jobs.
Disable the old agent in Workato.
If you need any help with the upgrade process, reach out to your Workato account representative for assistance.
Last updated: