Team collaboration - Just in time provisioning
Just-in-Time (JIT) provisioning eliminates the need for workspace admins to create Workato user accounts in advance on behalf of team members. When an employee signs up for a new Workato account using SAML SSO, they are automatically added to the organization's workspace.
Employee Email already Registered?
If an employee has an existing Workato account, Workato automatically adds them to the organization's workspace.
How to Enable JIT provisioning
You can enable SAML Just-In-Time provisioning in Workspace admin > Settings > Authentication & provisioning.
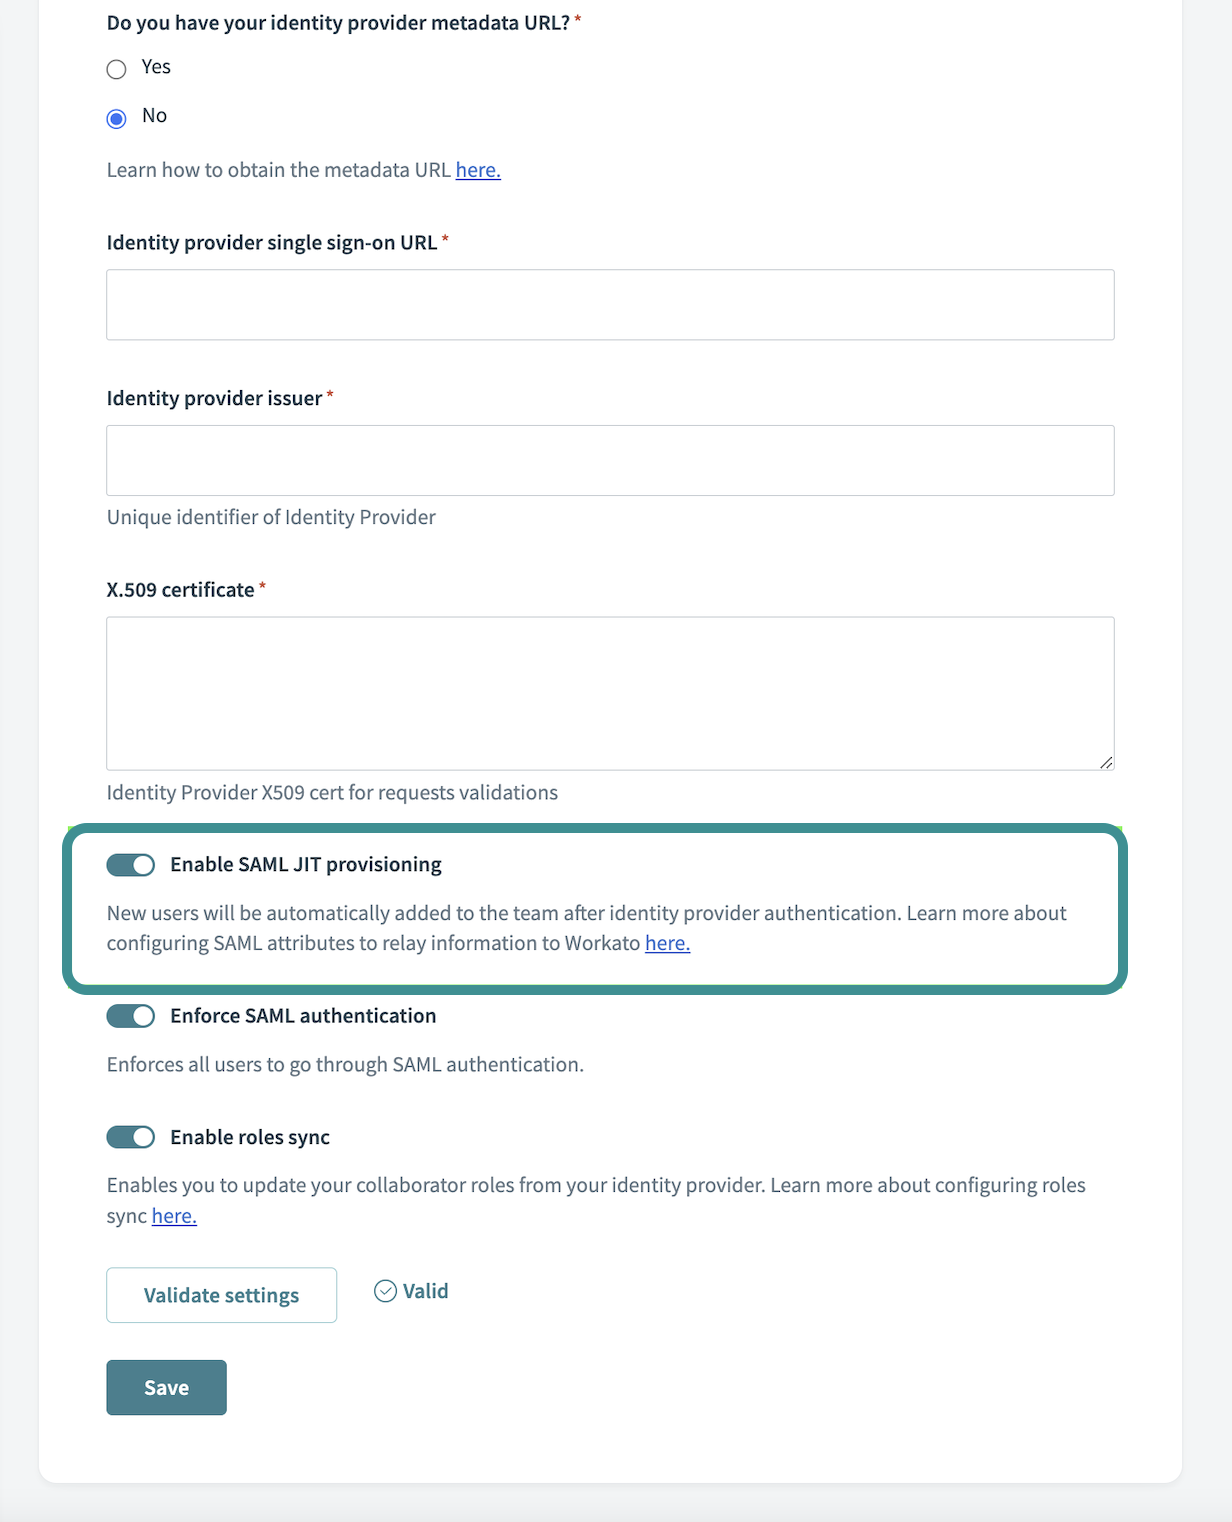 Enable SAML Just-In-Time provisioning
Customize JIT provisioning
You can customize JIT provisioning to relay user-specific information to Workato. Workato takes SAML attributes (for example, workato_role ) and applies it to the provisioned Workato user. This enables you to provision new users with the appropriate information according to your workflow.
Workato supports the following attributes:
| Workato user field | SAML attribute | Default value |
|---|---|---|
| User name | NameID | Sets the Workato login ID. Must use emailAddress format. |
| Display name | emailaddress claim | Sets the UI display name. The claim name is emailaddress. The IdP controls which directory attribute supplies the value (for example, user.displayname or userPrincipalName). |
| User team role | workato_role | Defaults to Member in new permissions model workspaces, or Operator in workspaces using the legacy permissions modelLearn more about Workato environment roles. |
| Collaborator groups | workato_user_groups | If empty or omitted, no changes are made to existing group memberships. If the value includes All collaborators, all explicit collaborator-group memberships are removed. Only supported in workspaces on the new permissions model with project-level access control. |
Why customize JIT provisioning
In the new permissions model, Workato uses environment roles and collaborator groups to manage access:
- Environment roles define what a user can do within an environment, such as Environment admin, Builder, or Operator.
- Collaborator groups control project-level access when enabled.
In workspaces using the legacy permissions model, Workato assigns one of the default workspace-level system roles, such as Admin, Analyst, or Operator. These roles aren't used in workspaces on the new permissions model.
By customizing JIT provisioning, you can:
- Assign users to the correct environment roles automatically.
- Place users into collaborator groups for project-level access.
- Reduce manual provisioning and improve security compliance.
This approach ensures consistent access control, minimizes administrative overhead, and supports efficient user onboarding.
How to customize JIT provisioning
To assign user information during JIT provisioning, you first need complete the basic setup:
- Enable SAML based SSO
- Enable SAML Just-in-Time provisioning in Workato
- Configure the SAML attribute on the SAML provider's application page.
- (Optional) Create custom roles in Workato to enforce custom privileges. For example,
mktg_opsrole with only access to the Marketing folder within your workspace.
Configure custom attributes on your SAML provider
When setting up JIT provisioning, configure the SAML attributes needed to assign environment roles and, optionally, project-level collaborator groups. This example uses Okta.
Go to Directory > Profile Editor.
Select your Workato SAML App profile.
Select Add attribute.
Fill in the attribute details for assigning environment roles:
| Field | Description |
|---|---|
| Variable name | Use workato_role. This is case-sensitive. |
| Attribute members | For each attribute, use a descriptive Display name and provide Workato-specific values. The Value corresponds to environment roles. Workspaces using the legacy permissions model still use roles like Admin, Analyst, and Operator. This is case-sensitive. |
ENVIRONMENTS
If your organization uses environments, you can configure attribute statements to assign environment-specific roles as well. Simply add the additional attributes with the variable name set to workato_role_test for the TEST environment and workato_role_prod for the PROD environment. The default workato_role attribute maps to the DEV environment.
Optional. Use the workato_user_groups attribute to assign users to collaborator groups for project-level access:
| Field | Description |
|---|---|
| Variable name | Use workato_user_groups. This is case-sensitive. |
| Attribute members | Provide a Display name and group names matching existing collaborator groups in Workato. |
PROJECT-LEVEL ACCESS
This attribute only applies to workspaces on the new permissions model. If the workato_user_groups attribute is empty or omitted, existing group memberships aren't changed. If the value includes All collaborators, all explicit collaborator-group memberships are removed.
Locate the Workato SAML app.
Select SAML settings > edit.
Skip to Configure SAML.
Locate App attribute statement.
| Field | Description |
|---|---|
| Name | Use the attribute name, such as workato_role or workato_user_groups. This is case-sensitive.The Name must match a Workato-supported attribute. See which fields are accepted. |
| Value | Use appuser.workato_role.The value is the attribute you have just configured. |
Attribute Values for Different SAMLs
Each SAML uses a different syntax.
| SAML application | Value |
|---|---|
| Okta | appuser.<attribute_name> |
| Onelogin | appuser.<attribute_name> |
| Microsoft Entra ID | user.<attribute_name> |
| Google IDP | <attribute_name> |
Click Save to confirm your changes
Lastly, assign custom roles in your SAML application.
Assign roles for workspace members
Let's assign custom SAML attributes for Workato on Okta.
When an employee is onboarded with Okta, select a value for workato_role.
Alternatively, for existing Okta users, assign workato_role on their profile page. This only applies if this Okta user does not have an existing Workato account.
Now, when a user logs in to Workato using SSO, the identity provider passes workato_role for this new user. For a new hire in the Marketing department, the provisioned Workato user is configured with the custom role mktg_ops.
JIT provisioning for users with access to multiple workspaces
In some situations, you may have one or more users that require access to multiple workspaces. For example, consider a scenario where your organization has separate Finance, Legal, and HR workspaces and you have one dedicated user who acts as a builder for all three workspaces. In this situation, the process of enabling JIT provisioning is the same, but Workato automatically adds an extra layer of security to prevent unauthorized access to your organization's workspaces.
When you enable JIT provisioning for users and then give them access to multiple workspaces, Workato follows this typical flow.
Your organization's Workato administrator assigns the user access to the Workato application in your identity provider. This workspace, named Finance, is the first Workato workspace within your organization that the user has joined.
The user signs up for a new Workato account using SAML SSO with your organization's authentication provider.
Workato automatically creates an account for the user, using your organization's identity provider.
The user joins the Finance workspace.
Your organization's Workato administrator assigns the user to the HR Workspace in your identity provider, which they have never used before.
Because they already have an account created with JIT provisioning, Workato does not prompt the user to create an account again.
Instead, Workato prompts the user to verify their identity using the email address associated with their account.
After the user verifies their identity, they can join the HR workspace.
The user can switch between the Finance and HR workspaces, as necessary.
Last updated: