# Configure a new API recipe endpoint
Complete the following steps to configure a new API recipe endpoint:
# Prerequisites
Before you create a new API recipe endpoint, ensure that you complete the following prerequisites:
ORGANIZE API RECIPES AND ENDPOINTS
We recommend that you organize API recipes with related endpoints in the same API collection and folder within your workspace. For example, group Salesforce endpoints used by sales team recipes into one API collection.
Learn more about API endpoint URLs.
# Create the recipe endpoint
Complete the following steps to create a recipe-based endpoint:
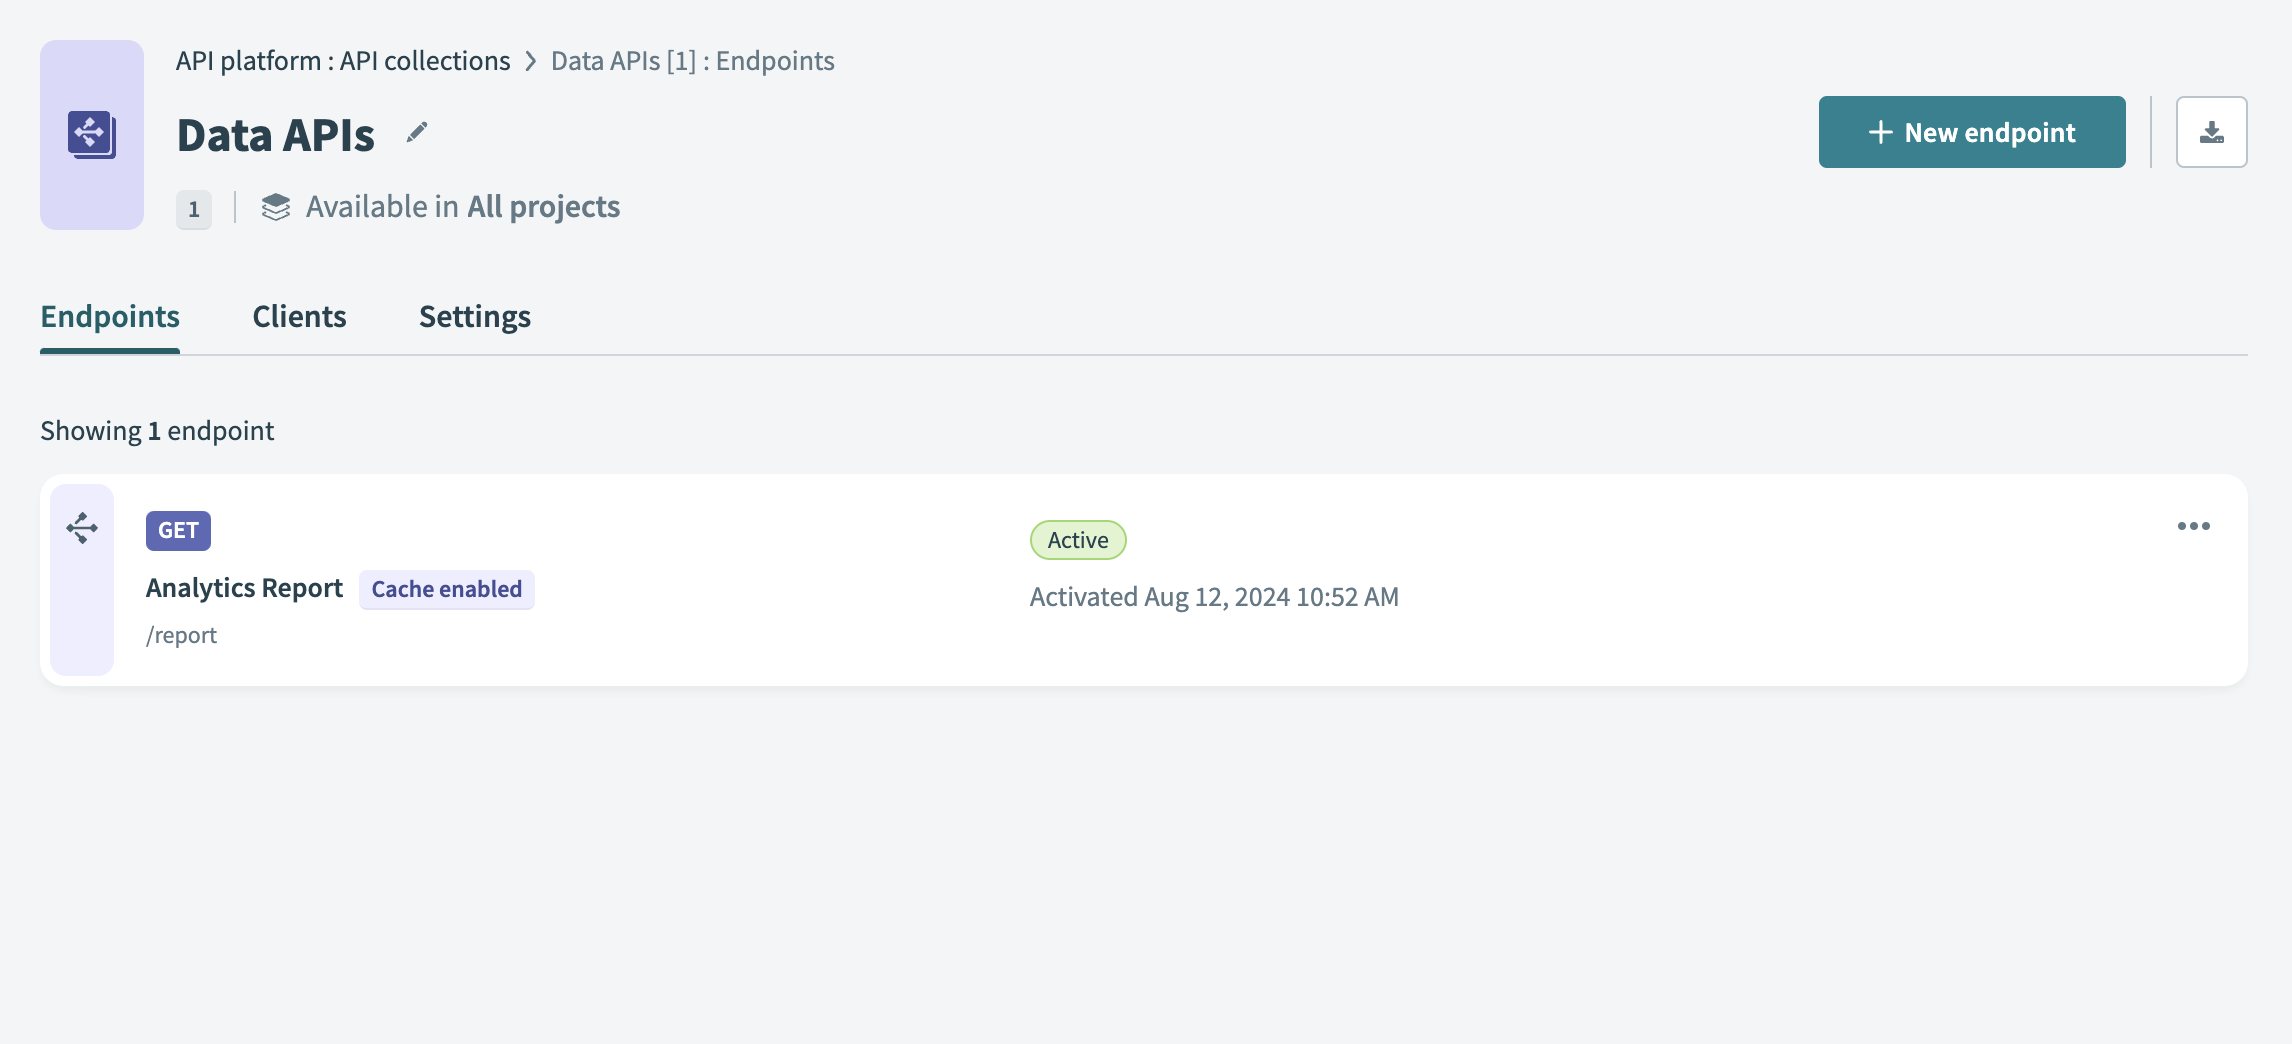
Go to Platform > API platform > API collections and select the API recipe collection for which you plan to create the new endpoint.
Select + New endpoint.
 Select + New endpoint
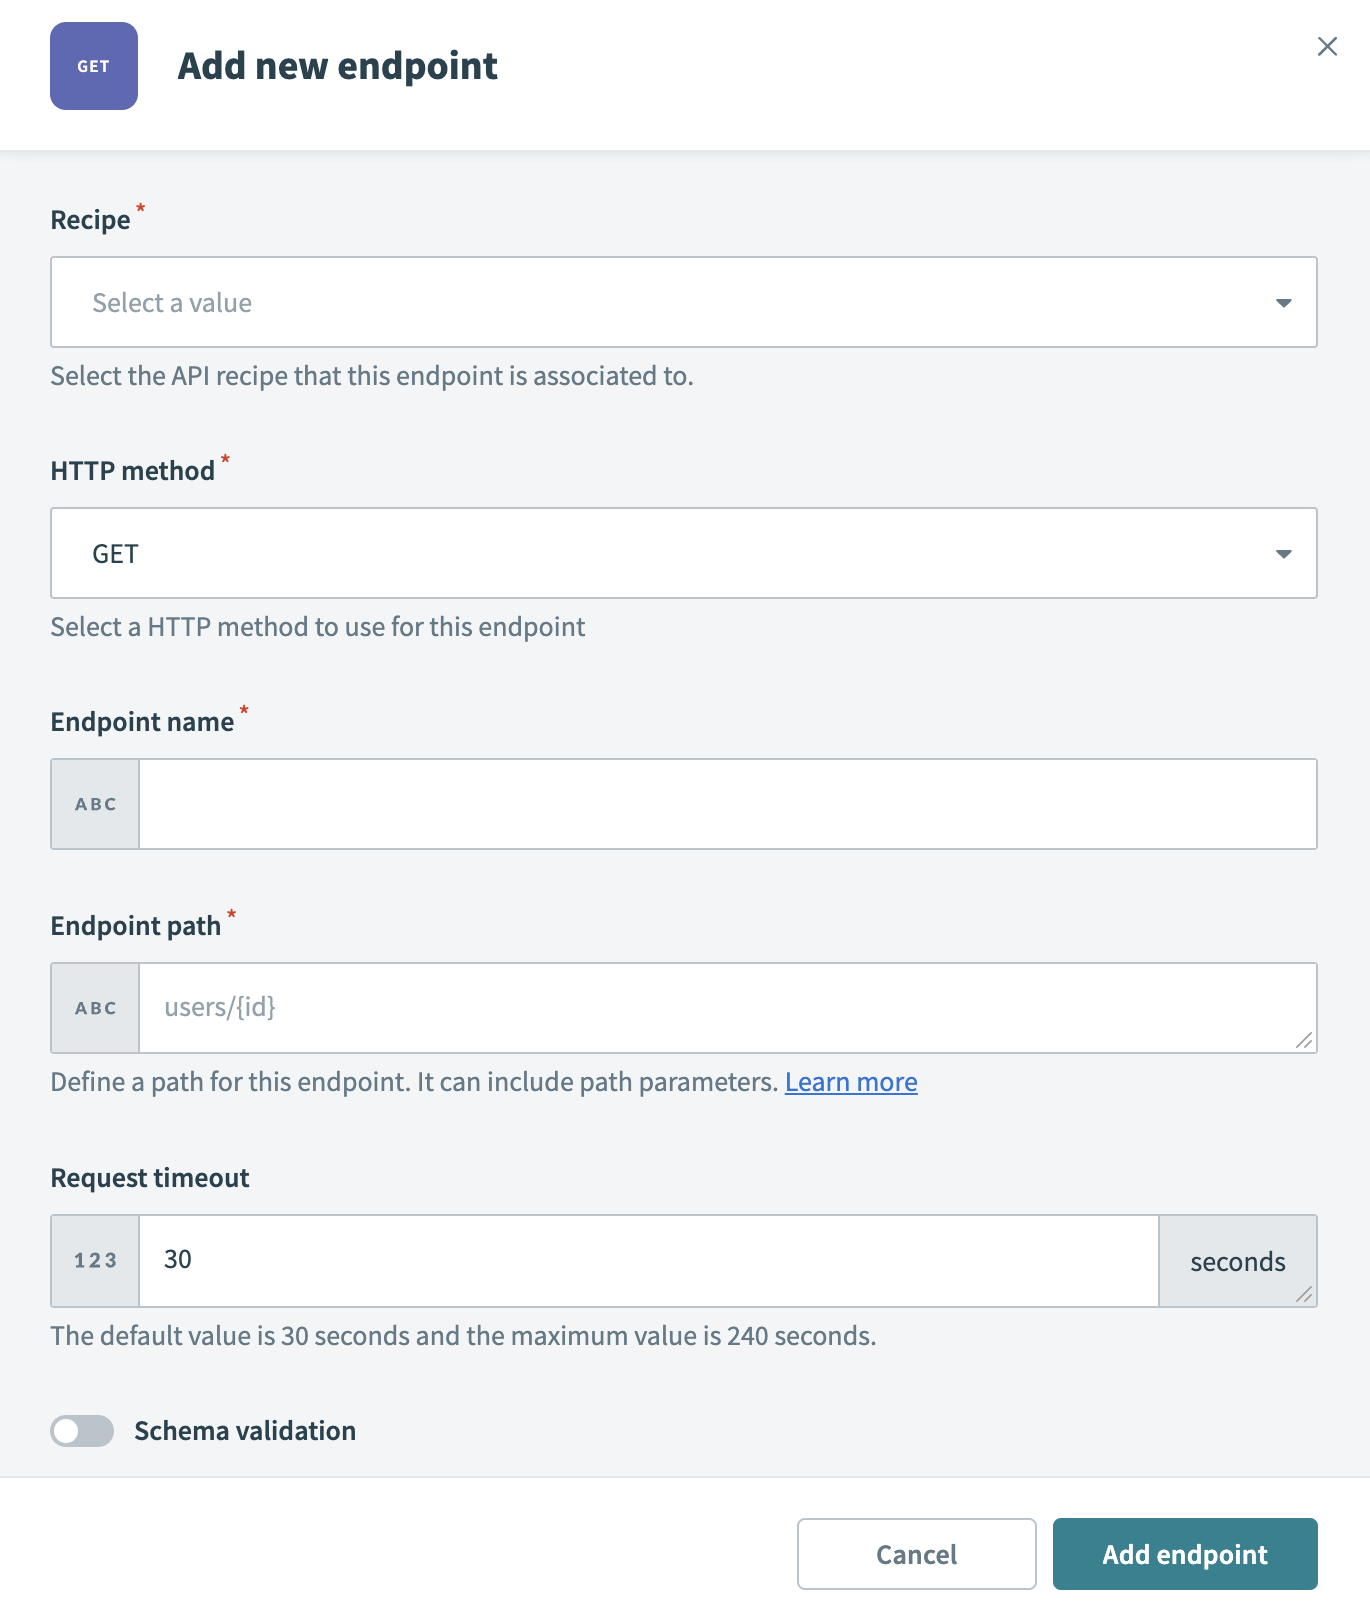
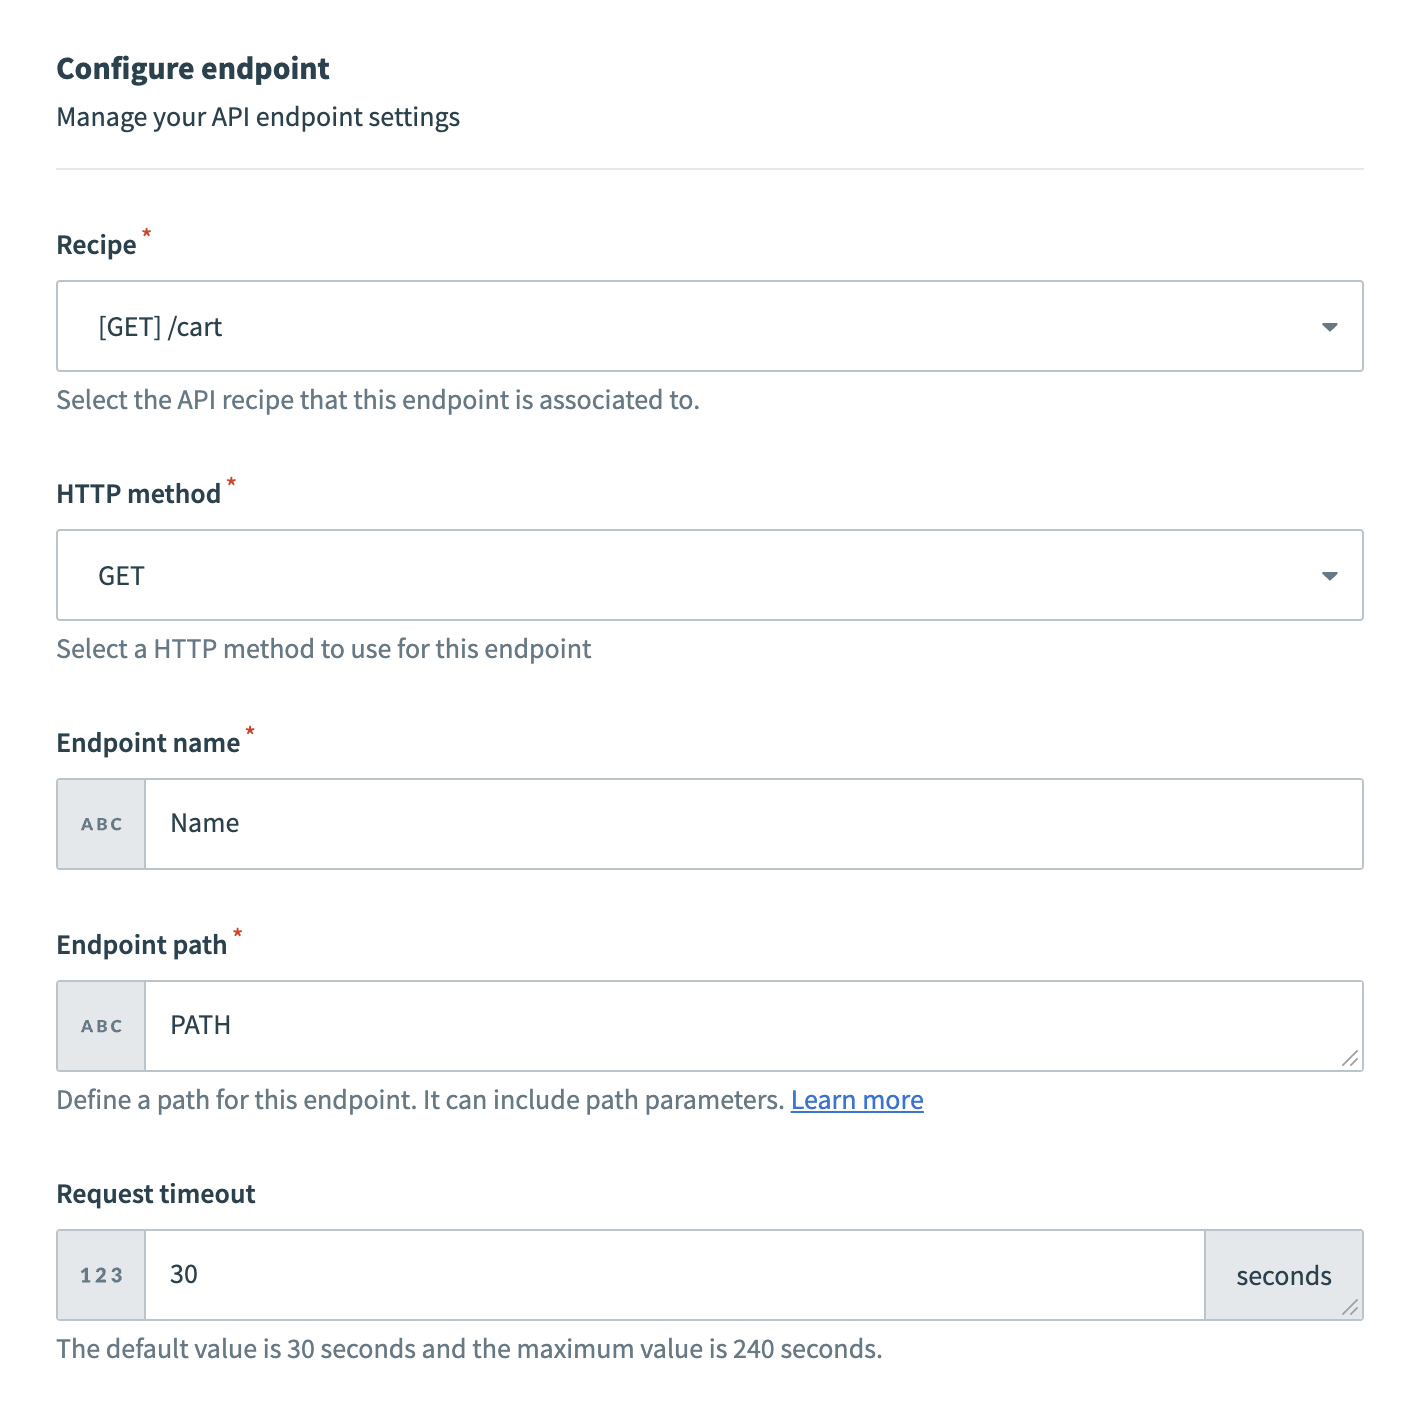
Fill in the following fields:
Recipe
Select the API recipe to associate with this endpoint. The drop-down menu contains the API recipes you can access.
HTTP method
Select the HTTP method to use for the endpoint.
Endpoint name
Enter a descriptive name for the endpoint.
Endpoint path
Enter the endpoint path, which can include path parameters. Ensure the endpoint path follows the endpoint path guidelines.
Request timeout
Enter a request timeout duration. The default value is 30 seconds and the maximum value is 240 seconds.
Schema validation
Optional. Enable schema validation.
Cache response
Click the Cache response toggle to enable caching. This option is available only for GET methods.
Time-to-live period
Required. Enter the duration in seconds for storing a response in the cache before it refreshes or deletes. The default value is 600 seconds and the maximum value is 3600 seconds.
Cache key parameters
Optional. Define additional parameters to include in the cache key if required. The cache key always starts with the endpoint URL. For more information, see API endpoint caching.
 Add a recipe-based endpoint
Select Add endpoint. The new recipe endpoint appears on the API collection page.
Click ••• (ellipsis) next to the endpoint to rename, activate, or delete it.
# Schema validation
Schema validation operates at the endpoint level, allowing you to enforce validation for API recipe endpoints. It helps ensure data integrity by requiring that incoming API requests conform to predefined data formats and constraints. By validating required fields and field types, you can prevent invalid or empty requests, which enhances security, data accuracy, and system reliability.
# Enforced schema rules
Schema validation applies the following checks to each request on a per-endpoint basis:
- Field presence: Ensures that all required fields are included. If a required field is missing, the request is rejected.
- Field types: Confirms that each field matches the specified data type. If a field has an incorrect data type, the request is rejected.
If a request fails validation, the server responds with a 400 Bad Request error, which provides details about the error.
PAYLOAD SIZE LIMIT
Schema validation applies only to requests with a payload size of up to 1MB.
# Enable schema validation
Complete the following steps to enable schema validation for an API recipe endpoint:
Go to Platform > API platform > API collections.
Select an API collection.
Select an API recipe endpoint.
Open the Settings tab for the endpoint.
Enable the Schema validation toggle.
# View the recipe endpoint
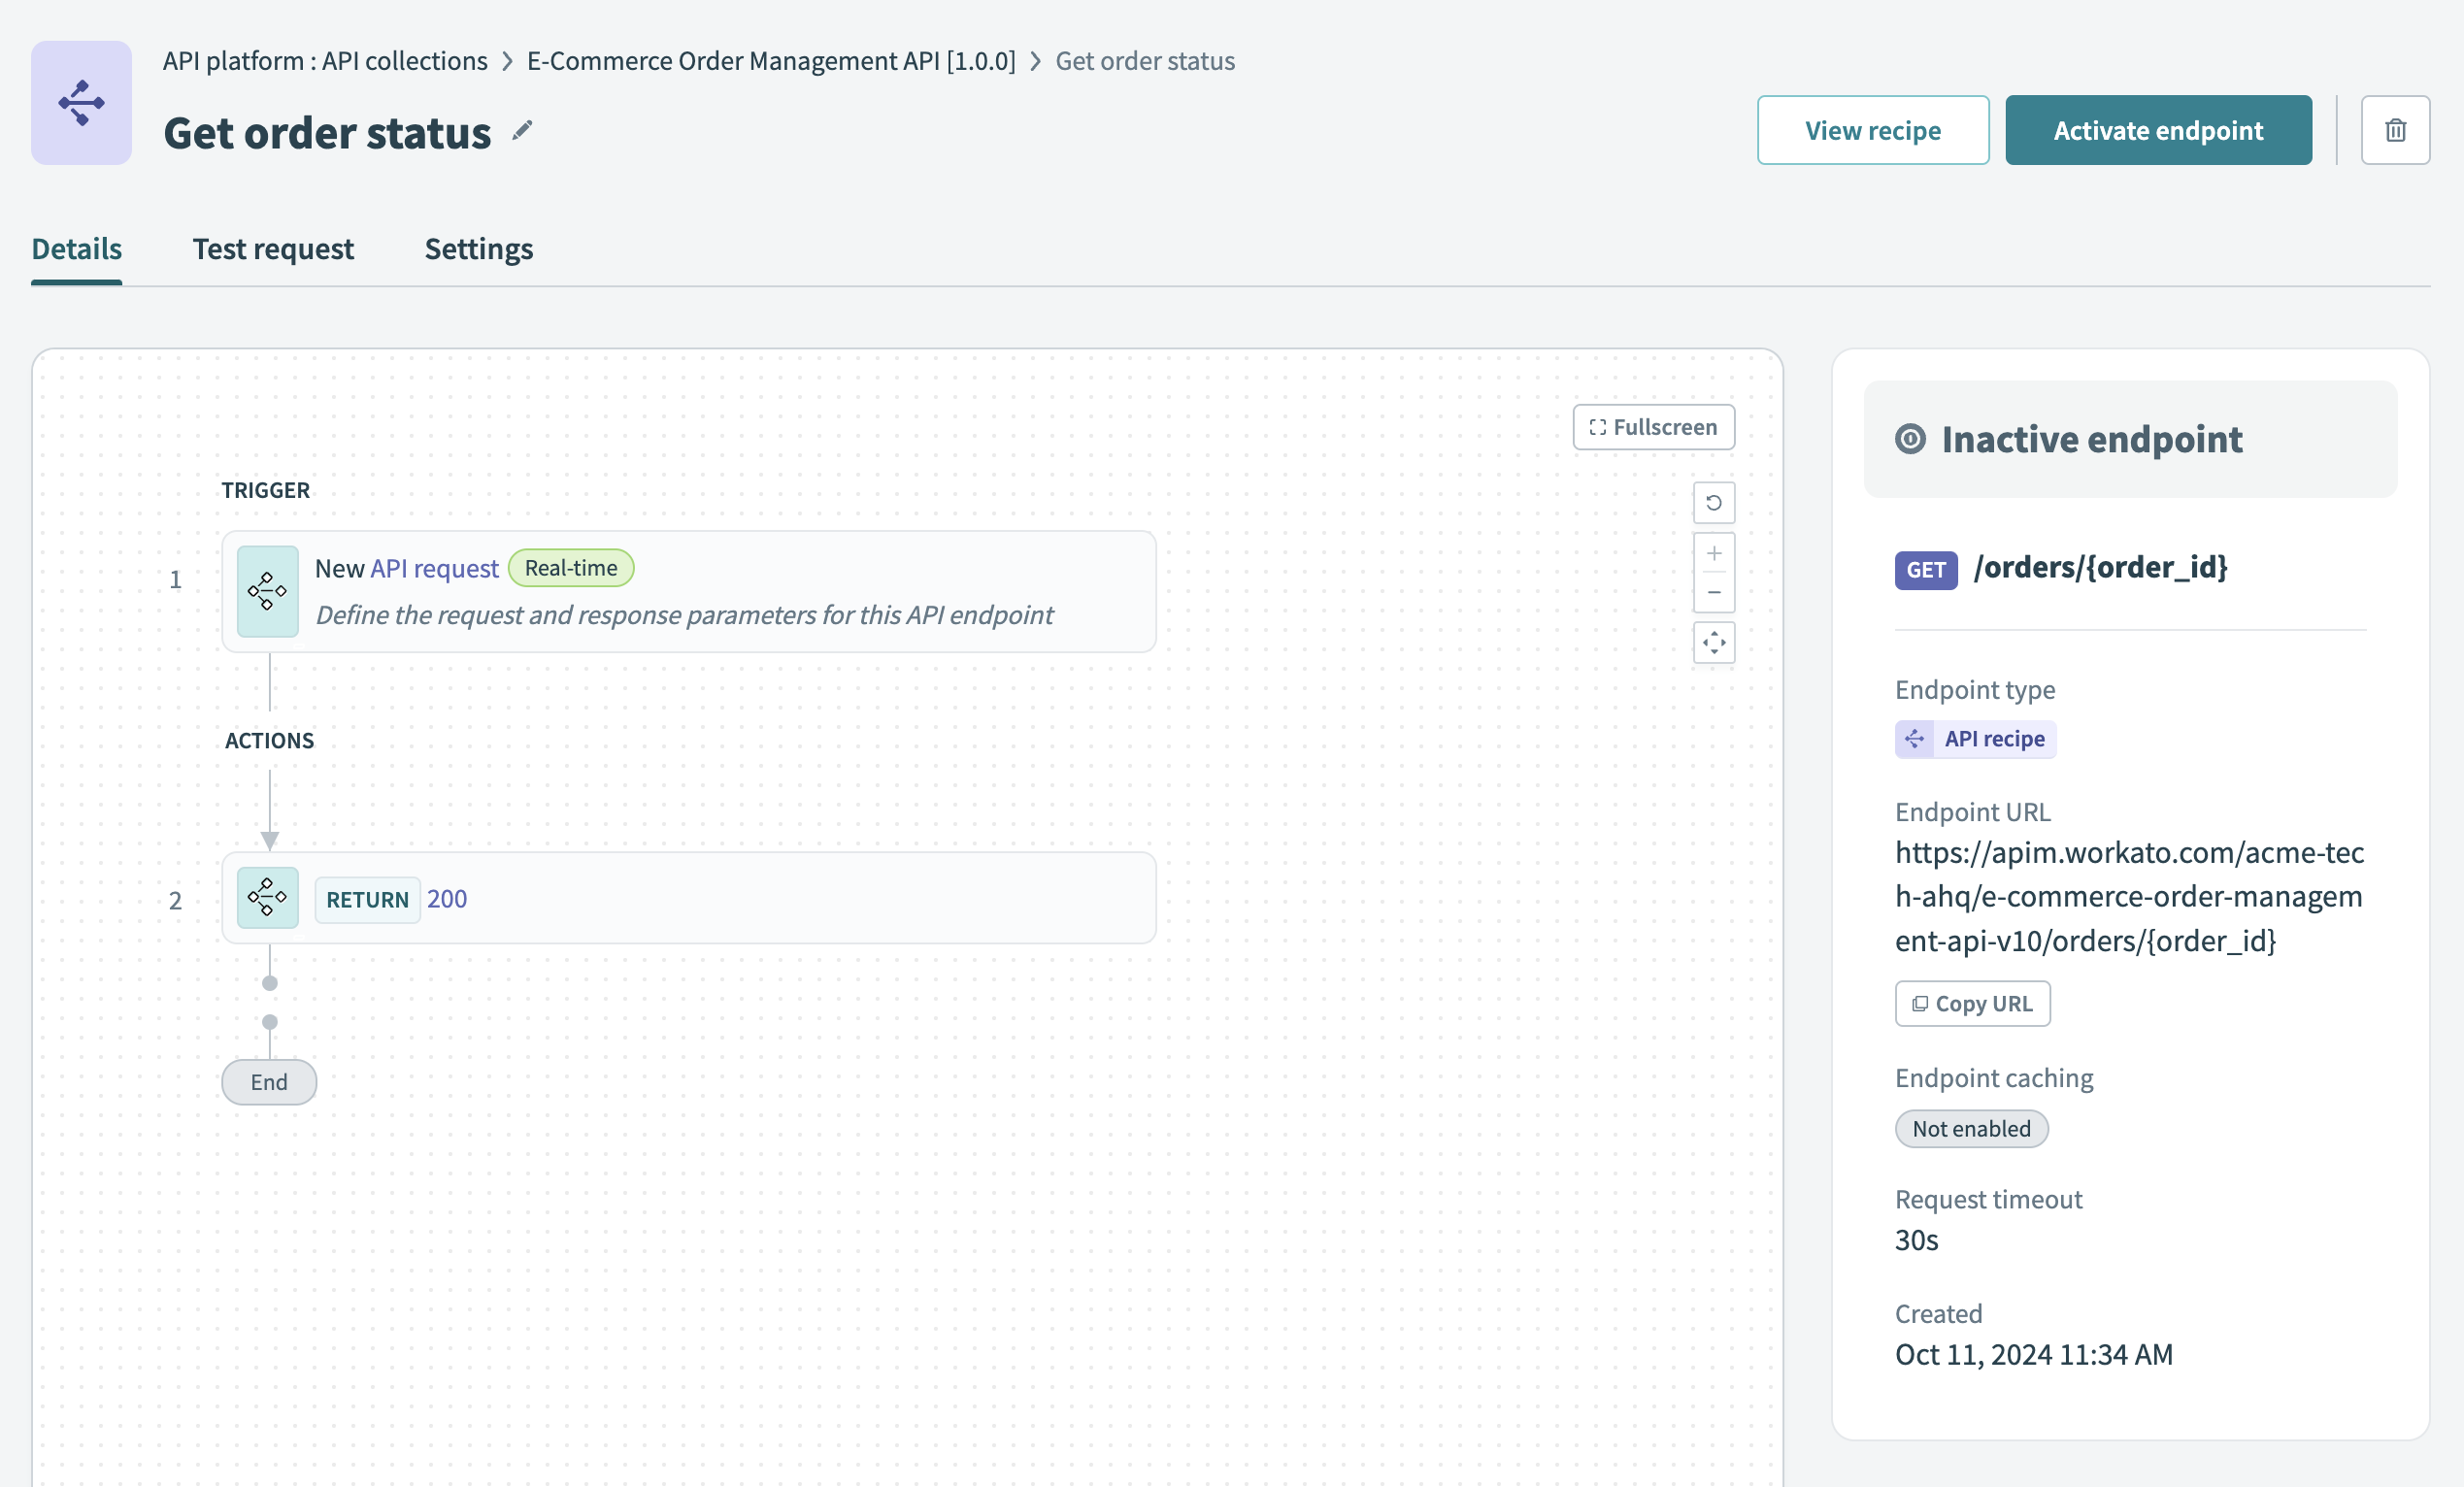
Select an API endpoint from the API collection overview to access detailed information about it. You can also download this information in the OpenAPI 2.0 specification from the collection overview.
A recipe-based endpoint includes the following tabs:
Last updated: 10/3/2025, 11:49:36 PM
 View API recipe
 View a recipe-based endpoint's Settings tab