HTTP connector - New event via polling trigger
The New event via polling trigger fetches events at each polling interval. Workato makes a GET request to the URL you provide. The number of events retrieved for each poll depends on the API endpoint that you send the request to.
You must create an HTTP connection before you can configure an HTTP trigger.
REAL-TIME TRIGGER
You can use the New event via webhook trigger if your use case requires your recipe to respond to trigger events in real-time.
PAGINATION NOT SUPPORTED
This trigger only reads the first page of records in APIs that enforce pagination. You can set up a trigger with the connector SDK if your use case expects a paginated response.
Input
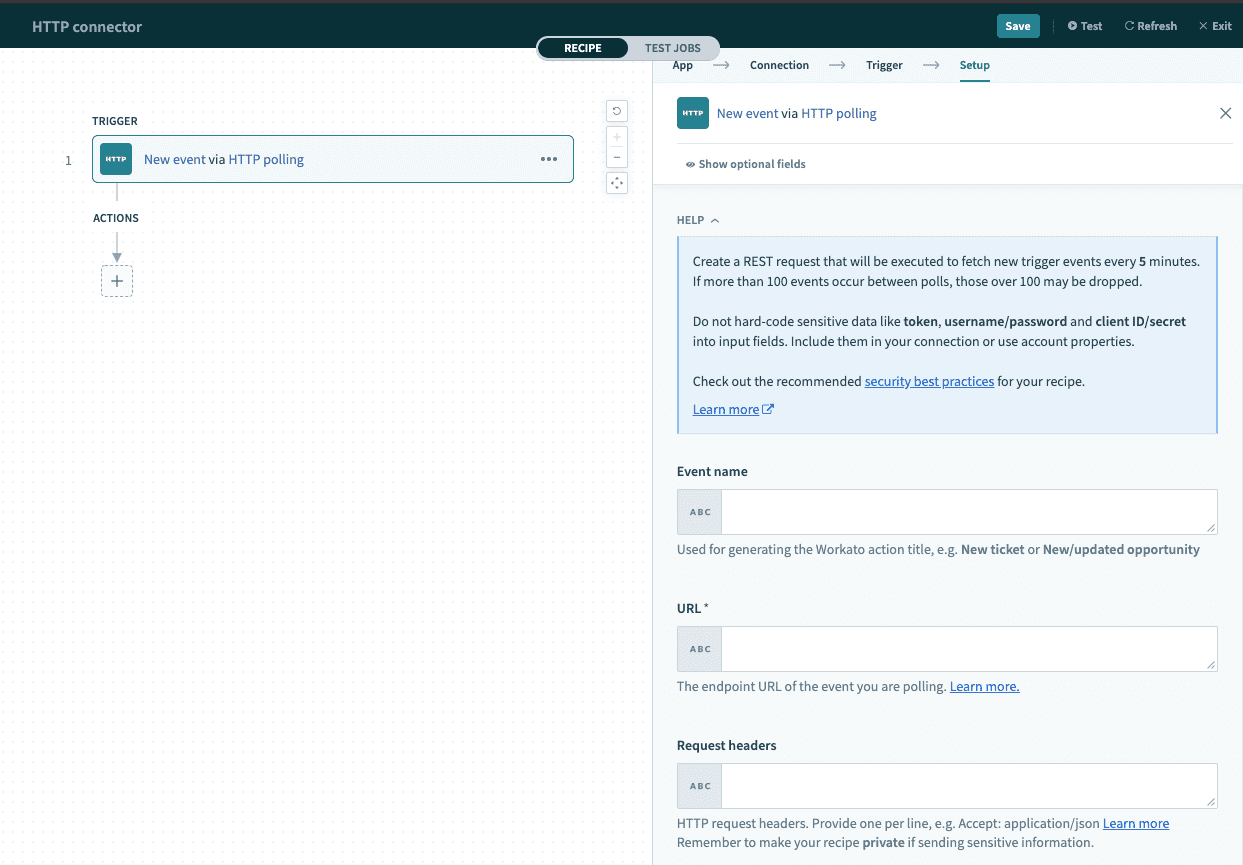 New Event via Polling
| Input field | Description |
|---|---|
| Event name | The name for this polled event. |
| URL | The HTTP endpoint that you are connecting to. |
| Request headers | Provide the HTTP request headers, if applicable. |
| Response content type | Select the expected response data type. |
| Response body example | Provide a sample of the response body. Ensure that this example follows the content type indicated. Please find valid sample payloads in the section below. |
| Trigger poll interval | Select how frequent to check for new events. Refer to Polling intervals for more information. |
Response body example
JSON
For JSON responses, please enclose the sample payload with square brackets. For example:
[
  {
    "fullName": "John Doe",
    "firstName": "John",
    "lastName": "Doe"
  },
  {
    "company": "Workato",
    "legalName": "Workato Inc",
    "domain": "workato.com"
  }
]
XML
The outermost tag should use the array type for XML responses. For example:
<roles type="array">
<role>
		<id.w_a-b type="integer">3</id.w_a-b>
		<name>User</name>
		<description>Standard role</description>
		<omnipotent type="boolean">false</omnipotent>
		<system-role type="boolean">true</system-role>
		<updated-by>
			<id.w_a-b type="integer">1</id.w_a-b>
			<login>sampleaccount</login>
			<email>[email protected]</email>
			<employee-number />
			<firstname>Company</firstname>
			<lastname>X</lastname>
			<salesforce-id.w_a-b nil="true" />
			<avatar-thumb-url nil="true" />
			<custom-field-8 />
			<custom-field-7 />
			<gpo-entity />
			<radio-button-test />
			<subsidary />
			<function />
			<seg3default />
			<username1 />
		</updated-by>
	</role>
</roles>
Output
The output of this trigger depends on the response schema provided.
More resources
Last updated: