Files for Enterprise Workbot
End users can upload files to Enterprise Workbots when file parameters are defined in the bot commands. These files are uploaded to the user's OneDrive for Business storage, and its data can then be used in follow-up recipe actions. You can upload files using personal scopes, such as direct messages (DMs), but uploading files to channels is not supported.
The file portion of the trigger output looks like this:
| Output fields | Description | Example |
|---|---|---|
| contentType | Indicates that a file was uploaded to OneDrive and ready for download. | application/vnd.microsoft.teams.file.download.info |
| downloadUrl | OneDrive URL for fetching the content of the file. You can issue an HTTP GET directly from this URL. | https://download.link |
| uniqueId | Unique file ID. This will be the OneDrive drive item ID. | 1150D938-8870-4044-9F2C-5BBDEBA70C9D |
| contentUrl | Link to the file in Sharepoint. | https://contoso.sharepoint.com/personal/johnadams_contoso_com/Documents/Applications/file_example.txt |
| name | Name of the file | file_example.txt |
| file_comment | The message sent by the user along with the file upload. | This is an example file upload. |
WORKBOTS CREATED BEFORE OCTOBER 30, 2021
Enterprise Workbots created before October 30, 2021, typically do not have the supportsFiles property set to true in their manifest. Learn how to update it.
How it works
A user sends a message to Workbot with their intended bot command and then upload your file when prompted.
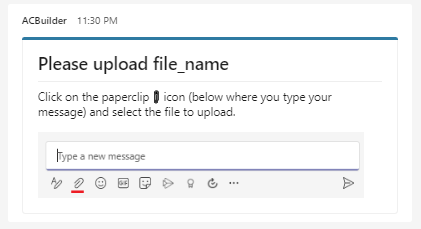 Prompting user to upload a file
Once the file is uploaded, the user can optionally include a message before hitting Send. The file data can then be used in follow-up recipe actions.
Multiple file parameters can be defined in the bot command, with the user being prompted each time. Regardless of the order in which the parameters are arranged in the bot command, parameters of other data types, such as string or date/time, will always be retrieved before any file parameters.
Enabling files for older bots
If your Enterprise Workbot was created before October 30, 2021, you must set the supportsFiles property in the manifest to true. This property is described in the bots section of the manifest reference.
As the bot owner, go to your bot in the Microsoft Teams developer portal.
From the left navigation bar, under Configure, go to Basic information.
From the main panel, under Version, increment your version, then scroll down and click Save.
For example, if your current version is 1.0.5, increment it to 1.0.6.
From the left navigation bar, under Configure, go to App features.
From the main panel, click Bot.
Under What can your bot do?, check Upload and download files, then scroll down and click Save.
This allows users to upload files through personal scopes, such as direct messages (DM).
From the left navigation bar, under Publish, go to App package. From the breadcrumb bar (right below the Developer Portal marquee), click Download app package to download the app manifest. Keep this handy as this will be used in a later step.
Go to the Microsoft Teams admin portal.
From the left navigation bar, under Teams apps, go to Manage apps.
From the search bar, search for your bot by name then click your bot's name (clicking specifically on your bot's name brings you to your bot's settings).
Click Update, then select the app manifest you downloaded in the earlier step.
Last updated: