Create a workspace in Automation HQ
Automation HQ manages various aspects of its workspaces, including organization-wide settings like consolidated audit log streaming and shared custom connectors. Automation HQ moderators oversee and administer workspaces by setting usage limits and managing application access within Workato.
Find out more about operating managed workspaces from the Workspaces, Workspace moderators, Shared connectors, Usage, and Settings.
To create a managed workspace, select Create Workspace from the HQ Workspace.
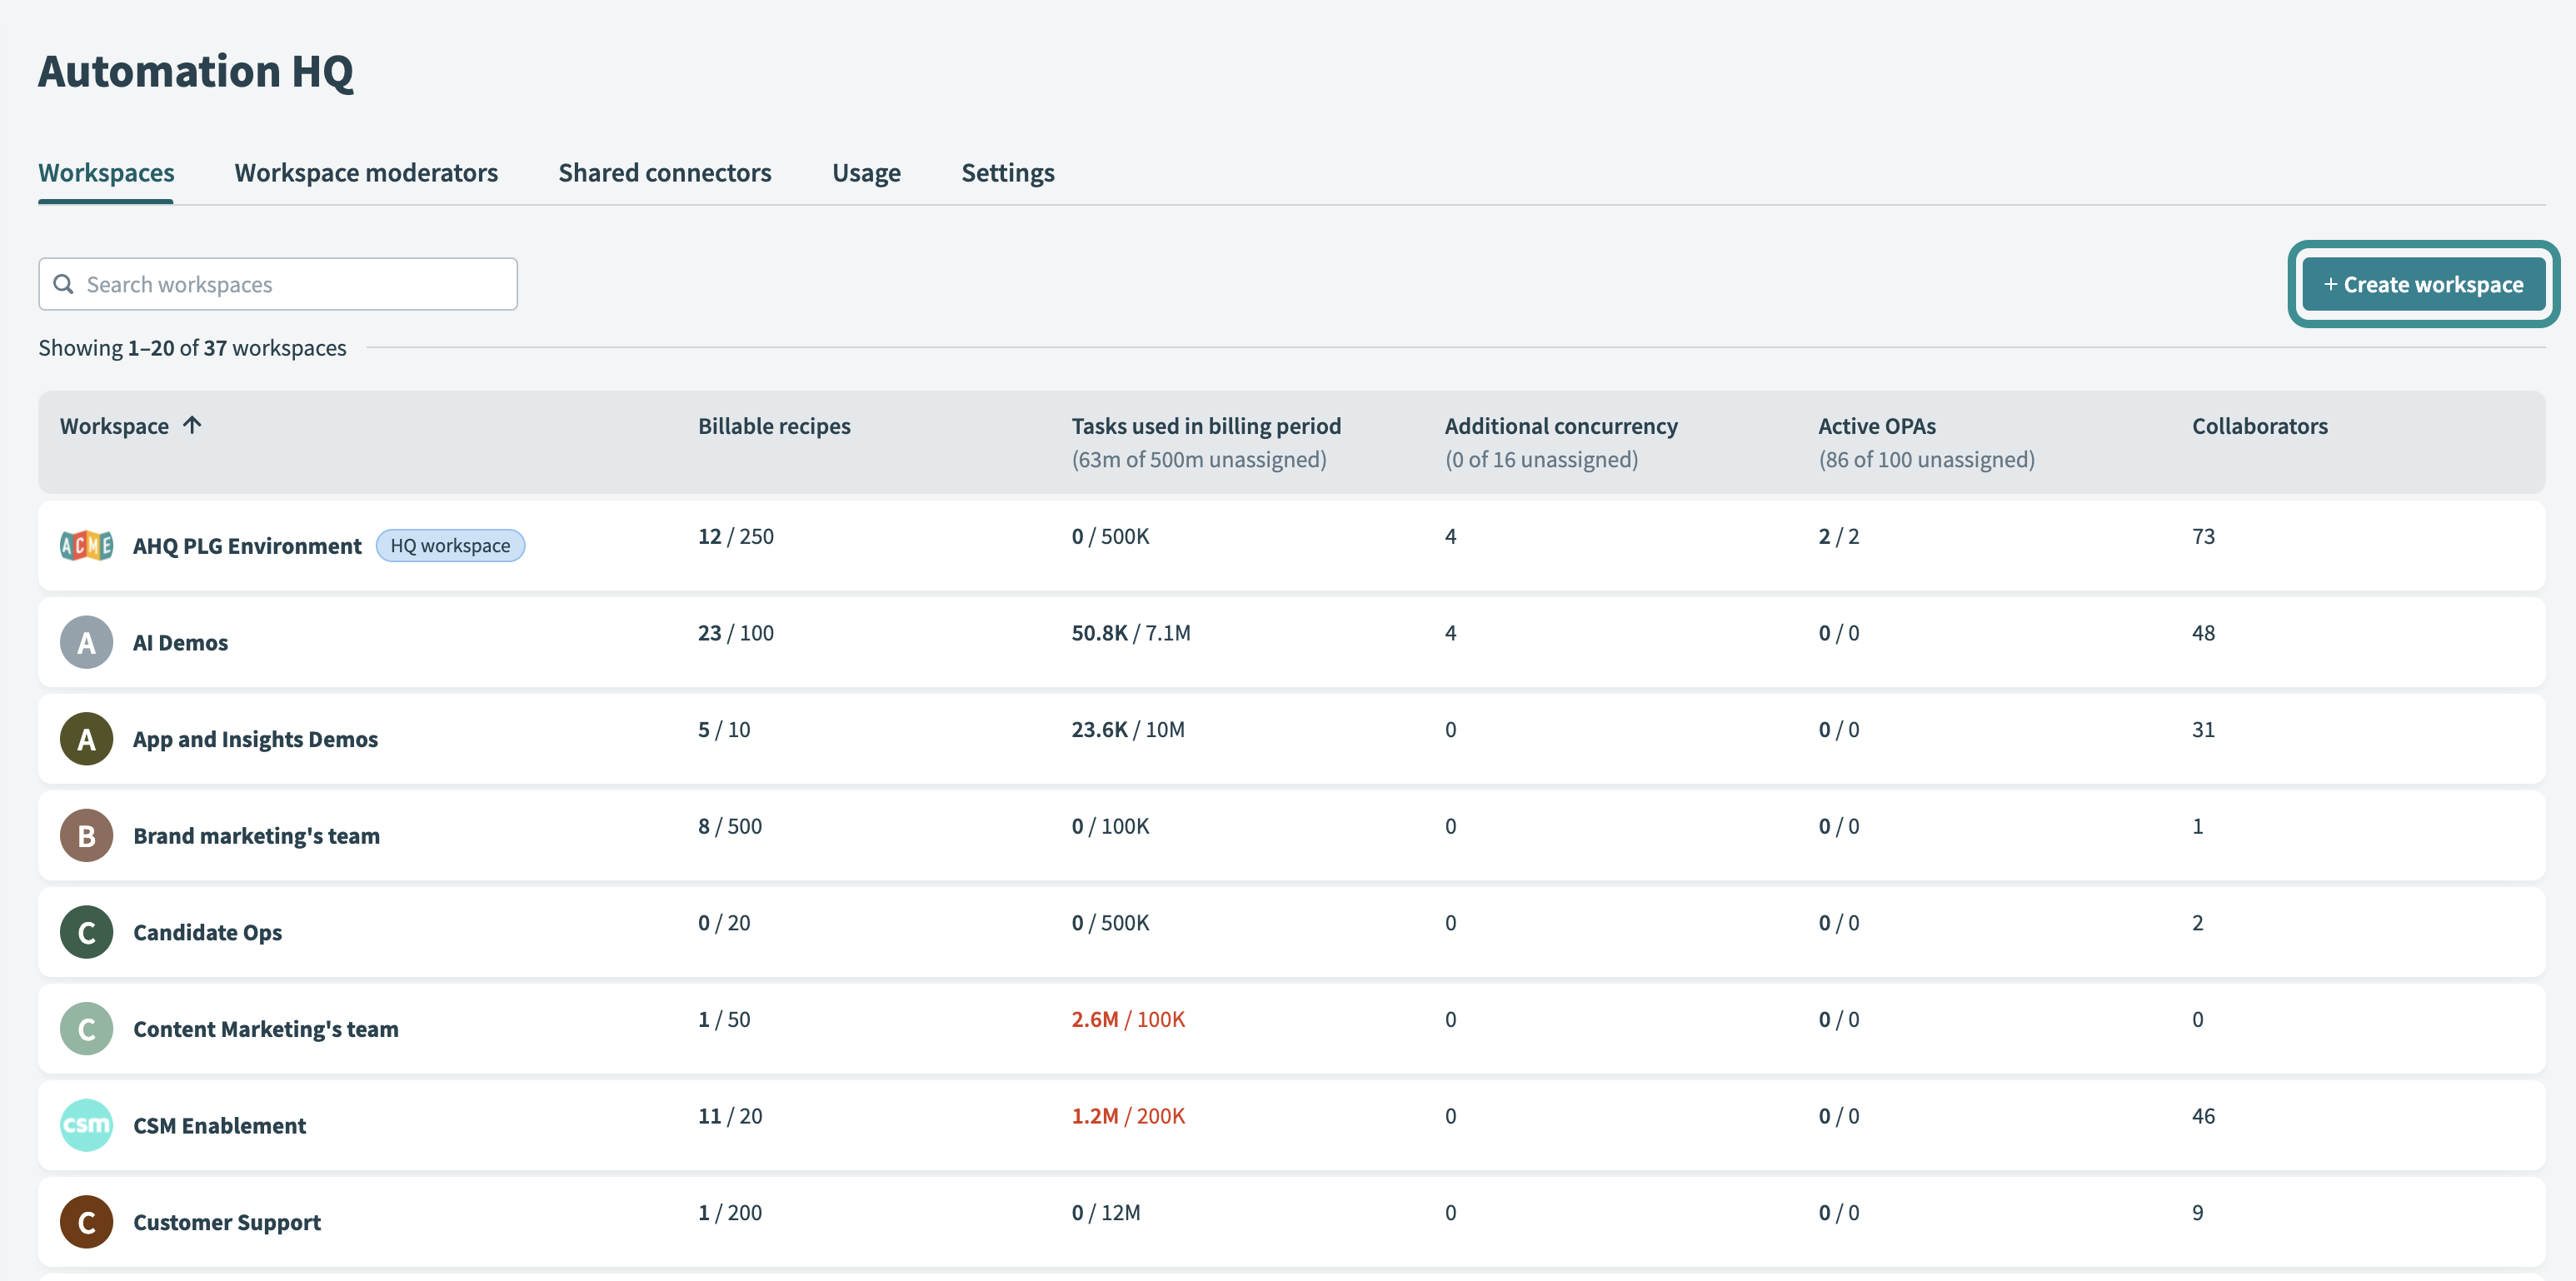 Create a new workspace
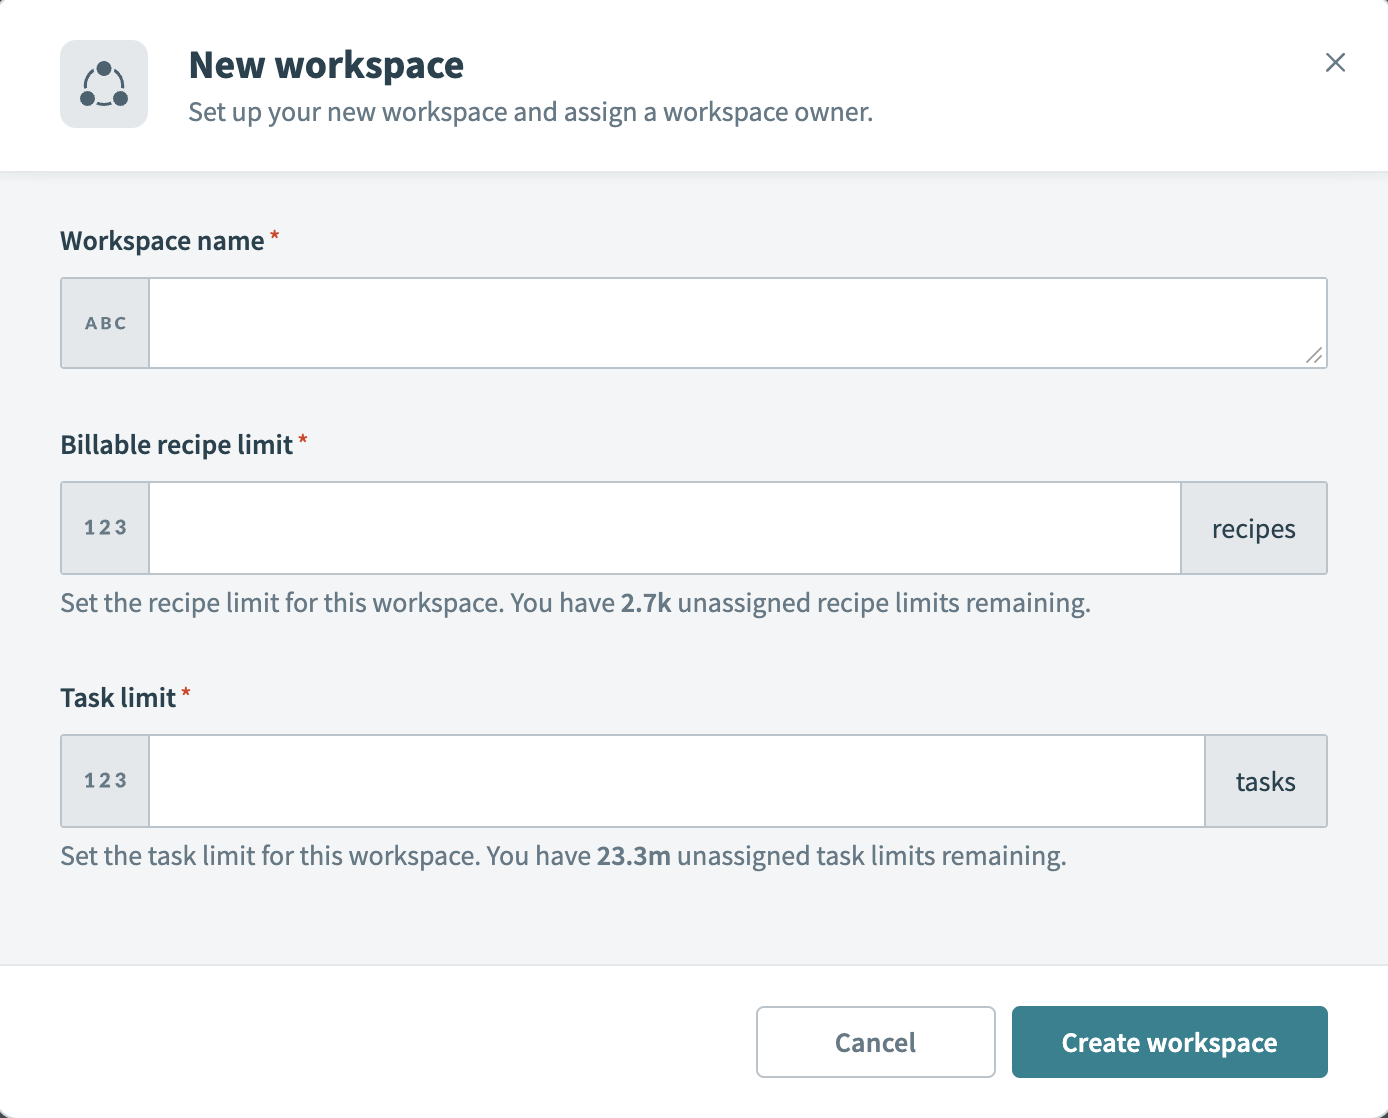
The New Workspace interface appears.
In the interface, provide the name of the new managed workspace and the limit for both the number of billable recipes and tasks.
Workato deducts usage limits from your organization's subscription; you can update them at any time.
- Workspace name
- The name of the new managed workspace.
- We suggest you choose a name that represents the organizational unit that the workspace serves. This makes it easier for users to find the various workspaces where they participate. For example, for the Recruiting department, name the workspace HR: Recruiting.
- Billable recipe limit
- The limit of all billable (active) recipes allocated to the managed workspace.
- Workato guides you in choosing the recipe limit, based on your plan. For example, the following illustration states that you have "2.7k unassigned recipes". If you don't plan to set up additional workspaces, you can assign 500 recipes to this workspace. You can adjust the limits in the future.
- Task limit
- The task limit for this workspace.
- Similarly, Workato advises you of the remaining tasks available in the plan. In the following illustration, you have "23.3m unassigned tasks" remaining. Depending on expected usage, start by assigning 1,000,000 tasks to this workspace. You can adjust the limit in the future.
 New workspace interface
Click Create workspace.
You successfully added a new managed workspace! Now the new managed workspace appears in the list of workspaces.
Last updated: