# API endpoint management

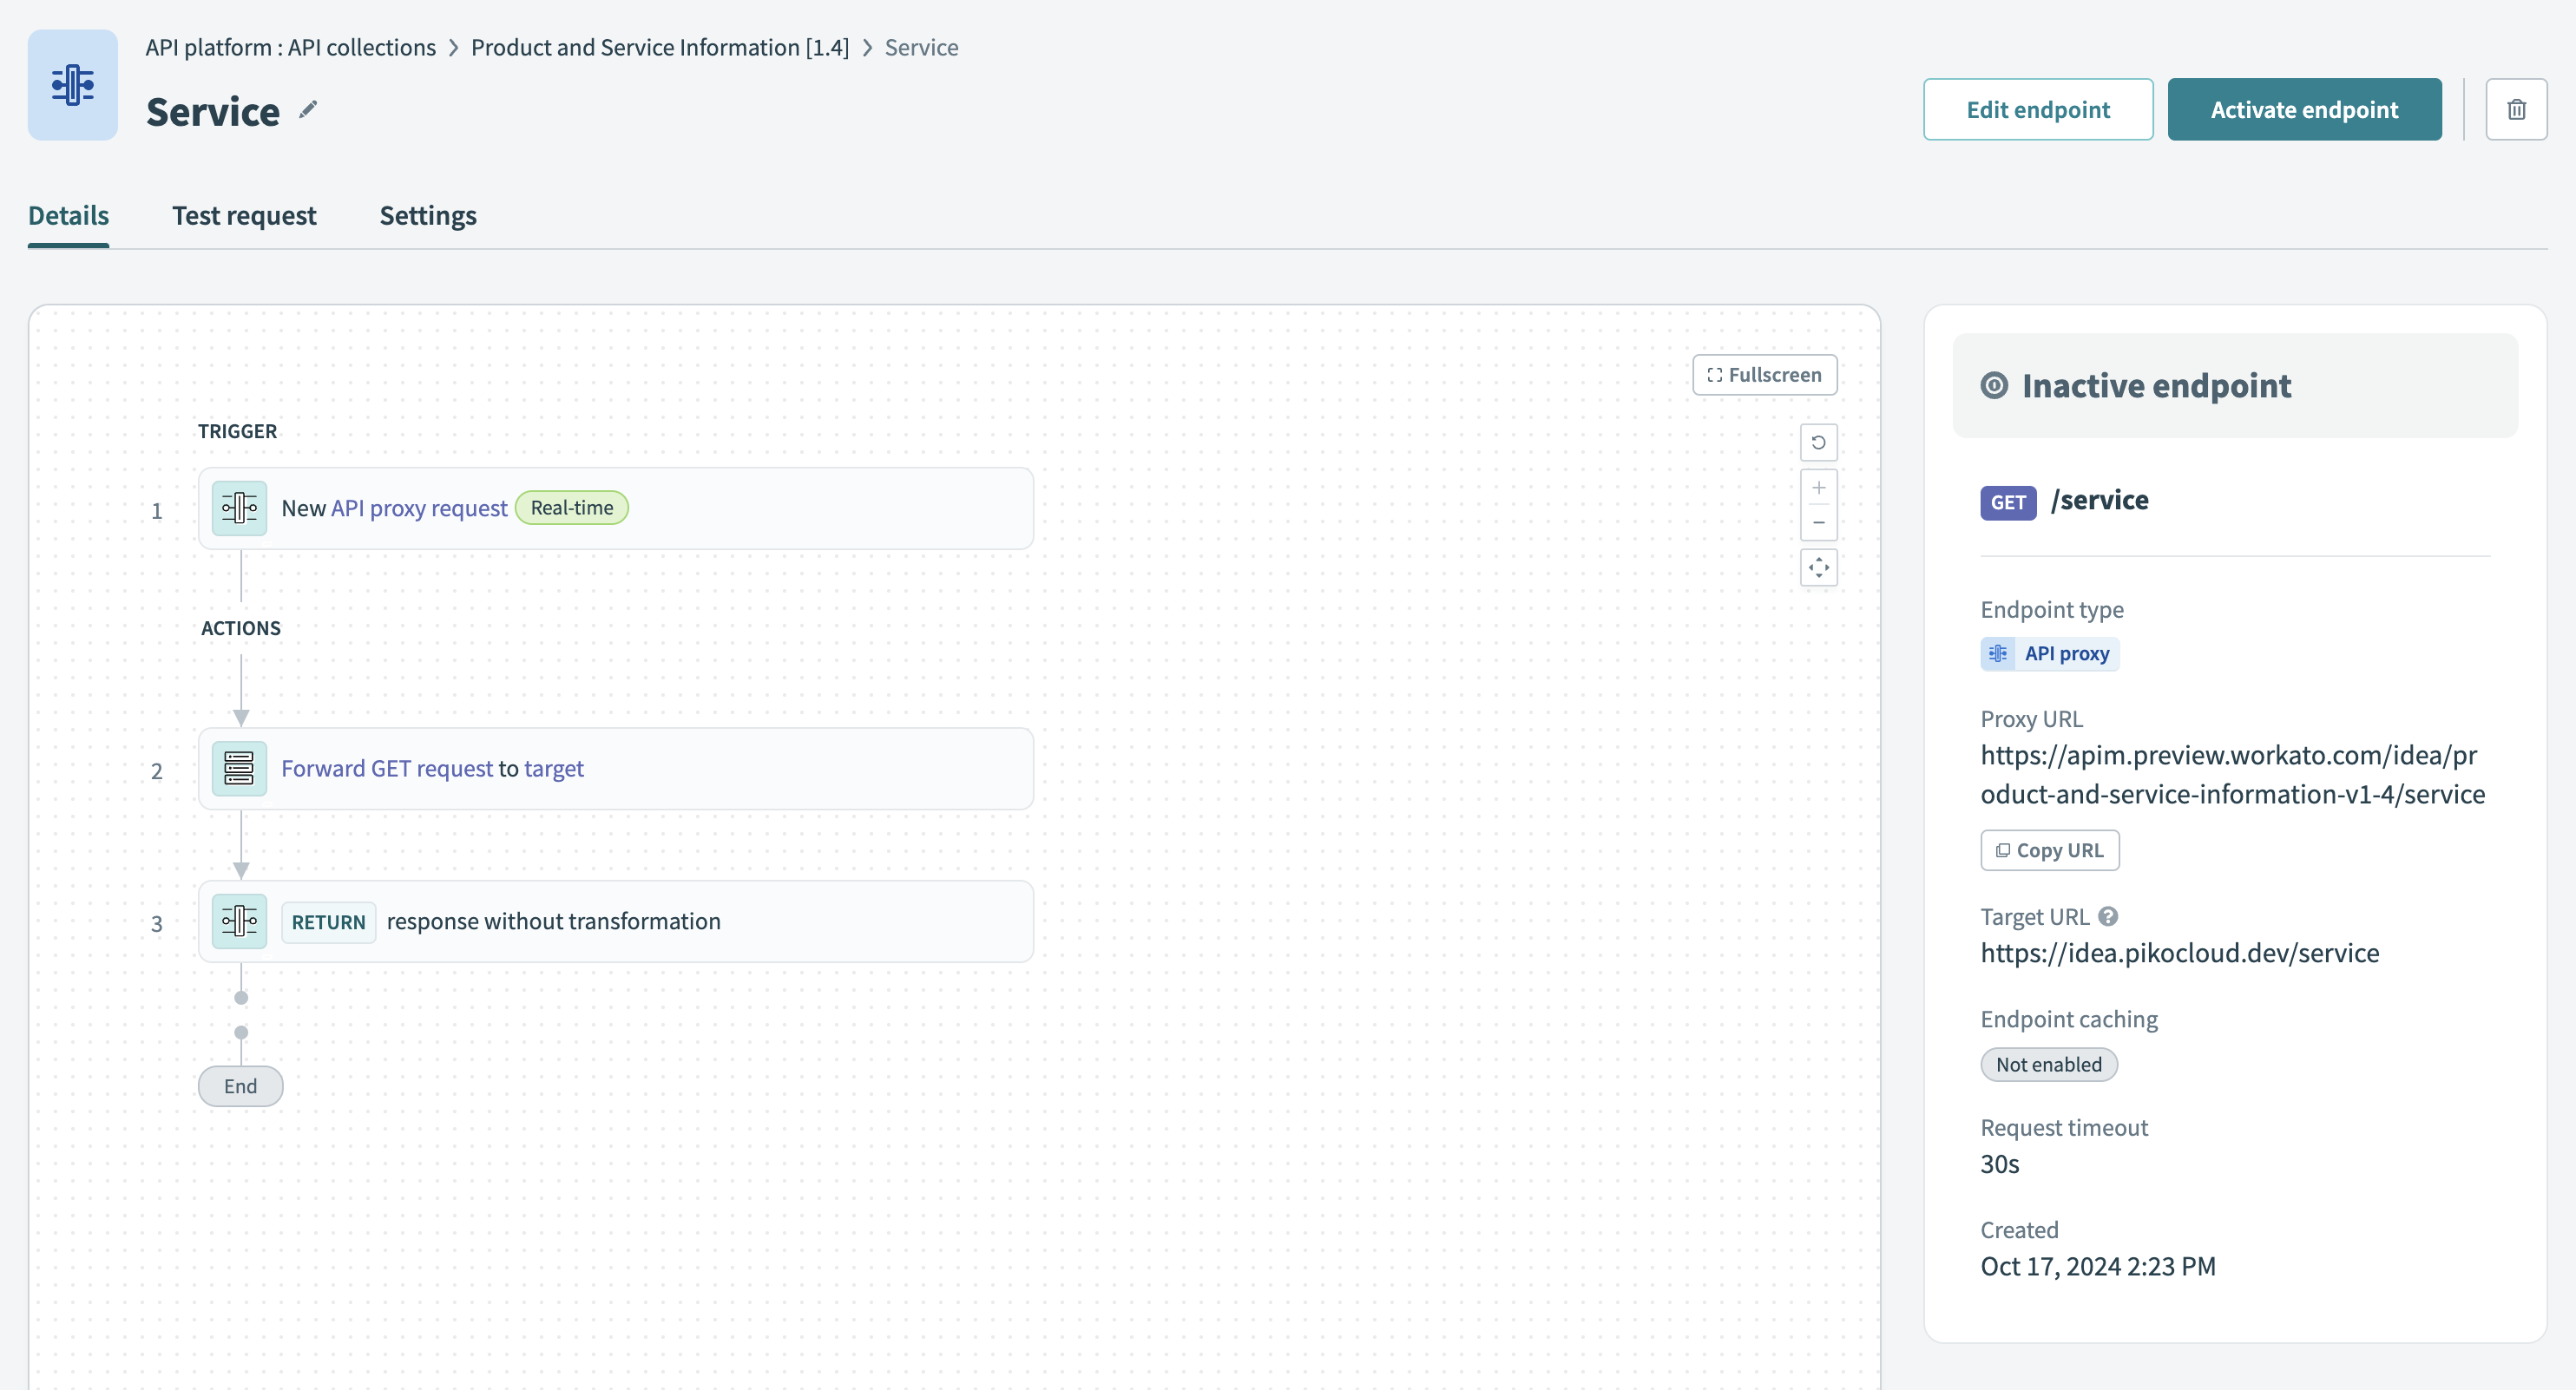
In the API Platform, a recipe-based endpoint exposes the functionality and output data of an API recipe. A proxy-based endpoint uses an API proxy to securely forward requests to another API.

Similar endpoints are grouped into an API collection, where other users and apps can consume the endpoints.

Navigate to Platform > API platform > API collections and select an API collection to see its endpoints.

Endpoints in an API collection Endpoints in an API collection

Typically, several endpoints are imported together as part of the process of creating an API collection. After you create a collection, you can add more endpoints to it.

Note that endpoint types cannot be mixed and matched within a collection. API recipe collections contain only recipe-based endpoints and API proxy collections contain only proxy-based endpoints.

To configure a new endpoint in a collection, follow the steps for the endpoint type you plan to configure:

API ENDPOINT TYPES

Refer to our API collection types documentation for more information about the differences between API proxy and API recipe endpoints, as well as guidance on selecting the appropriate option for your specific use case.


# Configuring a new API proxy endpoint

To configure a new API proxy endpoint, complete the following steps:

# Prerequisites

# Step 1: Create the endpoint

Before you begin, review the endpoint path guidelines.

1

Navigate to Platform > API platform > API collections and select the API collection in which to create the new endpoint.

2

Select Create new endpoint.

3

Fill in the following fields:

  • Endpoint name

  • Enter a descriptive name for the proxy endpoint.

  • Endpoint path

  • Define an endpoint path to be appended to both proxy and target base URLs. It can include path parameters. Ensure that the endpoint path conforms to these guidelines.

  • HTTP method

  • Select the HTTP method to use for the endpoint.

  • Request timeout

  • Only required when you toggle Customize timeout. Customize the time that a request is given to complete. The default value is 30 seconds and the maximum value is 240 seconds.

Add a proxy-based endpoint Add a proxy-based endpoint

4

Select Add endpoint.

The new endpoint appears in the API collection page.

You can rename, edit, or delete your API endpoint by selecting ••• (ellipsis) in the upper-right corner of the endpoint and selecting Rename endpoint, Edit details, or Delete endpoint.

# Step 2: View the proxy endpoint

Select an API endpoint from the API collection overview to see detailed information about that endpoint. These details are also available in the OpenAPI 2.0 specification downloadable from the API collection overview.

A proxy-based endpoint has two tabs:

# Details tab

The Details tab displays schema and headers as well as the target URL.

Viewing a proxy-based endpoint's Details tab Viewing a proxy-based endpoint's Details tab

The Schema and headers section allows you to configure the following information:

  • Requests:
    • Content type
    • Parameters
    • Body
    • Headers
  • Responses:
    • Content type
    • Headers
    • HTTP status codes
    • Schema

If you created an endpoint manually using the steps above, or if you selected Manual configuration when you created the collection, you must configure the Schema and headers section yourself. For details, see Step 3: Set up schema.

If you imported an OpenAPI specification when you created the collection, each endpoint's schema and headers section is filled out for you.

The Target URL section displays the address that requests to the proxy endpoint are forwarded to. You can change the target URL by switching the target HTTP connection in the API proxy collection settings.

# Test tab

The Test tab displays parameters and responses and allows you to test the endpoint.

Viewing a proxy-based endpoint's Test tab Viewing a proxy-based endpoint's Test tab

The Parameters and Responses sections are the same as for recipe endpoints. For details, see Parameters and Responses.

# Step 3: Set up schema

IMPORT OPENAPI SPEC FOR AUTOMATIC SETUP

Want to automatically configure the endpoint next time? When you create a new API proxy collection, select Import OpenAPI specification and Workato will fill out the schema for each endpoint for you.

If you created an endpoint manually using the steps above, or if you selected Manual configuration when you created the collection, you must configure the Schema and headers section yourself. You can either follow the guided setup or set it up manually.

# Guided setup

LIMITATIONS

Currently, the guided setup does not support sending a sample request to a target URL that includes path parameters. You can still set up the schema and headers manually.

The guided setup allows you to send a sample request, and Workato fills out the schema and headers automatically.

1

Select the Start guided setup button in the proxy endpoint's Schema and headers section:

Select Start guided setup Select Start guided setup

2

In Configure sample request, fill out the following fields:

  • Request URL parameters

  • Add URL parameters to the query string.

  • Request headers

  • Add required headers to the HTTP request.

  • Response content type

  • Required. Select the expected format of the data response type, such as JSON or XML.

3

Select Send request.

4

If the request succeeds, Workato displays a 200 - OK code. After you inspect the sample request and response to make sure they are as expected, select Generate schema.

Guided setup successful request Guided setup successful request

5

Workato returns you to the endpoint's Details page with the schema and headers filled out.

Scroll down and select the Save button.

6

You have configured the endpoint's schema. Now you can proceed to the next step, Step 4: Test the proxy endpoint.

# Manual setup

If you choose to manually set up the endpoint's schema and headers,

1

Select the Setup manually link in the proxy endpoint's Schema and headers section:

Select manual setup Select manual setup

2

In the Request section, select Show to display the form, and fill out the following fields:

  • Request parameters

  • Add parameters to the request.

  • Request headers

  • Add any required headers to the request.

3

In the Response section, select Show to display the form, and fill out the following fields:

  • Response content type

  • Required. Select the expected format of the data response type, such as JSON or XML.

  • Response headers

  • Add any required headers to the HTTP response.

  • Responses

  • Required. You must enter a response for a successful request (200 - OK status code).

    You can select Use JSON to describe the fields in the body by pasting or uploading example JSON output, or select Add fields manually to enter them yourself.

4

Select Save.

5

You have configured the endpoint's schema. Now you can proceed to the next step, Step 4: Test the proxy endpoint.

# Step 4: Test the proxy endpoint

To learn how to test your new proxy endpoint, see Test a proxy endpoint.


# Configuring a new API recipe endpoint

To configure a new API recipe endpoint, complete the following steps:

# Prerequisites


ORGANIZE API RECIPES AND ENDPOINTS

We recommend that you organize API recipes with endpoints belonging to the same API collection within the same folder in your workspace. For example, a set of Salesforce endpoints that are intended to be called by recipes used by the sales team might be put together in an API collection. However, this is not required.

Learn more about API endpoint URLs.

# Step 1: Create the recipe endpoint

Before you begin, review the endpoint path guidelines.

1

Navigate to Platform > API platform > API collections and select the API collection in which to create the new endpoint.

2

Select Create new endpoint.

3

Fill in the following fields:

  • Endpoint name

  • Enter a descriptive name for the endpoint.

  • Recipe

  • Select the API recipe that the endpoint is associated with. The picklist contains the API recipes that you can access.

  • Endpoint path

  • Enter the endpoint path, which can include path parameters. Ensure the endpoint path conforms to these guidelines.

  • HTTP method

  • Select the HTTP method to use for the endpoint.

  • Time-to-live period

  • Required when you toggle Cache response. Specify the time in seconds that a response is stored in cache before it is refreshed or deleted. The default value is 600 seconds and the maximum value is 3600 seconds.

  • Cache key parameters

  • Optional when you toggle Cache response. The cache key always starts with the endpoint URL. You can include additional parameters if required. For more information, see API endpoint caching.

  • Request timeout

  • Required when you toggle Customize timeout. Customize the time that a request is given to complete. The default value is 30 seconds and the maximum value is 240 seconds.

Add a recipe-based endpoint Add a recipe-based endpoint

4

Select Add endpoint.

The new endpoint appears in the API collection page.

You can rename, edit, or delete your API endpoint by selecting ••• (ellipsis) in the upper-right corner of the endpoint and selecting Rename endpoint, Edit details, or Delete endpoint.

# Step 2: View the recipe endpoint

Select an API endpoint from the API collection overview to see detailed information about that endpoint. These details are also available in the OpenAPI 2.0 specification downloadable from the API collection overview.

The information displayed depends on the type of endpoint.

A recipe-based endpoint displays parameters and responses and allows you to test the endpoint.

Viewing a recipe-based endpoint Viewing a recipe-based endpoint

# Parameters

This section lists the parameters that are required as part of the call to the API.

  • For a GET method, parameters should be sent as query strings or path parameters that are part of the URL.
  • For a POST or PUT method, parameters should be sent in JSON format in the body of the request.

# Responses

When you make a call to the endpoint, the client receives a status message. This section documents the responses if the call to the endpoints was successful and any response data that is sent along with the status.

Code Description
200 If the API call is successful, the response message is returned to the HTTP client with a "success reply."
Error codes If the API call fails, then an error status is returned to the client. This section documents error code responses.

# Step 3: Test the recipe endpoint

To learn how to test your new recipe endpoint, see Test a recipe endpoint.


# Activating or deactivating an endpoint

WARNING

Deleting an endpoint removes it from the collection and makes it inaccessible to any clients that had previously been granted access to it through the collection.

Control which endpoints are callable from the API collection page using the Active/Inactive toggle beside each endpoint. When an endpoint is created as part of a new API collection or added to an existing collection, the endpoint is set to the Inactive state.

Activate API proxy endpoint in a collection Activate API proxy endpoint in a collection

You must activate the endpoint to allow clients and other recipes to call it.

Additionally, recipe endpoints must be activated before you can test them. In contrast, proxy endpoints do not need to be activated prior to testing.

State Description
Active Active endpoints are callable from API requests. To set a recipe-based endpoint to the Active state, the recipe associated with the endpoint must first be running.
Inactive Inactive endpoints cannot be called remotely; the API gateway rejects API calls to an inactive endpoint. However, the associated recipe (if applicable) continues to run.

# Path templating

FEATURE AVAILABILITY

Path templating is only available for collections with API prefixes enabled.

Path parameters allow you to specify resource identifiers in the URL path. When an API request is made, the values in path parameters are passed to the associated datapills in the API recipe (for API recipe-based endpoints) or forwarded to the target URL (for API proxy-based endpoints).

When using recipe-based endpoints, we recommend that you first configure the datapills in the New API request trigger, then configure the endpoint path parameters.

Use curly braces {} to mark parts of the URL as a path parameter. For example: users/{salesforce_id}

URL path templating URL path templating

# Endpoint path guidelines

  • Include one or more segments in an endpoint path, separated by a /.
    • For example, use users/{user_id} to specify a user's endpoint.
  • Make each segment either a static path (users) or a parameter ({user_id}), not both.
  • Use alphanumeric or _ characters for path parameter names to match datapill naming conventions.
  • Avoid using multiple parameters with the same name in an endpoint path.
  • Casing for new or updated endpoint paths is preserved. For example, /Path123/ remains as Path123/, in contrast to the previous behavior where it would be saved as /path123.
  • Ensure each endpoint combines a unique method and path.
    • Do not create an endpoint /user/{id} if /user/{ID} exists in the same collection, unless their methods differ.
    • Similarly, do not create an endpoint /user/{id} if /user/{user_id} exists in the same collection, unless their methods differ.
  • Path matching is done from left to right and static segments are given priority over parameterized segments.

WARNING

If you make changes to an endpoint that a recipe or API client is using, you may also need to update the recipe or script to prevent errors.

# Example

If the API endpoint requires a salesforce_id, you can use a path parameter to provide the Salesforce id (5003000000D8cuI).

curl -X PUT 'https://apim.workato.com/api-collection/users/5003000000D8cuI' \
    -d '{"Email": "Matt.Jones@example.com","displayName": "Matt Jones","BillingCity": "San Francisco"}'

The trigger output in the recipe will look like this:

{
    "request": {
        "salesforce_id" : "5003000000D8cuI",
        "Email": "Matt.Jones@example.com",
        "displayName": "Matt Jones",
        "BillingCity": "San Francisco"
    },
    "Context": {+}
}

OVERLAPPING KEYS

If the same namespace is present in the path parameter, query parameter, or request body, Workato will prioritize the value given in the path parameter.

In this example, the datapill salesforce_id takes the value in the path parameter (5003000000D8cuI).

curl -X PUT 'https://apim.workato.com/api-collection/users/5003000000D8cuI' \
     -d '{"salesforce_id" : "068D00000000pgOIAQ","Email": "Matt.Jones@example.com","displayName": "Matt Jones","BillingCity": "San Francisco"}'


Last updated: 4/4/2024, 8:56:52 PM