Configure a data pipeline
This guide demonstrates how to create a data pipeline to extract records from a source and replicate them to a supported destination. It includes steps to configure connections, select objects, sync schema, and start the pipeline.
Prerequisites
Ensure you have the following before you create a data pipeline:
- A supported source application, such as Salesforce, NetSuite2, Jira, Coupa, or Marketo
- A supported destination data warehouse, such as Snowflake, Databricks, or SQL Server
- Required access and credentials for both systems
- Schema and object knowledge for the source system. This information is typically available in the product documentation of the respective application. For example, refer to the Salesforce standard object reference.
Configure your source application
Select your source application and follow the configuration guide to authenticate, select objects, and define a schema.
- Configure Salesforce
- Configure NetSuite2
- Configure Marketo
- Configure Coupa
- Configure Amazon S3
- Configure Azure Blob Storage
- Configure Google Drive
- Configure Google Cloud Storage
- Configure Ellucian Banner
- Configure HubSpot
- Configure SAP Table Reader
- Configure SQL Server
Configure your destination
Select your destination and follow the configuration guide to connect and configure how data loads.
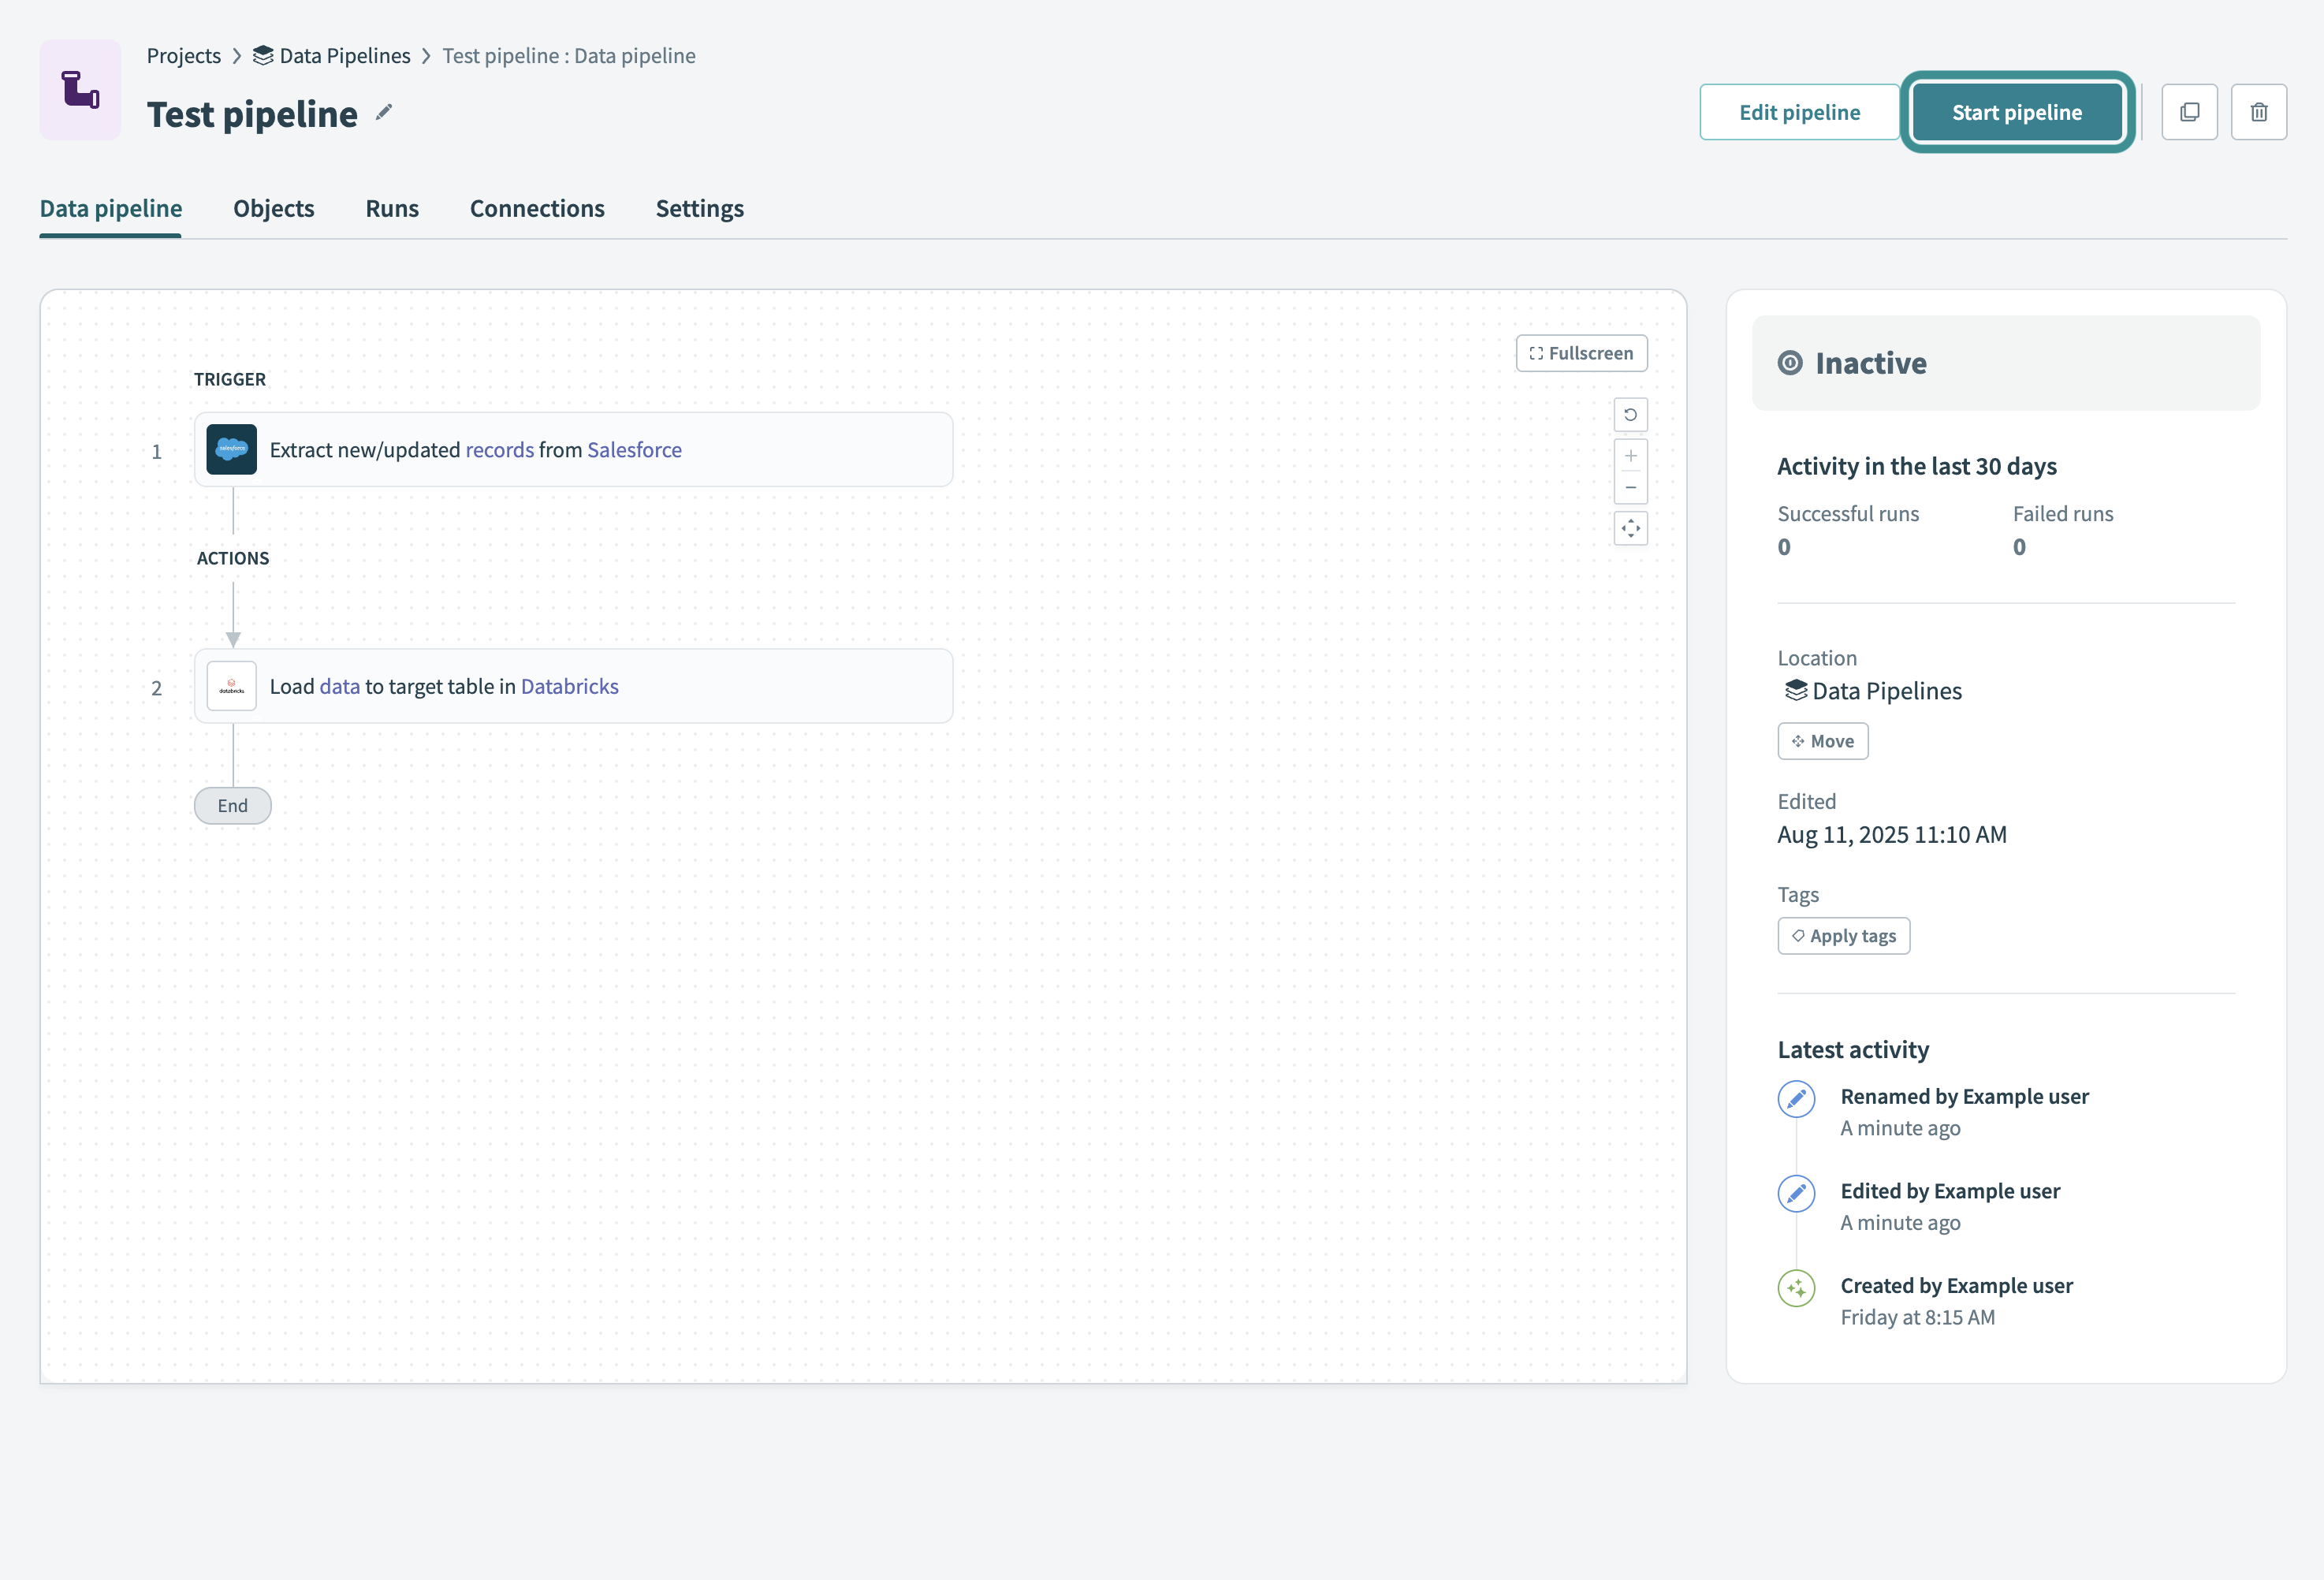
Start your data pipeline
Select Start pipeline to start the data pipeline. After you start the pipeline, it syncs selected objects and loads historical data.
 Start your data pipeline
You can also choose to Move, Edit, or Apply tags to the pipeline.
Refer to the Monitor data pipeline recipes guide to learn how to monitor pipeline activity and troubleshoot issues.
Last updated: