How-to guide - OPA authentication
HTTP requests made in a custom adapter are sent from Workato IP addresses by default. You can configure the adapter to instead route all requests through an on-prem agent.
Complete the following steps to enable OPA authentication in a custom connector:
Sign in to Workato.
Go to Tools > Connector SDK.
Select the connector you plan to modify, or click + New connector to create a new connector.
Add secure_tunnel set to true as a top level property in your custom adapter code.
USE OPA FOR TLS CERTIFICATES
Configure TLS client certificates in the OPA connection profile instead of your SDK connector code. OPA terminates TLS to your target service, and the certificate must be configured in the HTTP profile. Refer to On-prem agent – Connection profiles for instructions to configure TLS client certificates in OPA. The connection returns SSL errors if you configure the certificate in the SDK connector.
For example:
{
  title: 'On-prem example connector',
  secure_tunnel: true,

  connection: {
    fields: [{ name: 'profile', hint: 'On-prem example connector profile' }],
    authorization: { type: 'none'},
    apply: ->() {
      headers('X-Workato-Connector': 'enforce')
    }
  },

  test: ->(connection) {
    post("http://localhost/ext/#{connection['profile']}/computeDigest", { payload: 'test' })
  }
}
ADD OPA TO AN EXISTING CONNECTOR
Use the || operator to specify the existing authentication method as the default when you add new authentication methods to an existing connector.
In the following example, the value left of the || operator, auth_type, is evaluated first. If the value is nil or false, the right value, api_key, is evaluated.
selected: lambda do |connection|
  connection["auth_type"] || 'api_key'
end,Click Save > Release latest version.
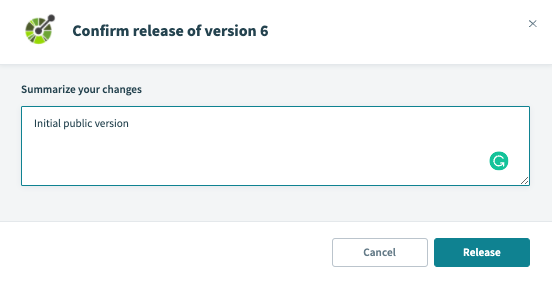
Summarize the changes you made to the connector in the Confirm release modal.
 Summarize your changes to the connector
Click Release to release the new version of the connector in your workspace and allow it to be used in recipes.
The New connection page for your connector displays the Connection type drop-down menu after you set secure_tunnel to true. You can use this menu to select the on-prem group you plan to use for your connection.
 New connection page without
 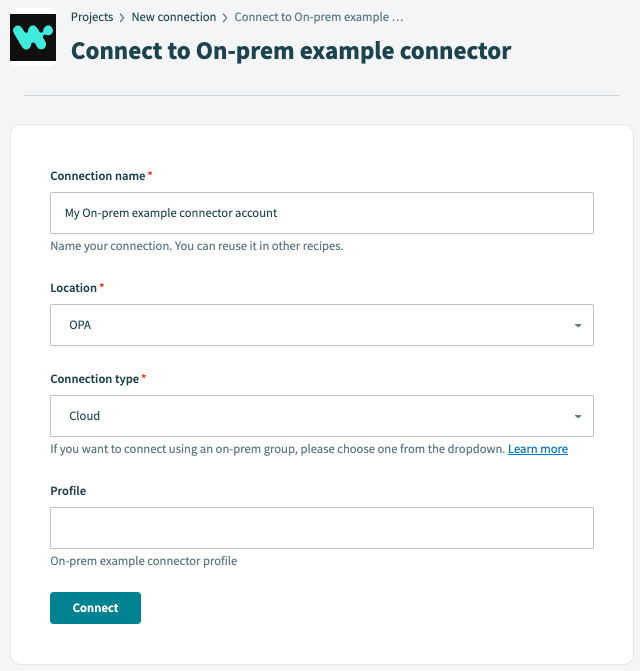 New connection page with
 Next steps
Refer to the SDK reference guide for a list of available connection keys and parameters or refer to the following guides set up an on-prem agent:
Last updated: