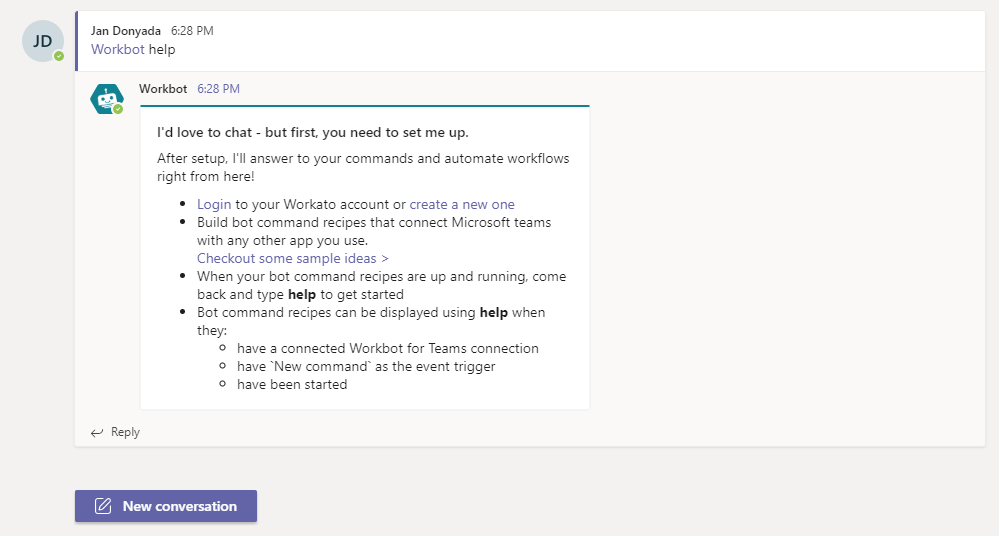
Set up Workbot for Microsoft Teams
This guide explains how to set up a standard Workbot for Microsoft Teams connection.
STANDARD WORKBOT CONNECTION LIMIT
Only one standard Workbot connection per Microsoft Teams organization is supported. Use Enterprise Workbot instead if you need multiple Workbots in the same organization. Enterprise Workbot requires a custom OAuth profile.
Prerequisites
MICROSOFT MFA ENFORCEMENT
Microsoft is rolling out mandatory multifactor authentication (MFA) gradually to different applications and accounts in phases. This enforcement continues throughout 2025 and beyond. Refer to the Microsoft Mandatory multifactor authentication for Azure and admin portals documentation for more information.
We strongly recommend enabling MFA now for all Microsoft accounts used with Workato to avoid service disruptions from short-notice enforcement changes.
Complete the following steps to maintain uninterrupted service:
Enable MFA for your Microsoft organization following the Microsoft MFA setup guide. Refer to Set up multifactor authentication for Microsoft 365 for more information.
Reconnect your Microsoft connection in Workato.
Complete the OAuth flow with MFA when prompted.
Test your recipes to ensure they work with the updated connection.
Before you set up Workbot for Microsoft Teams, ensure you have the following:
- A Microsoft work or school account. These accounts are typically set up by your organization's administrator. Personal Microsoft accounts aren't supported.
- Microsoft Graph permissions.
- An admin role in the Azure portal.
Microsoft Graph permissions
Workbot for Microsoft Teams requires the following Microsoft Graph permissions:
| Permission | Type | Description |
|---|---|---|
| AppCatalog.Read.All | Delegated | Required to retrieve the installed app ID for a user from the Microsoft Teams app catalog. |
| Channel.ReadBasic.All | Delegated | Lists channels used in Post message or Post simple message actions. |
| Team.ReadBasic.All | Delegated | Retrieves the organization ID and name to track where the bot is installed. |
| TeamsAppInstallation.ReadWriteAndConsentSelfForUser | Delegated | Required to install Workbot in the signed-in user's personal scope. |
| User.Read | Delegated | Retrieves the authenticating user's ID and name to track who installed the bot. |
| User.ReadBasic.All | Delegated | Retrieves basic information about users. |
| offline_access | Delegated | Enables token refresh functionality. |
PROACTIVE MESSAGING REQUIRES APPLICATION PERMISSIONS
These Delegated permissions install Workbot only for the signed-in user. Installing Workbot into another user's personal scope, which proactive messaging requires, needs an Enterprise Workbot connection with Application permissions. Refer to Proactive messaging for more information.
Required roles
You must have one of the following roles to install Workbot in your Microsoft organization:
- Application administrator
- Cloud application administrator
- Global administrator
- Privileged role administrator
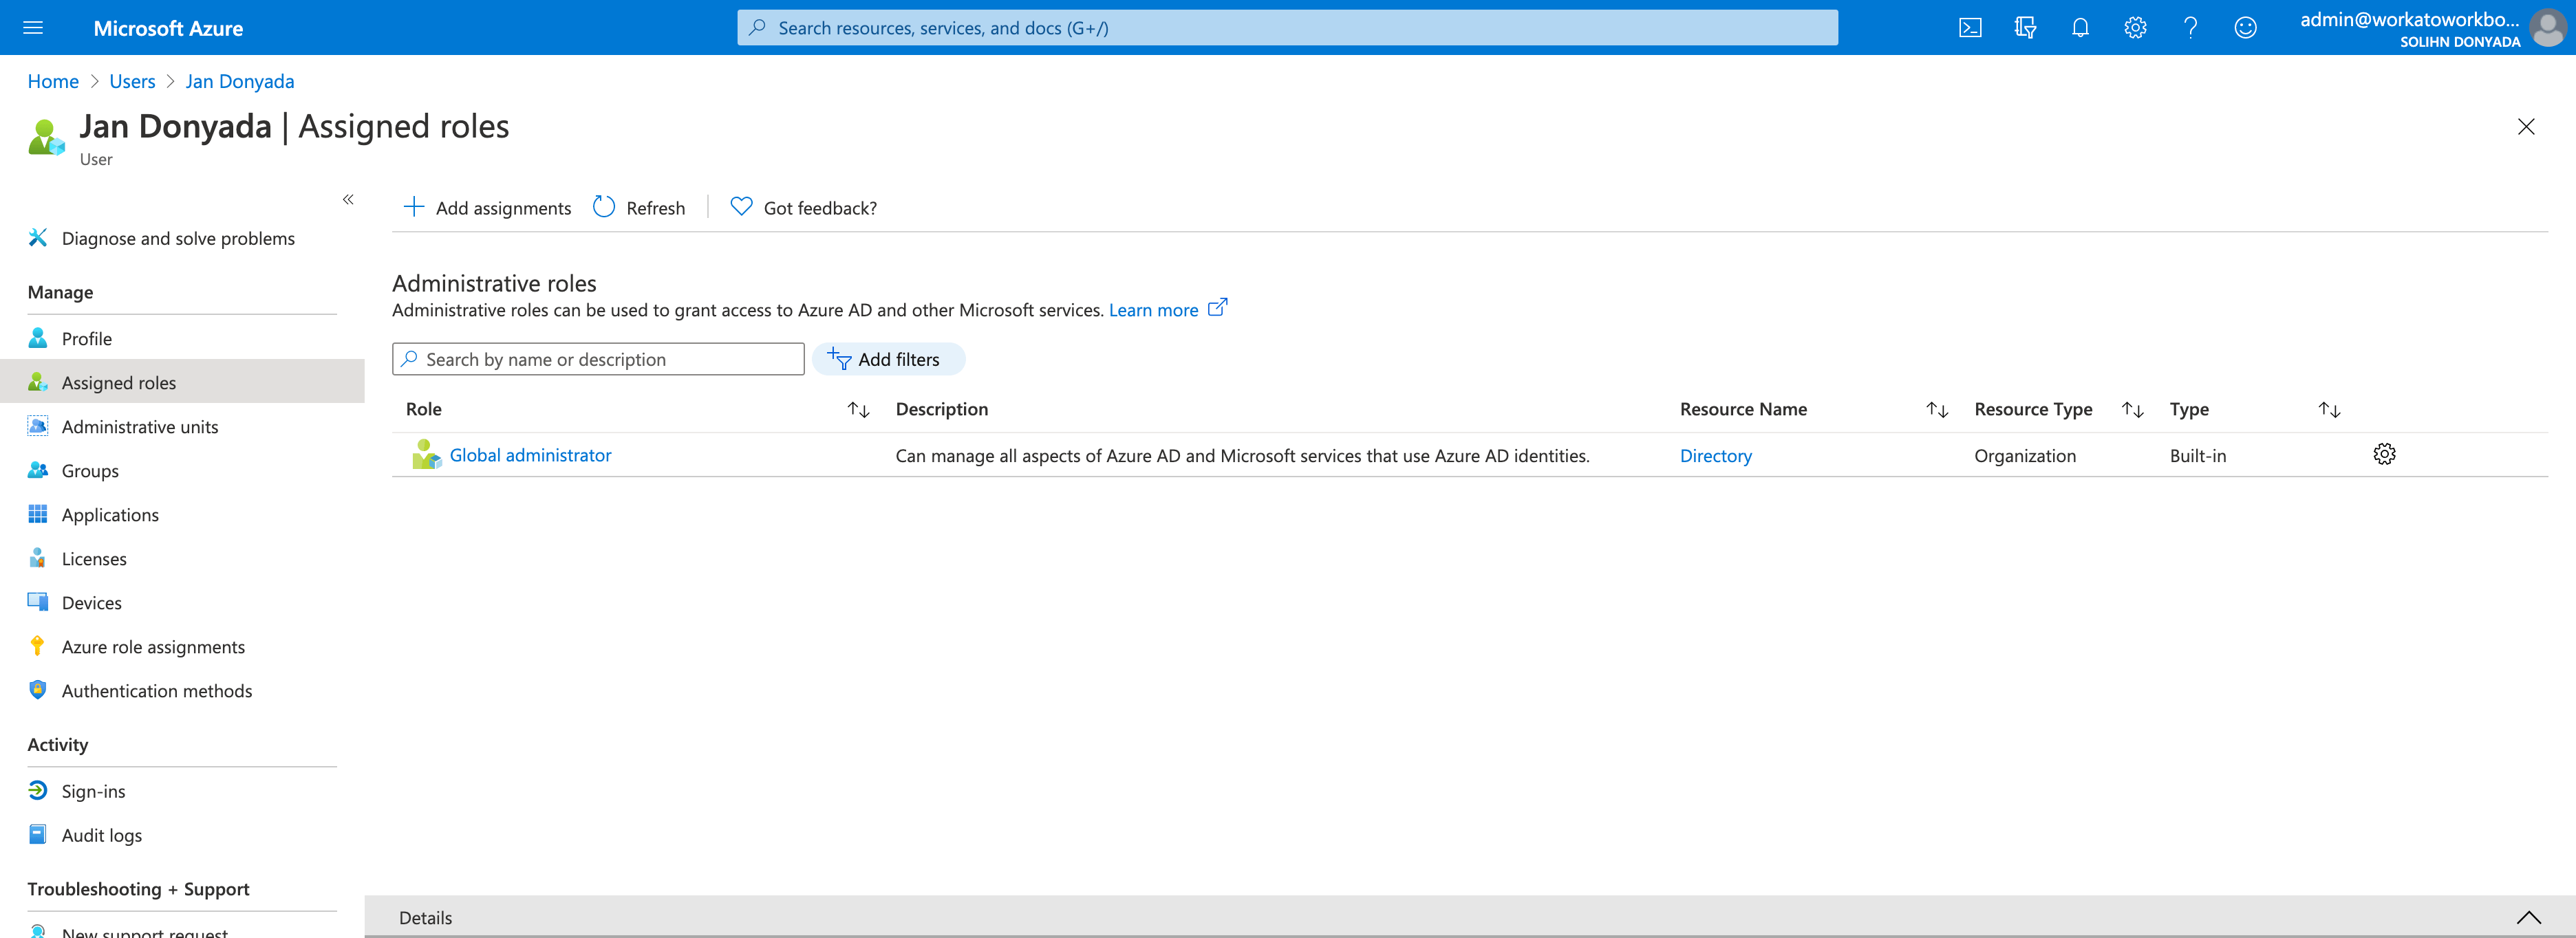 Administrator Assigned Roles
If you're installing Workbot as a global administrator, you can optionally select Consent on behalf of your organization during connection setup. This allows you to reconnect Workbot in Workato without administrator approval during reauthorization.
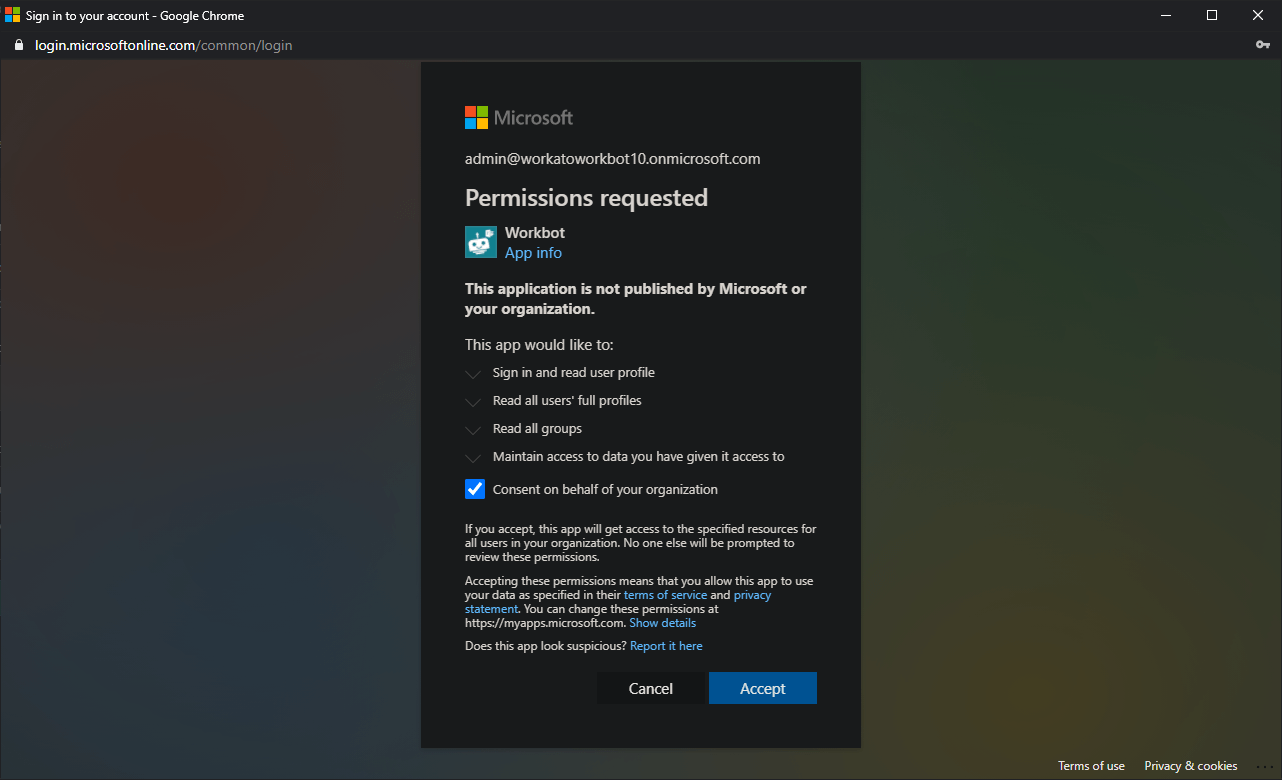 Extra checkbox to consent on behalf of organization when installing as global admin
Connection setup
Add Workbot to Microsoft Teams
Follow these steps to add Workbot to your Microsoft Teams instance:
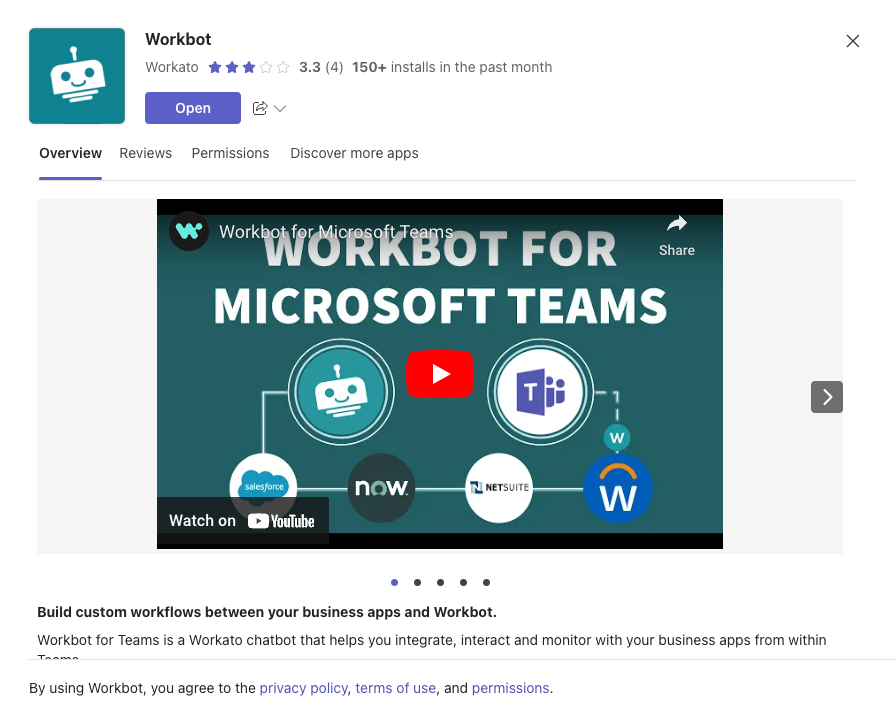
Open Microsoft Teams and select Apps on the sidebar.
Search for Workbot in Search for apps and more, then select the app to view its details.
Select Discover more apps if you're installing Workbot from outside the US, then select the Workbot app specific to your region.
NO WORKBOT SUPPORT FOR NEW DATA CENTERS
Workato doesn't support Workbot in new data centers. Use one of the supported region-specific Workbot apps.
Workato offers the following region-specific Workbot apps:
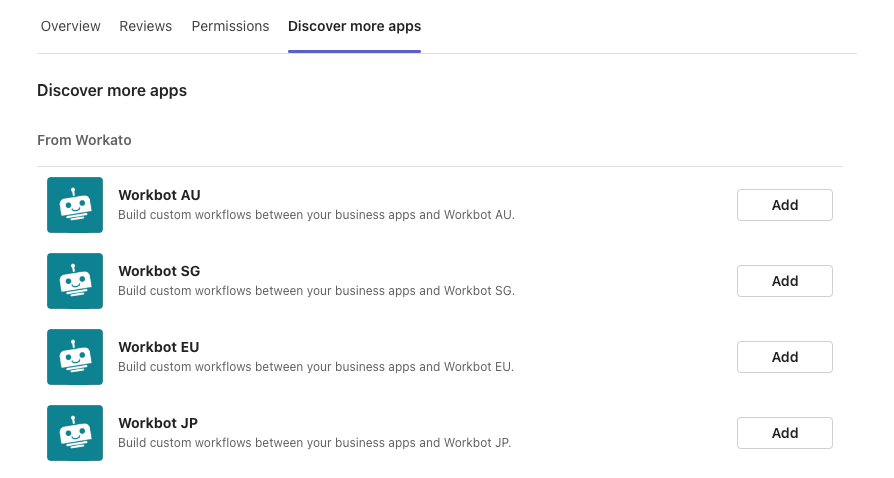 Region-specific apps
Complete setup in Workato
Follow these steps to establish a Workbot for Microsoft Teams connection:
Sign in to Workato.
Select the Connections tab.
Click Create > Connection or press C+C.
Search for Workbot for Microsoft Teams on the New connection page and select it as your app.
Enter a name for your connection in the Connection name field.
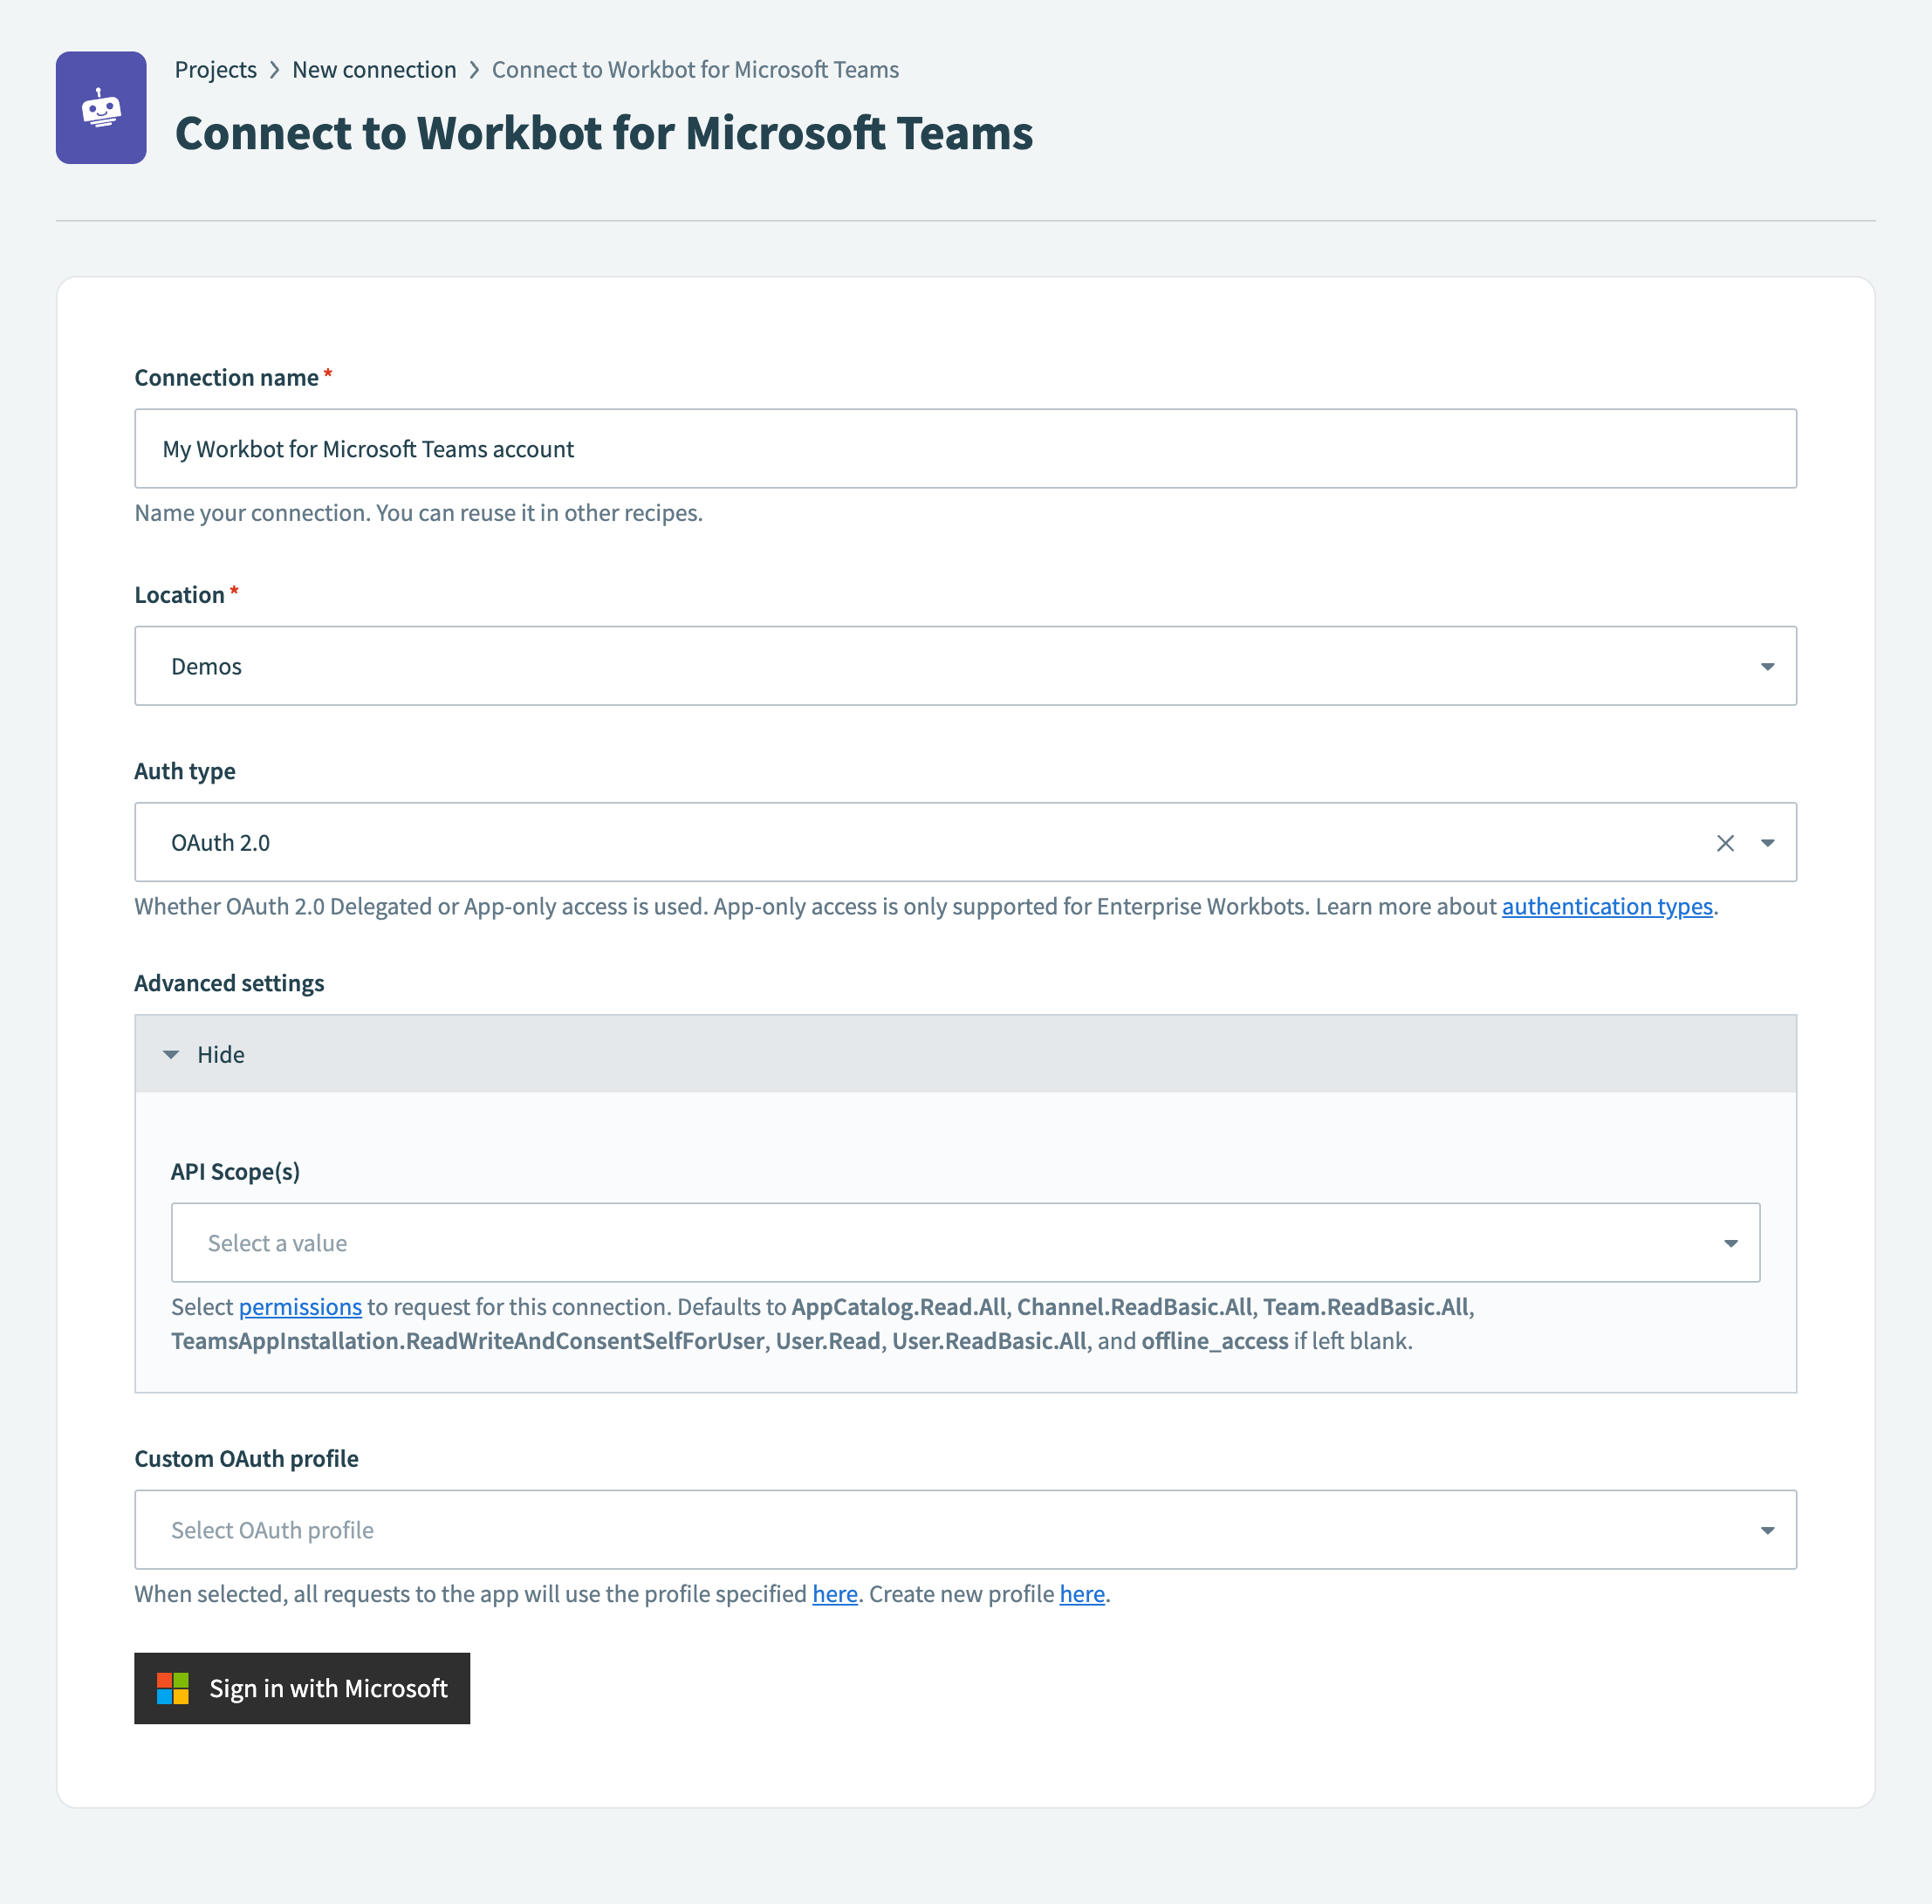 Connect to Workbot for Microsoft Teams
Select the project or folder where you plan to store the connection in the Location field.
Select OAuth 2.0 as the Auth type. Alternatively, you can select Application to use app-only access. App-only access is supported only for Enterprise Workbots.
Optional. Expand Advanced settings and use the API Scope(s) drop-down menu to select additional permissions to request for the connection. For permissions Workato requests by default, see Microsoft Graph permissions.
Click Sign in with Microsoft and enter your credentials.
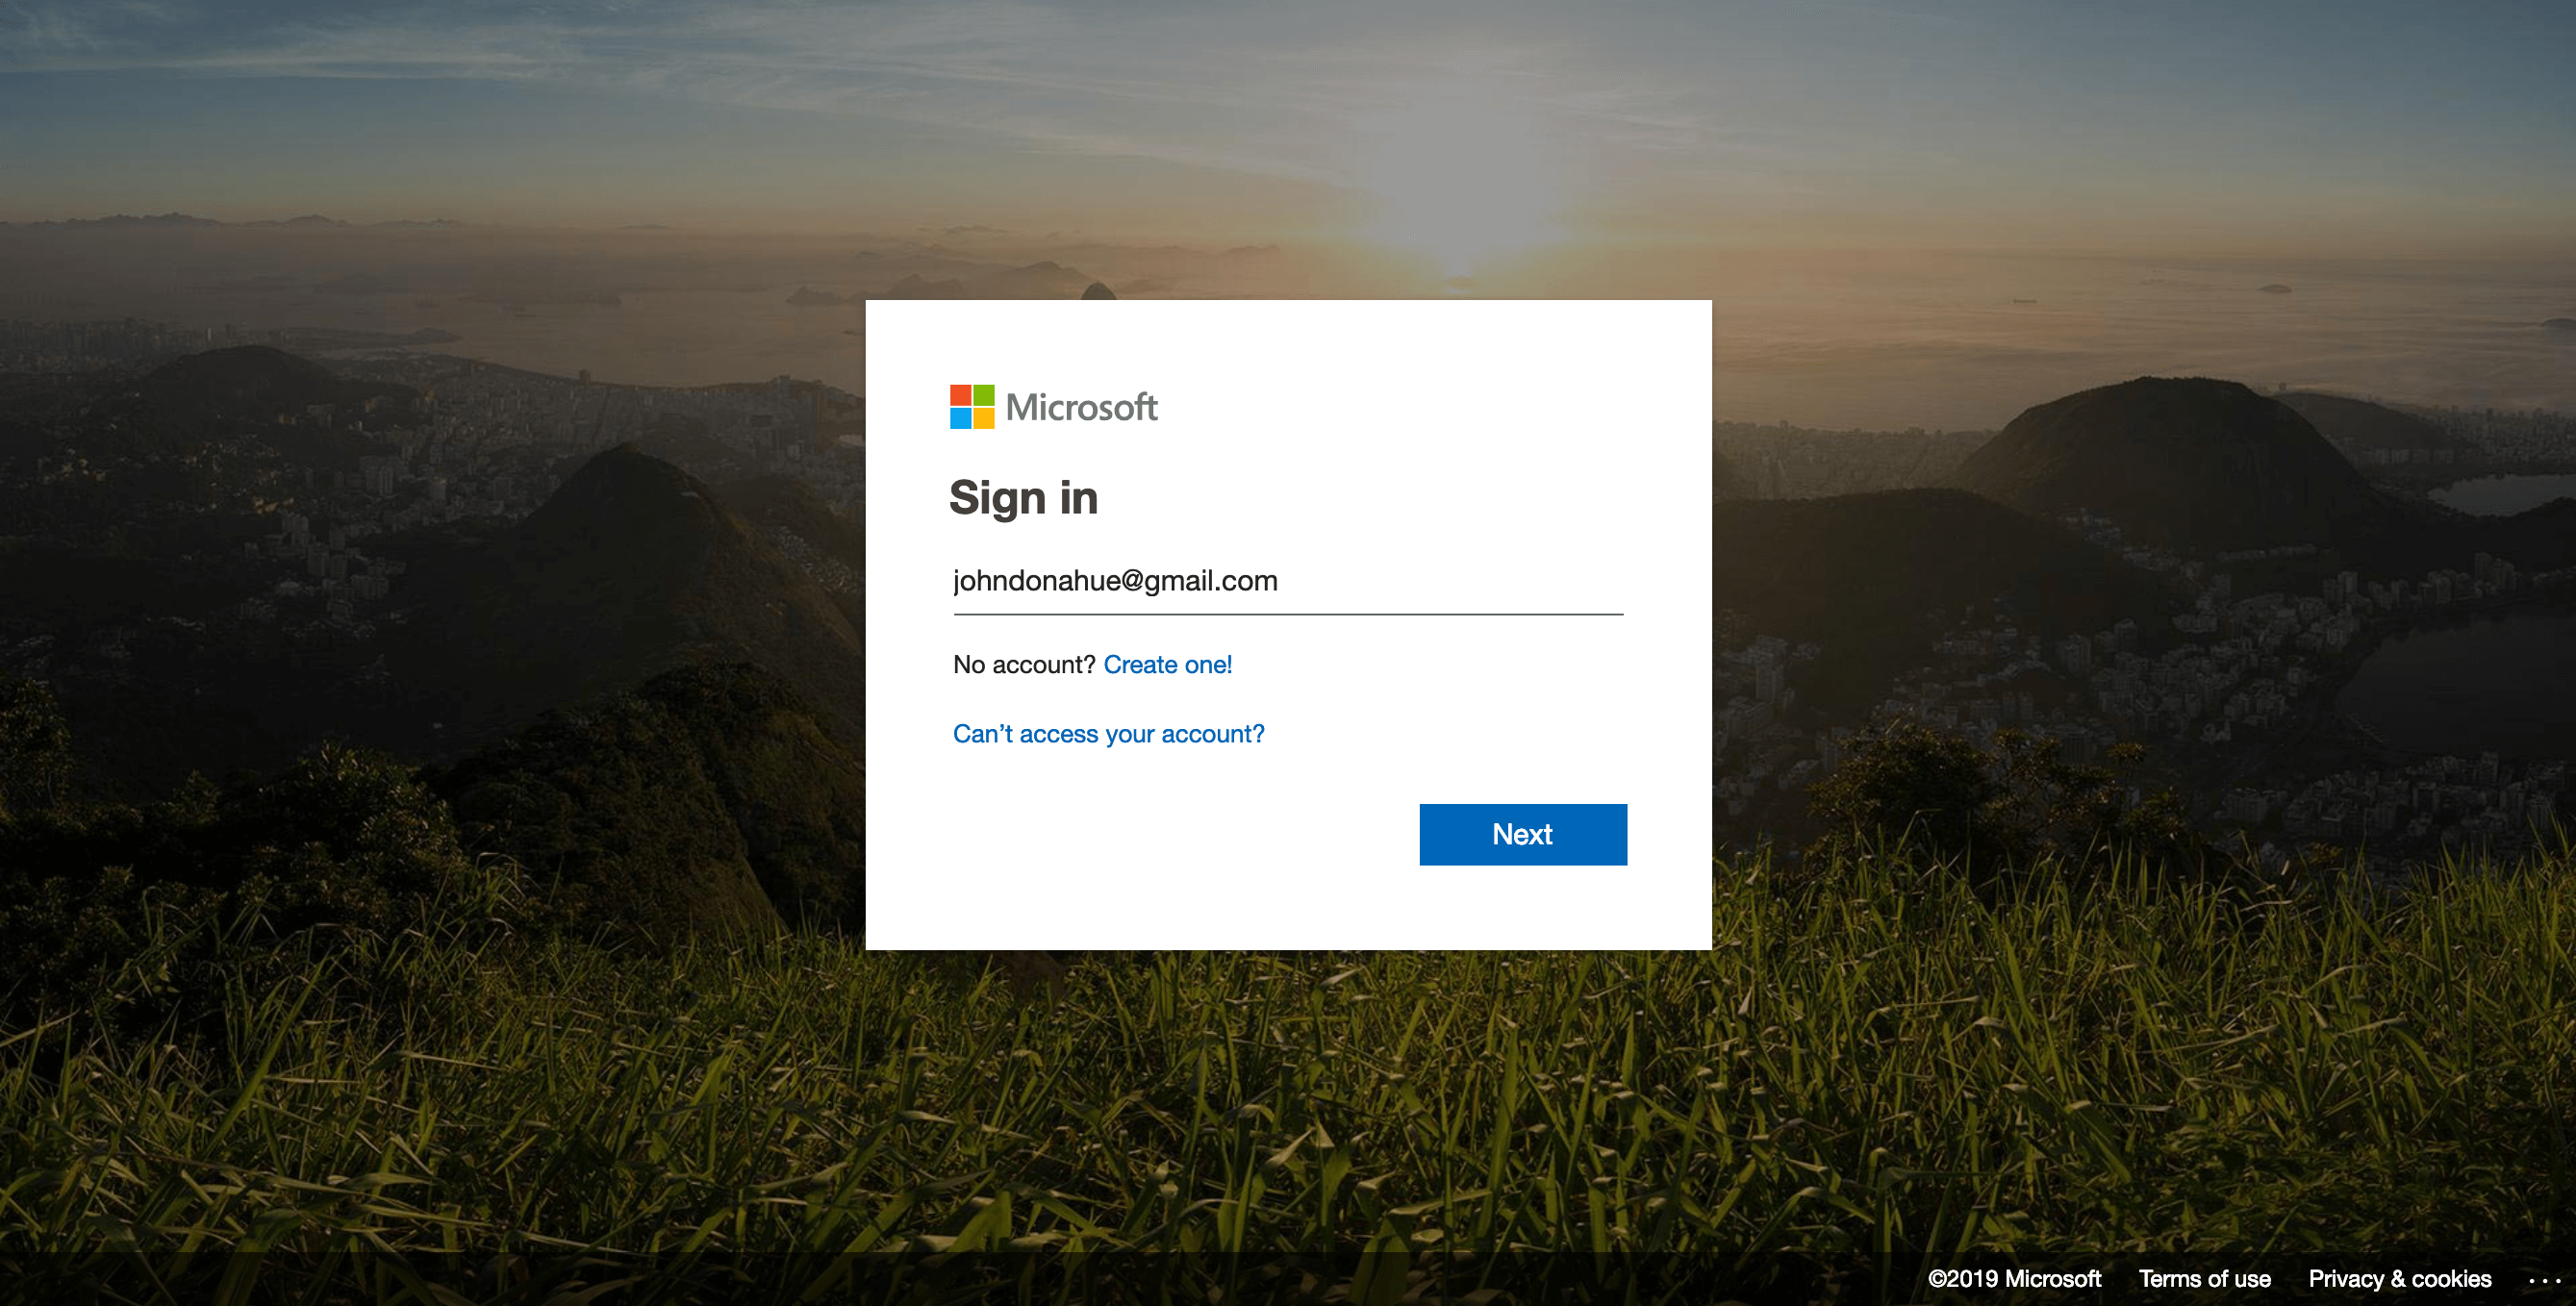 Authorize Workbot
Click Accept when prompted to grant Workbot with its requested permissions.
Global admin
CONSENT ON BEHALF OF YOUR ORGANiZATION
If you're installing Workbot as a global administrator, you can optionally select Consent on behalf of your organization. This allows you to reconnect Workbot in Workato without administrator approval during reauthorization.
You can now use your connection to build Workbot recipes. Visit the community library to get started.
"Bot already installed to the team" error
The Bot already installed to the team error means another standard Workbot connection is already active in your Microsoft Teams organization. Only one standard Workbot connection per Microsoft Teams organization is supported.
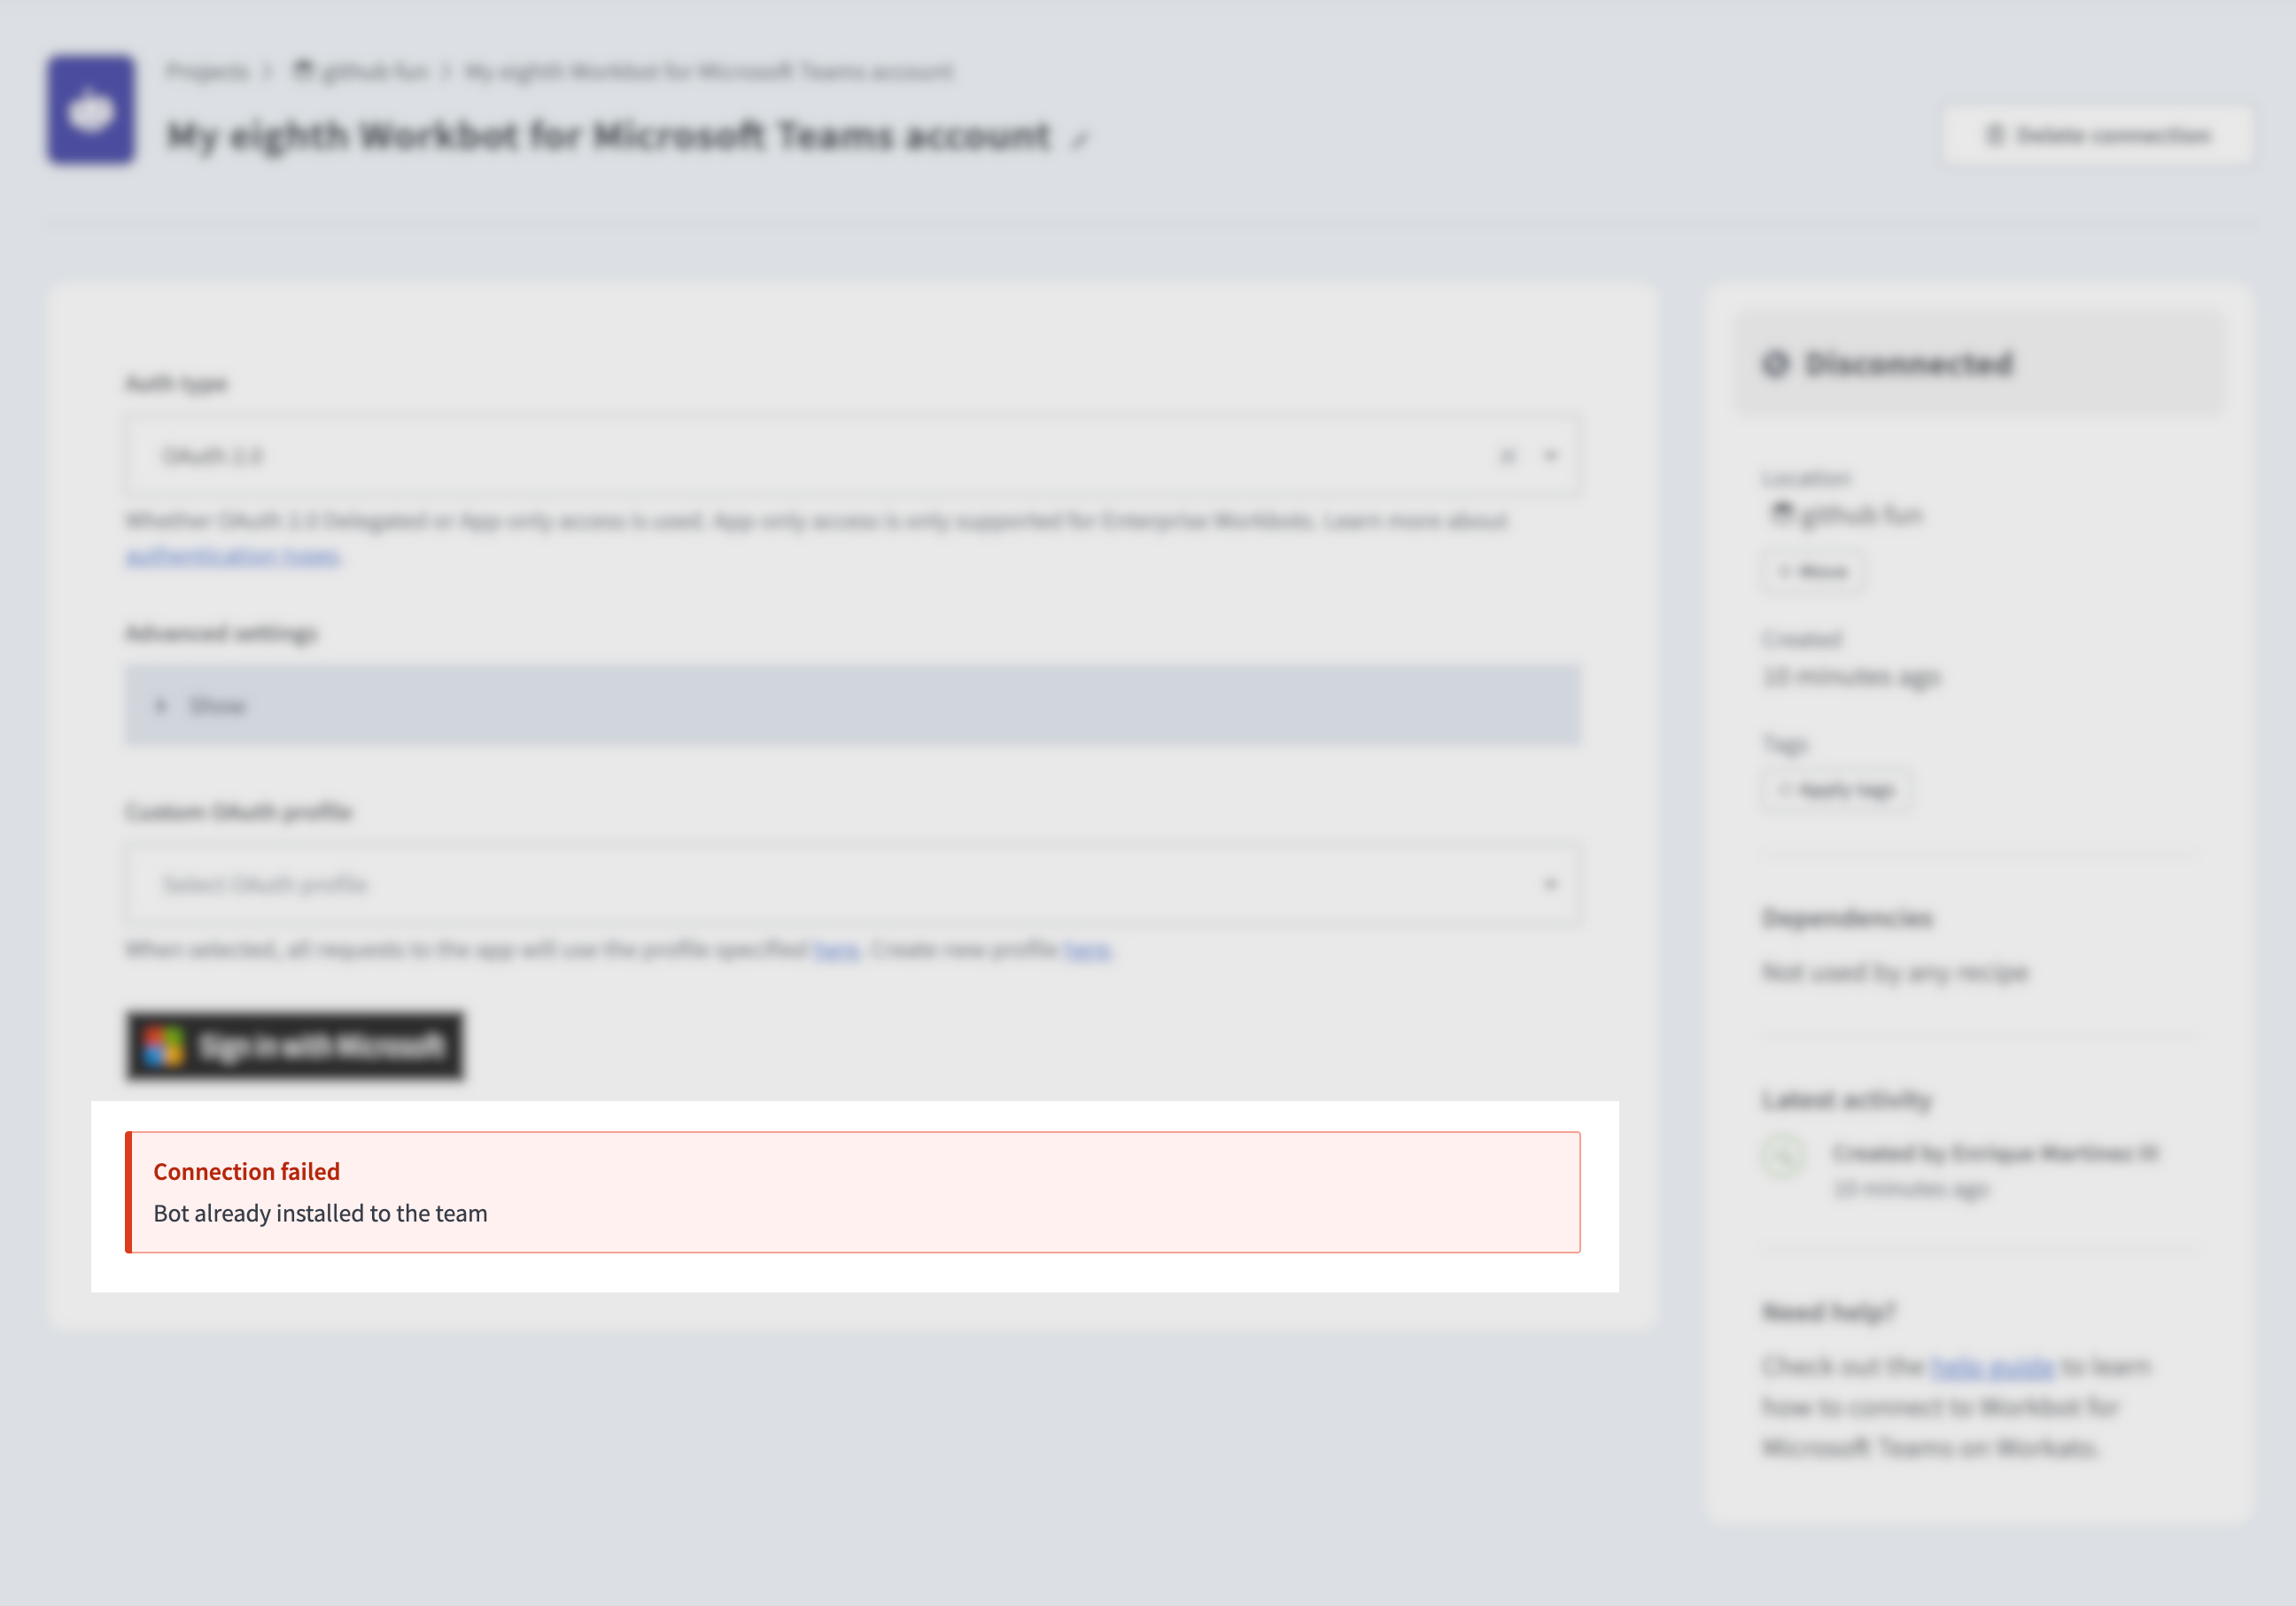 Duplicate Workbot connection error
Perform one of the following actions to resolve this:
- Find and disconnect the existing standard Workbot connection, then attempt to connect again.
- Use Enterprise Workbot to run multiple Workbots in the same Microsoft Teams organization.
Use Workbot in a recipe
Complete the following steps to use Workbot in a recipe:
Select the View open opportunities recipe from the community library.
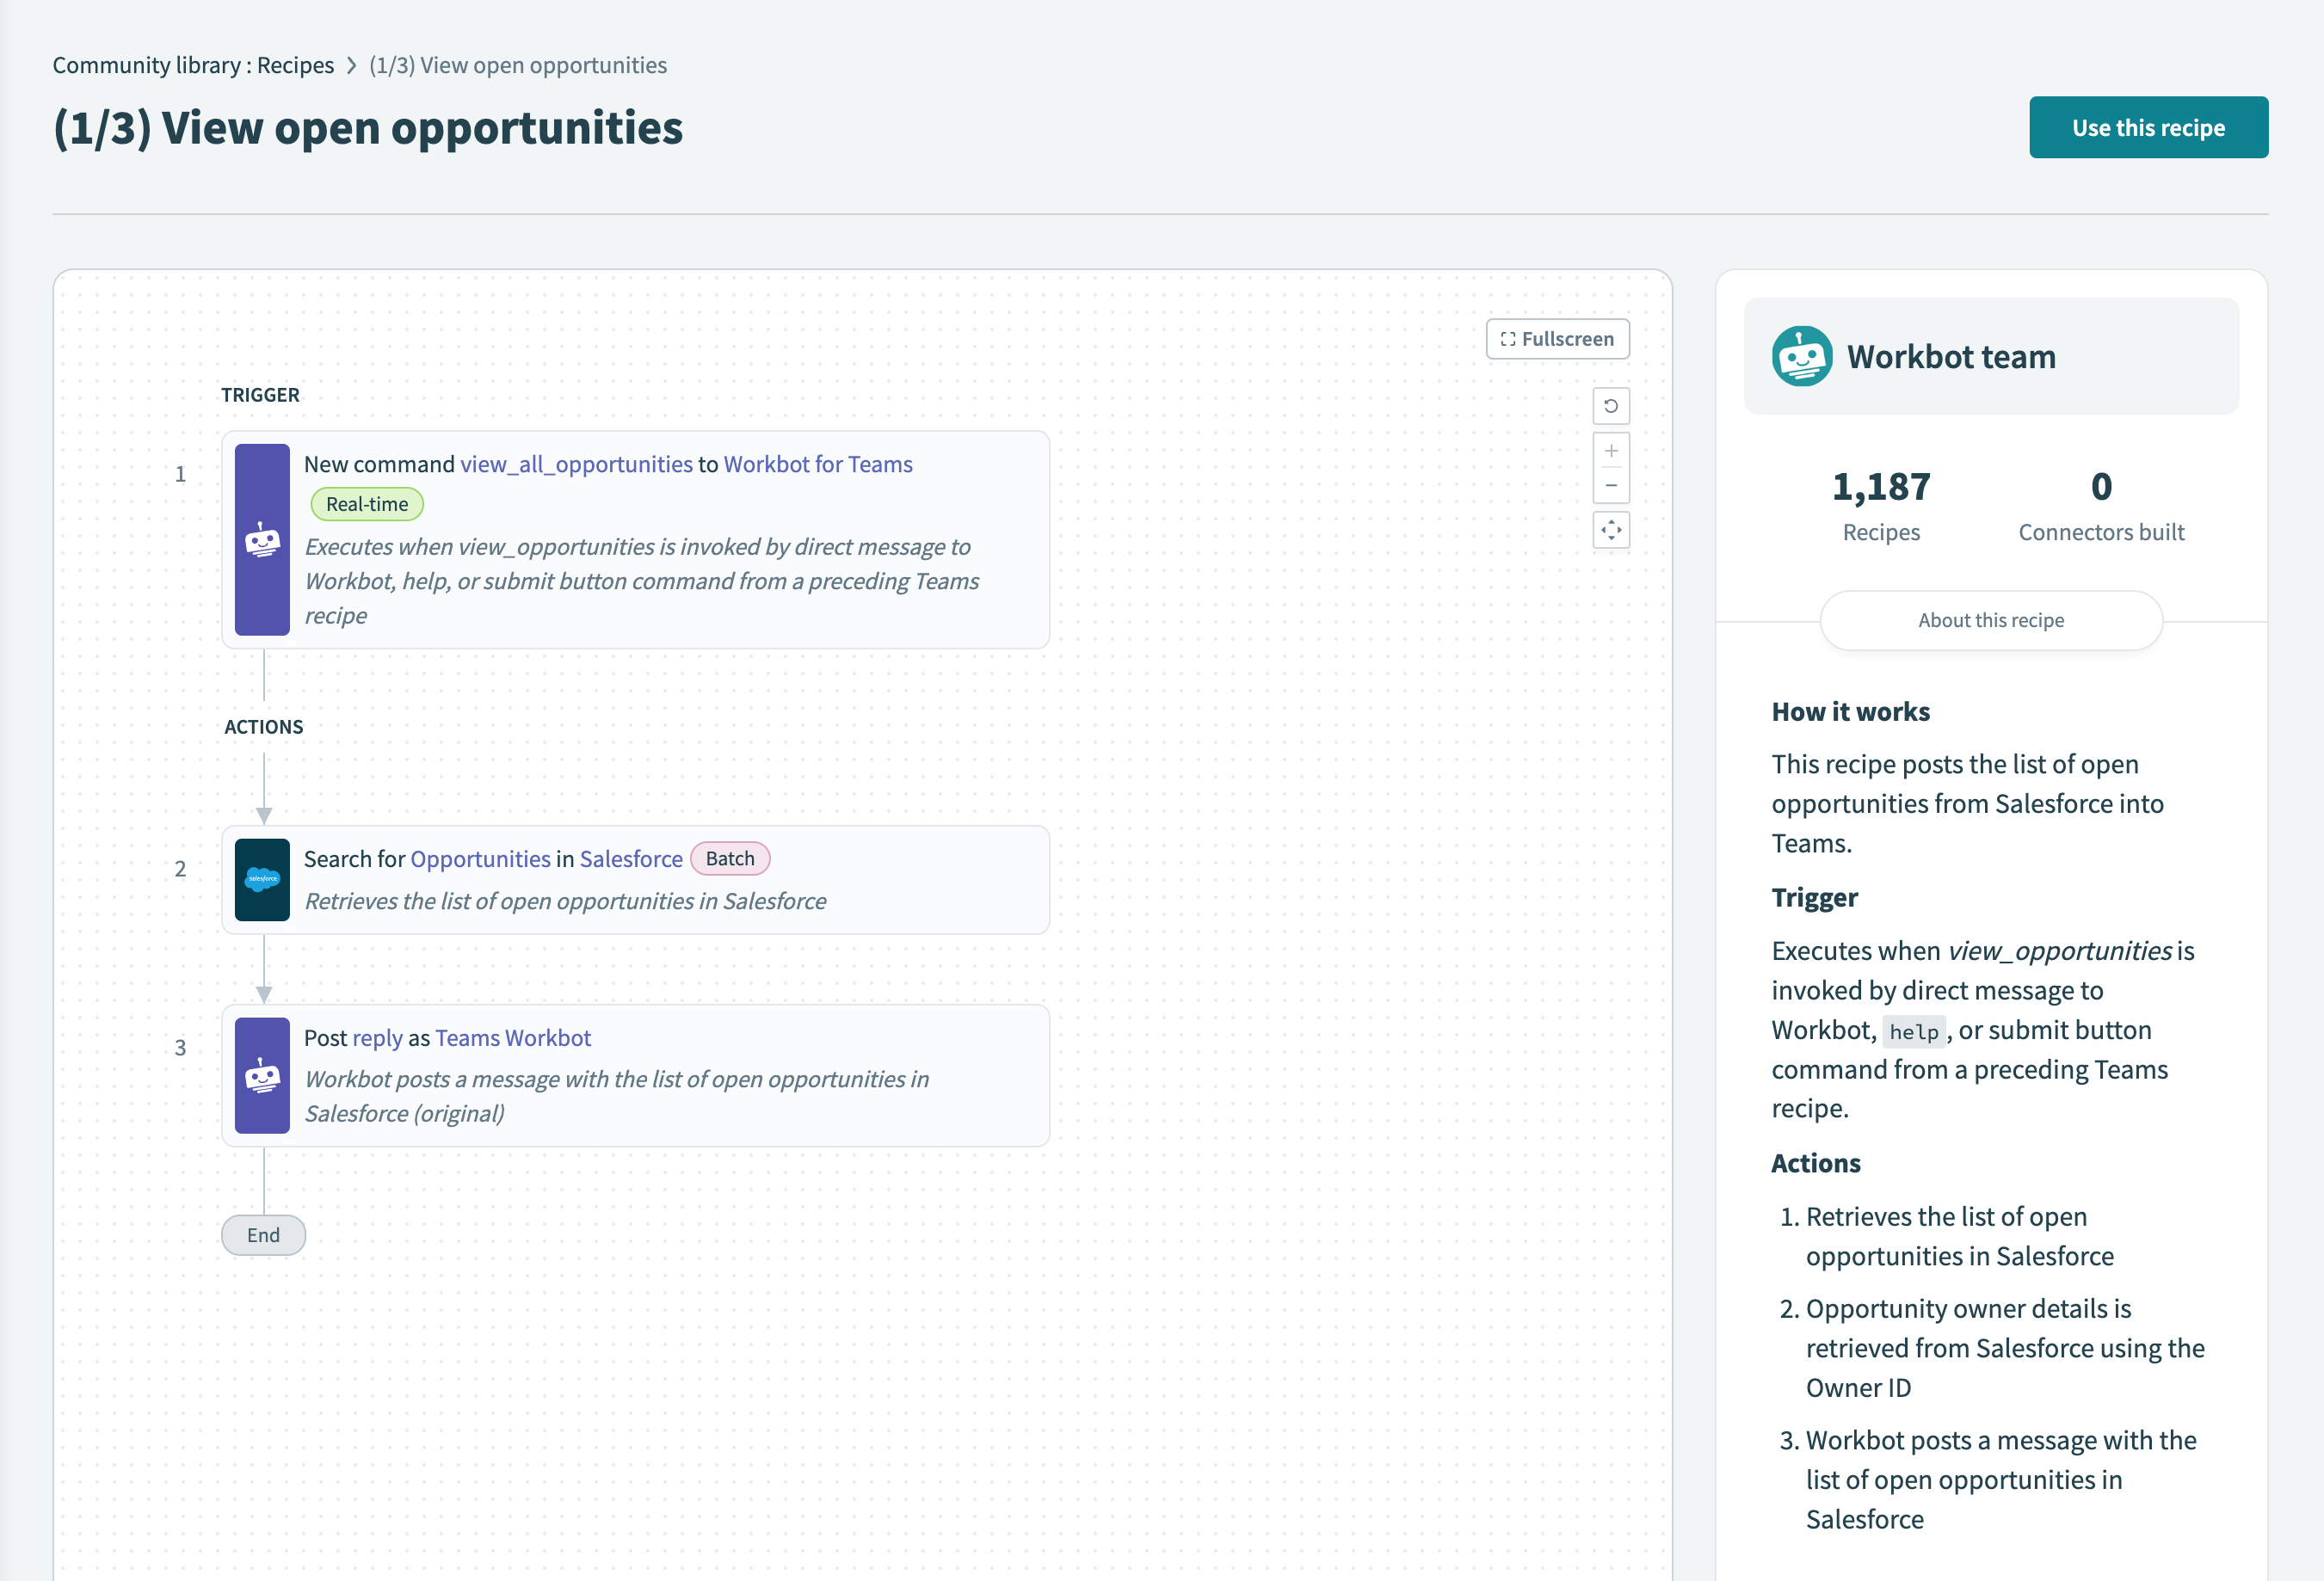 Use recipe
Click Use this recipe to make a copy of it in your workspace.
Select the project or folder where you plan to store this recipe.
Click Copy and save.
Click or edit your recipe before testing.
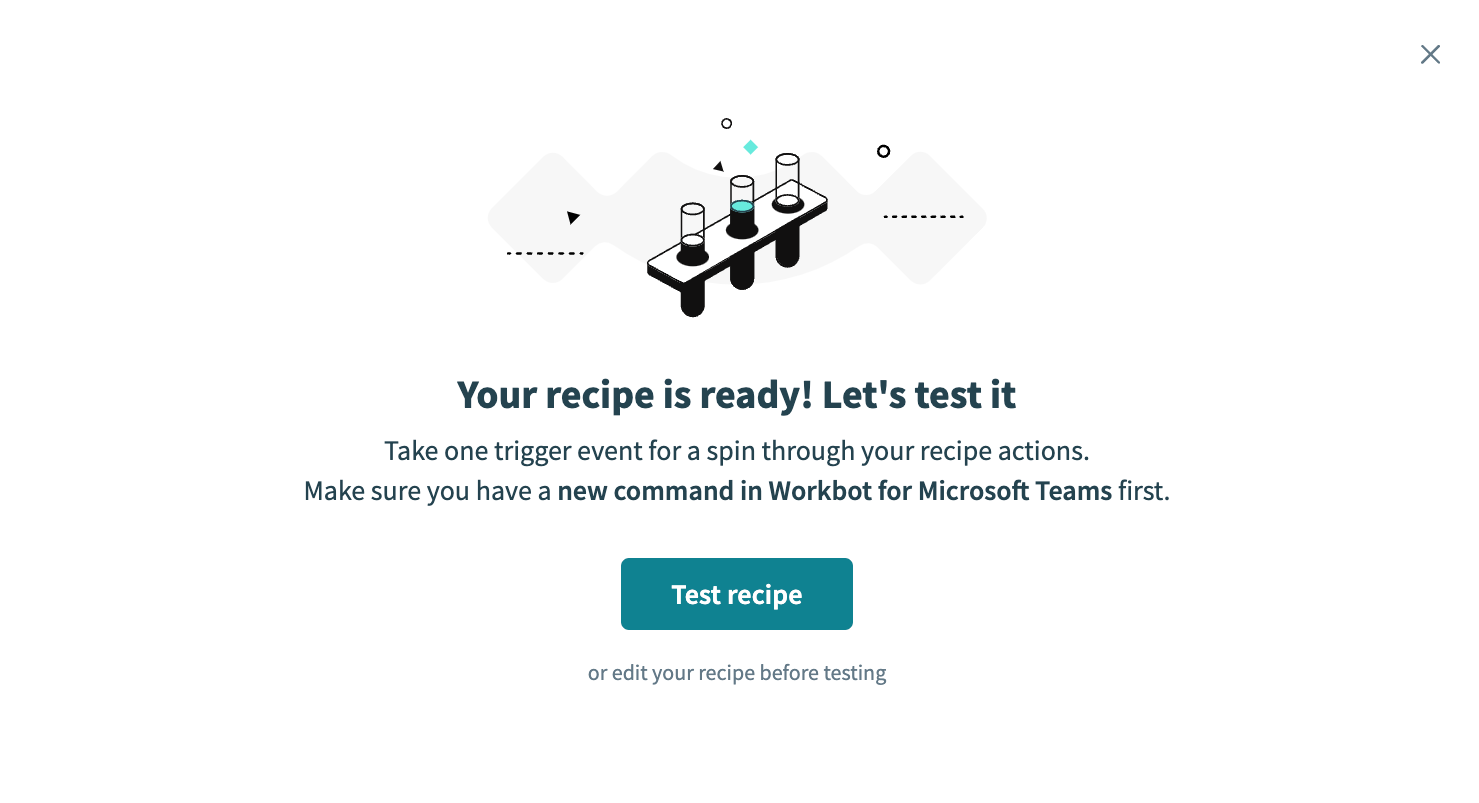 Edit your recipe before testing
Ensure you have active Workbot for Microsoft Teams and Salesforce connections.
Click Save.
Click Exit to leave the recipe editor, then click Start recipe.
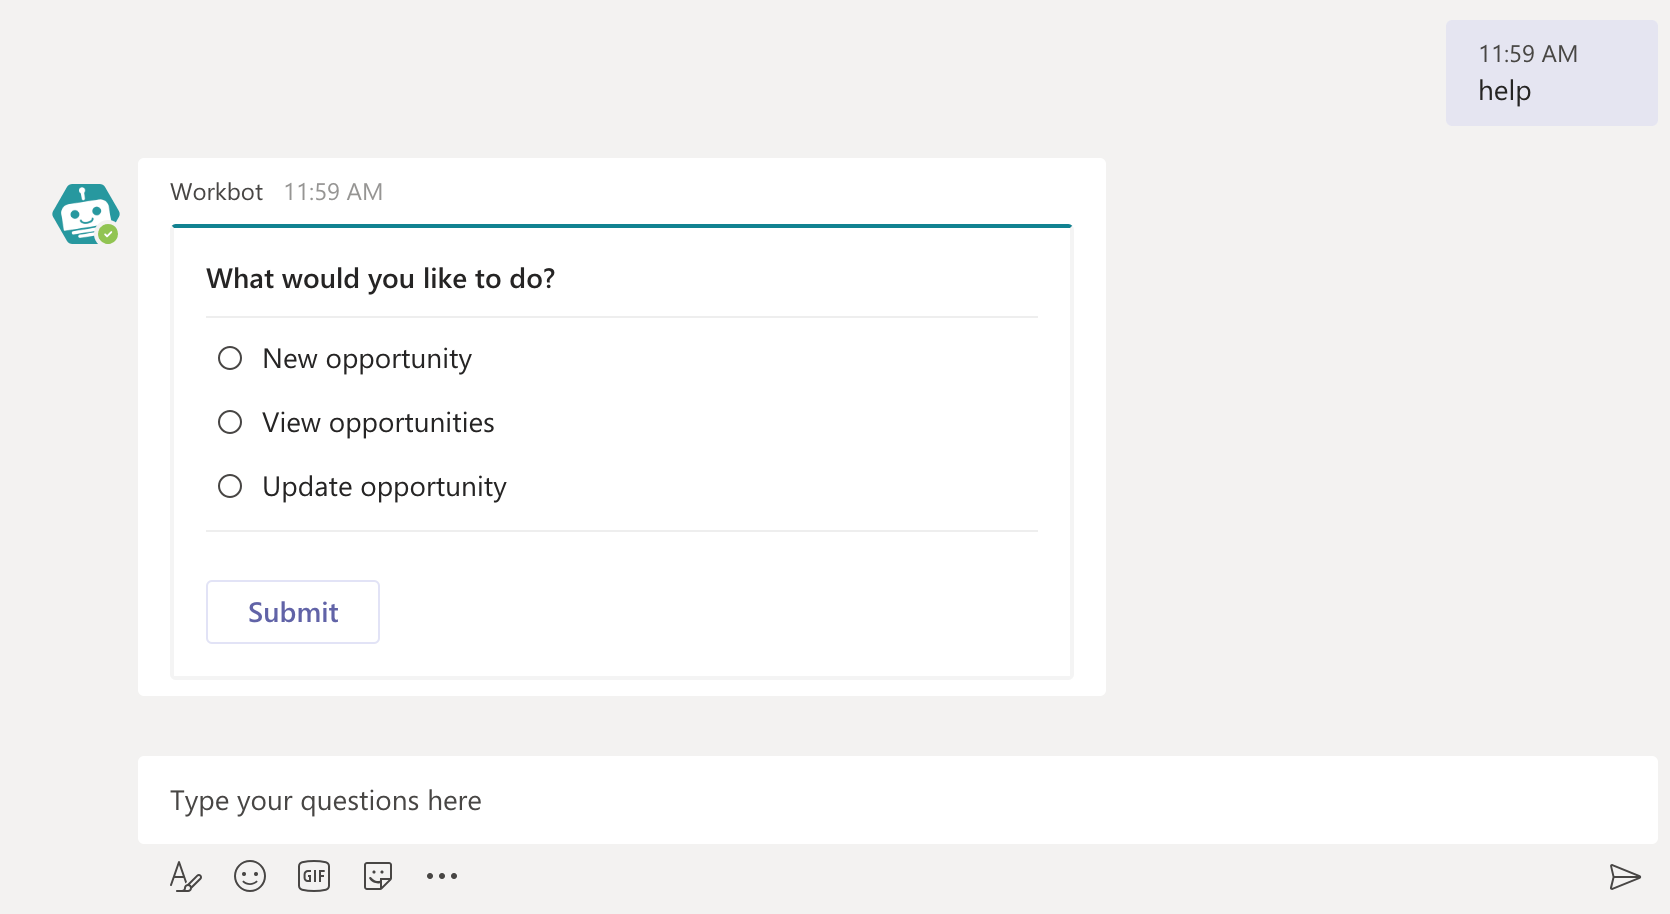
Go to Microsoft Teams and send Workbot the view_all_opportunities command. Alternatively, you can type help and select View opportunities.
The help command
The help command displays a list of available Workbot commands. You must have the following for this command to work correctly:
- A Workbot for Microsoft Teams connection.
- An active recipe with the Workbot for Microsoft Teams New command trigger.
 Help command
Add Workbot to a team
Adding Workbot to your teams enables any team member to run Workbot commands by mentioning the bot.
 Mention Workbot
Complete the following steps to add Workbot to a team:
Open Microsoft Teams, select Apps from the left navigation bar, and search for Workbot.
 Search for Workbot in App catalog
Select Workbot, then click Open.
 Add to team
Select the channel where you plan to add Workbot.
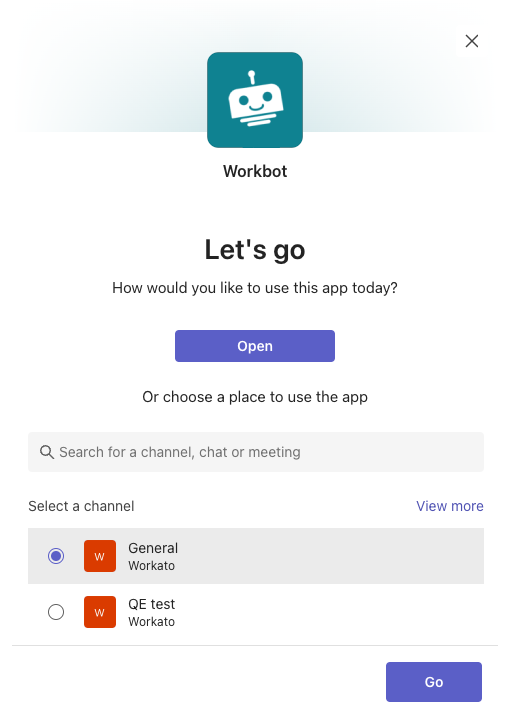 Select your team
Click Go.
You and your team members can now run Workbot commands by mentioning the bot. For example, enter and send @workbot help to retrieve a list of available Workbot commands.
More resources
Last updated: