Workflow apps dashboards
You can create an Insights dashboard within Workflow apps to visualize and manipulate data to gain valuable insights into your automation projects.
End-users can download and print dashboard pages in the Workflow apps portal. Downloads are saved as PNG images.
Create a Workflow apps dashboard
You can add a dashboard to your Workflow app in two ways:
- Create and assign a dashboard: Automatically adds the dashboard as a tab in your app.
- Create an unassigned dashboard: Allows you to configure the dashboard before you assign it to your app.
Create and assign a dashboard
Complete the following steps to create and assign a dashboard to your Workflow app:
Select a project that contains an existing Workflow app.
Go to the Workflow app tab, locate the Interface section, and click + Create new tab. 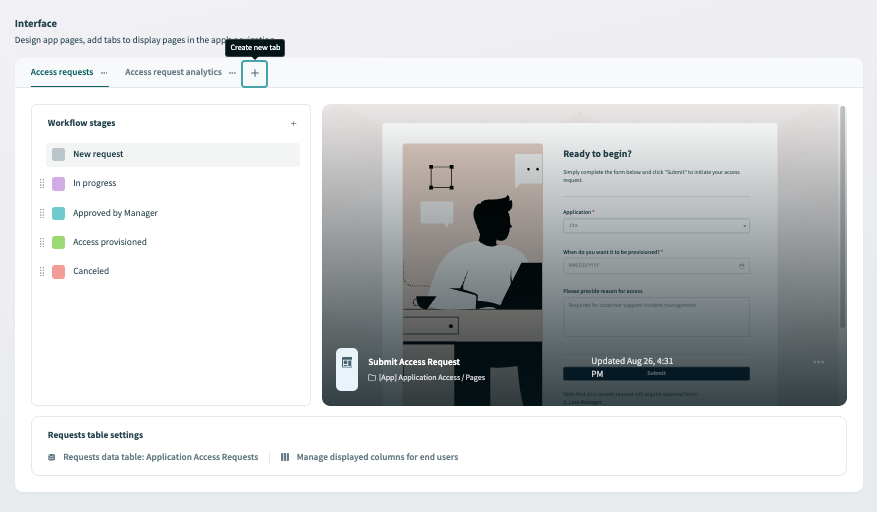 Add tabs
Enter a tab name in the Tab name field.
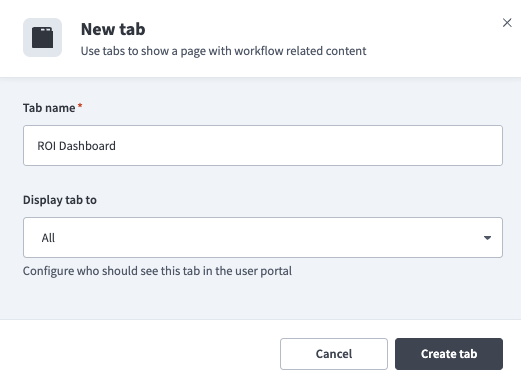 Add new tab
Configure which users can view this tab in the Display tab to field.
DISPLAY TAB TO FIELD
Select Nobody from the Display tab to drop-down menu when creating a new dashboard with this method. This hides the dashboard until you make it visible.
Click Create tab.
Click Create page to add a new Insights dashboard to this tab.
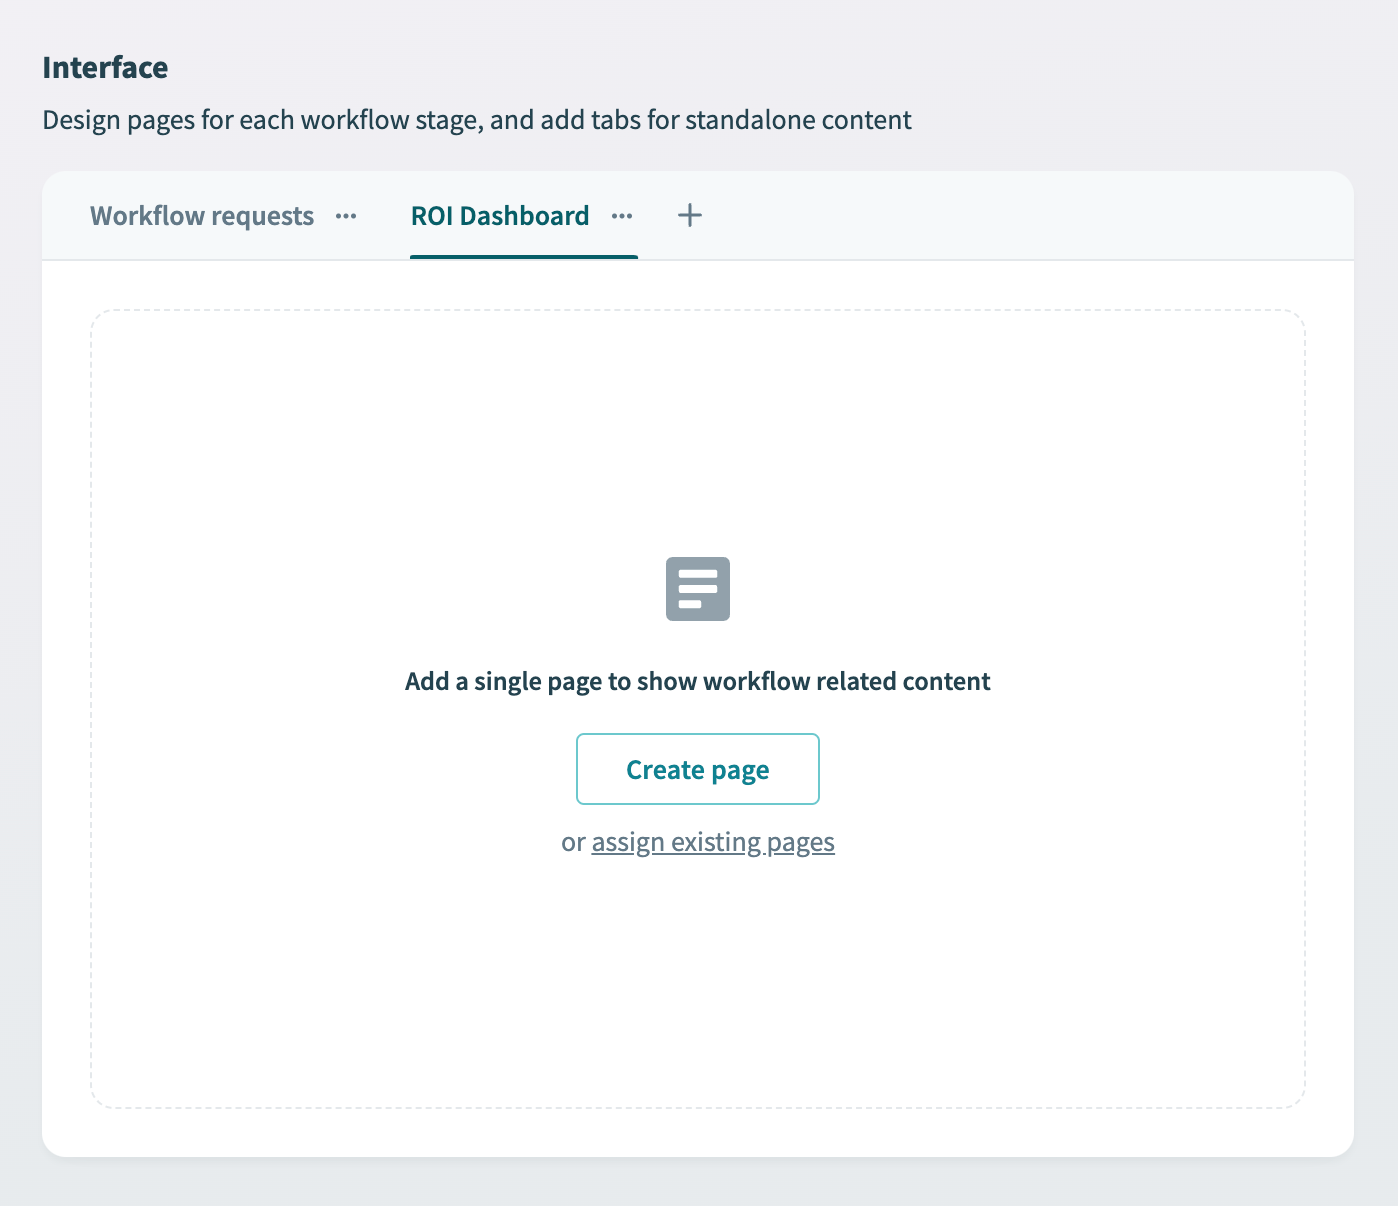 Create the page
Enter a name in the Page name field. 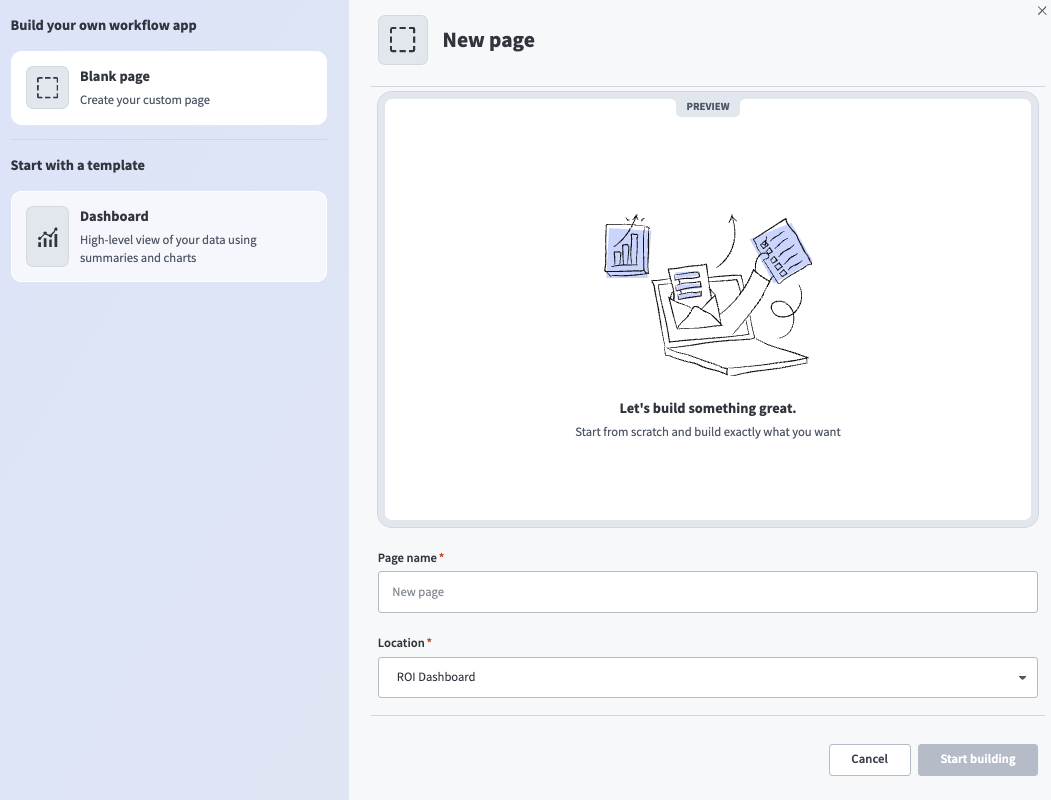 Name the page
Use the Location drop-down menu to select the project or folder where you plan to store this page.
Select Dashboard from the list of page templates. 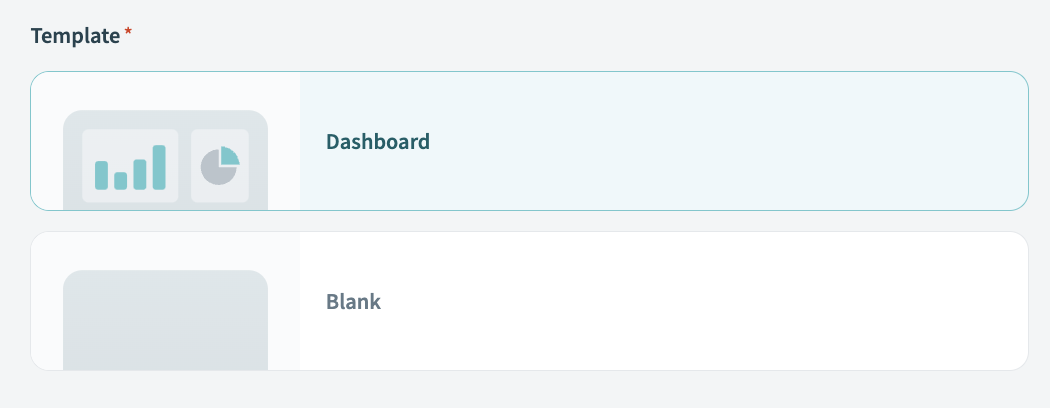 Select the dashboard template
Click Start building. This creates a new Workflow apps page using the dashboard template:
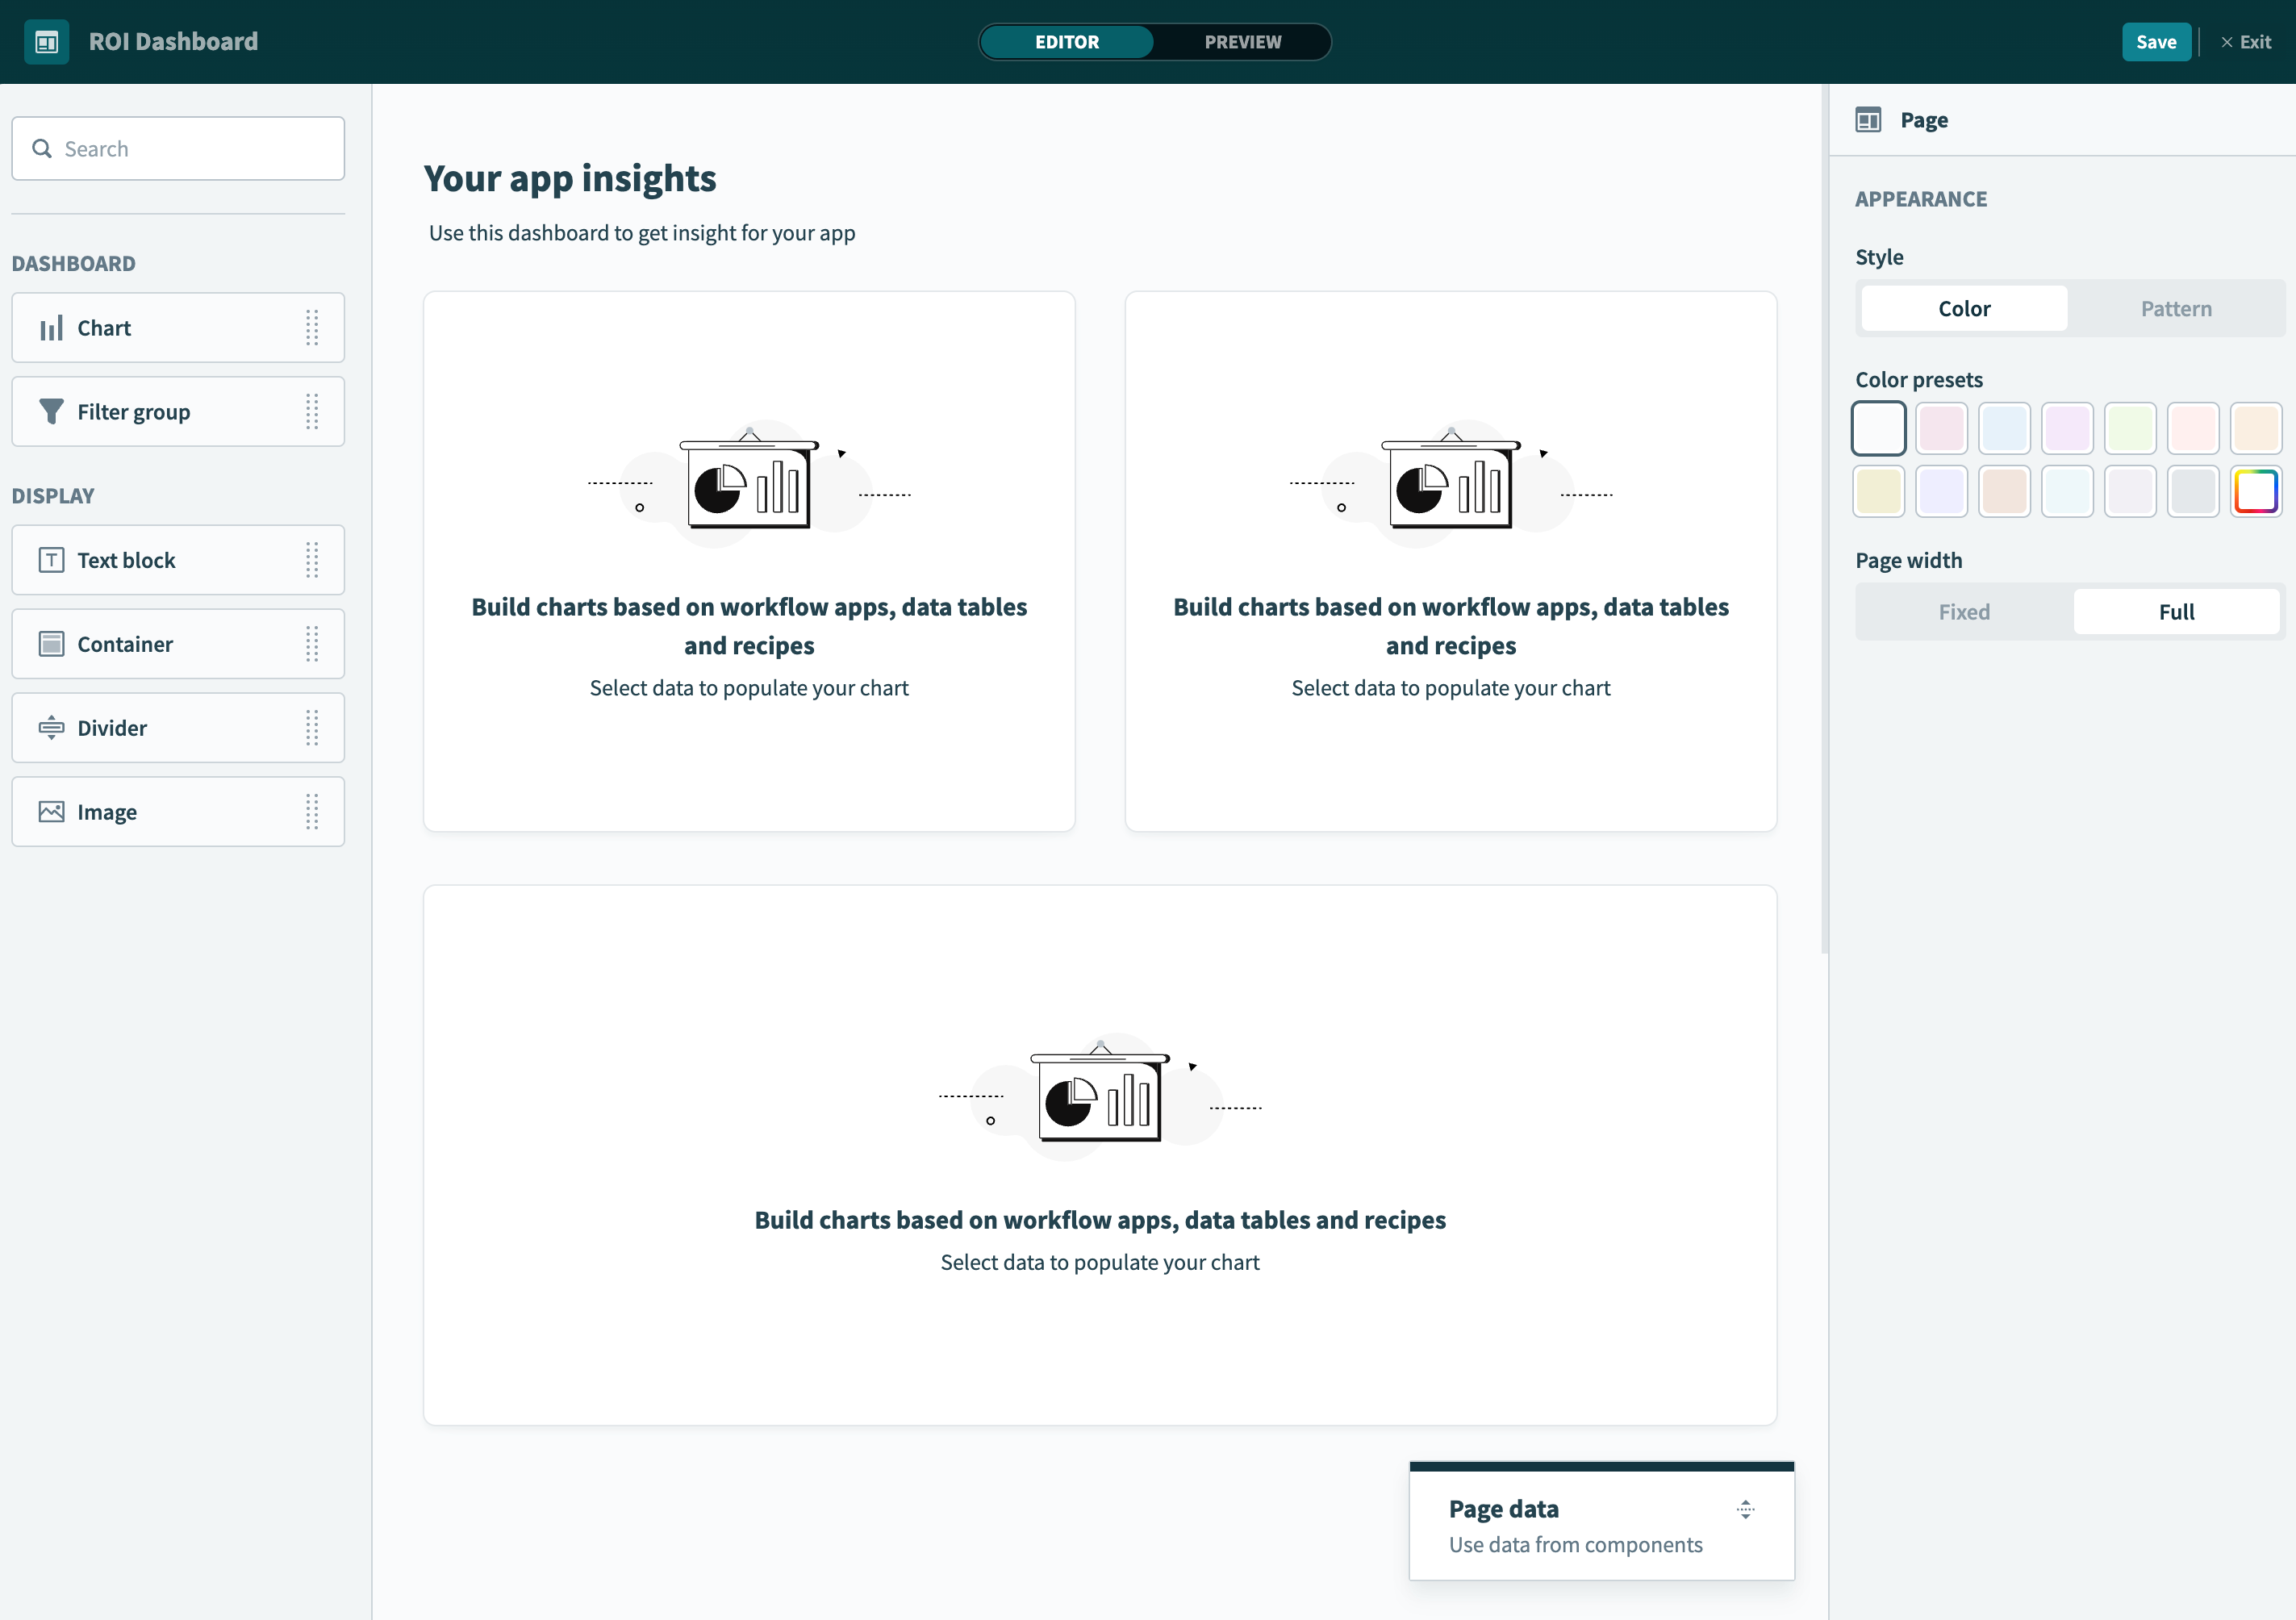 Create the dashboard page
After you assign an Insights dashboard to your app, it appears in the Workflow apps portal as a separate tab:
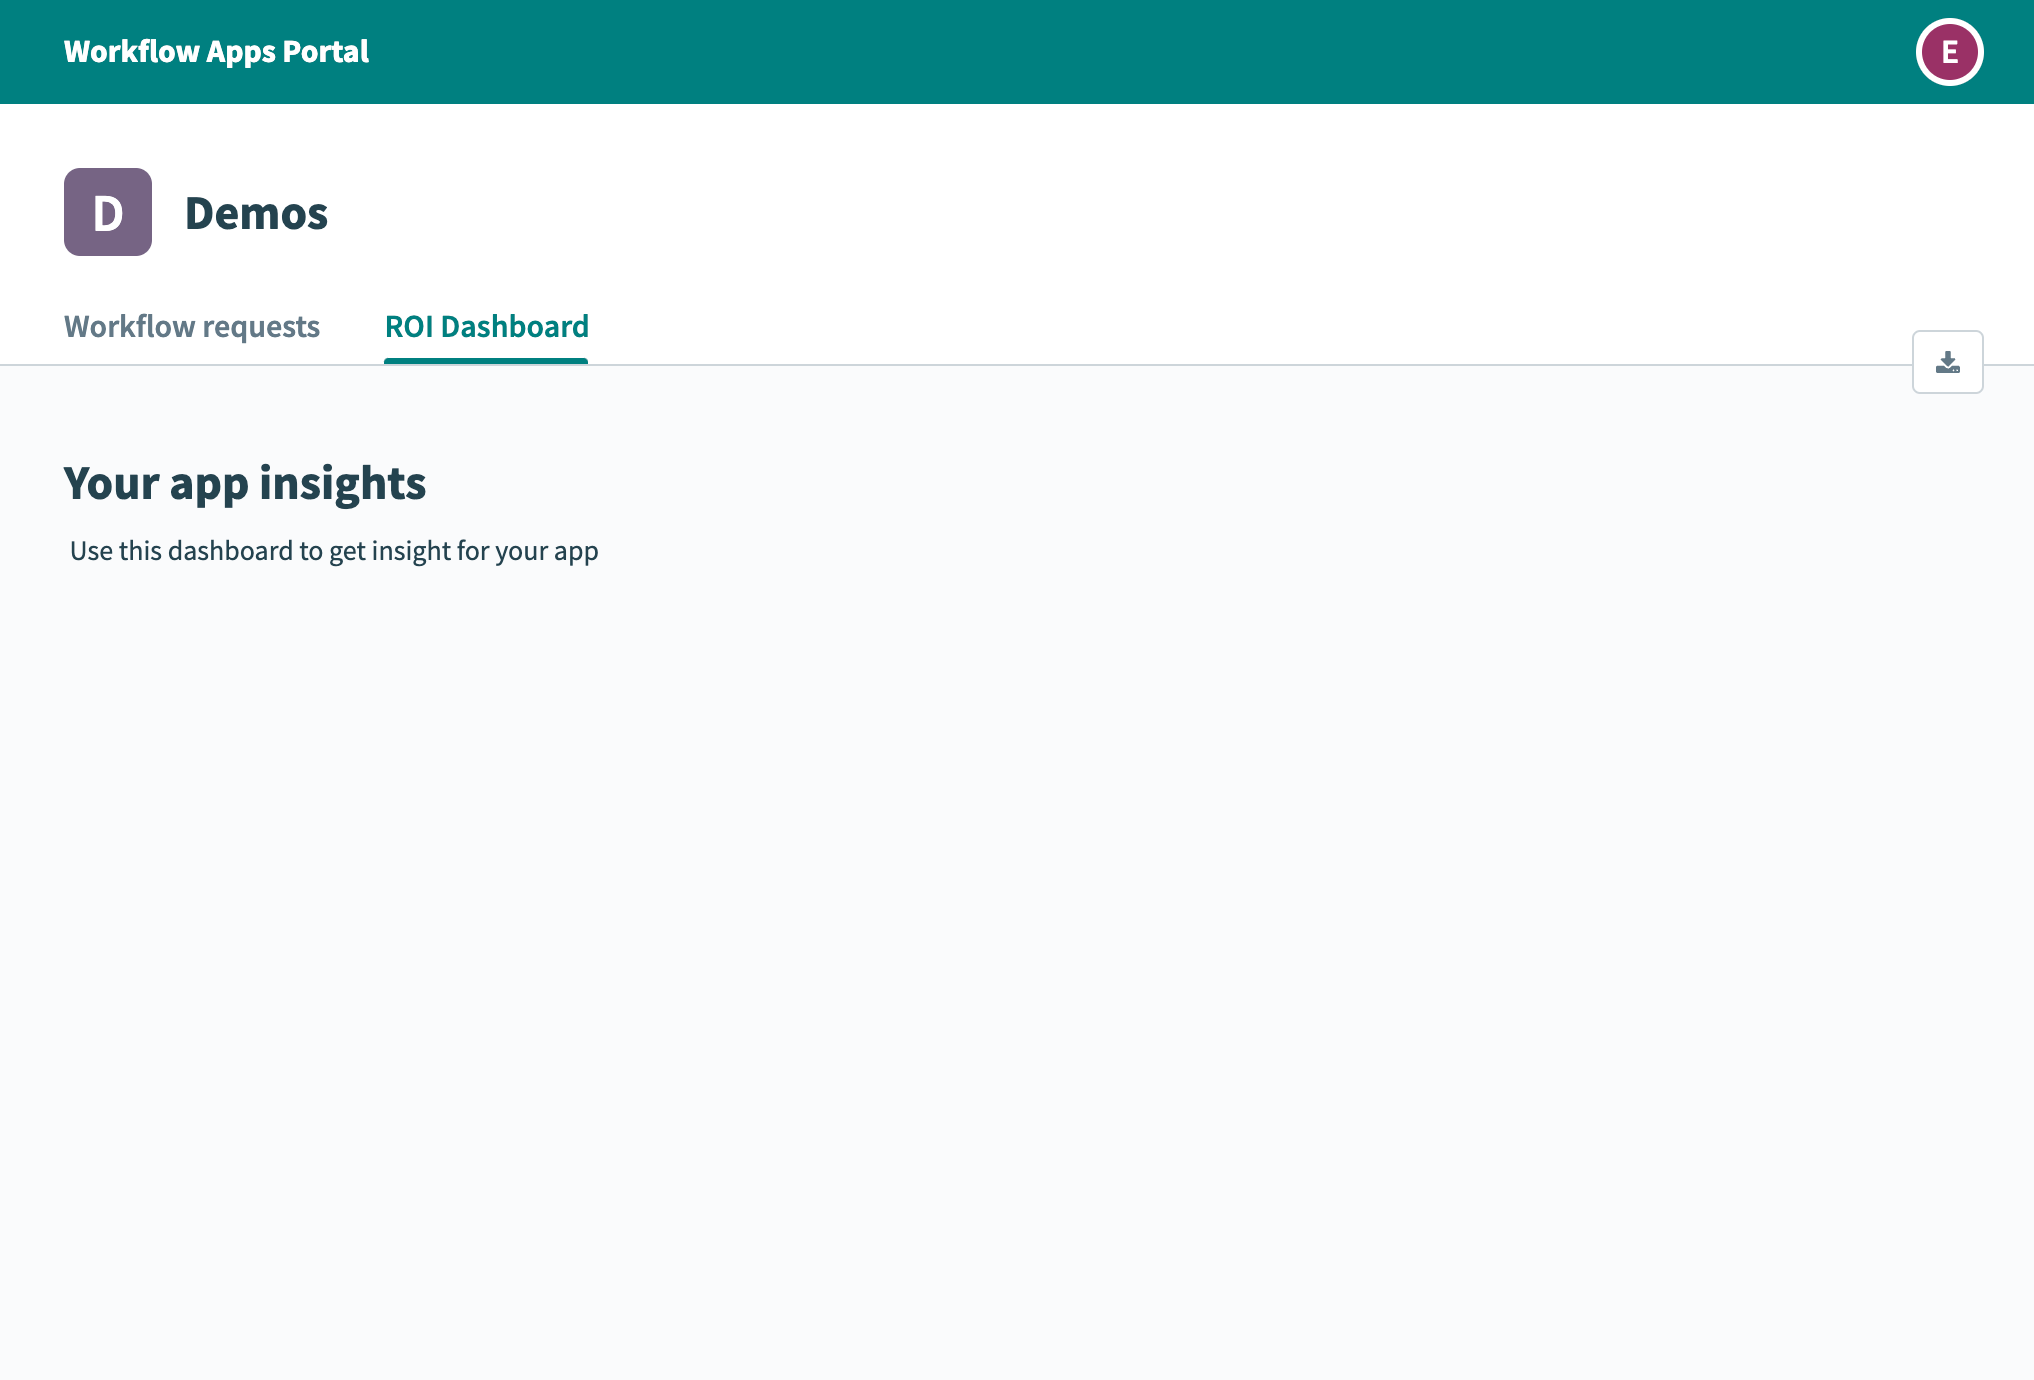 Insights dashboards appear as a separate tab in the Workflow apps portal
After you create the dashboard, proceed to configure the dashboard.
Create an unassigned dashboard
Complete the following steps to create the dashboard page separately before you assign it to your Workflow app:
Select a project that contains an existing Workflow app. Alternatively, go to Assets > Pages.
Click Create > Page or press C+A.
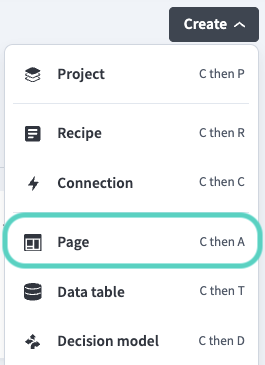 Create a new page
Enter a name in the Page name field.
Name the page
Use the Location drop-down menu to select the project or folder where you plan to store this page.
Select Dashboard from the list of page templates.
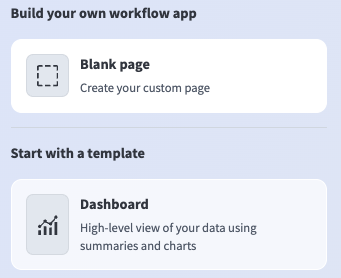 Select Dashboard as your template
Select a Data table for your page:
- If this is the first page in your project, choose a data table from the Data table drop-down menu.
- If no data table exists, create a new one.
- If this isn't the first page, the data table is linked automatically.
 Select a data table for your page
Click Start building. This creates a new Workflow apps page using the dashboard template:
Create the dashboard page
After you create the dashboard, configure it before you assign it to your Workflow app.
Configure the dashboard
Complete the following steps to configure the Workflow apps dashboard:
Drag and drop chart components onto your page in the page editor.
Add chart components
PAGE DATA AND DISPLAY COMPONENTS
Workflow app dashboards are a type of Workflow app page, which means you can use datapills from the Page data menu and components from the Display section, such as containers and images.
While these datapills and components can't be used within charts, you can use datapills in other areas of the page, including text fields. Display components allow you to control when a container is visible and add images to the page or dashboard for a more customized experience.
Learn more about the Page data menu, using datapills in pages, and page components.
Select a data source from the list of supported sources.
Workato displays your data as a table by default.
Run queries on your data. Workato previews the results table for each query. 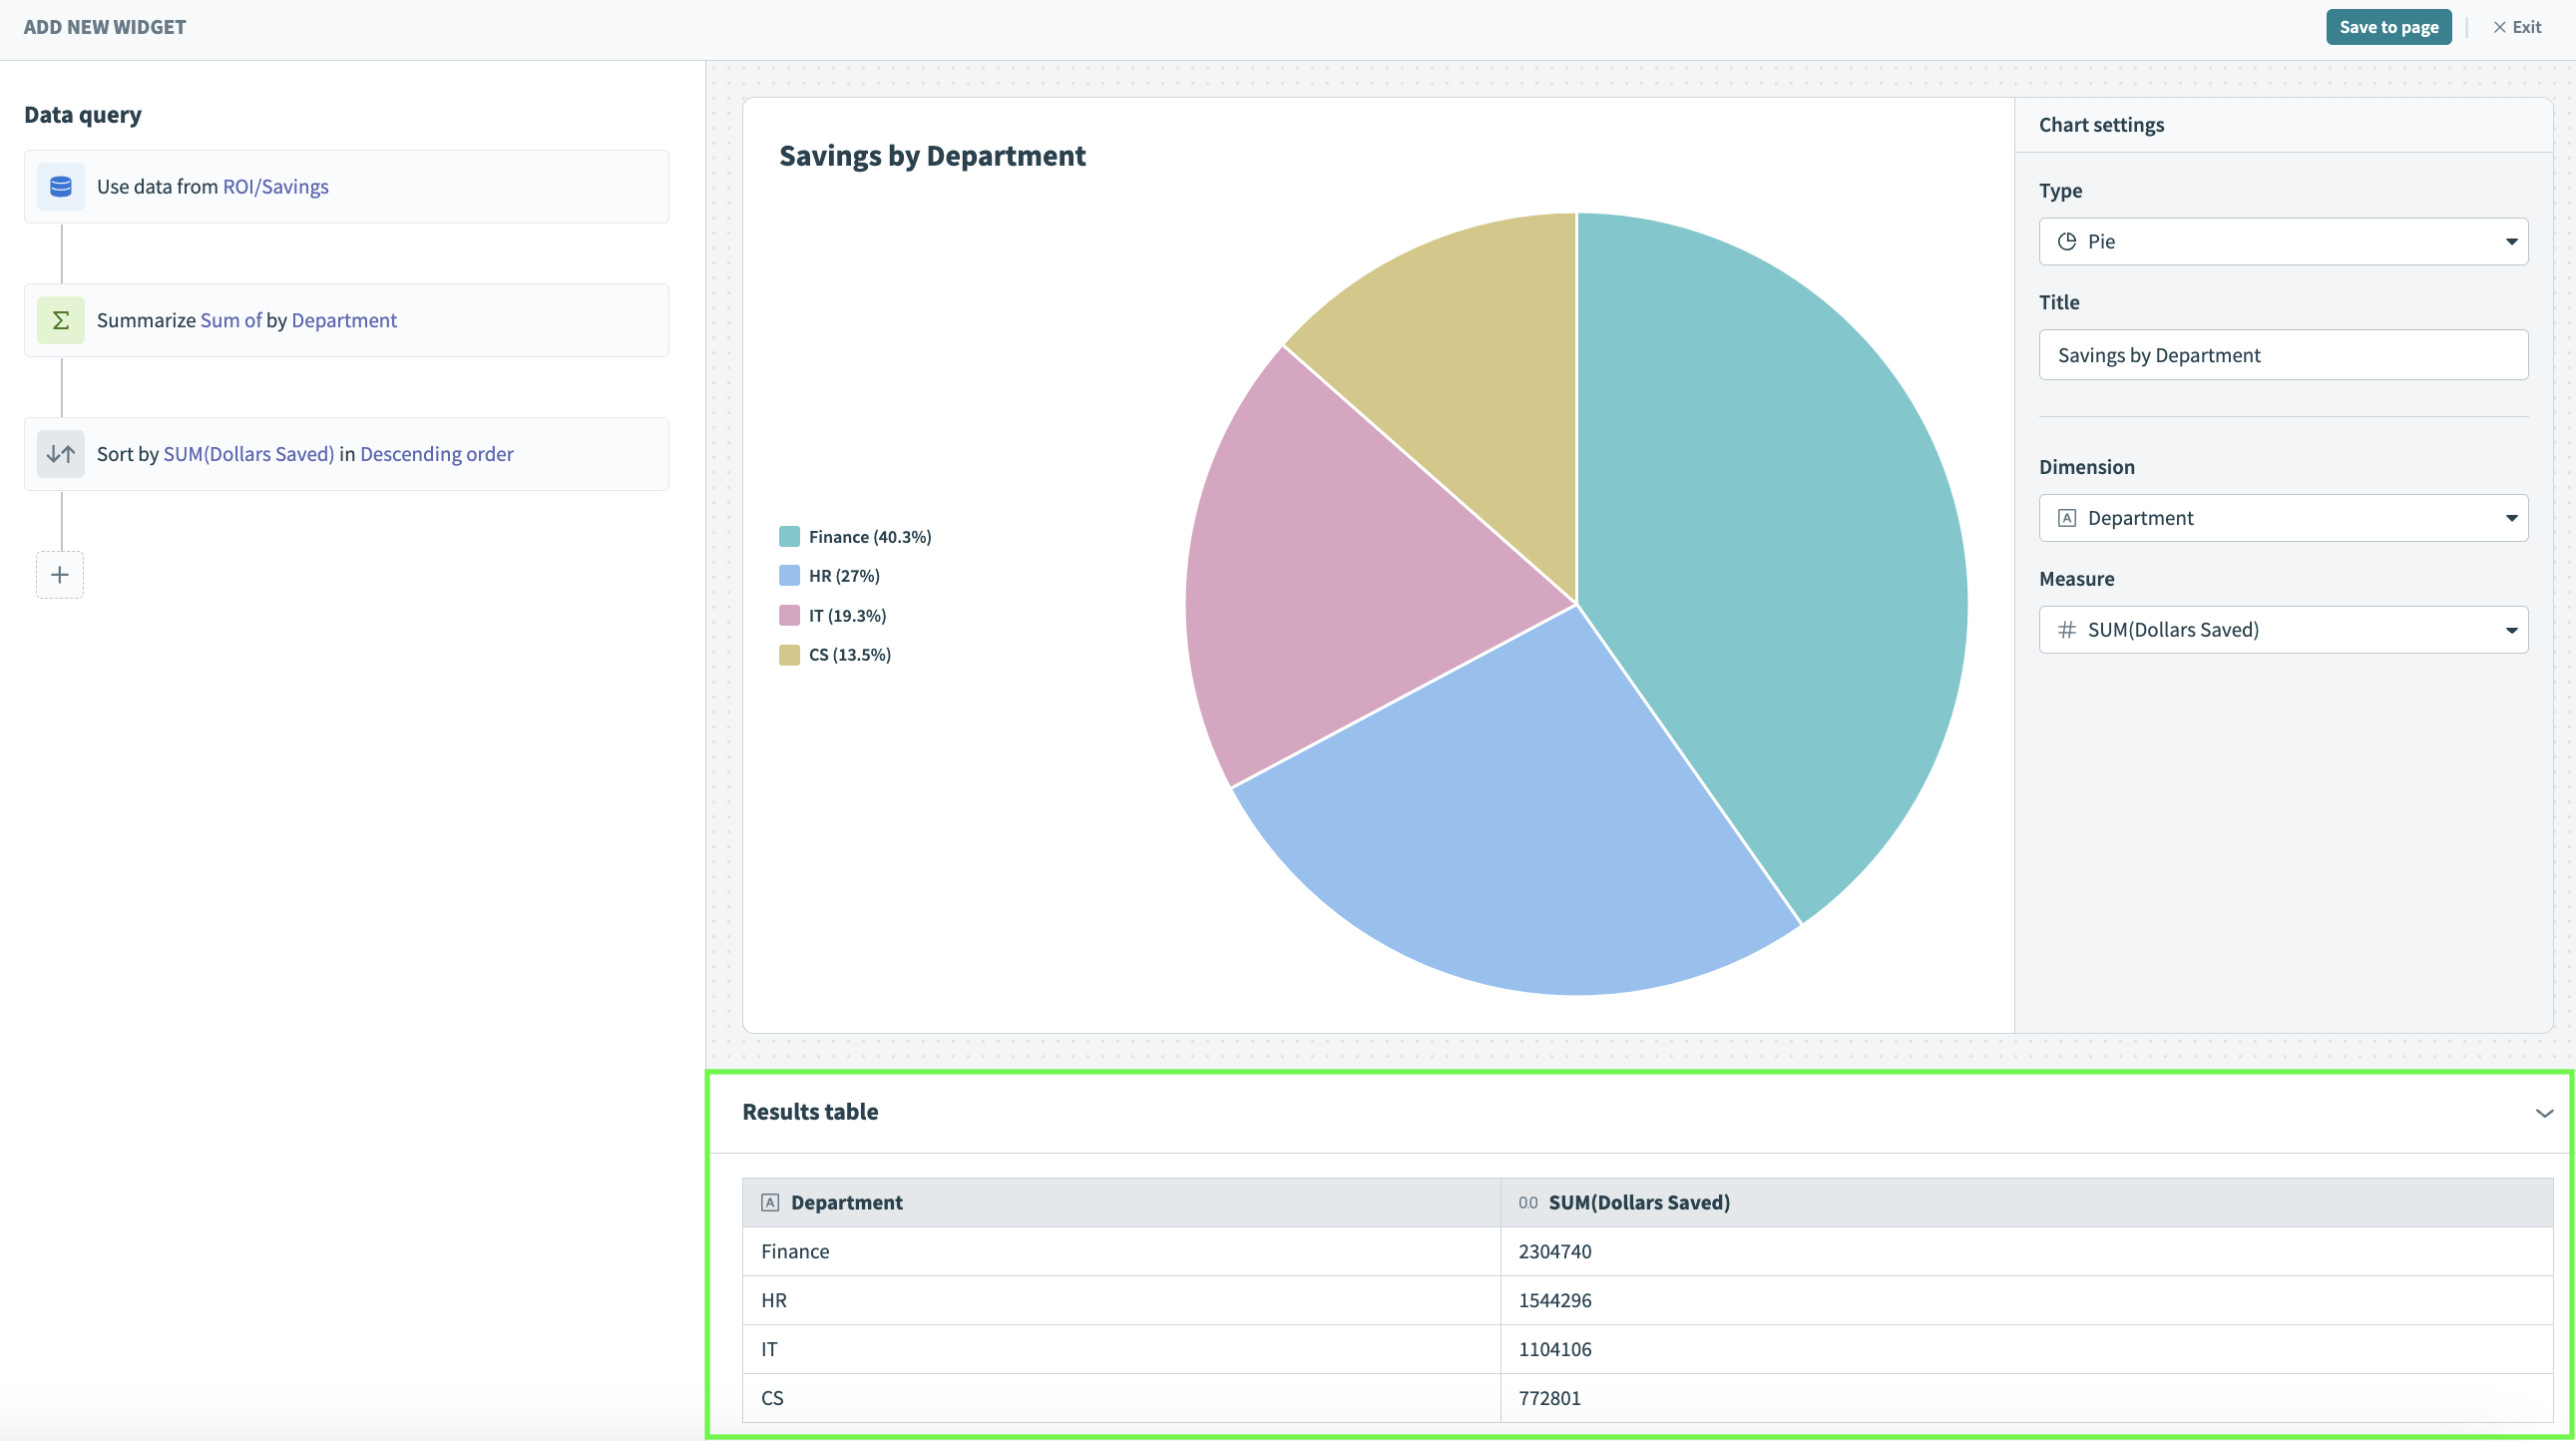 Results table
Select the type of chart you plan to build. Workato previews the auto-generated chart based on your selected data source.
Configure Chart settings to customize your chart. Chart settings are dynamic and depend on the chart type you select.  Chart settings
Save your chart to your dashboard.
Click Save and Exit after you edit the page to return to the app settings page.
Continue to assign the dashboard to your Workflow app if you created an unassigned dashboard. The process is complete if you created an assigned dashboard.
Assign an existing dashboard to your Workflow app
Complete the following steps to add an unassigned dashboard to your Workflow app:
Go to the Workflow app tab, locate the Interface section, and click + Create new tab. Add tabs
Enter a tab name in the Tab name field.
Add new tab
Configure which users can view this tab in the Display tab to field.
Click Create tab.
Click Assign existing pages.
Create the page
Select the dashboard to display in the tab and click Save changes.
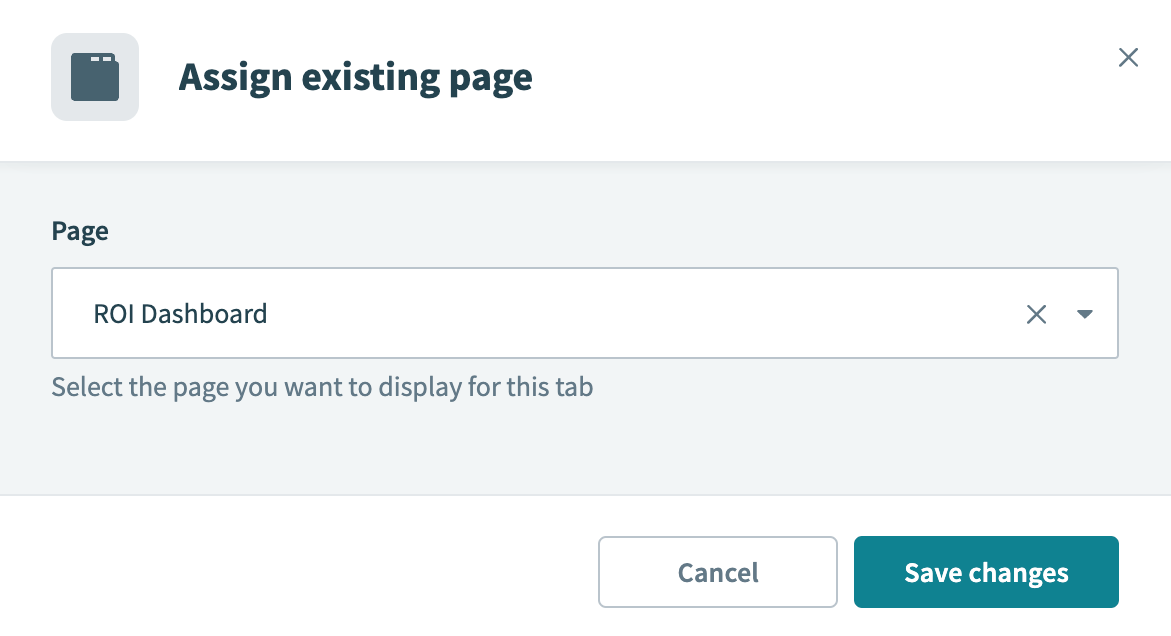 Assign the dashboard to your Workflow app
After you assign an Insights dashboard to your app, it appears in the Workflow apps portal as a separate tab:
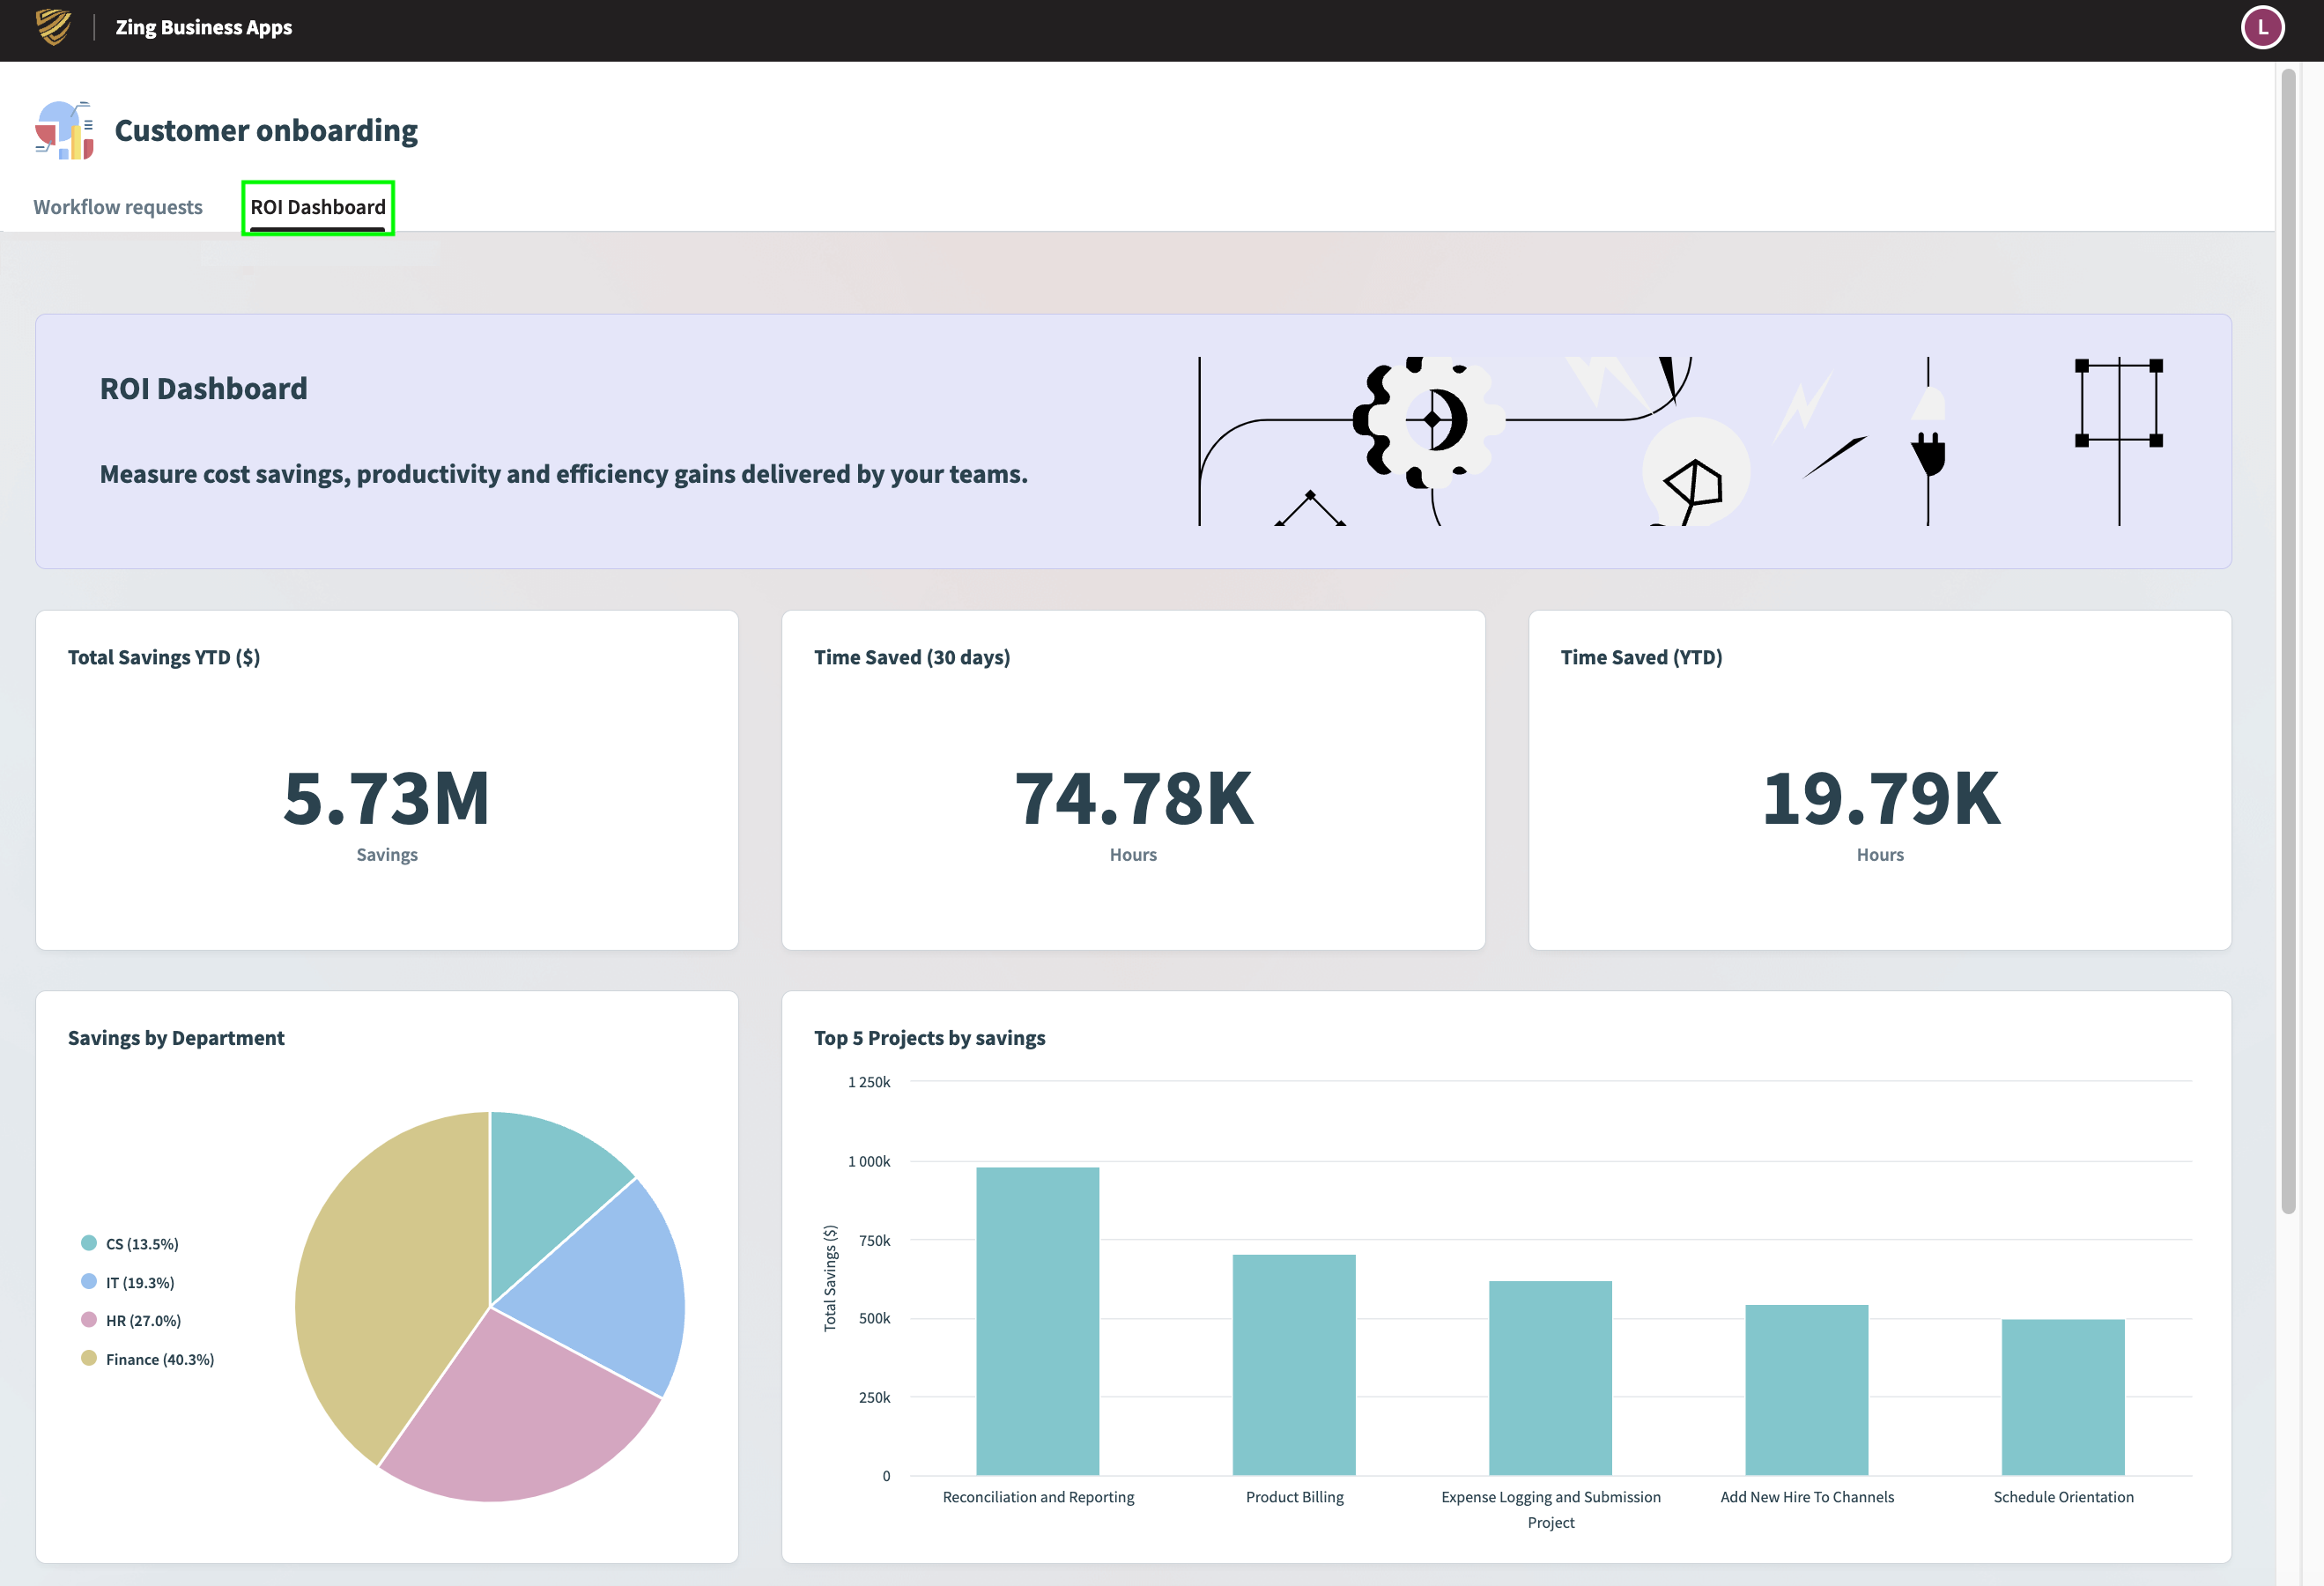 Insights dashboards appear as a separate tab in the Workflow apps portal
Last updated: